
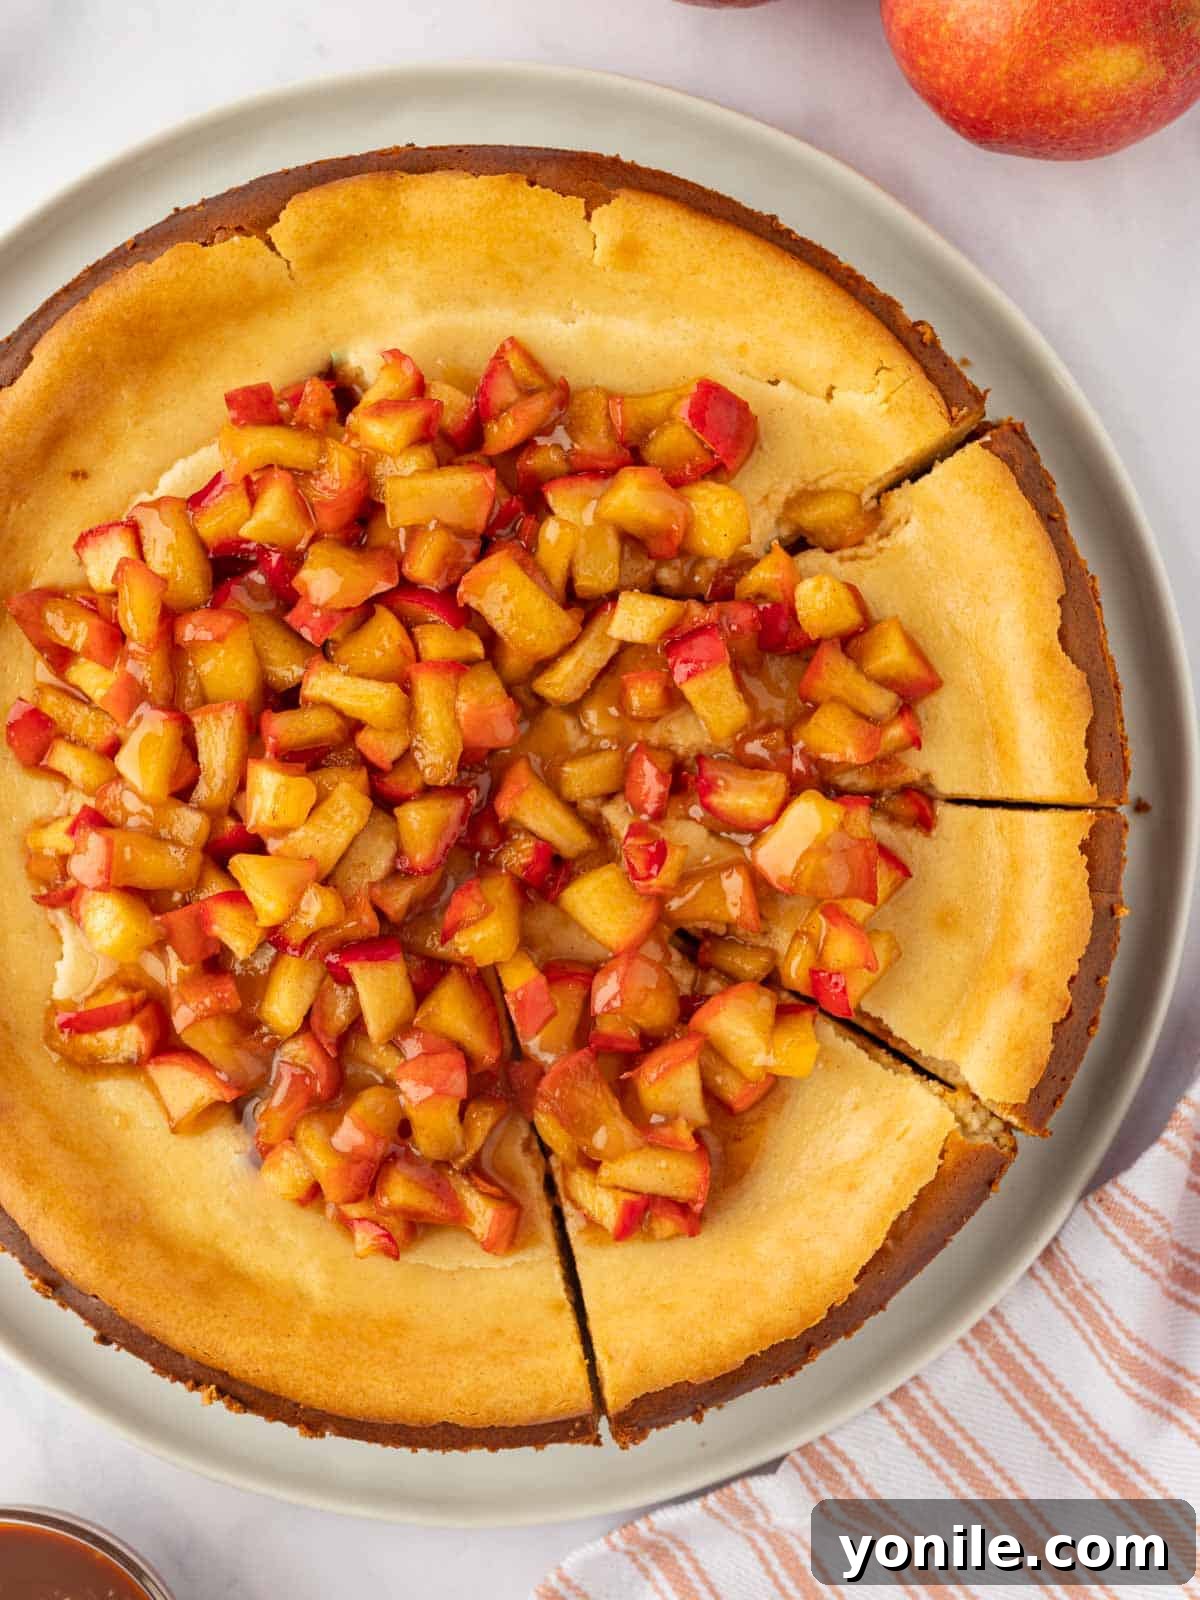
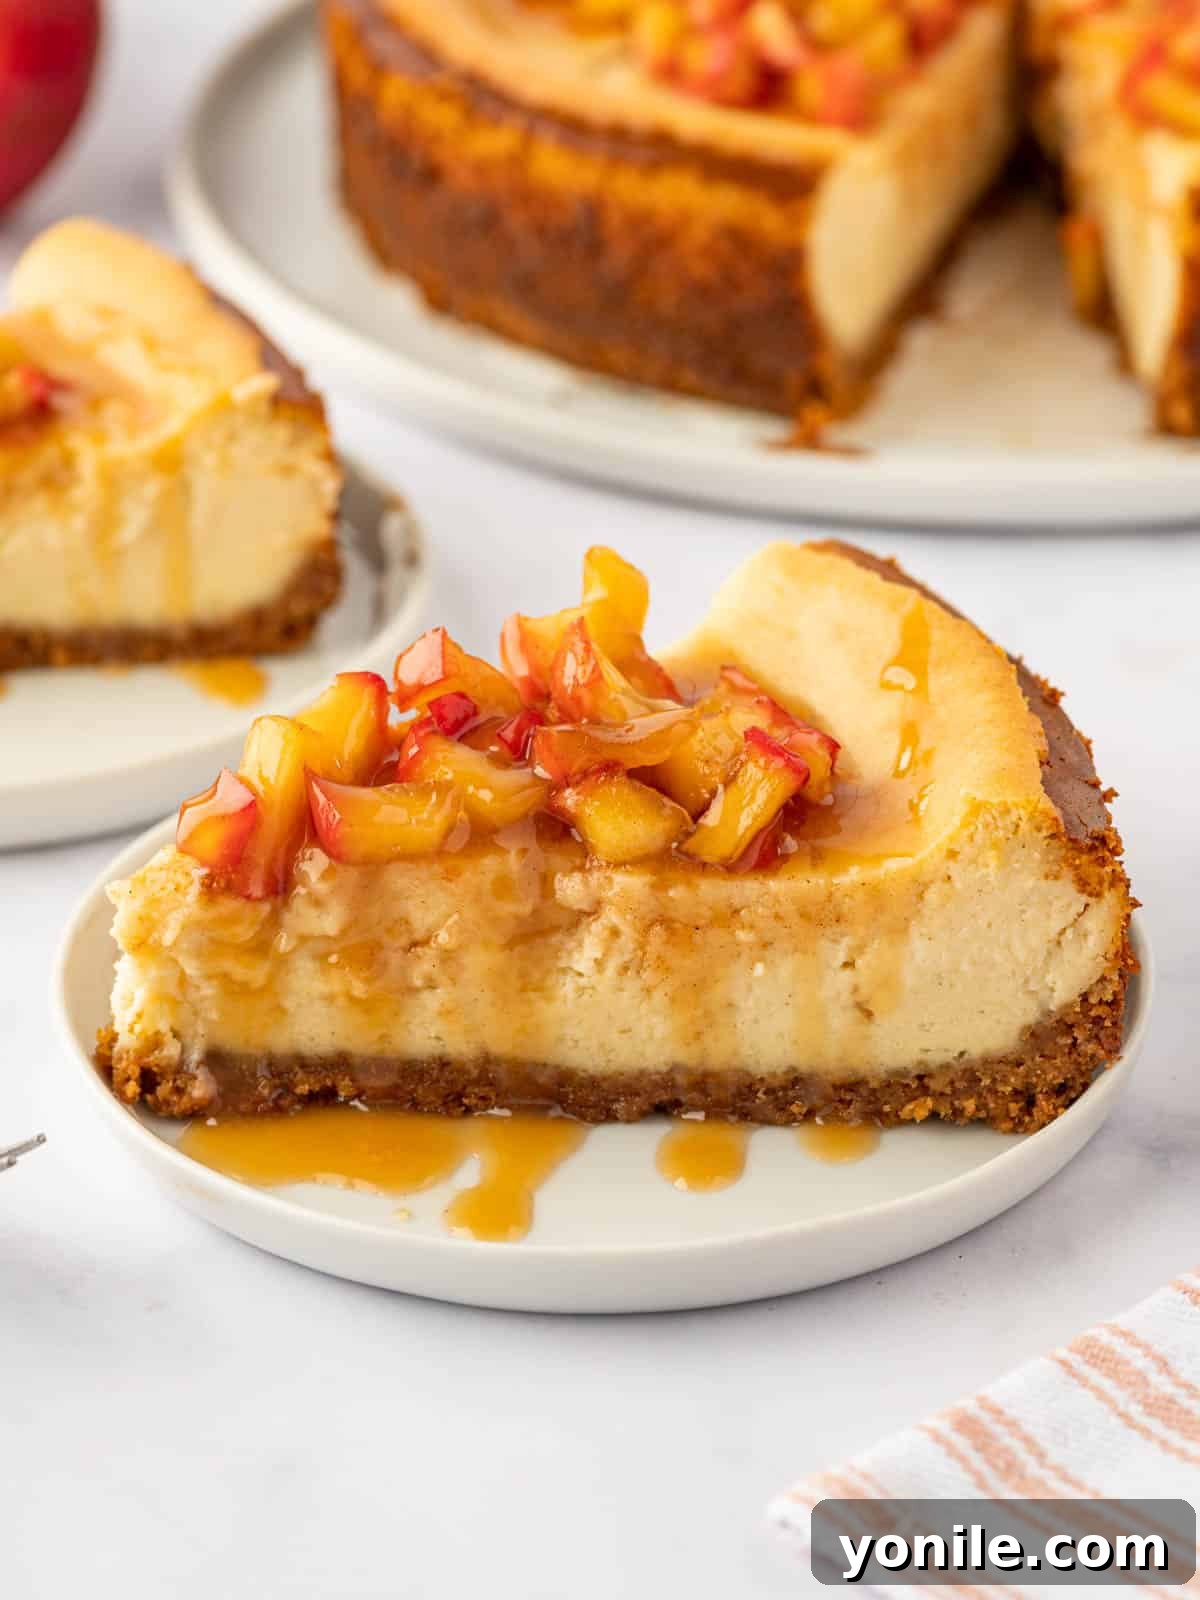
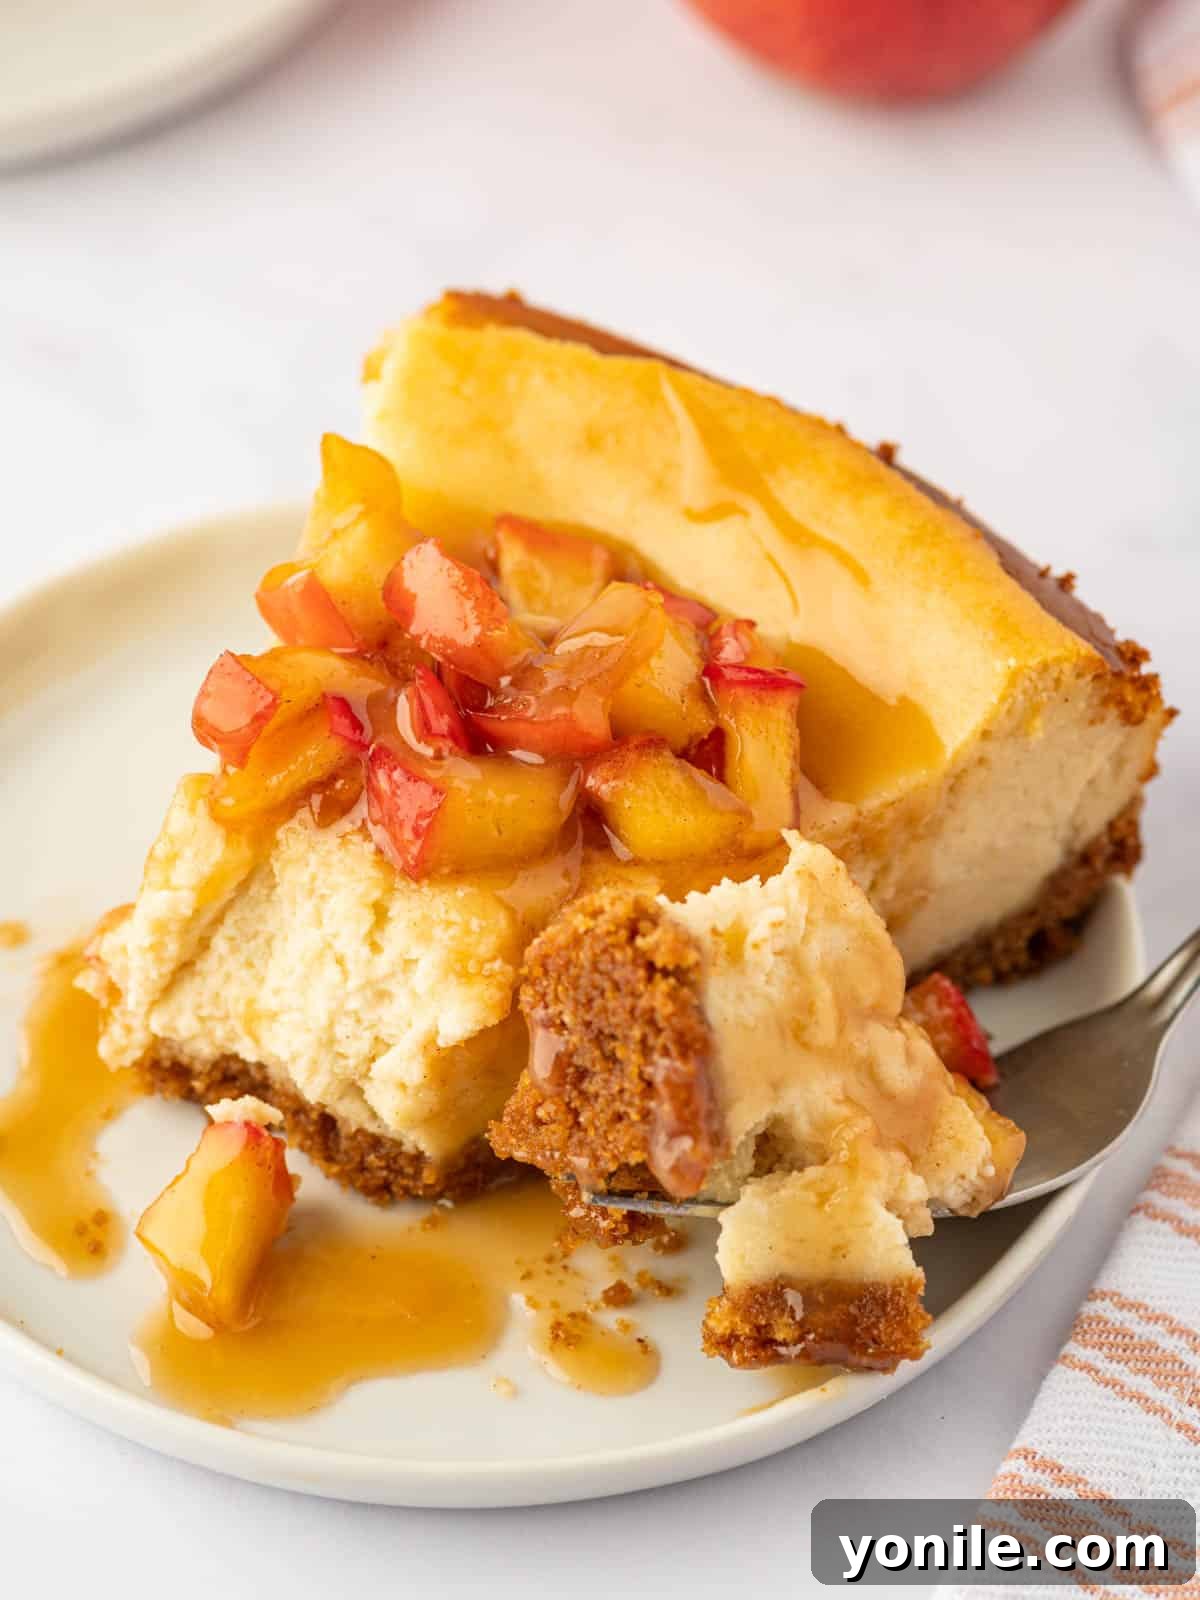
Delight in the quintessential flavors of autumn with this incredibly delicious and remarkably easy-to-make Cinnamon Apple Cheesecake. A true celebration of fall, this velvety smooth dessert combines the comforting crispness of freshly cooked cinnamon apples with a perfectly balanced, slightly sweet graham cracker crust. It’s the ultimate seasonal treat, designed to bring warmth, rich aromas, and gourmet bakery-quality taste right into your home kitchen with minimal effort. Whether you’re a seasoned baker or a cheesecake novice, this recipe is crafted for success, promising a show-stopping dessert that’s as simple to prepare as it is impressive to serve. Best of all, it’s a fantastic make-ahead option, giving you more time to savor the moments that matter.
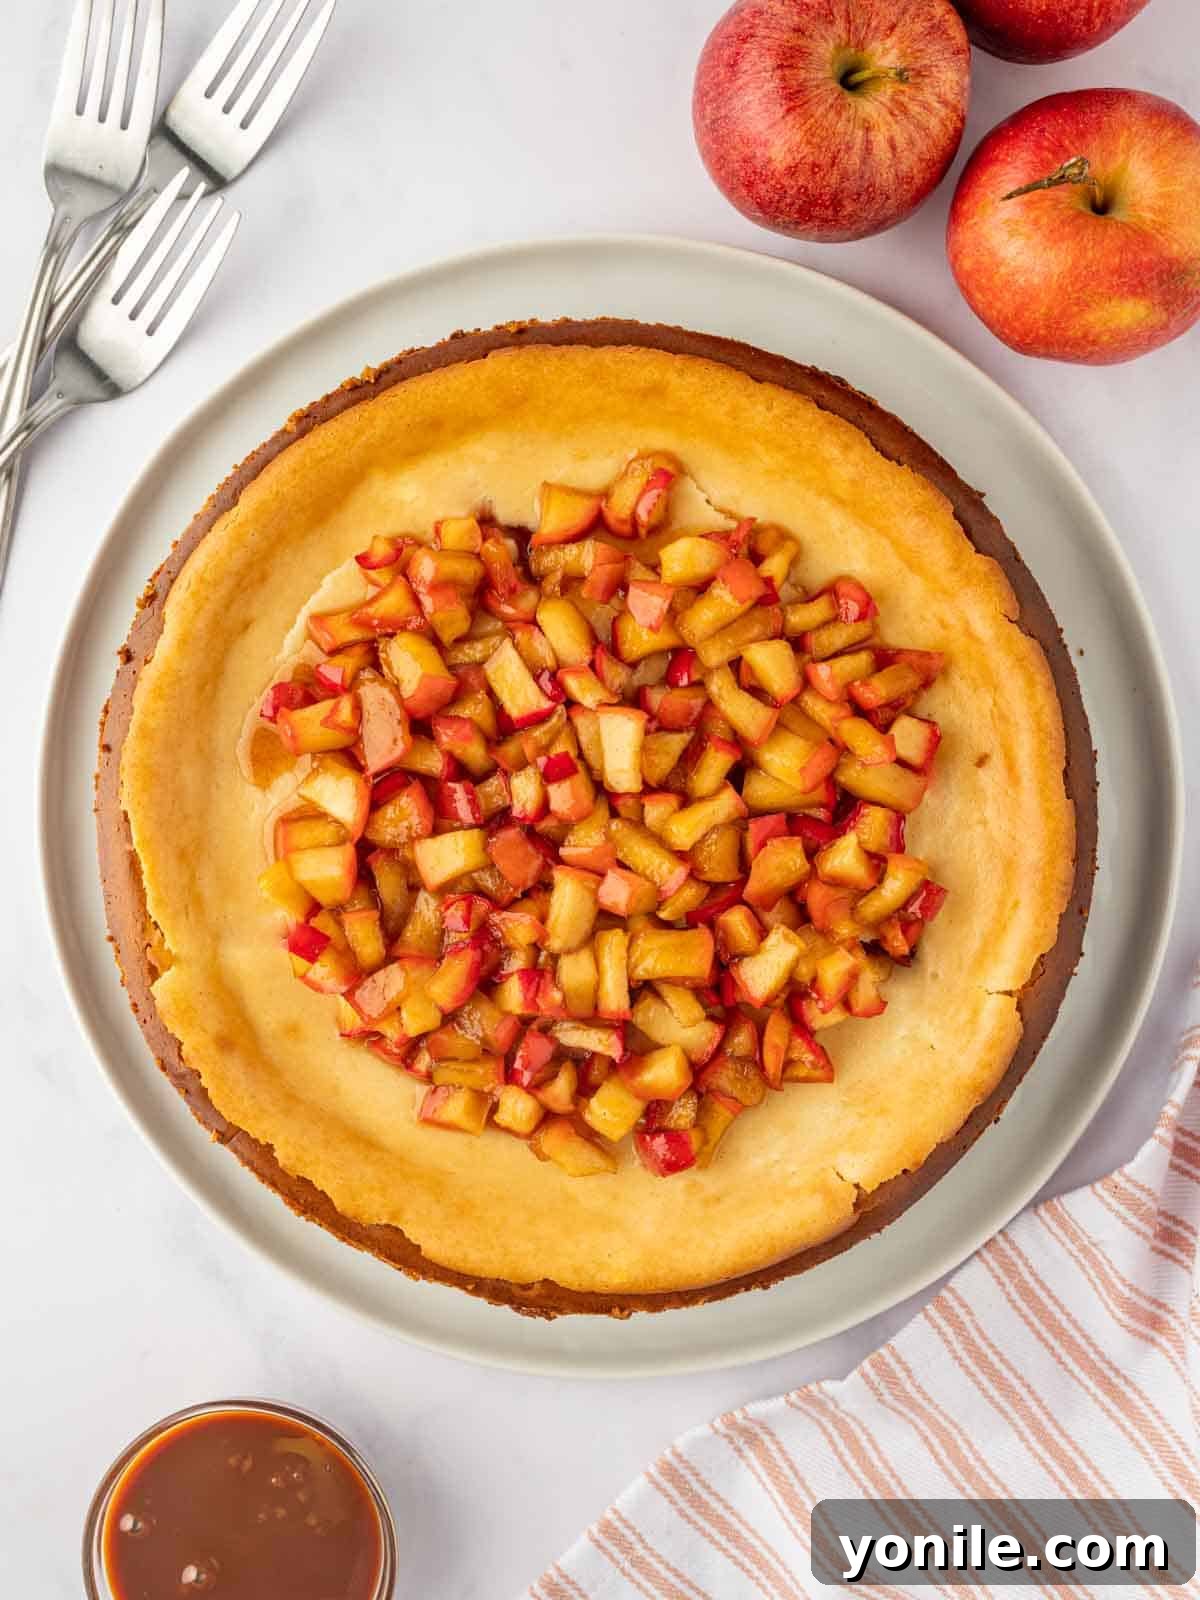
For many, the thought of baking a cheesecake conjures images of complex techniques and hours spent meticulously measuring and mixing. However, this Cinnamon Apple Cheesecake recipe defies those expectations by offering a surprisingly straightforward approach without compromising on flavor or elegance. With approximately just 20 minutes of active preparation, you can achieve a decadent dessert that rivals any professional bakery creation. This recipe strips away the fuss, allowing you to focus on the pure joy of baking and the delightful reward of a homemade masterpiece.
If your heart beats for the creamy indulgence of cheesecake, you might also enjoy exploring other delightful variations. Consider trying my Mini Key Lime Cheesecake for a zesty, tropical twist or the charming Mini Strawberry Cheesecakes for a burst of berry sweetness.
Why You’ll Adore This Cinnamon Apple Cheesecake
This Cinnamon Apple Cheesecake isn’t just another dessert; it’s an experience, a symphony of flavors and textures that captures the essence of autumn. Here’s why this recipe will quickly become a cherished favorite:
- Effortlessly Simple to Create: Forget the intimidation often associated with cheesecakes! This recipe is crafted to be exceptionally easy, making it accessible for bakers of all skill levels. Despite its sophisticated appearance and gourmet taste, the steps are straightforward and designed for success. You’ll be amazed at how quickly you can assemble such a stunning dessert, leaving you with more time to enjoy the fruits of your labor (literally!). It’s the perfect introduction to homemade cheesecake, proving that elegance doesn’t always require complexity.
- Conveniently Make-Ahead: Planning a dinner party or a holiday gathering can be hectic. This apple cinnamon cheesecake offers the ultimate convenience as it can be prepared entirely in advance. Baking it the day before, or even two days prior, allows ample time for it to chill and set perfectly, enhancing its flavor and texture. This feature means you can tick off one major item from your party prep list, freeing you up to focus on other important details or simply relax and enjoy the anticipation of your event.
- An Irresistible Autumnal Aroma: As this cheesecake bakes, your entire home will be enveloped in the most comforting and nostalgic scent. The warm, sweet notes of cinnamon mingle beautifully with the fragrant apples, creating an inviting atmosphere that truly embodies the spirit of fall. This delightful aroma alone is enough to make anyone eager for a slice, promising a sensory experience that’s as rewarding as the taste itself. It’s more than just a dessert; it’s an invitation to embrace the cozy joys of the season.
Essential Ingredients for Your Perfect Cheesecake
Crafting this luscious Cinnamon Apple Cheesecake requires a selection of fresh, high-quality ingredients. Each component plays a vital role in achieving the exquisite balance of flavor and texture that defines this dessert. Here’s a detailed look at what you’ll need:
For the Golden Graham Cracker Crust
- Graham Cracker Crumbs: These form the sweet, buttery foundation of your cheesecake. Ensure they are finely crushed to create a compact and stable crust. You can achieve this using a food processor or by placing crackers in a sealed bag and crushing them with a rolling pin. The fine texture helps the crust bind together seamlessly.
- Unsalted Butter (Melted): Melted butter is crucial for binding the graham cracker crumbs, sugar, and cinnamon together. It imparts a rich, decadent flavor and helps the crust crisp up beautifully during baking. Using unsalted butter allows you to control the overall saltiness of the dessert.
- Granulated Sugar: A small amount of sugar is added to the crust to enhance its sweetness, complementing the slight tang of the cheesecake filling and the spiced apple topping. It helps to caramelize the crust slightly as it bakes, adding another layer of flavor.
- Ground Cinnamon: A touch of ground cinnamon in the crust instantly infuses it with warm, autumnal notes, laying the groundwork for the fall-inspired flavors that follow. It perfectly harmonizes with the apples and cinnamon in the topping and filling.
For the Velvety Cheesecake Filling
- Full-Fat Cream Cheese: This is the undeniable star of any cheesecake, responsible for its signature creamy texture and delightful tangy flavor. It is absolutely essential to use full-fat cream cheese, softened to room temperature, to ensure your cheesecake sets properly and achieves that luxurious, smooth consistency. Low-fat alternatives can result in a watery or grainy texture.
- Granulated Sugar: Providing the primary sweetness for the filling, granulated sugar balances the tang of the cream cheese and sour cream. It dissolves beautifully into the mixture, ensuring a smooth and uniformly sweet taste.
- Large Eggs: Eggs serve multiple critical functions: they bind the ingredients together, provide structure to the cheesecake, and contribute significantly to its rich, creamy texture. Adding them one at a time and beating well ensures even incorporation and a smooth batter. Make sure they are at room temperature to prevent curdling and achieve a homogenous mixture.
- Sour Cream: This ingredient is a secret weapon for an extra rich and creamy cheesecake. Sour cream adds a subtle tang that beautifully complements the cream cheese, and its fat content enhances the overall smoothness of the filling. Like cream cheese and eggs, ensure it’s at room temperature for best results.
- All-Purpose Flour: Just a small amount of flour acts as a stabilizer, helping to prevent cracks in the cheesecake’s surface during baking and cooling. It contributes to a silky-smooth texture without making the cheesecake dense.
- Pure Vanilla Extract: A splash of high-quality vanilla extract adds a depth of flavor and a delightful aroma that elevates the entire cheesecake. It enhances the sweetness and rounds out the overall taste profile.
- Fine Salt: A pinch of salt is vital for balancing the sweetness and intensifying all the other flavors in the cheesecake. It prevents the dessert from tasting flat and brings out the best in the cinnamon and apple notes.
For the Irresistible Spiced Apple Topping
- Fresh Apples (Chopped): The heart of the topping! Opt for varieties that hold their shape well when cooked and offer a balance of sweetness and slight tartness. Fuji, Gala, Honeycrisp, or even Braeburn are excellent choices. Chop them into small, uniform pieces for even cooking and a pleasant texture.
- Light Brown Sugar: Brown sugar melts down with the apples to create a rich, caramelized, and deeply sweet topping. Its molasses notes perfectly complement the apples and cinnamon, adding a warm, cozy flavor.
- Fresh Lemon Juice: A squeeze of lemon juice brightens the apple topping, preventing it from becoming overly sweet and adding a refreshing, zesty counterpoint. It also helps to prevent the apples from browning.
- Ground Cinnamon: An additional dose of ground cinnamon in the topping reinforces the autumnal theme and ensures every bite is infused with that signature warm spice.
- Caramel Sauce (Optional, but Highly Recommended): For an extra layer of fall indulgence and a stunning presentation, a drizzle of caramel sauce over the finished cheesecake is absolutely divine. It ties all the flavors together and adds a luxurious touch.
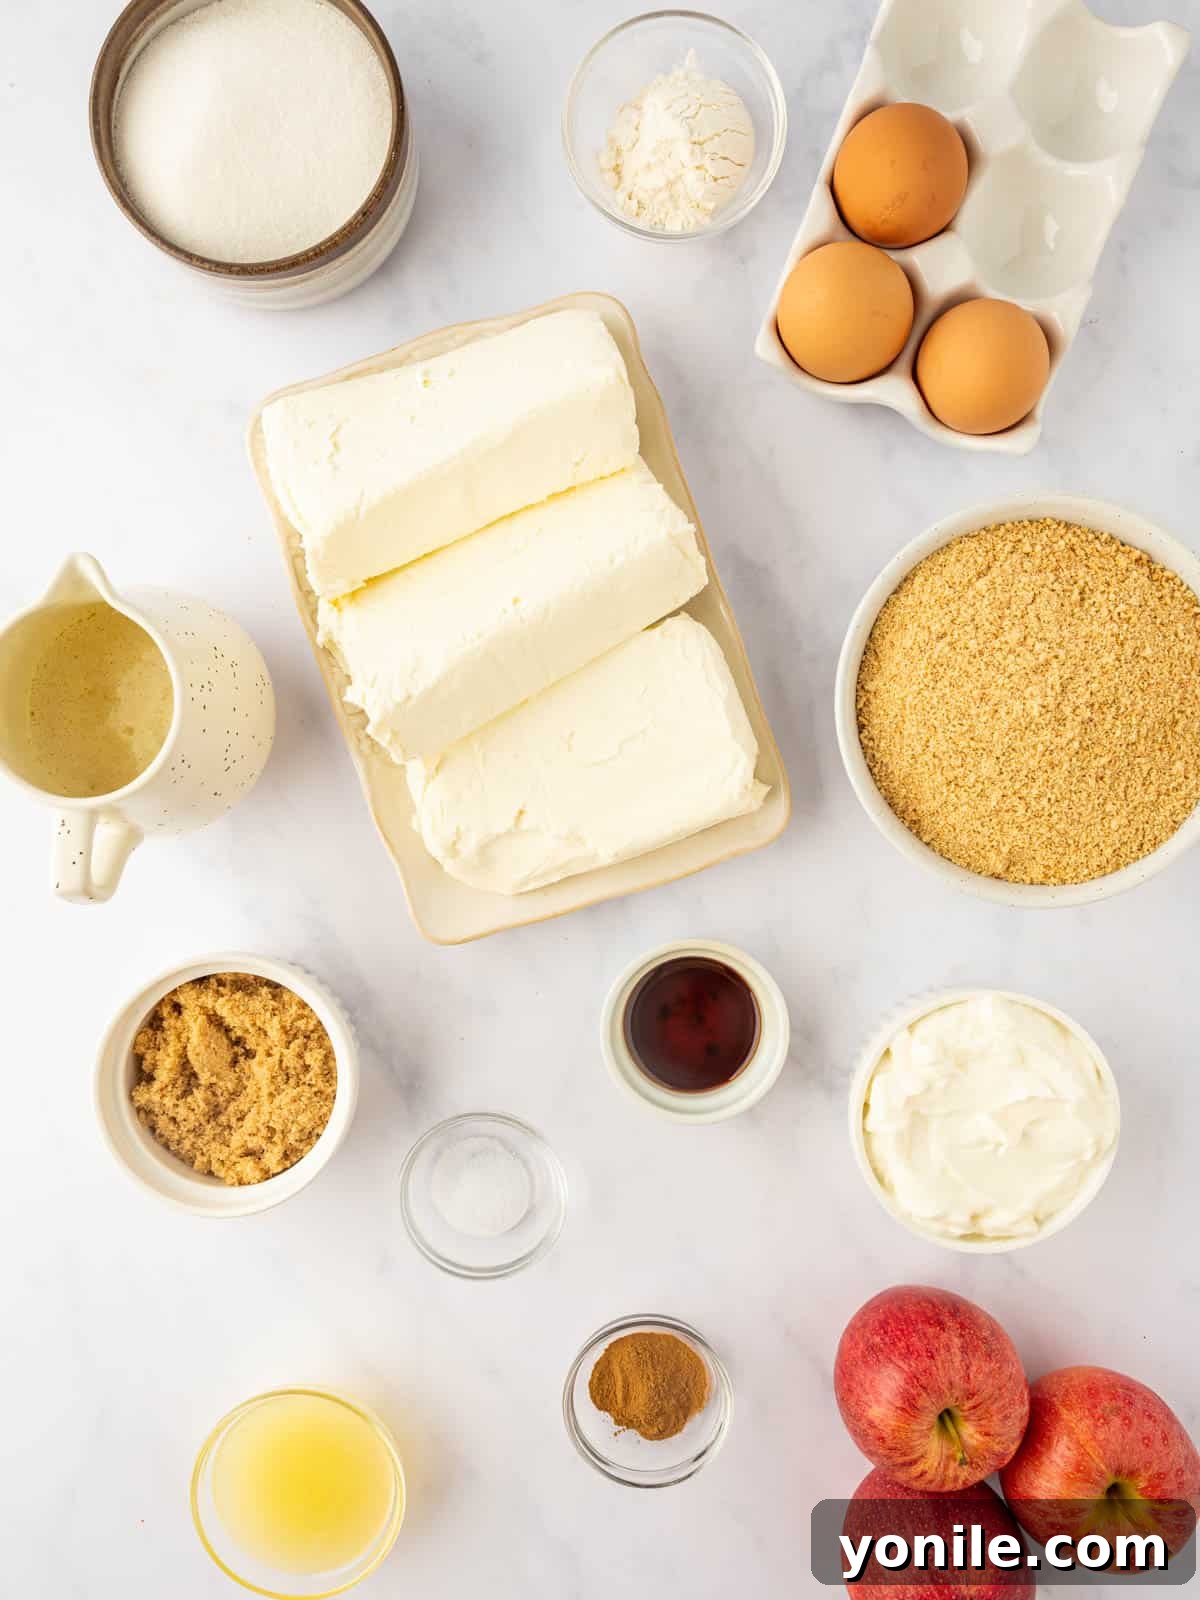
Crafting Your Homemade Cinnamon Apple Cheesecake: A Step-by-Step Guide
Follow these detailed instructions to create a flawless Cinnamon Apple Cheesecake that will impress everyone at your table. Precision and patience are key to achieving that perfect bakery-style result.
Step 1: Prepare Your Equipment and Preheat the Oven. Begin by preheating your oven to 350°F (175°C). This ensures the oven is at the correct temperature when you’re ready to bake, which is crucial for even cooking. Lightly grease a 9-inch springform pan with cooking spray, making sure to cover the bottom and sides thoroughly. This simple step will prevent the cheesecake from sticking and make removal much easier. Set the prepared pan aside, along with your mixing bowls and other necessary tools.
Step 2: Assemble and Bake the Graham Cracker Crust. In a medium-sized bowl, combine the finely crushed graham cracker crumbs, melted unsalted butter, granulated sugar, and ground cinnamon. Use a fork or your fingertips to mix these ingredients thoroughly until the mixture is uniformly moistened and resembles coarse, wet sand. This ensures all crumbs are coated and will bind together. Transfer this crumb mixture into the prepared springform pan. Using the bottom of a flat glass or your clean hands, firmly press the mixture evenly across the bottom of the pan to form a compact crust. Bake this crust in the preheated oven for 8-10 minutes. This pre-baking step helps to set the crust and prevents it from becoming soggy. Once baked, remove the crust from the oven and let it cool completely on a wire rack while you prepare the cheesecake filling.
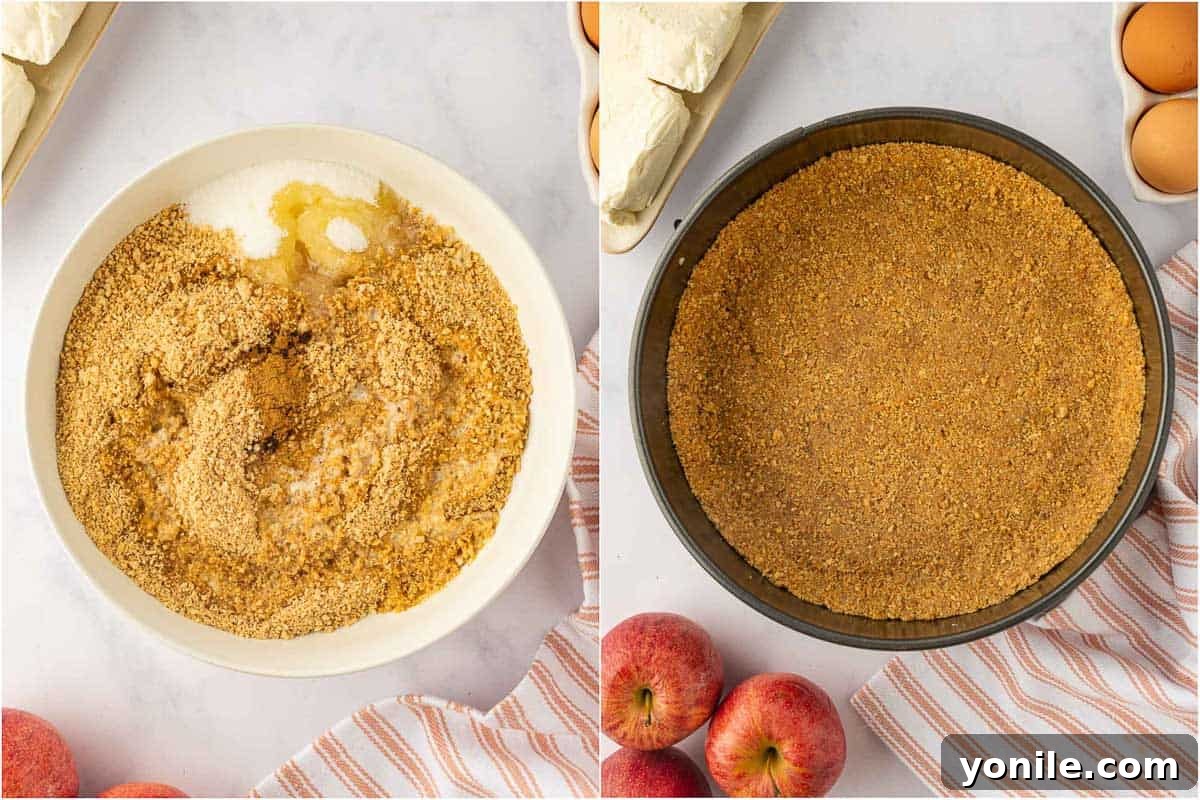
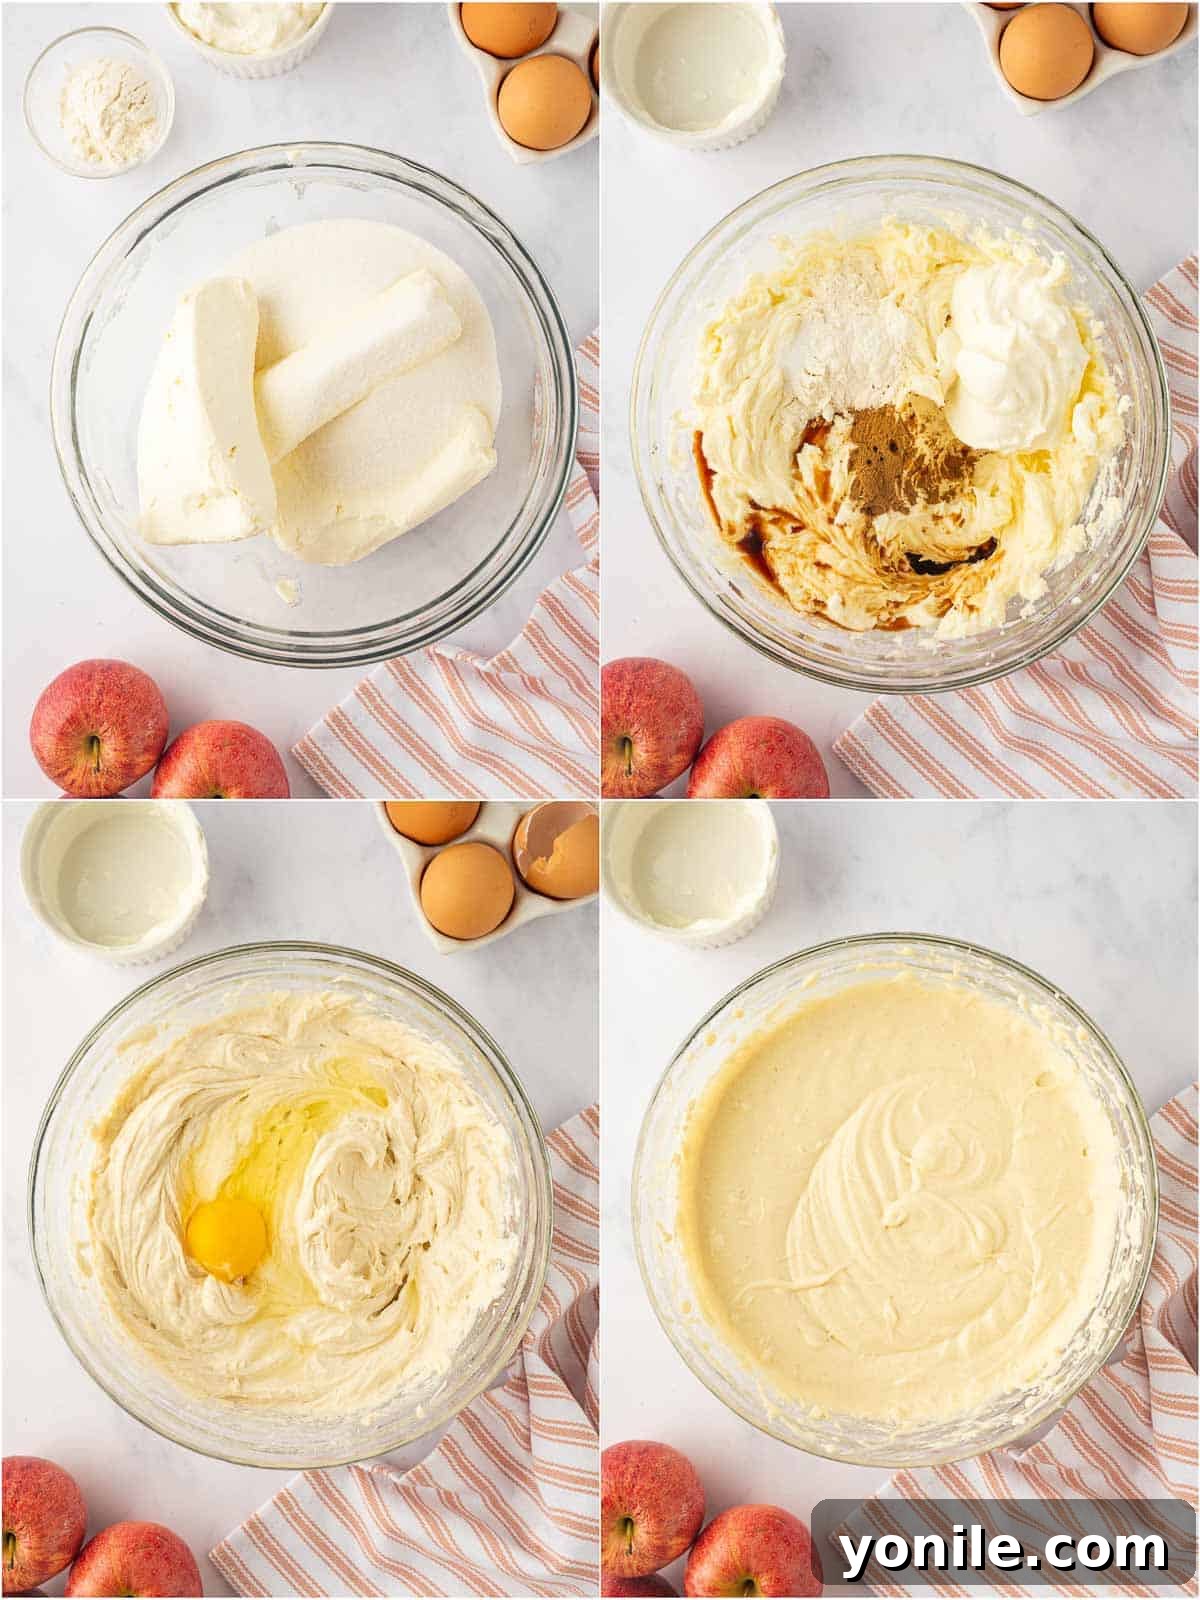
Step 3: Craft the Silky Cheesecake Filling. In a large mixing bowl, using an electric hand mixer (or a stand mixer with the paddle attachment), beat the softened full-fat cream cheese and granulated sugar together on medium speed until the mixture is completely smooth, creamy, and free of any lumps. This can take about 2-3 minutes. Next, add the eggs one at a time, beating well after each addition to fully incorporate them before adding the next. This slow incorporation is key to preventing overmixing and achieving a smooth, crack-free cheesecake. Continue beating for another 4-5 minutes until the mixture is light, fluffy, and perfectly creamy. Finally, add the sour cream, pure vanilla extract, salt, and all-purpose flour to the mixture. Beat on low speed until all ingredients are just combined and the batter is uniform. Be careful not to overmix at this stage. Gently pour the prepared cheesecake filling over the cooled graham cracker crust in the springform pan, smoothing the top with a spatula if needed.
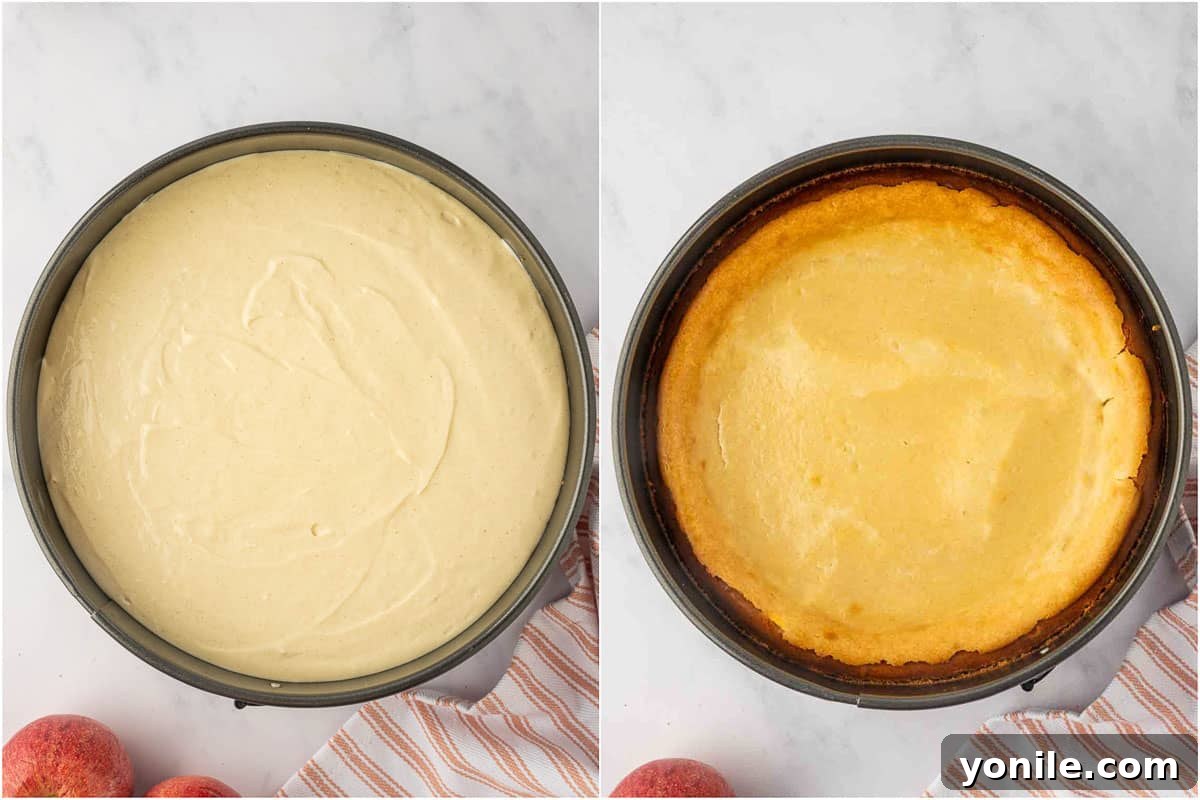
Step 4: Bake to Perfection and Chill Thoroughly. Carefully transfer the springform pan with the cheesecake filling to your preheated oven. Bake for approximately 55-60 minutes at 350°F (175°C). The cheesecake is done when the edges are set and lightly golden, but the very center (about a 2-inch circle) still has a slight jiggle when the pan is gently shaken. Avoid overbaking, as this is a common cause of cracks. Once baked, turn off the oven, crack the oven door slightly, and allow the cheesecake to cool gradually inside the oven for about one hour. This gradual cooling prevents sudden temperature changes that can cause cracks. After this, remove it from the oven and let it cool completely at room temperature for about 3-4 hours. Finally, cover the cheesecake loosely with plastic wrap and transfer it to the refrigerator to chill overnight (ideally 8-12 hours). This crucial chilling period allows the cheesecake to fully set and develop its rich, dense texture and deep flavors.
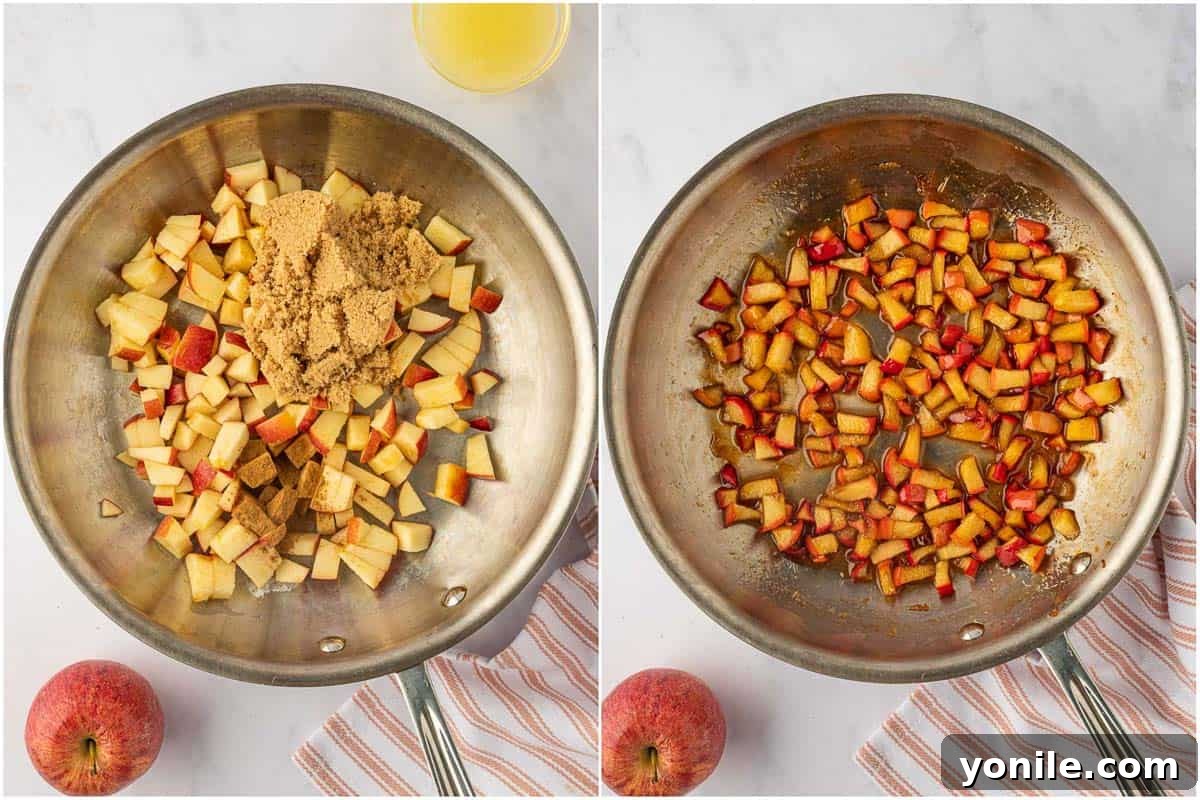
Step 5: Prepare and Apply the Delicious Apple Topping. While your cheesecake is cooling and chilling, you can prepare the aromatic apple topping. In a medium saucepan, combine the chopped fresh apples, light brown sugar, fresh lemon juice, and ground cinnamon. Stir well to coat the apples. Place the saucepan over medium heat and bring the mixture to a gentle boil. Reduce the heat to low and simmer, stirring occasionally, for about 7-8 minutes, or until the apples are tender but still hold their shape. Remove from heat and allow the apple topping to cool completely to room temperature. Once the cheesecake has fully chilled and is firm, carefully spread the cooled apple topping evenly over the entire surface of the cheesecake. This final layer adds a beautiful aesthetic and a burst of fresh, spiced apple flavor.
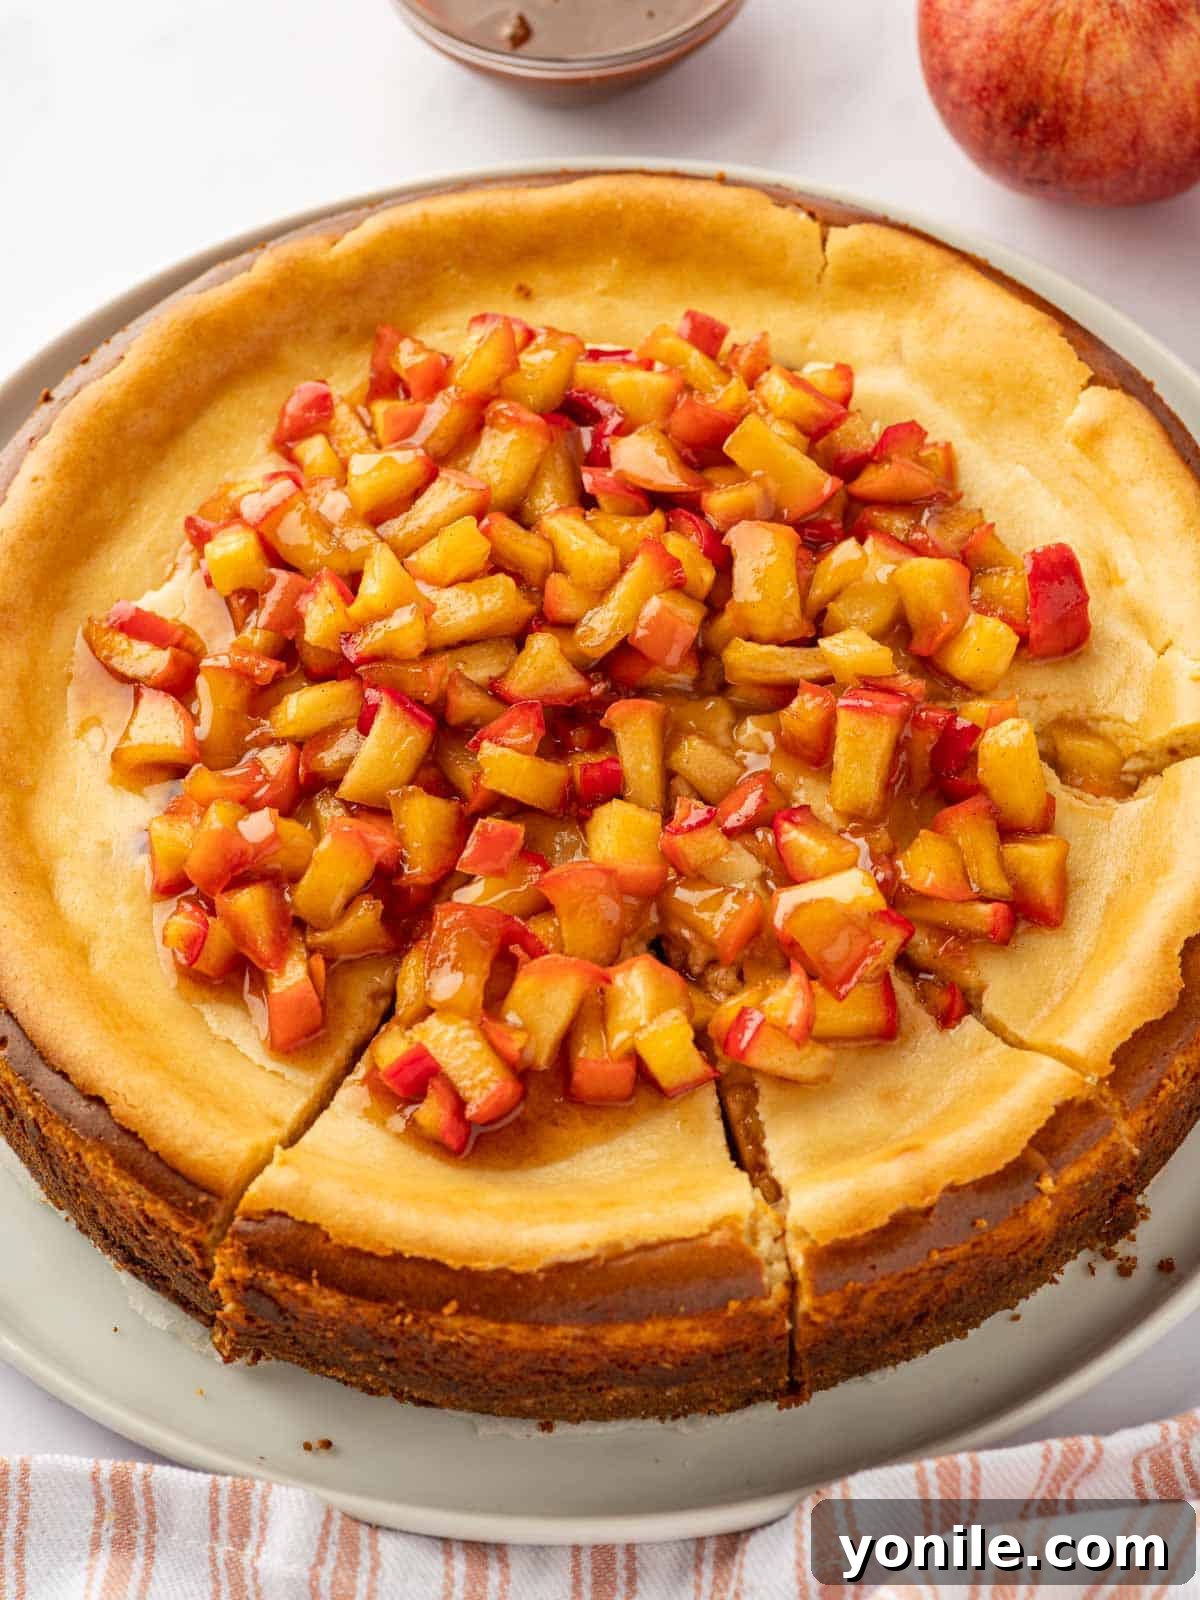
Step 6: Slice, Drizzle, and Savor! Once the apple topping is spread, your Cinnamon Apple Cheesecake is ready for its grand debut. Carefully remove the sides of the springform pan. For the cleanest slices, use a sharp knife warmed under hot water and wiped dry between each cut. Serve generous slices of this magnificent cheesecake chilled. For an extra touch of decadence and an even deeper autumnal flavor, optionally drizzle a generous amount of caramel sauce over each slice just before serving. Enjoy every heavenly bite!
Expert Tips for a Flawless Cinnamon Apple Cheesecake
Achieving a perfect cheesecake can be simple with a few insider tricks. These tips will help ensure your Cinnamon Apple Cheesecake turns out beautifully smooth, creamy, and crack-free every time.
- Embrace Room Temperature Ingredients: This is arguably the most crucial tip for a smooth cheesecake. Ensure your cream cheese, eggs, and sour cream are all brought to full room temperature before you begin mixing. Cold ingredients do not emulsify properly, leading to lumps in the batter and an uneven texture. Planning ahead to take them out of the fridge at least 1-2 hours before baking will make a significant difference.
- Resist the Urge to Overmix: While you want a smooth batter, overmixing introduces too much air, which expands during baking and then collapses during cooling, often resulting in unsightly cracks on the cheesecake’s surface. Mix the cream cheese and sugar until just smooth, and incorporate eggs one at a time until just combined. Stop mixing as soon as the flour and sour cream are incorporated.
- The Essential Springform Pan: A good quality 9-inch springform pan is indispensable for cheesecakes. Lining the bottom with a circle of parchment paper (and even greasing the sides) makes it incredibly easy to release the cheesecake without any sticking or damage. While other dishes might technically work, a springform pan is highly recommended for its ease of use and professional finish.
- Master the “Slightly Jiggly” Test: Knowing when your cheesecake is perfectly baked is key to its creamy texture and preventing cracks. The edges should appear set and slightly puffed, but the very center (about a 2-inch circle) should still have a slight “jiggle” when you gently nudge the pan. It will continue to cook and firm up as it cools, so trust the jiggle! Overbaking leads to a dry, dense, and cracked cheesecake.
- Cool Down Gradually: Sudden temperature changes are a cheesecake’s worst enemy, as they cause rapid contraction and cracking. After baking, turn off the oven, prop the door ajar, and allow the cheesecake to cool inside the oven for at least an hour. Then, remove it and let it cool completely at room temperature before chilling. This slow, gradual cooling process is vital for preventing cracks and maintaining a smooth top.
- The Power of the Chill: While it’s tempting to dive right in, proper chilling is non-negotiable for the best cheesecake experience. Refrigerate your cheesecake for a minimum of 4-6 hours, but ideally overnight. This allows the cheesecake to fully set, firm up, and allows the flavors to meld and deepen. A well-chilled cheesecake slices cleanly and tastes infinitely better.
- Consider a Water Bath for Ultimate Smoothness: For an extra layer of crack prevention and an incredibly creamy, moist texture, consider baking your cheesecake in a water bath. Wrap the bottom and sides of your springform pan tightly with heavy-duty aluminum foil (multiple layers are best to prevent leaks). Place the wrapped pan in a larger roasting pan, then carefully pour hot water into the larger pan until it comes about halfway up the sides of the springform pan. The steam from the water bath creates a humid baking environment, preventing the top from drying out and cracking, and ensuring a slow, even bake.
Storage Solutions and Creative Topping Ideas
Ensuring your delicious Cinnamon Apple Cheesecake stays fresh and offers options for future enjoyment is key. Proper storage will maintain its exquisite taste and texture, while additional topping ideas can elevate it for various occasions.
Storage: Any leftover cheesecake should be stored promptly in the refrigerator within an airtight container. This prevents it from absorbing odors from other foods and keeps it fresh. When properly stored, your cheesecake will retain its delightful qualities for up to 5 days. However, for the absolute best flavor and texture, it’s recommended to enjoy it within the first 3 days.
Freezing: This cheesecake is an excellent candidate for freezing, making it perfect for meal prep or enjoying a single slice later. For optimal results, freeze the cheesecake without the apple topping. Once the cheesecake is completely chilled and firm, remove it from the springform pan. Wrap individual slices or the whole cheesecake (if untopped) tightly in several layers of plastic wrap, followed by a layer of heavy-duty aluminum foil. Place the well-wrapped portions in an airtight freezer-safe container or a heavy-duty freezer bag for additional protection against freezer burn. It can be frozen for up to 2-3 months. When you’re ready to enjoy, thaw it in the refrigerator overnight. Prepare a fresh batch of apple topping just before serving for the best experience.
Creative Topping Suggestions: While the spiced apple topping is a classic delight, don’t hesitate to get creative! Elevate your cheesecake with a sprinkle of toasted candied pecans or caramelized walnuts for added crunch and nutty flavor. A dollop of freshly whipped cream or a generous scoop of vanilla bean ice cream can provide a delightful contrast in temperature and texture. For chocolate lovers, a delicate scattering of chocolate shavings or a drizzle of rich chocolate ganache can add an unexpected layer of indulgence. Experiment with a homemade butterscotch sauce or even a sprinkle of sea salt flakes over your caramel drizzle to enhance the complexity of flavors.
Frequently Asked Questions About Cinnamon Apple Cheesecake
Baking a cheesecake can sometimes raise questions, especially for those new to the process. Here are answers to some common inquiries to help you master this delicious Cinnamon Apple Cheesecake.
For the most decadent and structurally sound cheesecake, it is highly recommended to use full-fat cream cheese and sour cream. The fat content is crucial for achieving that characteristic creamy texture and ensuring the cheesecake sets properly without becoming watery or overly soft. If you absolutely must use lower-fat alternatives, consider using full-fat for one dairy component (e.g., cream cheese) and low-fat for the other (e.g., sour cream) to maintain some richness. As a substitute for sour cream, full-fat Greek yogurt can be used, but be aware that it might alter the subtle tang and overall texture slightly, potentially making the cheesecake a bit firmer.
The key to a perfectly baked cheesecake is to look for set edges with a slight jiggle in the center. The outer 1-2 inches of the cheesecake should appear firm and lightly golden, while the very center, approximately a 2-inch diameter, should still wobble gently when the pan is carefully shaken. This “jiggle” indicates that the center is not overbaked and will continue to set as it cools, resulting in a wonderfully creamy texture. If there’s no jiggle at all, it’s likely overbaked, which can lead to a dry texture and cracks.
Preventing cracks is a common concern for cheesecake bakers, but several techniques can help. Firstly, ensure all your dairy ingredients and eggs are at room temperature. Secondly, avoid overmixing the batter, especially after adding the eggs, as excess air can cause cracks. One highly effective method is using a water bath (bain-marie). To do this, wrap the bottom and sides of your springform pan tightly with several layers of heavy-duty aluminum foil to create a waterproof barrier. Place the wrapped pan inside a larger roasting pan, then carefully pour hot water into the larger pan, ensuring it comes about halfway up the sides of the springform pan. The steam from the water bath creates a moist, even baking environment, which minimizes cracking and promotes a silky texture. Alternatively, baking at a lower temperature (e.g., around 325°F or 160°C) for a longer duration can also help prevent cracks by ensuring a more gentle and even bake. Lastly, allowing the cheesecake to cool gradually in the turned-off oven with the door ajar, and then slowly at room temperature, prevents sudden temperature shocks that cause contraction and cracking.
If graham crackers are not available or if you prefer an alternative, digestive biscuits make an excellent substitute for the cheesecake crust. They offer a similar slightly sweet, crumbly texture that binds well with butter. Other good options include vanilla wafers, shortbread cookies, or even gingersnap cookies if you want to add an extra layer of spice that complements the apple and cinnamon flavors. Ensure any substitute biscuits are finely crushed to achieve a uniform crust.
For the apple topping, I generally recommend using apple varieties that are on the sweeter side and also hold their shape well when cooked, rather than turning mushy. My top suggestions include Gala, Honeycrisp, and Fuji apples. These varieties offer a beautiful balance of sweetness and a hint of tartness, along with a firm texture that becomes tender without disintegrating during the simmering process. Braeburn or Pink Lady apples are also good choices if you prefer a slightly crisper texture in your topping.
To prevent sticking, always grease your springform pan thoroughly with cooking spray or butter, especially the sides. For an extra layer of security, cut a circle of parchment paper to fit the bottom of the pan and place it in before adding the crust. This combination of greasing and parchment paper will ensure your cheesecake slides out effortlessly, leaving behind a perfectly intact crust and a clean presentation.
Explore More Decadent Cheesecake Recipes
If you’ve fallen in love with the rich, creamy goodness of this Cinnamon Apple Cheesecake, you’re in for a treat! The world of cheesecakes is vast and varied, offering endless opportunities to explore new flavors and textures. For those who appreciate this classic dessert, consider expanding your baking repertoire with some of these equally delightful cheesecake creations from my kitchen:
- Irresistible Lotus Biscoff Cheesecake
- Classic Pecan Pie Cheesecake Recipe
- Charming Mini Pumpkin Cheesecakes
- Convenient Pumpkin Pie Cheesecake Bars
- Elegant Crème Brûlée Cheesecake Bars
The Cinnamon Apple Cheesecake truly embodies the spirit of the season, making it a perfect centerpiece for your fall and winter celebrations. Its delightful blend of spiced apples and creamy cheesecake creates an unforgettable experience, guaranteed to impress friends and family. Whether gracing your holiday feast table or providing a cozy treat for a quiet evening at home, this dessert is a testament to the simple pleasures of homemade baking. Indulge in its velvety texture and aromatic flavors, and let it bring a touch of seasonal magic into your life.
If you bake this incredible recipe and find yourself enchanted by its flavors, I would be thrilled to hear from you! Please consider leaving a star rating and a thoughtful comment below to share your experience. Your feedback is invaluable and helps others discover this delightful dessert. Don’t forget to use my hashtag when sharing your delicious creations on Instagram so I can see and celebrate your culinary successes! For more inspiring recipes and updates, make sure to follow Cookin’ With Mima on FACEBOOK, INSTAGRAM, and PINTEREST.
Cinnamon Apple Cheesecake Recipe
By: Mariam Ezzeddine
Cinnamon Apple Cheesecake is an incredibly delicious and unbelievably easy-to-whip-up celebration of fall. This velvety cheesecake pairs slightly sweet graham crackers with freshly cooked apples and cinnamon to bring autumn flavors bursting into your kitchen. It’s a wonderful make-ahead dessert, perfect for any occasion.

Prep Time: 20 minutes
Cook Time: 1 hour
Chilling Time: 4 hours (minimum, ideally overnight)
Total Time: Approximately 5 hours 20 minutes (plus overnight chilling)
Servings: 12 Servings
Equipment
- 1 (9 x 3 inch) Springform Pan
- Large Mixing Bowls
- Electric Hand Mixer (or Stand Mixer)
- Saucepan
- Wire Rack
Ingredients
For the Crust
- 2 ½ cups graham cracker crumbs
- 6 tablespoons unsalted butter, melted
- 2 tablespoons granulated sugar
- 1 teaspoon ground cinnamon
For the Cheesecake Filling
- 3 (8-ounce) blocks full-fat cream cheese, softened to room temperature
- 1 cup granulated sugar
- 3 large eggs, at room temperature
- ½ cup sour cream, at room temperature
- 2 tablespoons all-purpose flour
- 2 teaspoons ground cinnamon
- 1 teaspoon pure vanilla extract
- ½ teaspoon salt
For the Spiced Apple Topping
- 1 ½ cups chopped apples (Fuji, Gala, or Honeycrisp recommended)
- ½ cup light brown sugar
- 1 tablespoon fresh lemon juice
- 1 teaspoon ground cinnamon
- Caramel sauce, for optional serving drizzle
Instructions
- Preheat your oven to 350°F (175°C). Lightly grease a 9-inch springform pan with cooking spray, ensuring both the bottom and sides are thoroughly coated. Set the prepared pan aside.
- In a medium bowl, combine the finely crushed graham cracker crumbs, melted unsalted butter, granulated sugar, and ground cinnamon. Mix thoroughly with a fork until the mixture is uniformly moistened and resembles coarse, wet sand.
- Transfer the crumb mixture to the prepared springform pan and press it firmly and evenly into the bottom to form a compact crust. Bake the crust for 8-10 minutes at 350°F (175°C). Once baked, remove from oven and allow the crust to cool completely on a wire rack while you prepare the filling.
- In a large mixing bowl, using an electric hand mixer (or a stand mixer with the paddle attachment), beat the softened full-fat cream cheese and granulated sugar together on medium speed until the mixture is completely smooth, creamy, and free of any lumps (approximately 2-3 minutes).
- Add the eggs one at a time to the cheesecake mixture, beating well after each addition to fully incorporate them before adding the next. Continue beating for another 4-5 minutes until the mixture is light, fluffy, and perfectly creamy.
- Stir in the sour cream, pure vanilla extract, salt, ground cinnamon, and all-purpose flour. Beat on low speed until all ingredients are just well combined and the batter is uniform. Be careful not to overmix at this stage.
- Gently pour the prepared cheesecake filling over the cooled graham cracker crust in the springform pan, smoothing the top with a spatula if needed.
- Carefully transfer the springform pan with the cheesecake filling to your preheated oven. Bake for approximately 55-60 minutes at 350°F (175°C), or until the edges are set and the center (about a 2-inch circle) still has a slight jiggle when gently shaken.
- Once baked, turn off the oven, crack the oven door slightly, and allow the cheesecake to cool gradually inside the oven for about 1 hour. Then, remove it and let it cool completely at room temperature for another 3-4 hours. After cooling, cover the cheesecake loosely with plastic wrap and transfer it to the refrigerator to chill overnight (8-12 hours is ideal) to allow it to fully set and for flavors to meld.
- While the cheesecake is cooling, prepare the apple topping. In a medium saucepan, combine chopped fresh apples, light brown sugar, fresh lemon juice, and ground cinnamon. Stir well to coat the apples.
- Place the saucepan over medium heat and bring the mixture to a gentle boil. Reduce the heat to low and simmer, stirring occasionally, for about 7-8 minutes, or until the apples are tender but still hold their shape. Remove from heat and allow the apple topping to cool completely to room temperature.
- Once the cheesecake has fully chilled and set, carefully spread the cooled apple topping evenly over the entire surface of the cheesecake.
- Remove the springform pan sides. Slice the cheesecake using a sharp knife (warmed under hot water and wiped clean between cuts for best results) and serve it chilled. Optionally, drizzle caramel sauce generously over each slice just before serving for an extra touch of flavor and elegance. Enjoy!
Notes
- Room Temperature Ingredients: Always ensure cream cheese, eggs, and sour cream are at room temperature to prevent lumps and achieve a smoother, more homogenous batter.
- Avoid Overmixing: Overmixing introduces too much air, which can expand during baking and then collapse during cooling, leading to unsightly cracks in the cheesecake’s surface. Mix until just combined.
- Gradual Cooling: To prevent sudden temperature changes that cause contraction and cracking, cool the cheesecake gradually. Start in the turned-off oven with the door ajar, then move to room temperature, and finally to the refrigerator.
- Essential Chilling: For the best texture, flavor, and clean slices, chilling the cheesecake for at least 4 hours, and ideally overnight, is crucial.
- Storage: Store any leftover cheesecake in an airtight container in the refrigerator for up to 5 days. For peak freshness, consume within the first 3 days.
- Freezing: You can freeze this cheesecake (preferably without the apple topping) by wrapping individual slices or the whole cheesecake tightly in several layers of plastic wrap and then foil. Place in an airtight freezer-safe container for up to 2-3 months. Thaw in the refrigerator overnight and prepare a fresh batch of topping when ready to serve.
Nutrition Information (per serving)
- Calories: 267 kcal
- Carbohydrates: 45g
- Protein: 2g
- Fat: 10g
- Saturated Fat: 5g
- Polyunsaturated Fat: 0.4g
- Monounsaturated Fat: 3g
- Trans Fat: 0.2g
- Cholesterol: 22mg
- Sodium: 220mg
- Potassium: 81mg
- Fiber: 1g
- Sugar: 34g
- Vitamin A: 250 IU
- Vitamin C: 1mg
- Calcium: 41mg
- Iron: 1mg