
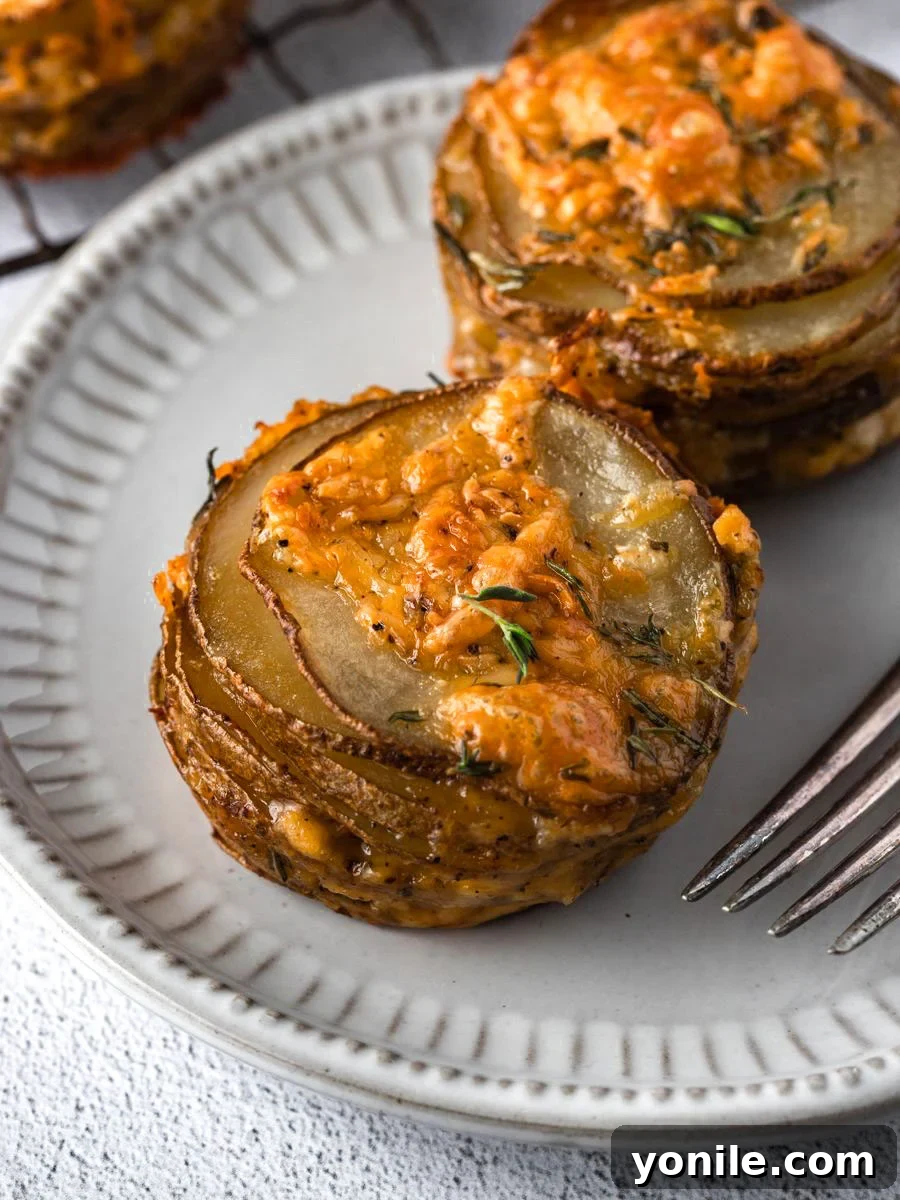
Irresistible Cheesy Muffin-Tin Potato Stacks: Crispy Perfection for Any Meal
Get ready to discover your new favorite potato dish! These Cheesy Muffin-Tin Potato Stacks are a revelation – boasting a tantalizingly crispy exterior and a wonderfully fluffy, cheesy interior. Effortlessly elegant yet surprisingly simple to create, these individual potato gratins are perfect for elevating any meal, from a hearty breakfast to a sophisticated dinner party. Forget the fuss of traditional potato bakes; our stacked potatoes come together with minimal effort, making them a fantastic recipe for home cooks of all skill levels, and even a fun activity for the kids!
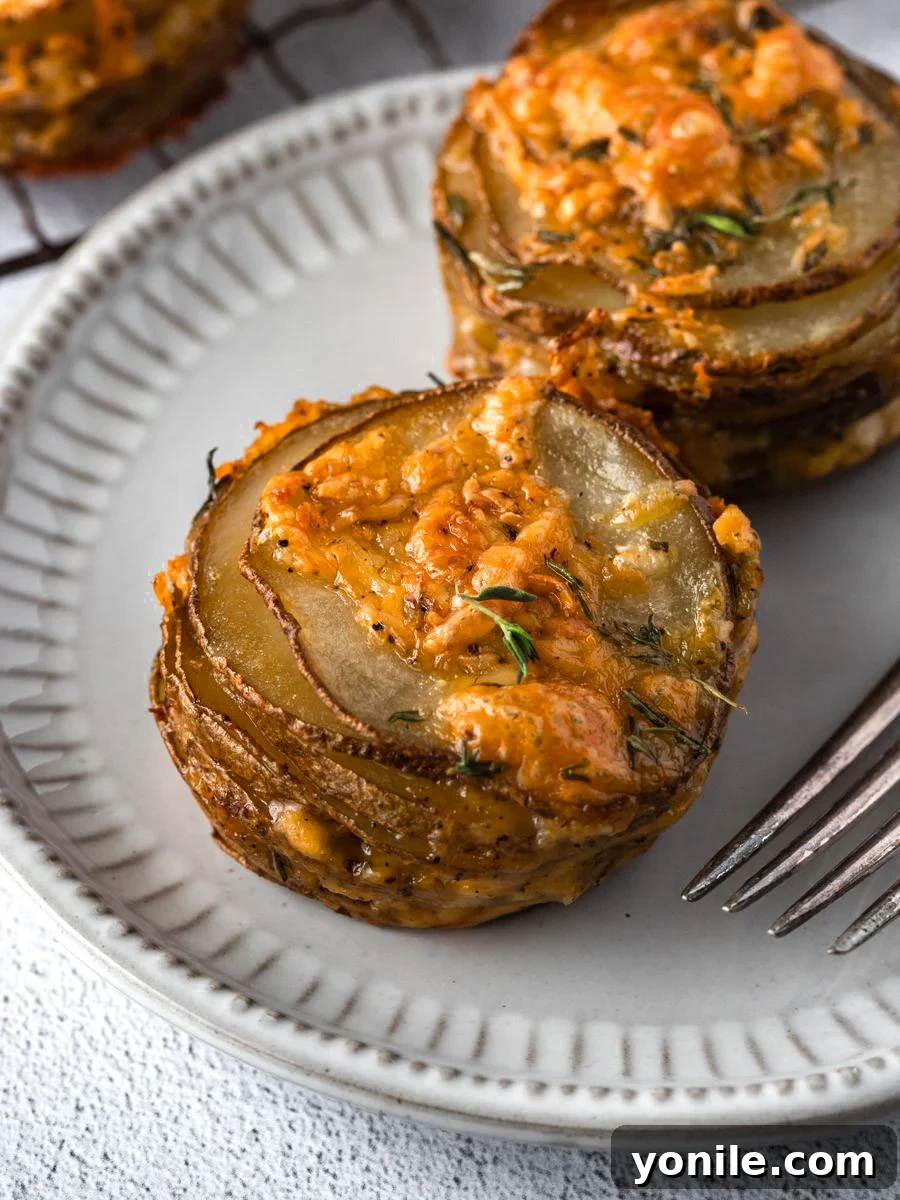
This recipe puts a delightful, creative spin on classic potato dishes. The individual portions made possible by the muffin tin not only look impressive but also ensure consistent crispiness and even cooking. Plus, the hands-on process of layering the potato slices and cheese mixture is an excellent way to get younger family members involved in the kitchen, turning meal prep into a fun, interactive experience.
If you’re a potato aficionado like us, you’ll be thrilled to explore more of our beloved potato creations. Some current favorites that consistently receive rave reviews include our Crispy Baked Potato Skins, perfect for game day or a casual appetizer; our aromatic Herb and Parmesan Oven Roasted Potatoes, a staple side dish; and for those who love a kick, our authentic Lebanese Spicy Potatoes (Batata Harra). Each offers a unique flavor profile, but these Cheesy Potato Stacks might just steal the show!
Why You’ll Fall in Love with These Crispy Potato Stacks
- Unmatched Versatility: These potato stacks are culinary chameleons! Serve them as an elegant side for a sophisticated dinner, a fun and easy finger food for your next party spread, or even a savory component of a special brunch. Their impressive presentation makes them suitable for any occasion, proving that delicious food can also be beautifully plated.
- Effortlessly Simple Preparation: Don’t let their gourmet appearance intimidate you. This recipe is incredibly straightforward, requiring only a handful of common ingredients and basic kitchen skills. The process is so simple that it’s ideal for budding chefs and a fantastic way to introduce children to the joys of cooking through the fun task of stacking.
- Bursting with Flavor: The minimal ingredient list belies the incredible depth of flavor packed into each stack. The combination of earthy potatoes, rich butter, savory cheese, and fragrant fresh herbs creates a symphony of tastes and textures that will leave everyone craving more. These aren’t just potatoes; they’re a flavor experience you won’t soon forget.
- Crispy Edges, Tender Center: The muffin tin baking method is key to achieving that desirable textural contrast. Each stack develops gorgeously browned, crispy edges while remaining wonderfully soft and cheesy on the inside – a perfect bite every time.
Gather Your Ingredients: The Simple Essentials
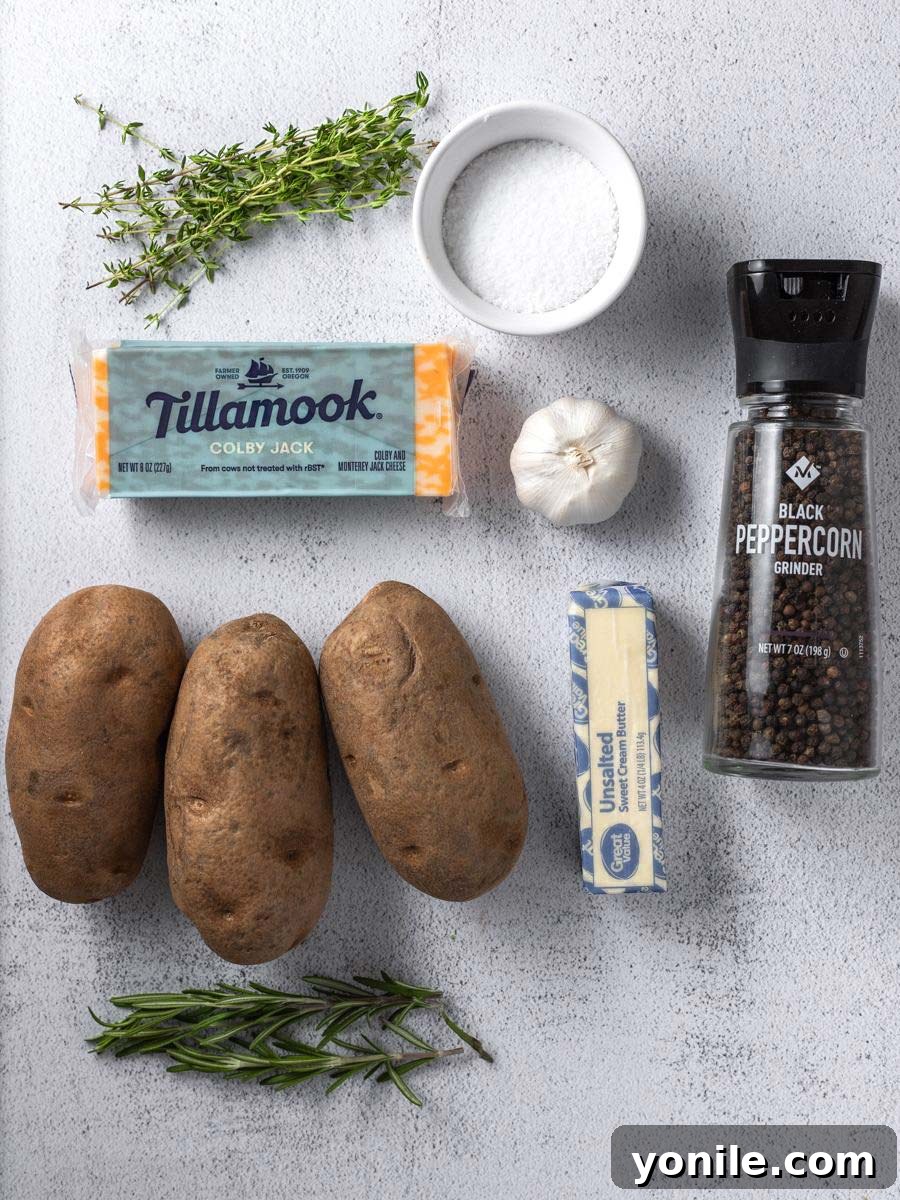
One of the beauties of this recipe is its reliance on readily available ingredients that deliver maximum flavor. Here’s what you’ll need to create these delectable potato stacks:
- Russet Potatoes: The star of the show! Russets are ideal for their high starch content, which helps them crisp up beautifully on the outside while becoming wonderfully fluffy and tender inside. Their larger size is also perfect for creating substantial stacks.
- Butter: Melted butter adds a rich, savory depth and ensures each potato slice is coated for that irresistible golden-brown crispness.
- Colby Jack Cheese: This blend of Colby and Monterey Jack cheeses melts beautifully and offers a mild, creamy, and slightly tangy flavor that perfectly complements the potatoes. Feel free to experiment with other good melting cheeses!
- Seasonings:
- Salt: Essential for enhancing all the other flavors.
- Black Pepper: Adds a subtle warmth and gentle spice.
- Fresh Thyme: Provides a delicate, earthy, and slightly floral aroma that pairs wonderfully with potatoes.
- Fresh Rosemary: Imparts a fragrant, piney, and robust flavor, characteristic of classic savory potato dishes.
- Garlic: Freshly minced garlic delivers an aromatic punch, infusing the stacks with a delightful savory undertone.
Crafting Perfection: How to Make the Best Cheesy Potato Stacks
Follow these simple steps to create magnificent, cheesy potato stacks that will impress everyone at your table:
Step 1: Preheat and Prepare Your Workspace
Preheat your oven to a precise 400°F (200°C). This temperature is crucial for achieving that desirable crispy texture without drying out the potatoes. While the oven preheats, lightly grease a standard 12-cup muffin tin. You can use cooking spray or a thin layer of melted butter to prevent sticking and aid in browning. A well-greased tin is key for easy removal of your finished stacks.
Step 2: Prepare the Potatoes with Butter
In a medium-sized mixing bowl, combine your thinly sliced russet potatoes with the melted butter. Toss gently but thoroughly, ensuring every single potato slice is evenly coated. The butter not only adds flavor but also helps the potatoes crisp up beautifully in the oven. For best results, ensure your potato slices are consistently thin – about 1/8 inch (3mm) thick – for even cooking and stacking.
Step 3: Create Your Flavorful Cheese Mixture
In a separate small bowl, combine the shredded Colby Jack cheese with salt, black pepper, minced garlic, fresh thyme, and fresh rosemary. Mix these ingredients well until everything is evenly distributed. This fragrant cheese mixture is what will bind your potato layers and infuse them with incredible savory flavor.
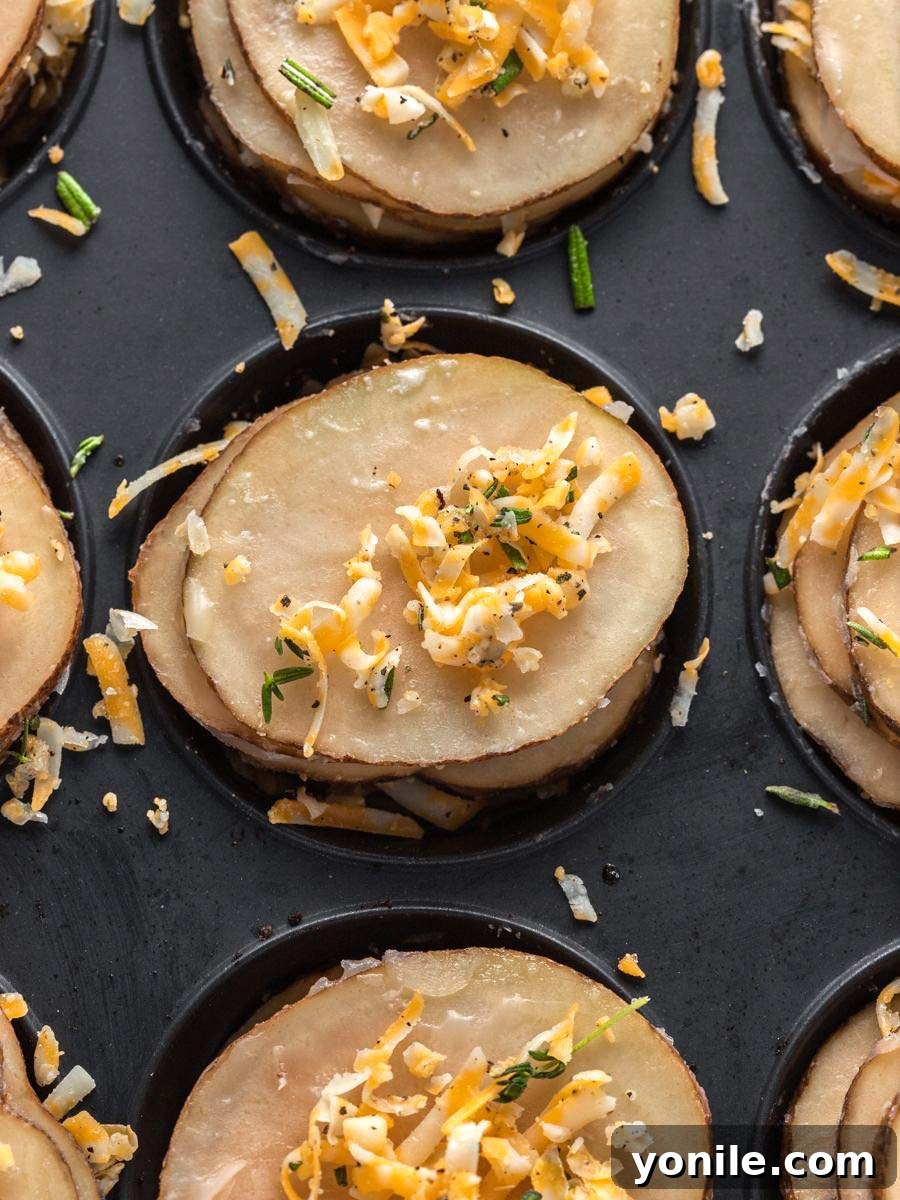
Step 4: Layering the Stacks in the Muffin Tin
Now comes the fun part! Begin layering two slices of the butter-coated potato into each muffin cup. Follow this with approximately ½ teaspoon of your seasoned cheese mixture sprinkled over the potatoes. Continue this layering process – two potato slices, then cheese – until each stack is slightly taller than the rim of the muffin tin. Don’t press them down too hard; a loose stack allows for better air circulation and crisping.
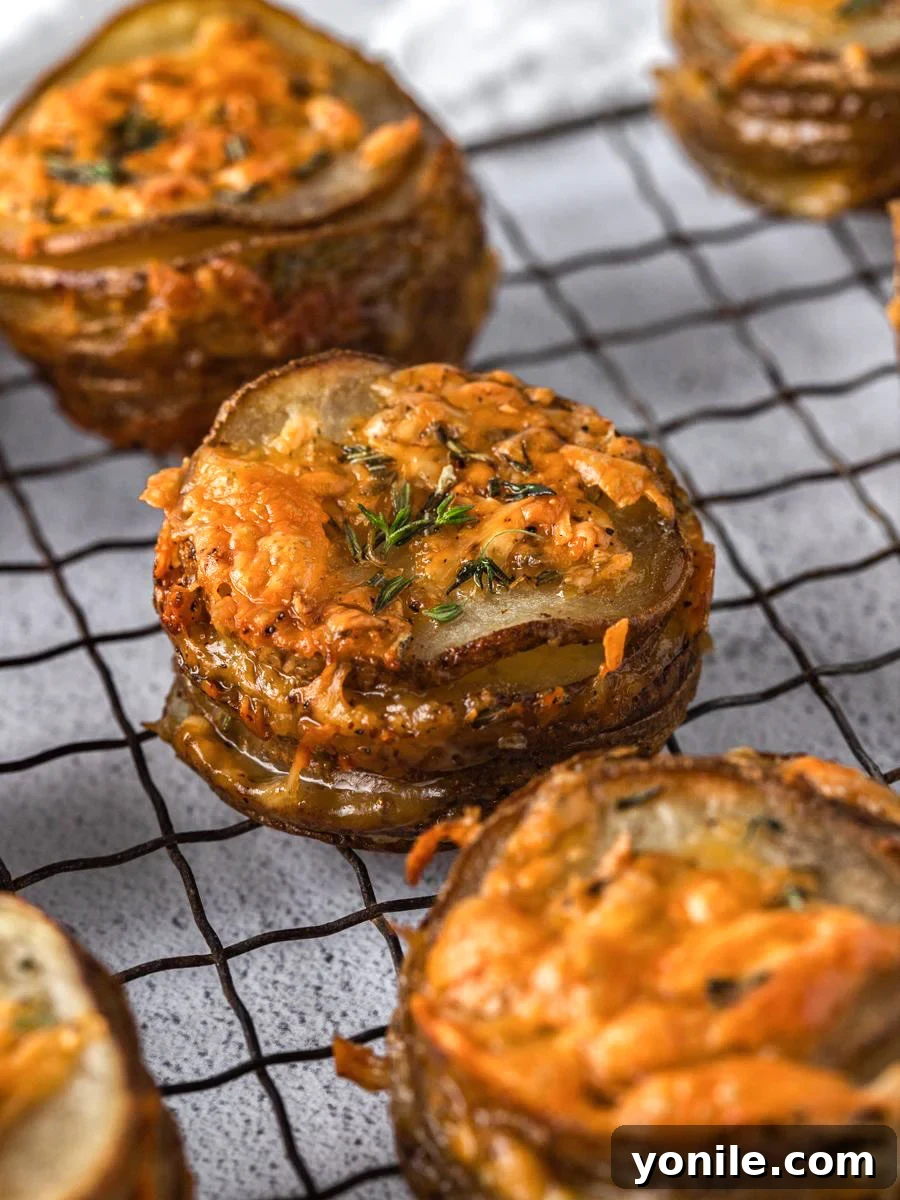
Step 5: Bake to Golden Perfection
Loosely cover the filled muffin tin with aluminum foil. This initial covering helps to steam the potatoes, ensuring they become tender throughout before crisping up. Bake for 15 minutes. After this time, carefully remove the foil and continue baking for another 30-35 minutes, or until the potato stacks are beautifully golden brown on top and around the edges, and the cheese is bubbly and slightly caramelized. The internal temperature should be soft and tender when pierced with a knife.
Step 6: Cool and Serve
Once baked, remove the muffin tin from the oven. Allow the potato stacks to cool slightly in the tin for about 5-10 minutes. This crucial cooling period allows the cheese to set and firm up, making the stacks much easier to remove and helping them maintain their perfect shape. Then, use a small spoon or offset spatula to carefully scoop each stack out of the muffin tin. Garnish with a sprinkle of fresh herbs if desired, and serve immediately!
Pro Tips for Perfectly Crispy & Cheesy Potato Stacks
- Cooling is Key for Structure: Resist the urge to immediately remove the stacks from the muffin tin. Allowing them to cool in the tin for at least 5-10 minutes helps the melted cheese solidify and bind the potato layers together. This ensures your beautiful stacks retain their shape when transferred to a plate, preventing them from falling apart.
- Potato Size Matters: When selecting your Russet potatoes, aim for ones that are roughly the same diameter as your muffin tin cups. This ensures that your sliced potato rounds fit neatly into the cups, creating a cohesive and well-formed stack. If your potatoes are too large, you might need to trim them slightly to fit.
- Achieving Uniform Thin Slices: The consistency of your potato slices directly impacts how evenly they cook and how well they stack. For perfectly thin and uniform slices (around 1/8 inch or 3mm), a mandolin slicer is highly recommended. If using a sharp chef’s knife, take your time and slice carefully to maintain an even thickness.
- Don’t Overcrowd: While it might be tempting to pack extra potatoes into each cup, avoid overfilling. Leaving a little room at the top allows for better heat circulation, which is essential for developing those desirable crispy edges.
- Crispier Results: For an extra crispy top, after removing the foil, you can briefly switch your oven to the broiler setting for the last 1-2 minutes, keeping a very close eye on them to prevent burning.
- Herb Power: Fresh herbs like thyme and rosemary truly elevate the flavor profile. If you don’t have fresh, dried herbs can be substituted (use 1 teaspoon dried for every 1 tablespoon fresh). However, fresh herbs provide a more vibrant and aromatic experience.
Frequently Asked Questions About Cheesy Potato Stacks
For the best results and uniform thickness, a mandolin slicer is highly recommended. It allows you to achieve consistently thin rounds, which are essential for even cooking and stable stacks. If you don’t have a mandolin, a very sharp chef’s knife can be used. Take your time, focus on steady, even strokes, and always exercise caution when slicing.
I typically skip peeling the potatoes for these stacks. The skin not only adds a rustic charm but also contributes to the desired crispy texture. Just be sure to wash and scrub the potatoes thoroughly under running water to remove any dirt or impurities. It’s also important to dry them completely after washing; any excess moisture can lead to steaming rather than crisping in the muffin tin.
Absolutely! While fresh herbs offer the most vibrant flavor, you can certainly substitute dried herbs. A general rule of thumb is to use one-third of the amount of dried herbs compared to fresh. So, for every 1 tablespoon of fresh herbs, use 1 teaspoon of dried herbs. Just be aware that the flavor might be slightly less intense.
I highly recommend and use Russet potatoes for this recipe due to their high starch content, which helps them achieve a beautiful crisp exterior and fluffy interior. If Russets aren’t available, Yukon Gold potatoes are another excellent choice. They have a slightly creamier texture and a rich, buttery flavor that also works very well in this dish.
Colby Jack is fantastic for its mild flavor and excellent melting properties. However, feel free to get creative with other melty cheeses! Shredded cheddar cheese offers a sharper, more pronounced flavor, while Parmesan cheese adds a nutty, salty kick. For an even creamier result, you can add a small dash (about a tablespoon) of heavy cream to the cheese mixture for each tin before layering.
Perfect Pairings: What to Serve with Your Cheesy Potato Stacks
These versatile potato stacks make an incredible side dish for a wide variety of main courses. Here are a few suggestions that perfectly complement their rich, savory flavors:
- Broccoli and Cheese Stuffed Chicken: The creamy chicken contrasts beautifully with the crispy potatoes.
- Cheesy Sundried Tomato Stuffed Chicken: The bright, tangy notes of sundried tomatoes will be a delightful counterpoint to the earthy potatoes.
- Baked Chicken Parmesan: A classic Italian-American dish that finds a perfect companion in these savory potato stacks.
- Grilled Steak or Pork Chops: For a hearty and satisfying meal, the stacks are an ideal accompaniment to any perfectly grilled meat.
- Breakfast Sausage or Bacon: Transform your breakfast or brunch by serving these alongside your favorite morning proteins.
- Roasted Vegetables: For a lighter, vegetarian option, pair them with a medley of roasted seasonal vegetables.
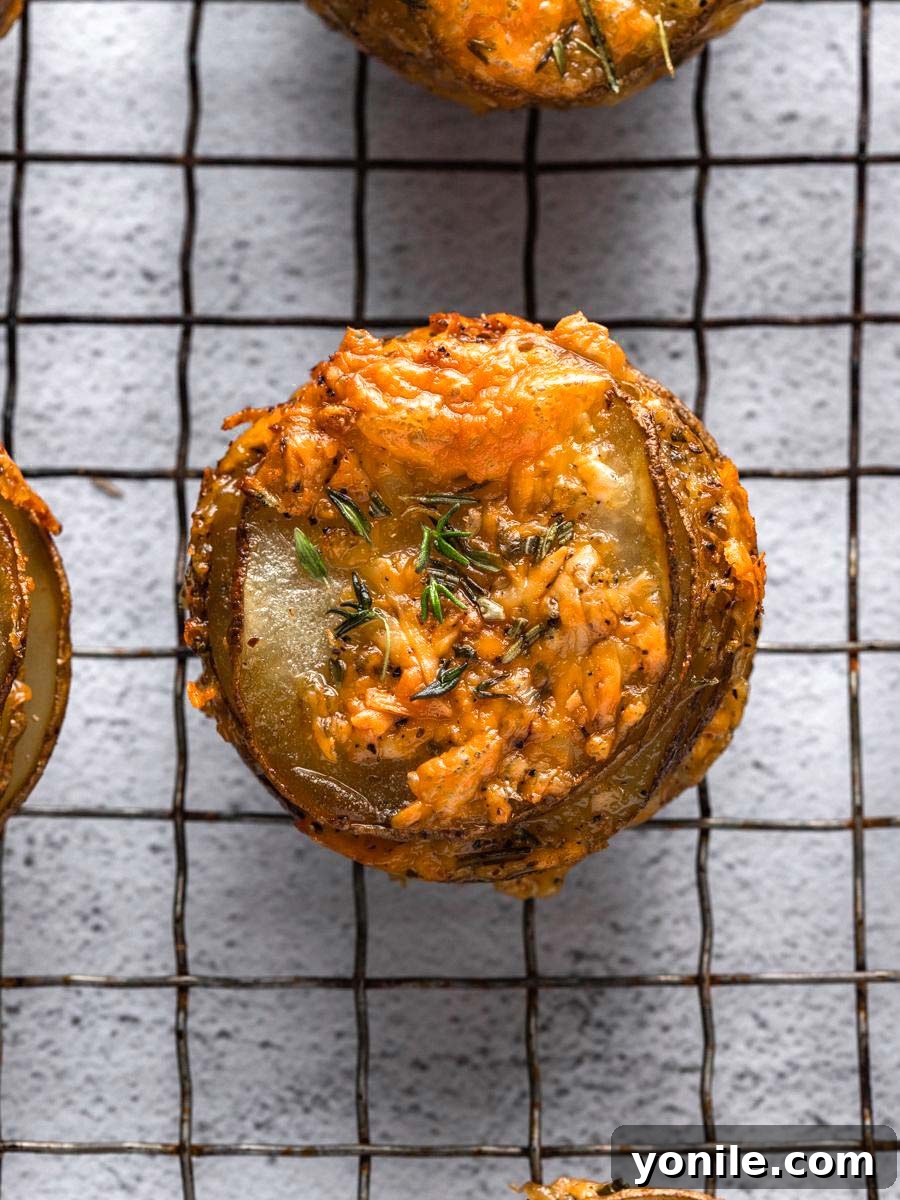
Storage and Reheating
These cheesy potato stacks are best enjoyed fresh from the oven, but leftovers can be stored and reheated. Allow them to cool completely before transferring them to an airtight container. They will keep in the refrigerator for up to 3-4 days. To reheat, place them on a baking sheet and warm in a preheated oven at 350°F (175°C) for about 10-15 minutes, or until heated through and re-crisped. Avoid the microwave, as it will make them soft rather than crispy.
We truly hope you enjoy creating and savoring these delightful Cheesy Muffin-Tin Potato Stacks. This recipe is a testament to how simple ingredients, when combined thoughtfully, can create something truly extraordinary. We encourage you to try it, experience its deliciousness, and share the joy with your friends and family!
If you give this recipe a try and love it as much as we do, please share your creations with us on INSTAGRAM using our hashtag for a chance to be featured in our story! Stay connected and find more delicious inspiration by following Cookin’ With Mima on FACEBOOK | INSTAGRAM | PINTEREST for all our latest posts and recipes.
★★★★★ (5 out of 5 stars based on 1 vote)
Cheesy Stacked Potatoes Recipe
By: Mariam Ezzeddine
These cheesy muffin-tin Potato Stacks are perfect for any occasion! Crispy on the outside, and fluffy on the inside, these stacked potatoes are so easy to make!
Prep Time: 15 minutes
Cook Time: 45 minutes
Total Time: 1 hour
Servings: 9 servings
Ingredients
- 3 large russet potatoes, thinly sliced
- 4 tablespoons butter, melted
- 2 cups Colby Jack cheese (or any other good melting cheese), shredded
- 1 teaspoon salt
- ½ teaspoon black pepper
- 3 cloves garlic, minced
- 1 tablespoon fresh thyme, chopped
- 1 tablespoon fresh rosemary, chopped
Instructions
- Preheat your oven to 400°F (200°C). Lightly grease a standard-sized muffin tin and set aside.
- In a medium bowl, combine the thinly sliced potatoes and melted butter. Toss well to ensure all potato slices are fully coated.
- In a small separate bowl, combine the shredded cheese, salt, pepper, minced garlic, fresh thyme, and fresh rosemary. Mix until well combined.
- Begin layering the potato stacks in the prepared muffin tin. Place two slices of potato into the bottom of each muffin cup, then sprinkle about ½ teaspoon of the cheese mixture over them. Repeat this layering process until each stack is slightly taller than the muffin tin rim.
- Loosely cover the muffin tin with aluminum foil. Bake in the preheated oven for 15 minutes.
- Remove the foil and continue baking for another 30-35 minutes, or until the potatoes are golden brown, tender, and the cheese is bubbly and melted.
- Remove the pan from the oven and allow the potato stacks to cool slightly in the muffin tin for about 5-10 minutes. This helps the cheese set and makes them easier to remove.
- Carefully use a spoon or small spatula to scoop the potatoes out of the tin and serve warm.
Notes
- Letting the potatoes cool in the muffin tin before removing helps them maintain their stacked shape better, as the cheese will be less melty and more stable.
- Ensure your potatoes are not significantly larger than your muffin tin cups to ensure a good fit for slicing and stacking.
- For uniform thin slices, consider using a mandoline slicer.
- If using dried herbs instead of fresh, use 1 teaspoon of dried herbs for every 1 tablespoon of fresh.
Nutrition
Serving: 9 servings | Calories: 219kcal | Carbohydrates: 14g | Protein: 9g | Fat: 15g | Saturated Fat: 9g | Cholesterol: 41mg | Sodium: 484mg | Potassium: 342mg | Fiber: 1g | Sugar: 1g | Vitamin A: 491IU | Vitamin C: 6mg | Calcium: 217mg | Iron: 1mg
Like this recipe? We’d love to hear from you! Please consider rating and leaving a comment below to share your experience.