
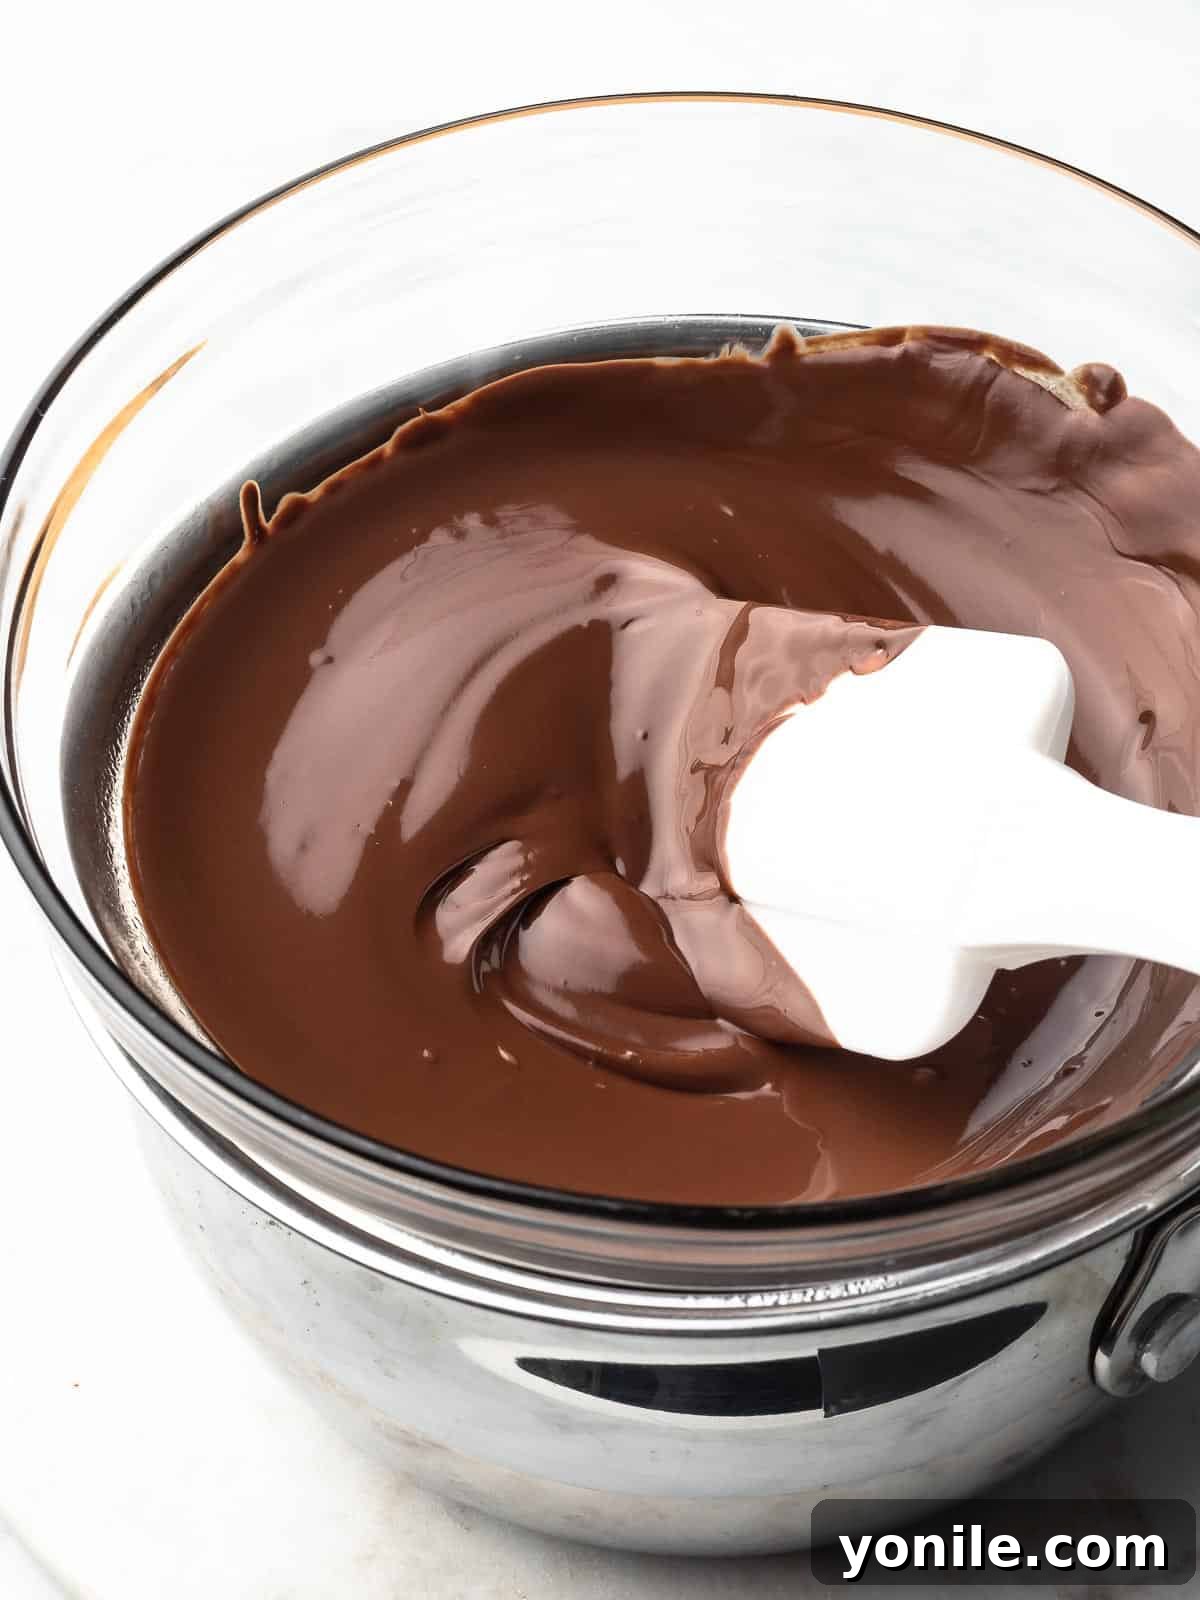
Mastering the Art of Melting Chocolate: A Comprehensive Guide
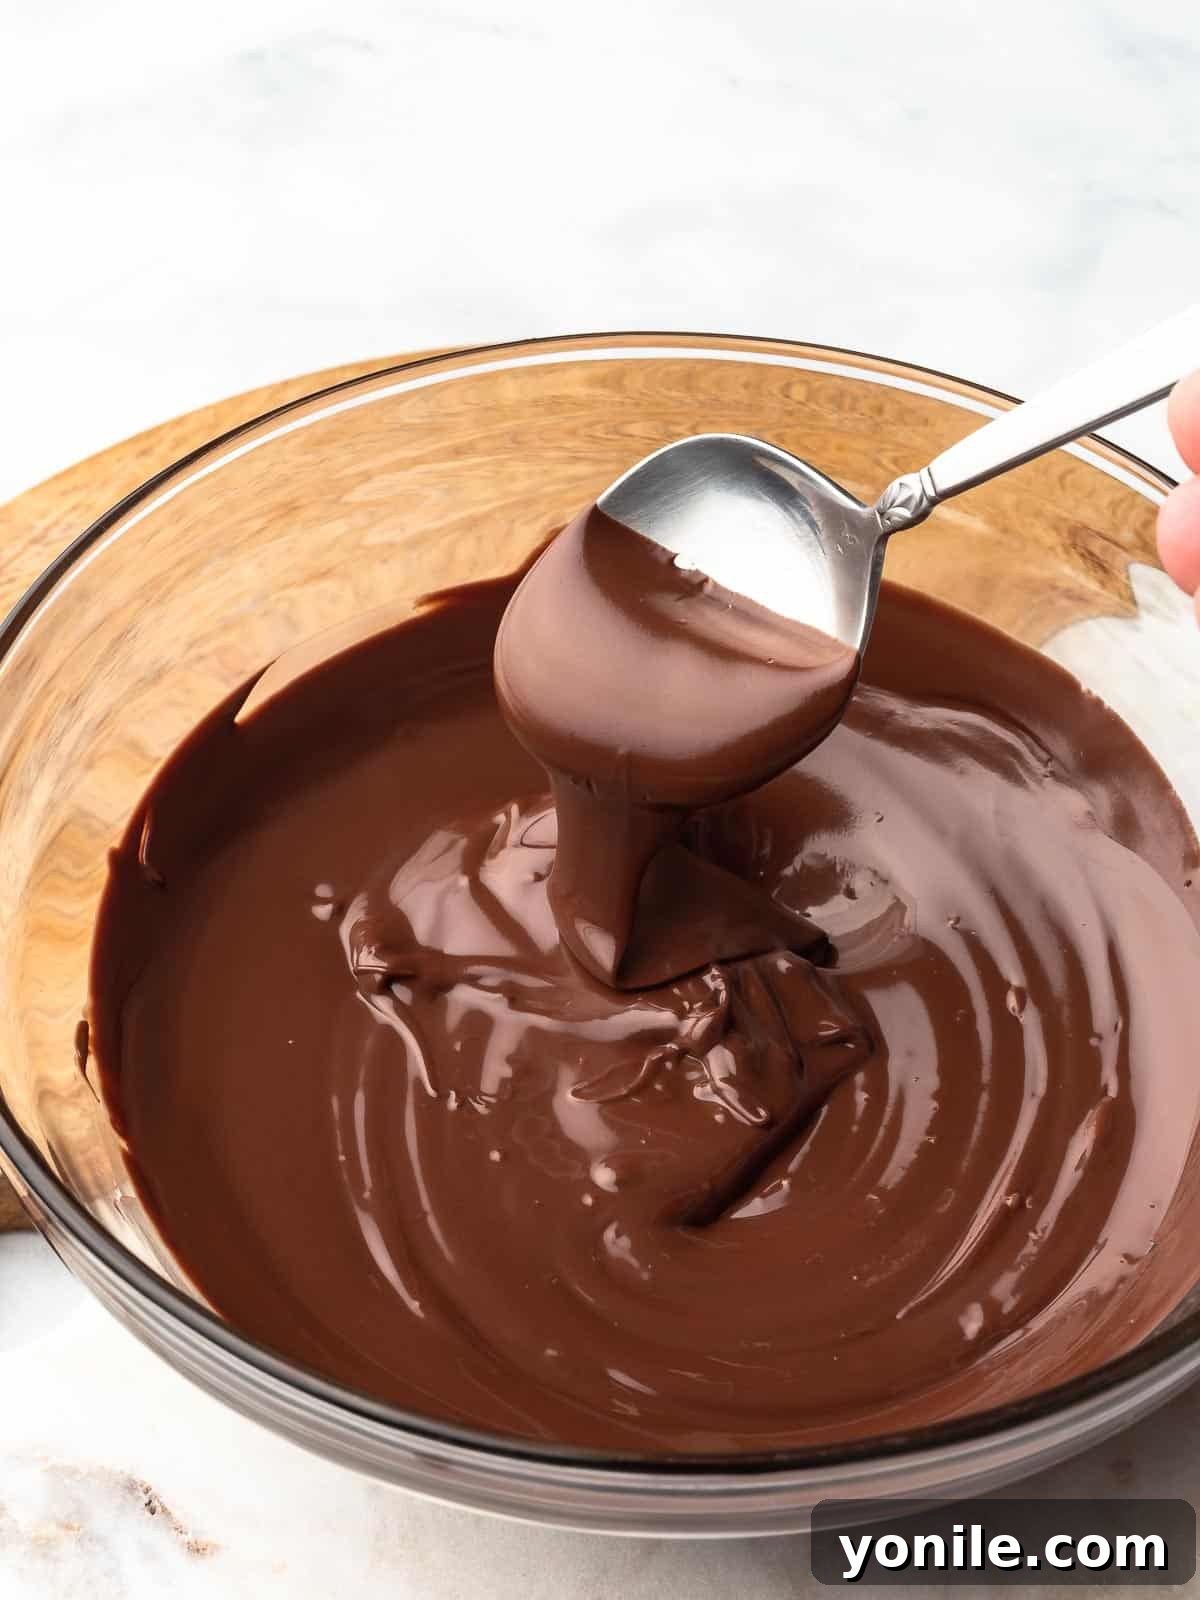
Transforming solid chocolate into a silky, smooth liquid is a fundamental skill for any home baker or dessert enthusiast. While it might seem like a simple task, achieving that perfect melt—without burning, seizing, or dulling its beautiful sheen—requires a few essential techniques. Many aspiring chefs have faced the frustration of scorched chocolate or a grainy, unworkable mess. But fear not! This comprehensive guide will equip you with all the knowledge you need to melt chocolate flawlessly, every single time.
Whether you’re crafting elegant chocolate-covered strawberries, preparing a rich chocolate lazy cake, or simply making a delicious ganache, the secret lies in understanding the right methods and avoiding common pitfalls. We’ll delve into selecting the ideal type of chocolate, explore two tried-and-true melting techniques (the stovetop double boiler and the microwave), and share invaluable tips to ensure your chocolate is always smooth, glossy, and ready for your culinary creations. Say goodbye to seized or burnt chocolate, and hello to perfectly melted perfection!
Choosing the Best Chocolate for Melting
The type of chocolate you choose significantly impacts the melting process and the final texture of your confection. Not all chocolates are created equal when it comes to melting. Understanding the differences will help you achieve the desired results, whether you’re dipping, coating, or baking.
Couverture Chocolate: The Professional’s Choice
For truly professional results, couverture chocolate stands out as the superior option for melting. Its high cocoa butter content—a minimum of 31% to 39% or more, alongside at least 35% cocoa solids—is precisely what makes it ideal. This generous amount of cocoa butter allows it to melt exceptionally smoothly, flow effortlessly, and coat items with a thin, even layer. Once set, couverture chocolate boasts a beautiful, glossy finish and a satisfying, crisp “snap” when broken. It’s perfect for fine confections, chocolate tempering, intricate molds, and delicate dipping. While often a bit more expensive and found in specialty stores, its superior quality makes it worth the investment for special projects.
Confectionery Wafers (Candy Melts): The Easy Solution
Often referred to as “candy melts” or “chocolate wafers,” these convenient discs are specifically engineered for easy melting. Unlike traditional chocolate, they are formulated with cocoa powder and vegetable oils (such as palm kernel oil) instead of cocoa liquor and cocoa butter. This composition eliminates the need for tempering and allows them to melt quickly and smoothly, setting with a firm finish. They are incredibly versatile, available in a wide array of vibrant colors and flavors, making them a favorite for decorating, crafting homemade candies, cake pops, and festive treats, especially when working with children or when a consistent, hassle-free melt is paramount.
Standard Chocolate Chips: The Everyday Option
Chocolate chips are the most common and accessible choice for many home bakers, readily available in nearly every grocery store. While not designed for the same level of fluidity and sheen as couverture chocolate, they are a perfectly viable and budget-friendly option for many recipes, particularly those where the chocolate is melted into a batter or mixed with other ingredients. Keep in mind that chocolate chips often contain stabilizers (like soy lecithin) to help them hold their shape during baking. This means they can be a bit thicker and may not melt as smoothly or thinly as couverture chocolate. For best results, choose high-quality baking chips or chop a baking bar into small, uniform pieces for more even melting. They are excellent for cookies, brownies, and informal dipping projects.
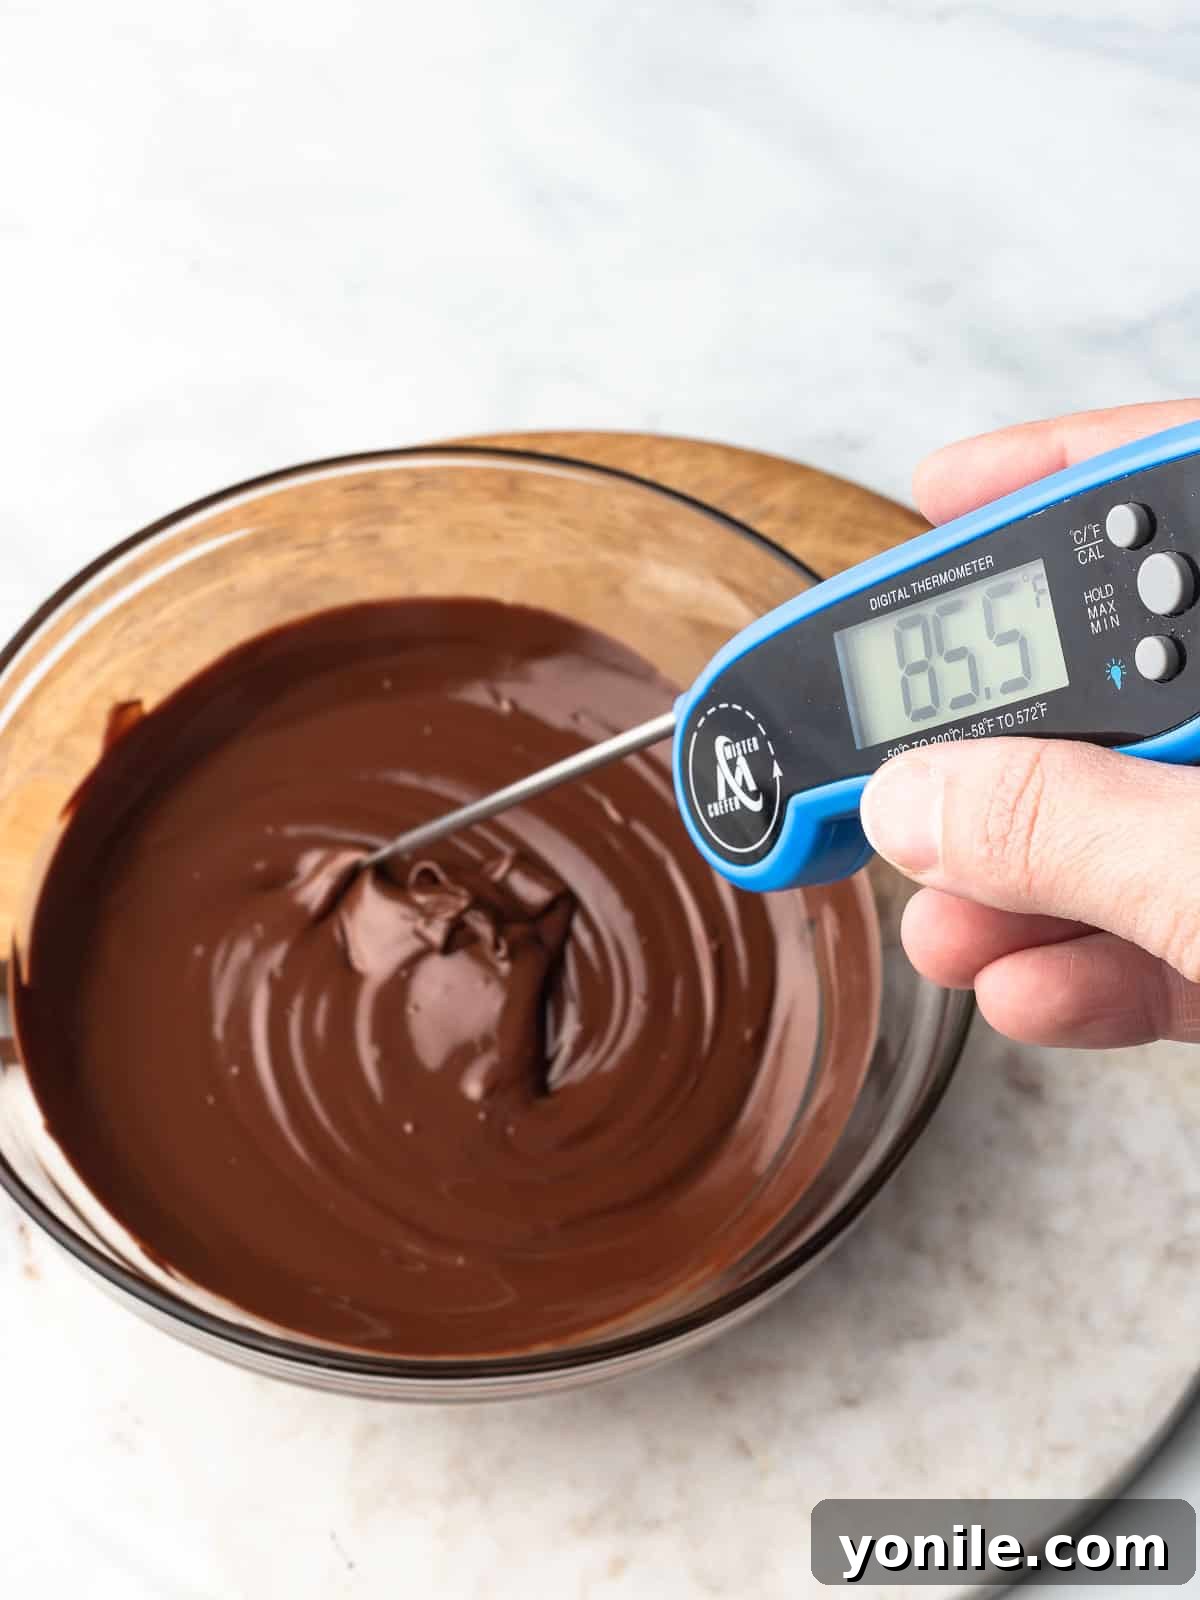
The Best Methods for Melting Chocolate
There are two primary methods for melting chocolate at home: the gentle stovetop double boiler method and the quicker microwave method. Each has its advantages and specific techniques to ensure a smooth, luscious result.
Method 1: Stovetop Double Boiler (Bain-Marie)
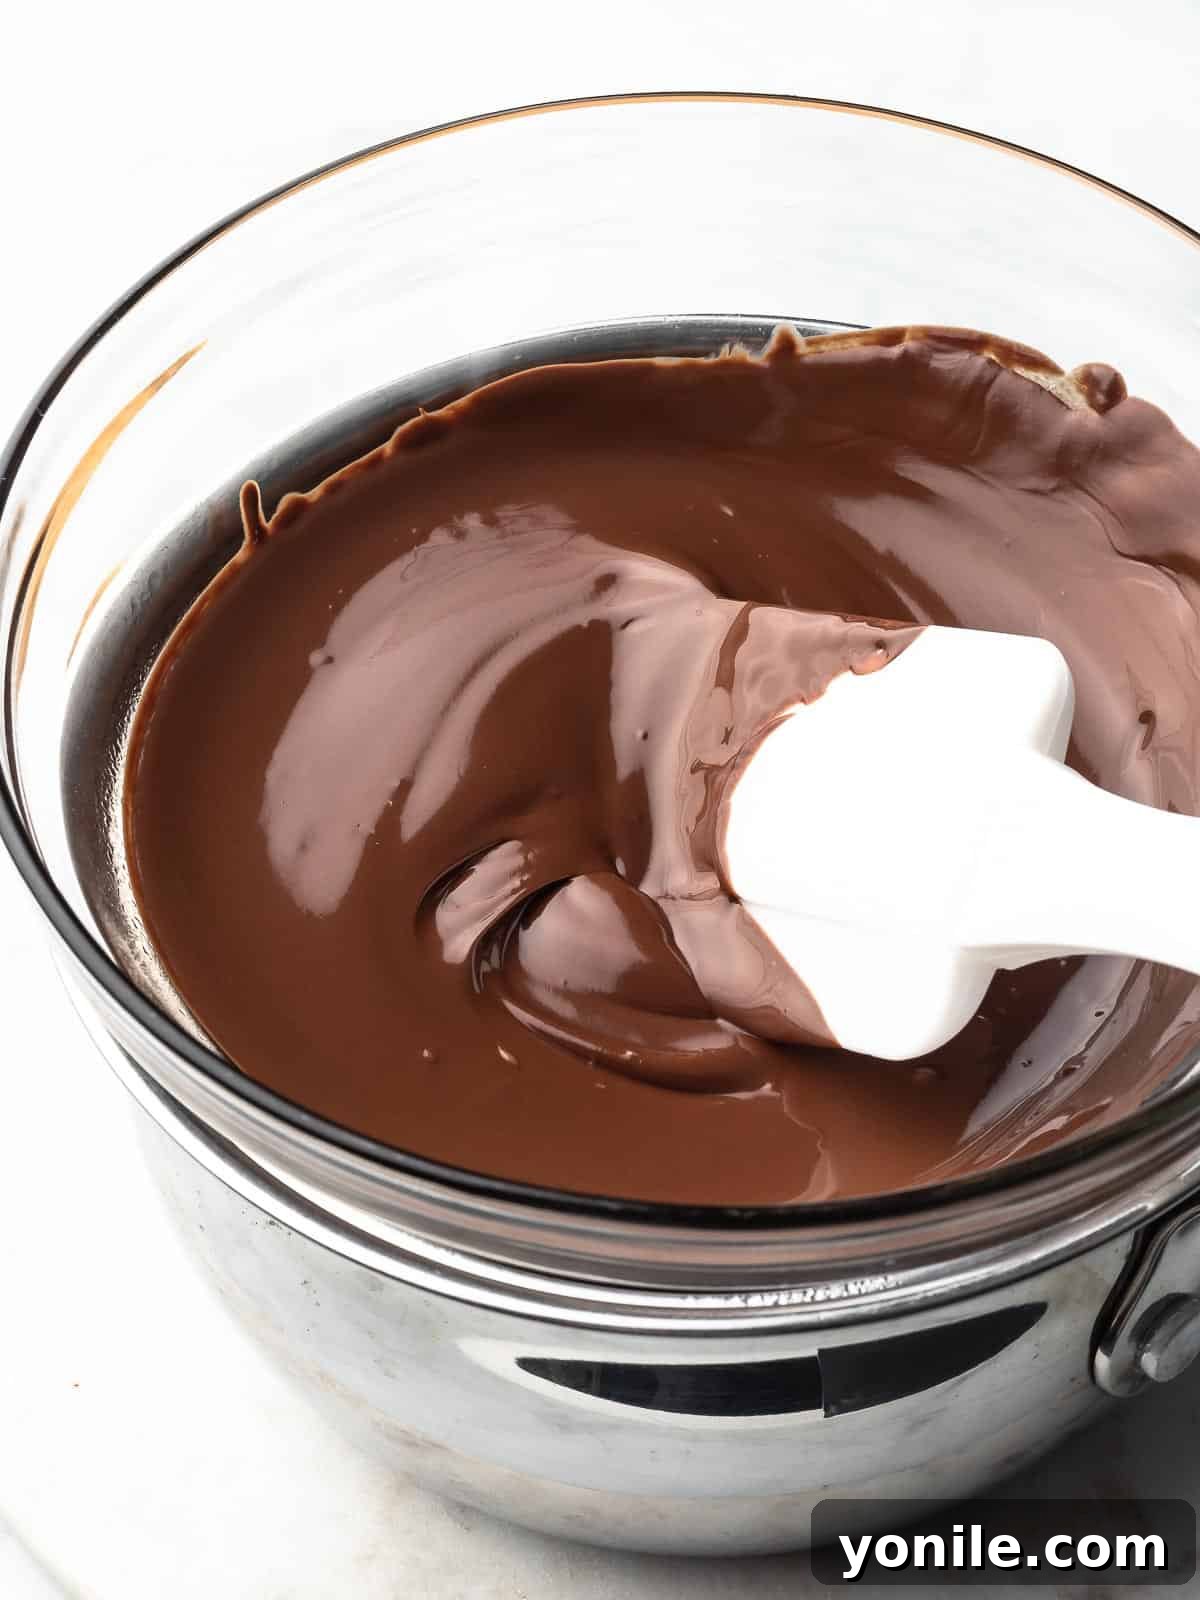
The double boiler, also known as a bain-marie, is widely considered the safest and most reliable way to melt chocolate. It uses indirect heat from simmering water to gently warm the chocolate, preventing scorching and ensuring a silky smooth consistency. This method gives you more control over the melting process, which is especially important for delicate chocolates.
Step-by-Step Guide to the Double Boiler:
- Preparation is Key: Begin by finely chopping your chocolate into small, uniform pieces. If using chocolate chips, ensure they are roughly the same size. Uniform pieces will melt at the same rate, preventing some bits from overheating while others are still solid.
- Set Up Your Double Boiler: Fill a medium saucepan with about 1 inch (2.5 cm) of water. Place a heat-resistant bowl (glass or stainless steel works best) on top of the saucepan, ensuring the bottom of the bowl does NOT touch the simmering water. The chocolate will melt from the steam, not direct contact with the hot water. This indirect heat is crucial for gentle melting.
- Gentle Heat Application: Bring the water in the saucepan to a gentle simmer over low heat. Avoid a rolling boil, as too much steam can introduce moisture to your chocolate or cause it to overheat rapidly.
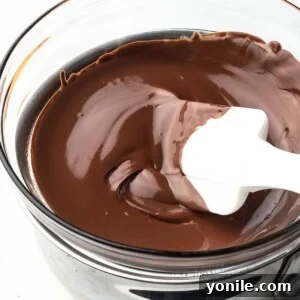
- Melt and Stir: Add your prepared chocolate to the dry heat-resistant bowl. Allow the steam to gradually heat the bowl and melt the chocolate. Stir occasionally with a dry rubber spatula or spoon. You’ll notice the chocolate slowly transforming into a luxurious, liquid state.
- Achieving Smoothness: Continue stirring until the chocolate is almost completely melted, with just a few tiny lumps remaining. Remove the bowl from the heat at this point, as the residual heat will finish the melting process and smooth out any remaining lumps with continuous stirring. This prevents overheating.
- Immediate Use: Once perfectly melted and smooth, remove the bowl from the stovetop and use your chocolate immediately for your desired recipe.
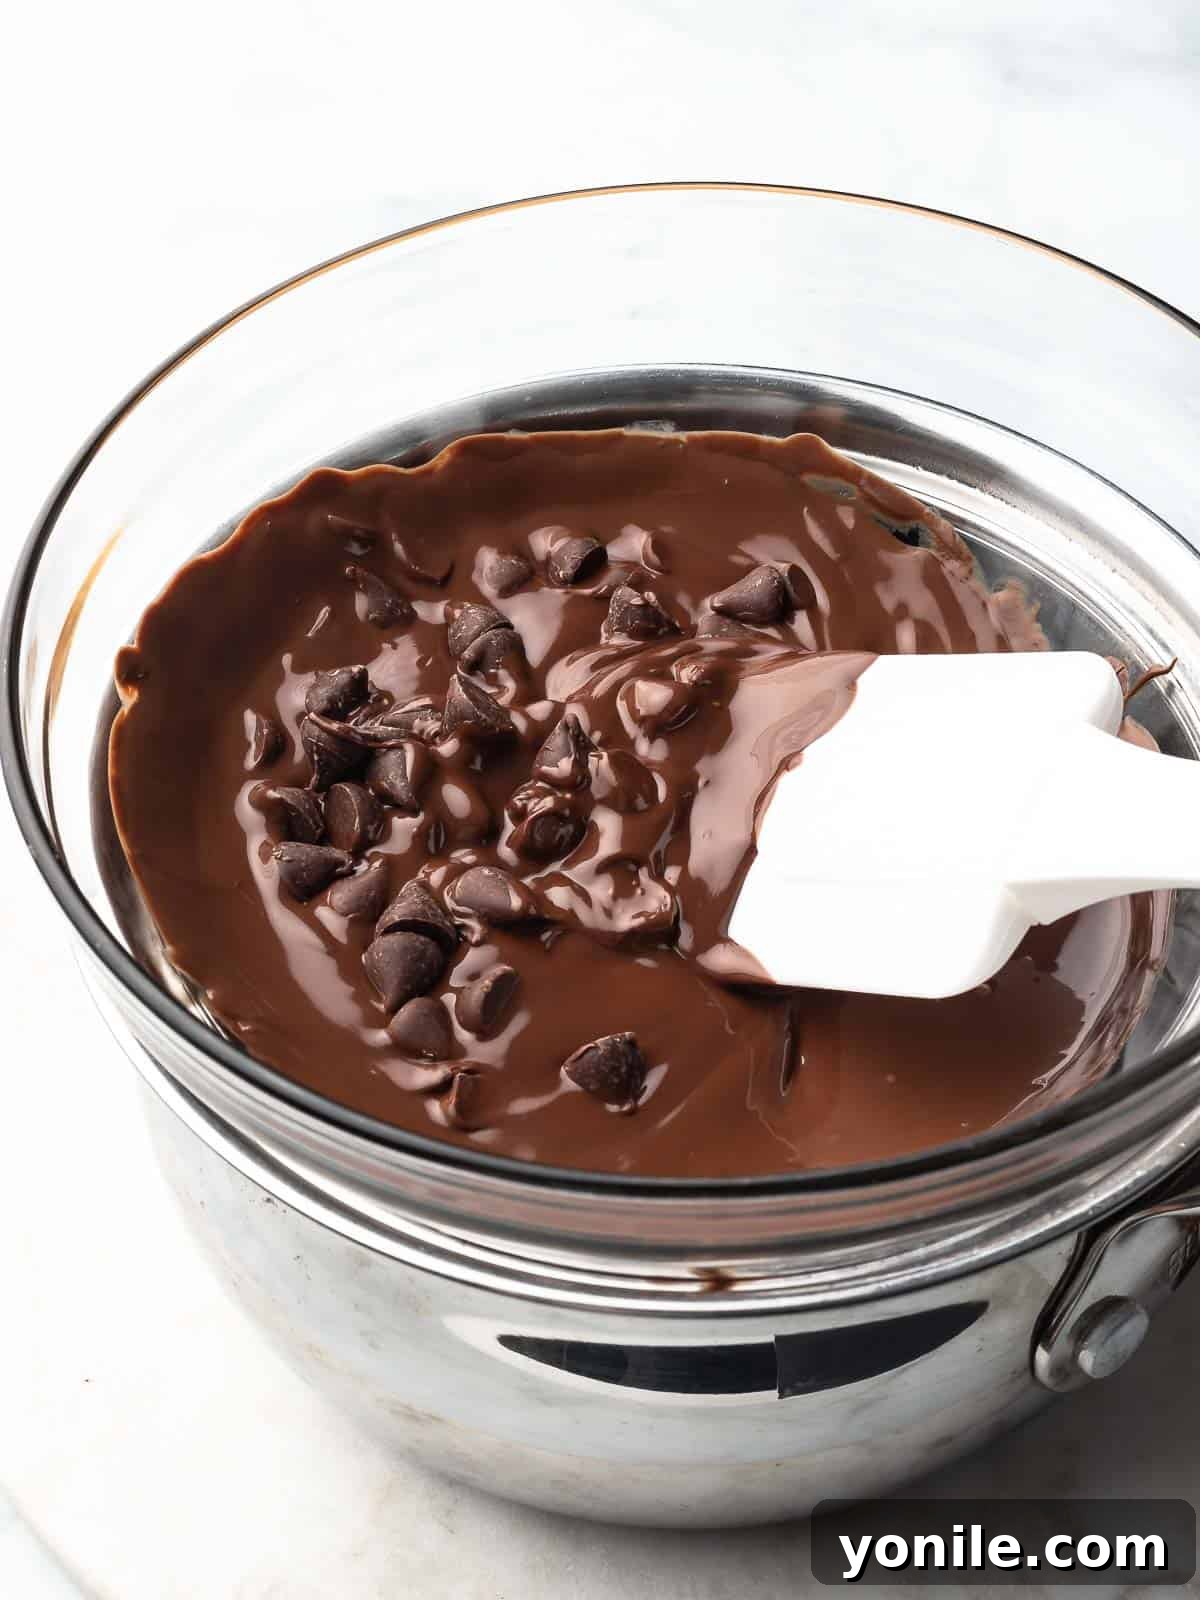
Method 2: Microwave Melting (Quick & Convenient)
For speed and convenience, the microwave is an “excellent tool for melting chocolate, but it requires a bit more vigilance to prevent burning. The key is to use low power and frequent stirring to avoid scorching.
Step-by-Step Guide to Microwave Melting:
- Chop Uniformly: Just like with the double boiler method, chop your chocolate into small, uniform pieces or use chocolate chips. This ensures even melting.
- Choose the Right Bowl: Place the chocolate in a dry, microwave-safe bowl. Do not overfill the bowl; if you have a large quantity of chocolate, melt it in smaller batches to ensure even heating.
- Initial Heating Burst: Place the bowl in the microwave and heat for 1 minute at 50% power level. Using a lower power setting is crucial to prevent the chocolate from burning, as microwaves heat from the inside out.
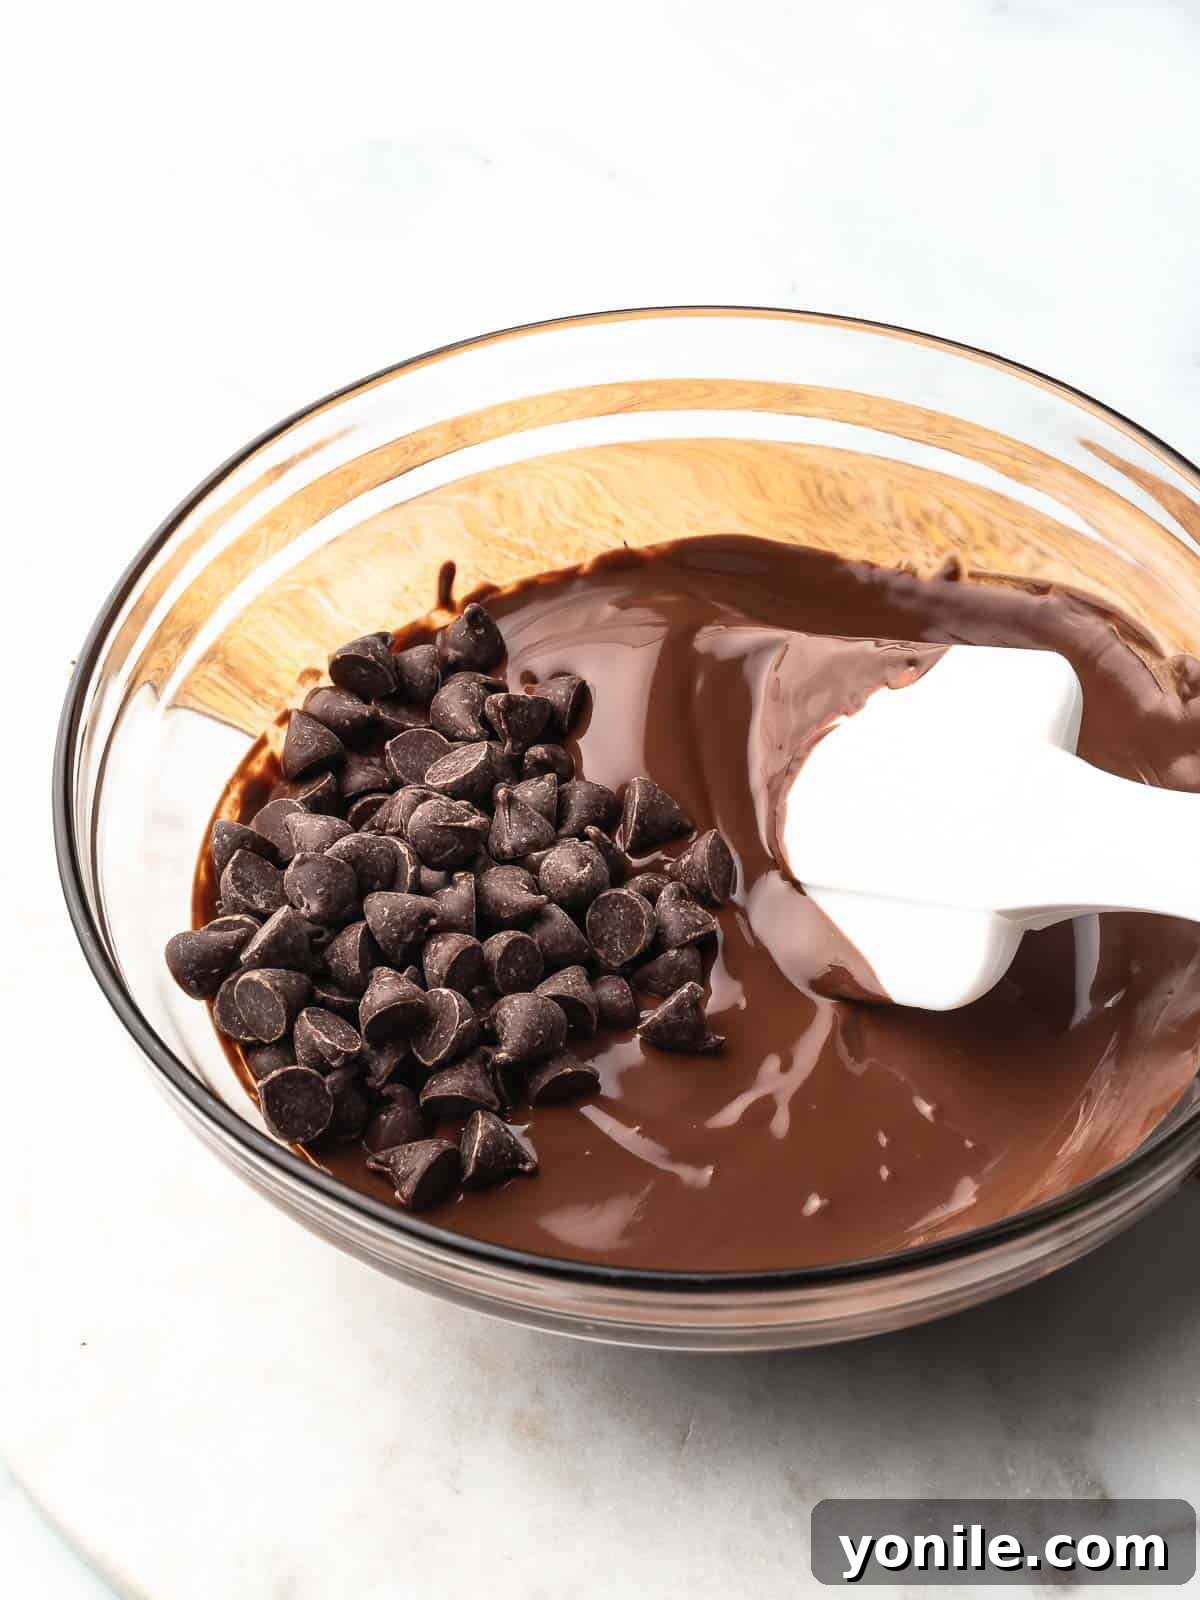
- Stir and Continue Heating: After the first interval, remove the bowl and stir the chocolate thoroughly. Even if it doesn’t look melted, the internal heat is at work. Return the bowl to the microwave and heat again at 50% power level for shorter intervals, typically 20-30 seconds at a time. Stir well after each interval.
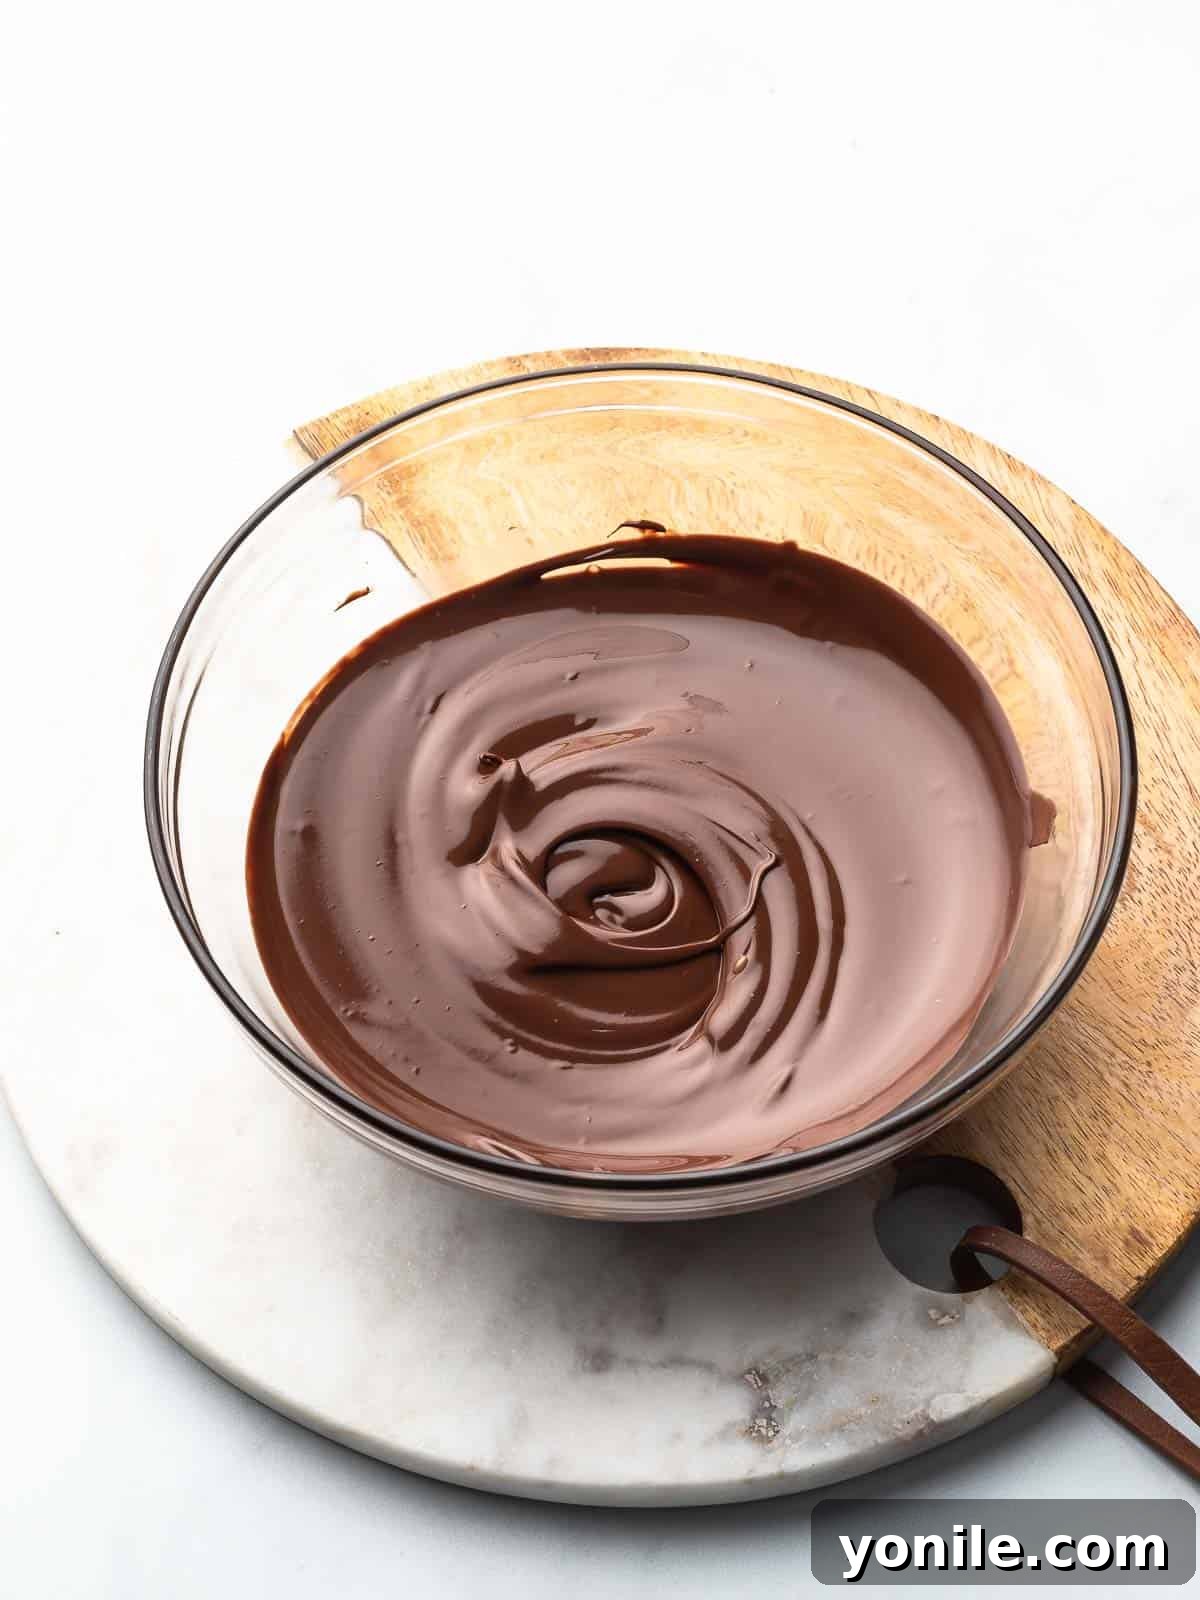
- Finish with Residual Heat: As the chocolate nears full melt, with only a few small lumps remaining, stop microwaving. The residual heat in the bowl and the already melted chocolate is sufficient to smooth out the rest. Continue stirring gently until the chocolate is completely smooth and luscious. This prevents the chocolate from overheating and becoming grainy or seized.
- Ready to Use: Once smooth and fully melted, remove from the microwave and use immediately.
Essential Tips for Flawless Chocolate Melting
Beyond choosing the right method, a few crucial tips can elevate your chocolate melting game from good to absolutely perfect. Keep these in mind to prevent common disasters like seized or burnt chocolate.
- The Golden Rule: Keep it Dry! Moisture is the archenemy of melting chocolate. Even a tiny drop of water can cause chocolate to “seize,” turning it into a thick, grainy, unworkable paste. Ensure your melting bowl, spatula, and any utensils are thoroughly dry before they touch the chocolate. If you need to thin out your melted chocolate, always use a fat-based liquid like melted coconut oil, vegetable oil, or a touch of cocoa butter, never water or milk.
- Avoid Overheating at All Costs: Chocolate is delicate and can burn quickly. Overheated chocolate becomes dull, thick, and loses its smooth texture, developing a bitter taste. The key is to melt it gently and only until it’s *almost* fully melted. The residual heat will do the rest. Once most of the chocolate pieces are melted, remove it from the heat source (or microwave) and stir continuously until all lumps disappear and it reaches a silky consistency. This gentle approach prevents scorching.
- Embrace Low and Slow Heat: Whether you’re using a double boiler or a microwave, always opt for low heat. High heat is the fastest way to burn chocolate or make it seize. For the stovetop, a gentle simmer is ideal. For the microwave, use 50% power or less, especially during the initial stages. Patience is a virtue when melting chocolate; rush it, and you’ll regret it.
- Uniform Pieces for Even Melting: Consistency is key. If you’re melting a chocolate bar, chop it into small, uniform pieces. If you’re using chocolate chips, their standardized size already helps with even melting. This practice ensures that all the chocolate melts at roughly the same rate, preventing some parts from being overcooked while others remain solid.
- Never Cover Your Chocolate: Resist the temptation to cover your bowl while melting, especially over a double boiler. A lid can trap steam, leading to condensation dripping back into your chocolate, which, as we know, can cause it to seize instantly.
- Mindful Microwave Intervals: When using the microwave, strict adherence to short intervals (20-30 seconds after the initial minute) at a lower power setting (50%) is critical. Stirring thoroughly between each interval is equally important, as it helps distribute heat and reveals how much more melting is needed. High microwave heat can quickly dry out chocolate, making it lumpy, grainy, and unusable.
- Choose the Right Equipment: Glass or stainless steel bowls are preferred for melting chocolate as they conduct heat evenly and are non-reactive. Avoid plastic bowls in the microwave, which can sometimes get too hot and potentially leach chemicals, or wooden spoons which might retain moisture.
- Stirring Technique: Use a clean, dry rubber spatula. Stirring gently and continuously ensures even melting and helps to incorporate any remaining solid pieces into the smooth mixture. Avoid vigorous stirring, which can sometimes introduce air bubbles.
Frequently Asked Questions About Melting Chocolate
Preventing seized chocolate is paramount. The most critical step is ensuring absolutely no moisture comes into contact with your chocolate during the melting process. This means your bowl, spatula, and any other utensils must be thoroughly dry. Avoid using wooden utensils, as they can sometimes retain moisture. Additionally, never cover your chocolate while it’s melting, especially over a double boiler, as condensation can form on the lid and drip into the chocolate, causing it to seize immediately.
While it’s often best to start fresh if your chocolate has seized, you can sometimes attempt to rescue it. The trick is to introduce more fat. Slowly stir in a teaspoon of melted cocoa butter, vegetable oil, or shortening, one small increment at a time. Mix gently and continuously until the chocolate loosens and returns to a smoother, workable consistency. Be cautious not to add too much, which can make the chocolate greasy.
To thin out melted chocolate for easier dipping or a finer coating, add a small amount of fat. Options include melted coconut oil, vegetable oil, or a neutral-flavored fat like shortening. Start with a quarter to half teaspoon per cup of melted chocolate, stirring thoroughly after each addition until you achieve your desired consistency. Avoid water-based liquids as they will cause the chocolate to seize.
For the most controlled and consistent results, especially when working with high-quality chocolate or when tempering, the stovetop double boiler method is widely preferred. It provides gentle, indirect heat, significantly reducing the risk of burning or seizing, allowing for a perfectly smooth and glossy melt every time.
The microwave offers the quickest way to melt chocolate. To do so efficiently and safely, chop your chocolate into small, uniform pieces and place them in a dry, microwave-safe bowl. Heat at 50% power in short intervals (e.g., 1 minute initially, then 20-30 seconds), stirring thoroughly after each interval. Stop just before it’s fully melted and stir to finish with residual heat, preventing overheating.
Yes, these methods work well for milk chocolate and white chocolate, but they require even more care. Milk chocolate and white chocolate contain more sugar and milk solids than dark chocolate, making them more prone to scorching and seizing. Always use lower heat settings and shorter microwave intervals, stirring very frequently to prevent burning. White chocolate, in particular, has a very low melting point and can go from perfectly melted to burnt in seconds.
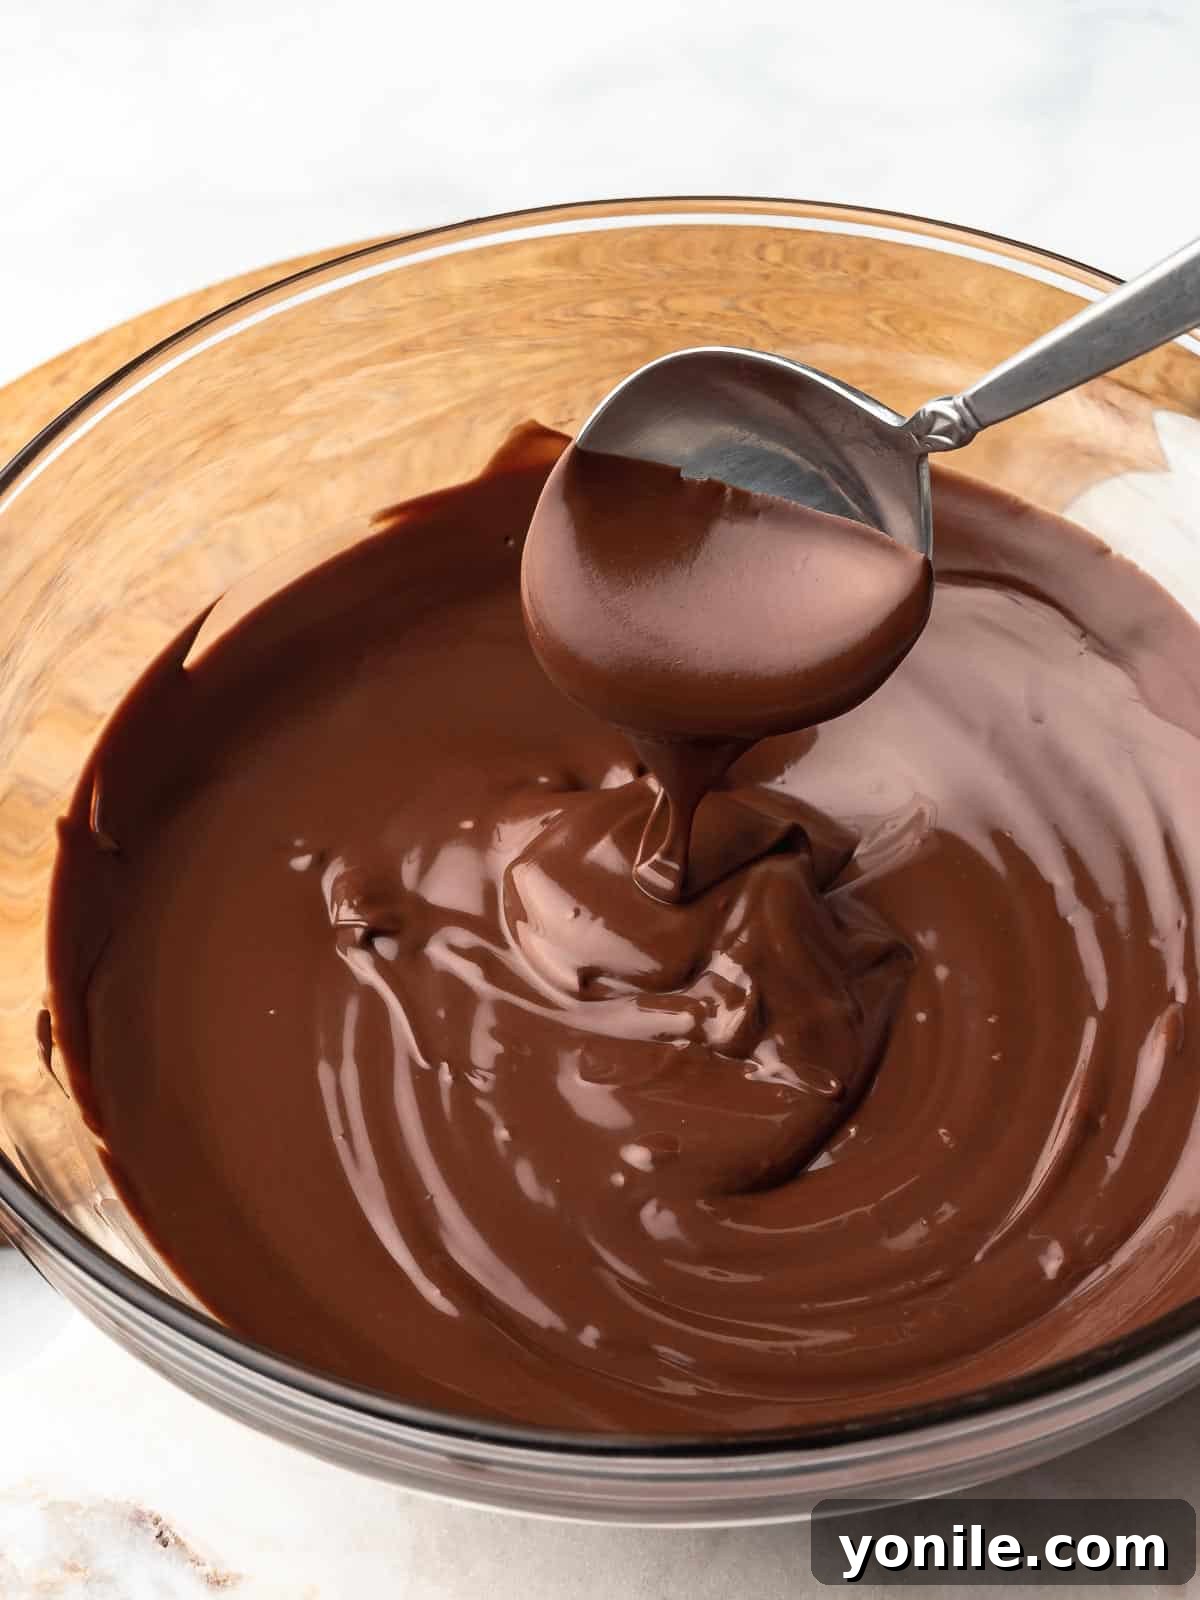
Mastering the art of melting chocolate opens up a world of culinary possibilities, from simple drizzles to intricate dessert components. With the right chocolate, careful technique, and these proven tips, you’re now equipped to achieve perfectly smooth, glossy, and delectable melted chocolate every single time. No more seized or burnt batches—just pure chocolate bliss!
We hope this detailed tutorial empowers you to confidently tackle any recipe requiring melted chocolate. Don’t hesitate to experiment with different types of chocolate and discover your favorites. If you found this guide helpful, please share it with your fellow food enthusiasts and leave a star rating and comment below. Your feedback helps us continue to provide valuable content. For more delightful recipes and helpful culinary guides, be sure to follow Cookin’ With Mima on FACEBOOK | INSTAGRAM | PINTEREST for all the latest updates!
How to Melt Chocolate
Mariam Ezzeddine
5
5
10
8 servings
Ingredients
- 2 cups chocolate, 12 ounces/240 grams
Instructions
How to Melt Chocolate on the Stove Top:
- Cut the chocolate into uniform pieces or use chocolate chips.
- In a medium saucepan or bottom of the double broiler, bring 1 cup of water to simmer over low heat. Place a heat resistant bowl on top of the pot, making sure it’s not touching the water if not using a double broiler.
- Place your chocolate in the bowl/top of the double broiler and allow the steam from the simmering water to heat the bowl and melt the chocolate. Stir occasionally until the chocolate has melted.
- Once melted, remove from the heat and use immediately.
How to Melt Chocolate In the Microwave
- Cut the chocolate into uniform pieces.
- Place chocolate in a microwave safe bowl, making sure not to overfill. Do two batches if your bowl isn’t large enough.
- Place the bowl in the microwave and heat for 1 minute at 50% power level.
- Stir the chocolate and heat again at 50% power level for 20 second. Stir. And repeat until the chocolate has almost fully melted.
- Near the end when there are just a few lumps left in the chocolate, instead of microwaving again, just stir until the chocolate has smoothed out and fully melted.
- Once melted, remove from the heat and use immediately.
Notes
- Make sure your bowl is dry. Any liquids can cause your chocolate to seize. If you want to thin out the chocolate, use melted coconut oil.
- Do not over heat your chocolate. Overheating chocolate can ruin your chocolate. Heat it only long enough to mostly melt all the chocolate and then stir to distribute the heat and finish the melting process.
- Use low heat always. Chocolate can burn and get dry.
- Make sure the pieces of chocolate are uniformly chopped or chips are same size this way they melt together evenly.
- Never cover your chocolate to melt faster. Any drop of water in the chocolate can seize up the chocolate.
- When melting in the microwave, melt in 30 second intervals. Make sure that the microwave is on low heat . High heat will cause the chocolate to dry out and become lumpy or grainy.
Nutrition
Carbohydrates: 26g |
Protein: 2g |
Fat: 15g |
Saturated Fat: 9g |
Polyunsaturated Fat: 0.4g |
Monounsaturated Fat: 5g |
Sodium: 7mg |
Potassium: 127mg |
Fiber: 2g |
Sugar: 23g |
Calcium: 11mg |
Iron: 1mg
Like this recipe? Rate and comment below!