
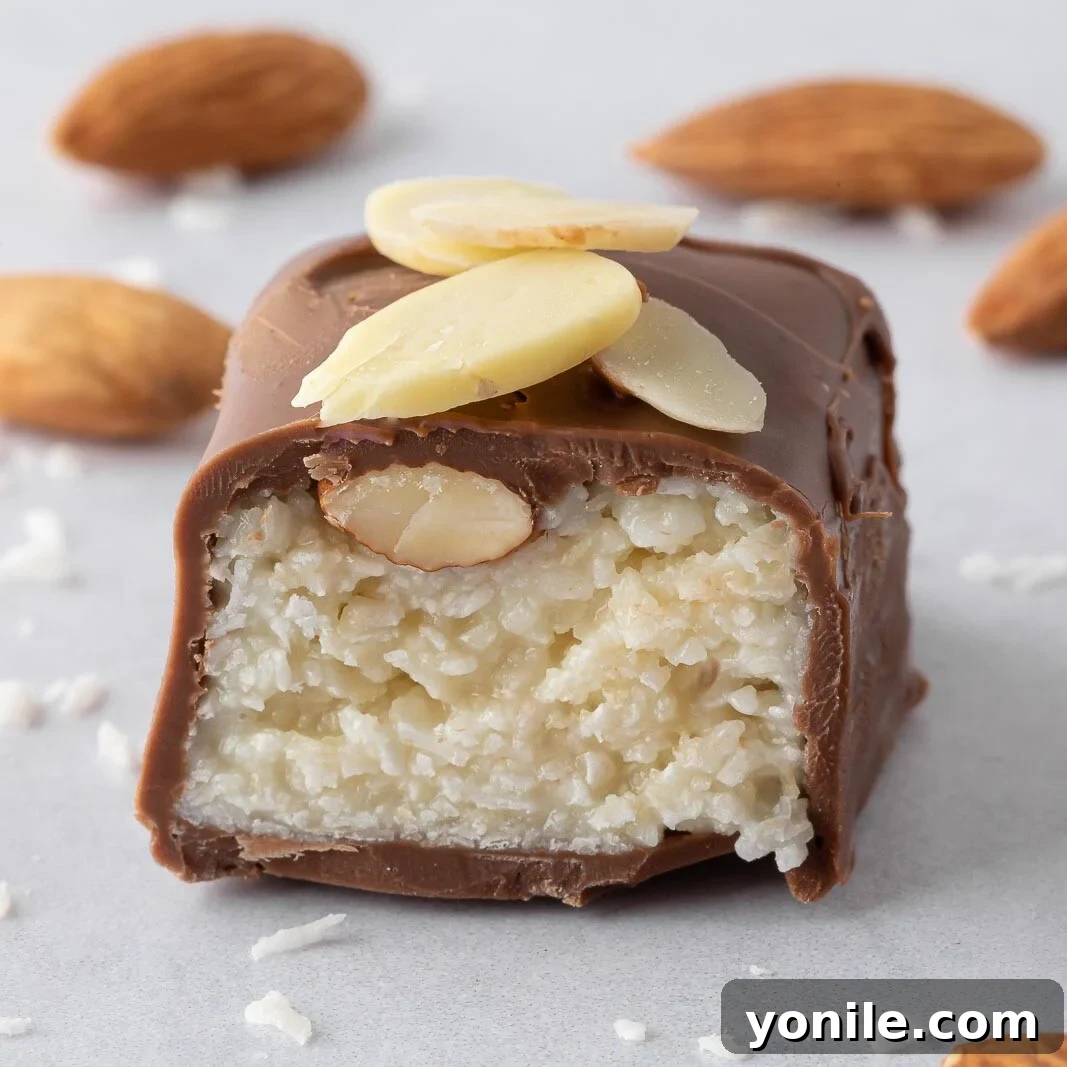
Irresistible No-Bake Coconut Chocolate Bars: Your Homemade Almond Joy Treat
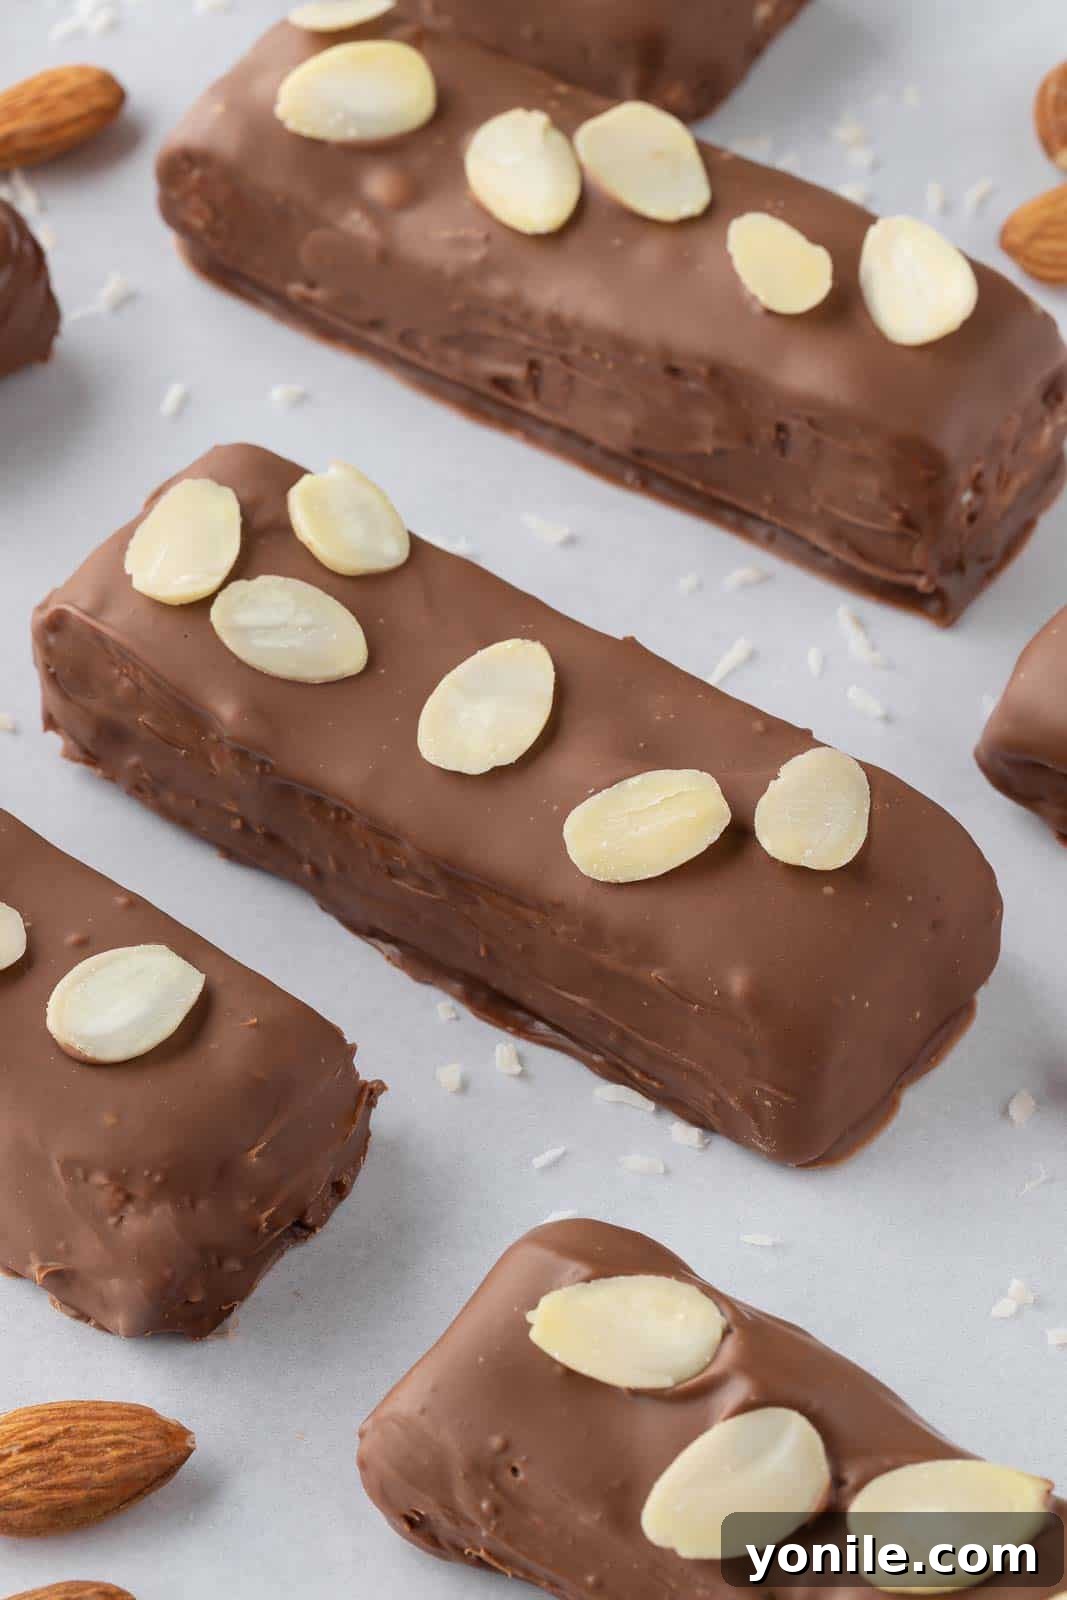
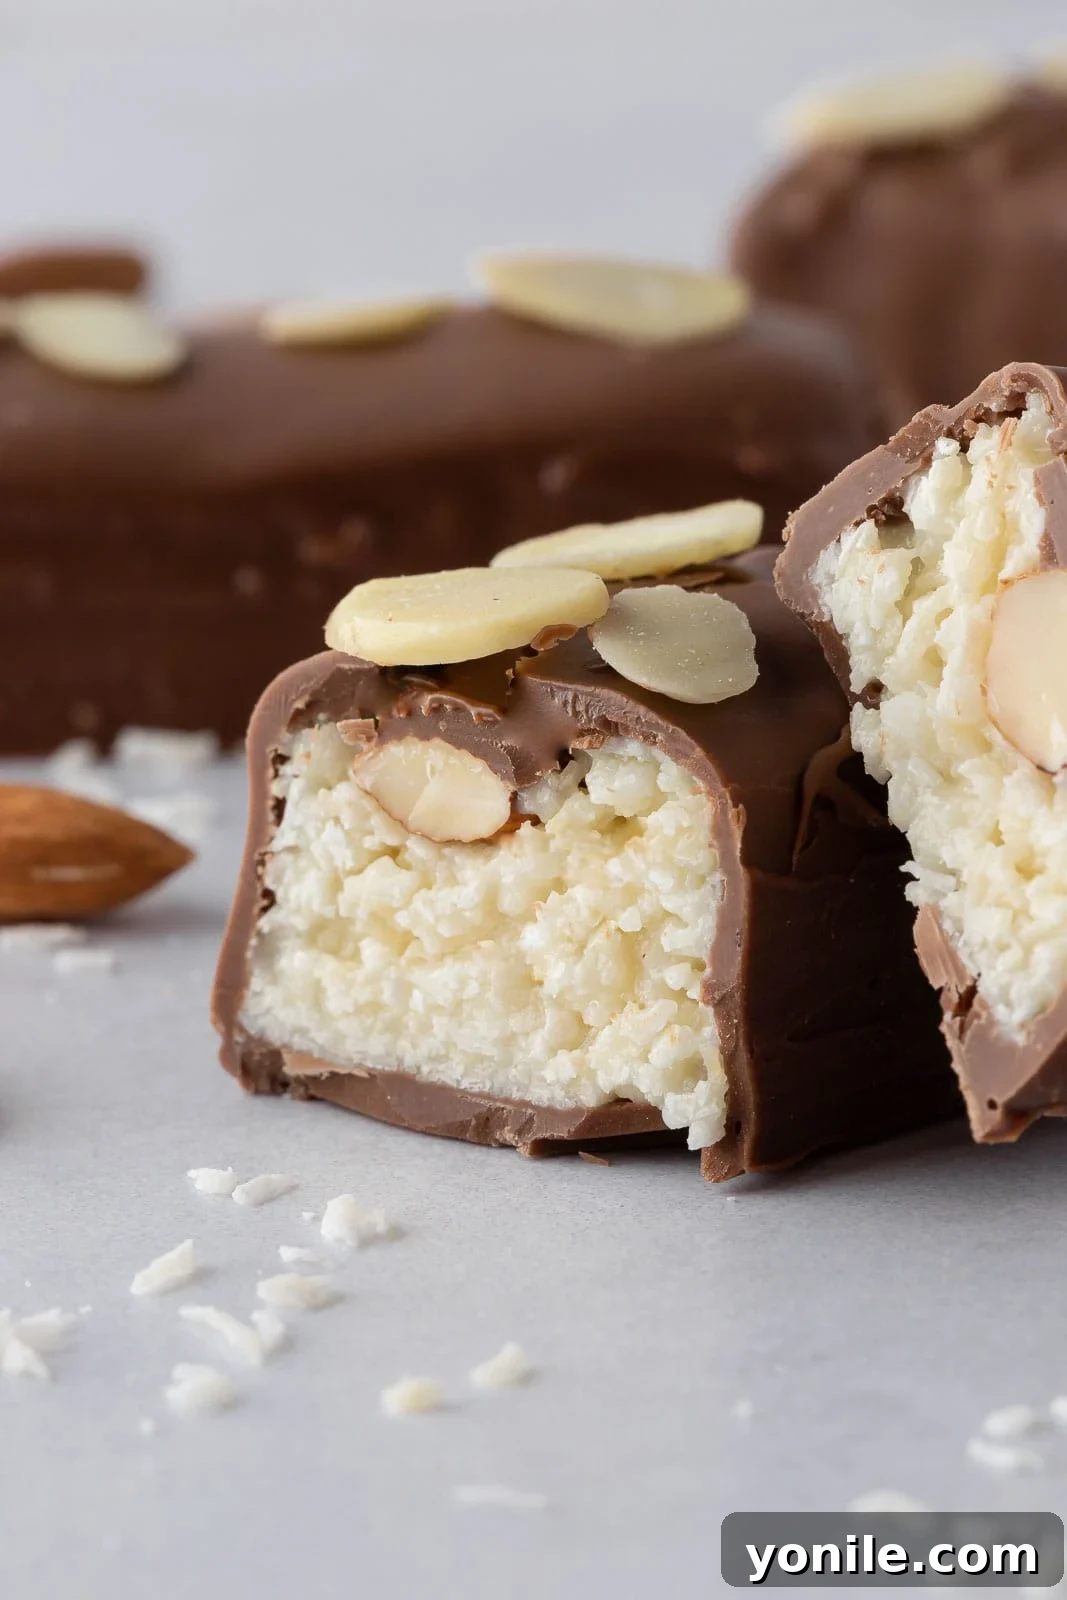
Prepare to be delighted by how incredibly quick and utterly effortless it is to create these exquisite Almond Joy-inspired Coconut Chocolate Bars right in your own kitchen. This recipe delivers the perfect symphony of flavors and textures: the sweet, chewy goodness of coconut, the satisfying crunch of roasted almonds, all enrobed in a lavish coat of rich milk chocolate. The absolute best part? There’s absolutely no baking involved, making it a dream dessert for any occasion, especially when you need a crowd-pleasing treat without the oven heat.

A Sweet Nostalgia: From Bounty to Homemade Almond Joy Perfection
My culinary journey with coconut and chocolate began during my childhood in Africa, where the beloved Bounty bar was a staple treat. It was a simple yet satisfying indulgence: a dense, chewy coconut filling luxuriantly wrapped in milk chocolate. The concept was pure, unadulterated coconut bliss. When I later moved to the United States, I discovered the iconic Almond Joy bars, which offered a delightful twist on that familiar combination. The addition of a whole, crunchy almond nestled within the sweet coconut and chocolate was a revelation—an extra layer of texture and nutty flavor that truly elevated the experience. This homemade recipe is a heartfelt tribute to both these cherished candies, blending the irresistible chewiness of a Bounty with the pleasant surprise of an Almond Joy’s almond crunch, all crafted with the love and care only homemade treats can offer.
Why You’ll Fall in Love with This Easy No-Bake Recipe
In a world bustling with complex recipes and elaborate baking projects, sometimes what you truly need is a straightforward, no-fuss dessert that still tastes absolutely gourmet. These homemade coconut chocolate bars fit that bill perfectly. They offer numerous advantages that make them an ideal choice for busy households, impromptu cravings, or thoughtful edible gifts:
- Effortless Preparation: Forget about preheating ovens, precise baking times, or complicated techniques. This recipe requires no baking at all, simplifying the entire process from start to finish.
- Minimal Ingredients: You’ll only need a handful of readily available pantry staples to create these decadent bars, making them budget-friendly and convenient.
- Customizable Flavors: While the classic Almond Joy profile is truly delightful, this recipe offers a fantastic base for customization. Easily swap out almonds for other nuts, try different chocolate types, or even add a hint of extract for unique variations.
- Perfect Texture Harmony: Each bite delivers a delightful interplay of textures – the soft, moist chewiness of the coconut, the satisfying snap of the chocolate coating, and the earthy crunch of the roasted almonds.
- Family-Friendly Fun: This is a wonderful recipe to make with kids, as there are no sharp tools or hot ovens involved in the primary steps. Little hands can help mix, press, and even dip (with supervision!).
- Impressive Results: Despite their simplicity, these bars look and taste incredibly impressive, making them perfect for potlucks, parties, holiday platters, or simply a special everyday treat.
- Deliciously Better Than Store-Bought: When you make candy bars at home, you control the quality of ingredients, resulting in a fresher, more vibrant flavor that often surpasses commercial versions.
Essential Ingredients for Your Perfect Coconut Chocolate Bars
Creating these delightful no-bake coconut chocolate bars requires just a few key ingredients, each playing a vital role in achieving the perfect flavor and texture. Here’s a closer look at what you’ll need and why:
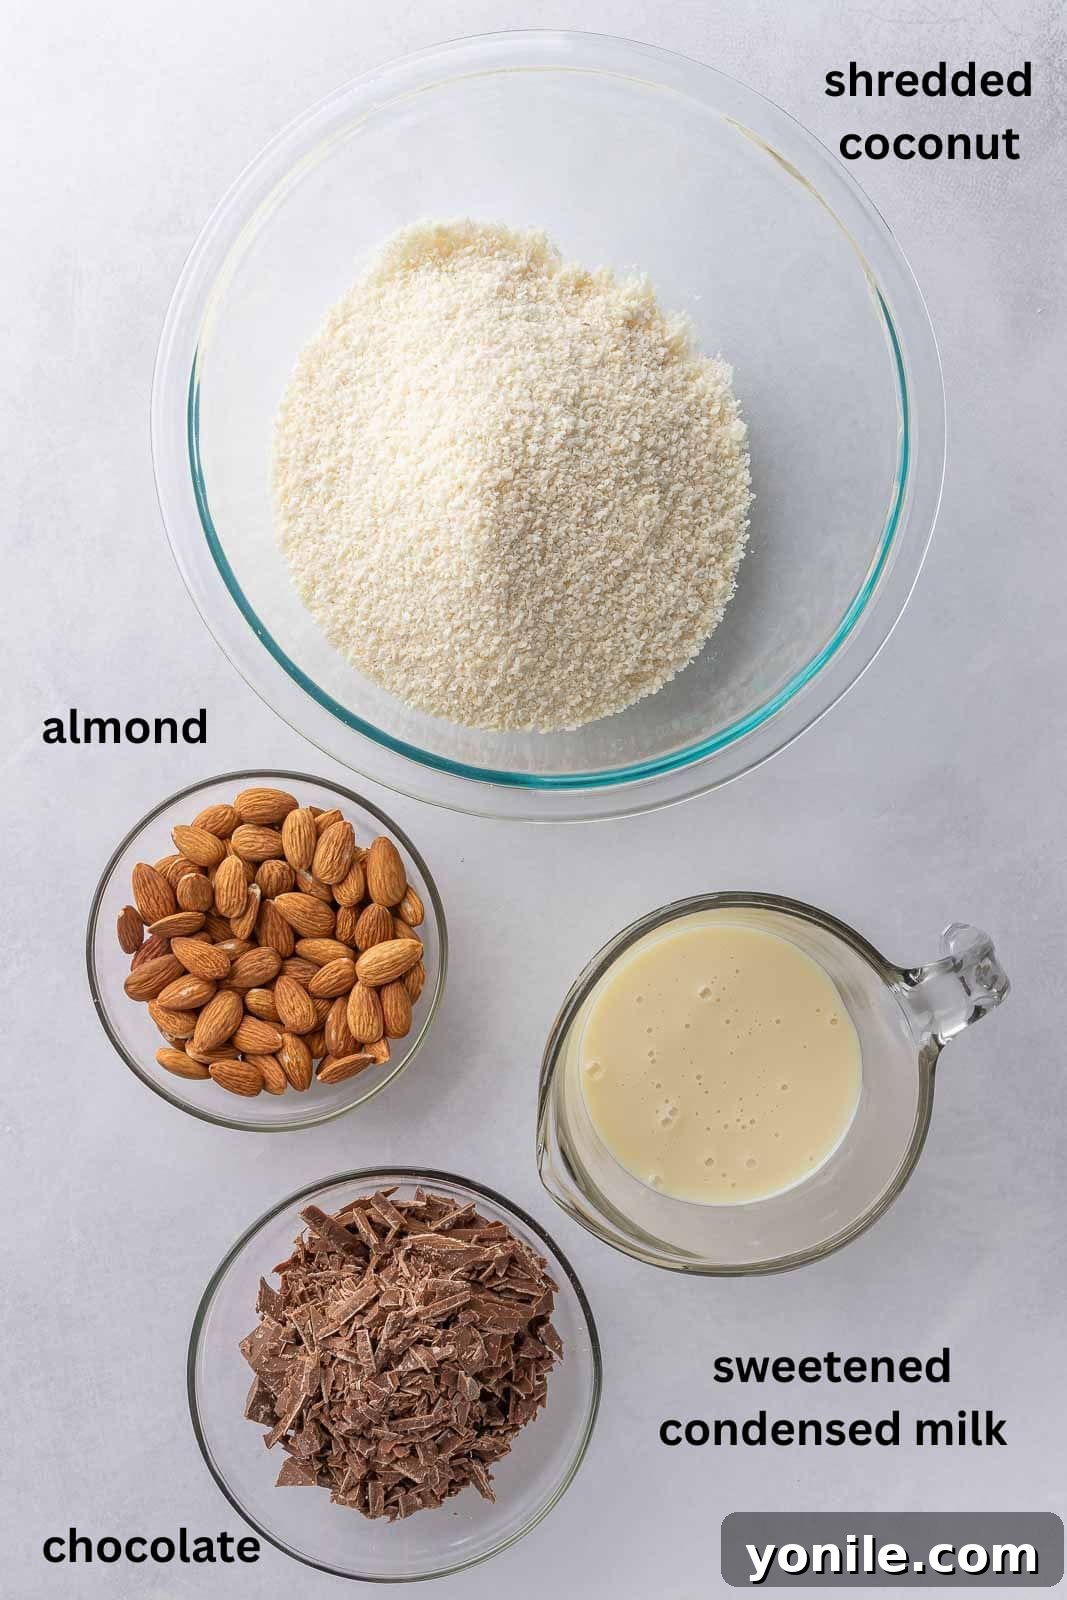
- Coconut: We recommend using unsweetened shredded coconut for this recipe. Since the filling is bound together with sweetened condensed milk, using unsweetened coconut prevents the bars from becoming overly sweet, allowing the natural coconut flavor to shine through beautifully. The shredded form also provides that characteristic chewy texture we all love.
- Sweetened Condensed Milk: This magical ingredient is the heart of our coconut filling. A can of sweetened condensed milk not only provides the necessary sweetness but also acts as a binder, transforming the shredded coconut into a soft, chewy, and cohesive mixture that holds its shape perfectly when chilled.
- Chocolate Chips: The outer shell of these irresistible bars can be tailored to your preference. You have the flexibility to use either classic milk chocolate chips for a sweeter, creamier coating, or opt for dark chocolate chips for a more intense, slightly bitter contrast that balances the sweetness of the coconut filling. High-quality chocolate chips will melt more smoothly and provide a better finish.
- Almonds: Roasted whole almonds are crucial for achieving that authentic Almond Joy experience. Their delightful crunch provides a textural counterpoint to the soft coconut, and roasting them beforehand enhances their nutty flavor significantly. If you’re feeling adventurous or have other nuts on hand, you could easily replace the almonds with roasted pecans or walnuts for a different but equally delicious crunch.
For the exact ingredient quantities and detailed recipe instructions, please scroll down to the comprehensive recipe card conveniently located at the bottom of this page.
Step-by-Step Guide: Crafting Your Homemade Coconut Chocolate Bars
Making these decadent no-bake coconut chocolate bars is a straightforward process, broken down into simple, easy-to-follow steps. Precision and patience are key to achieving perfectly shaped, deliciously coated treats.
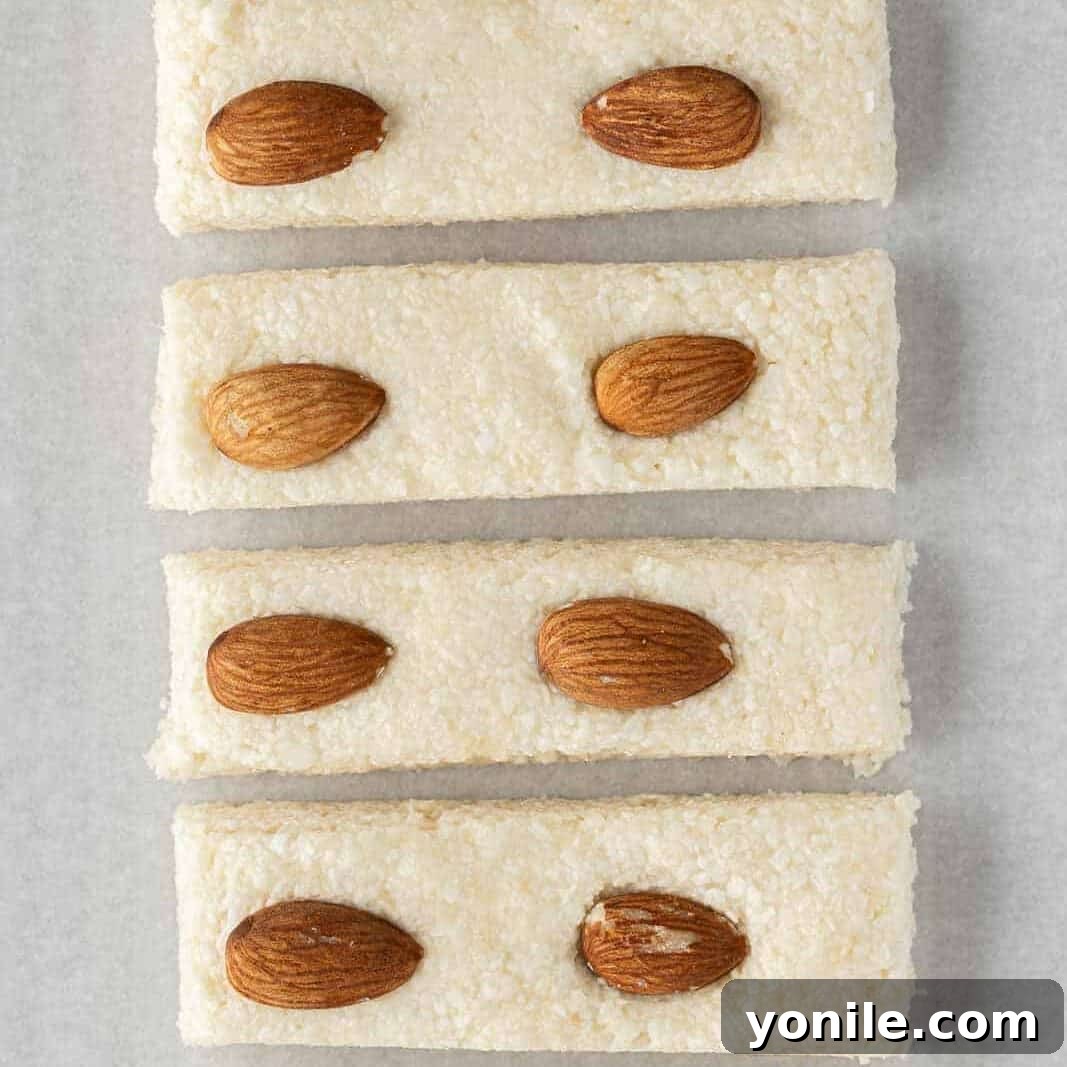
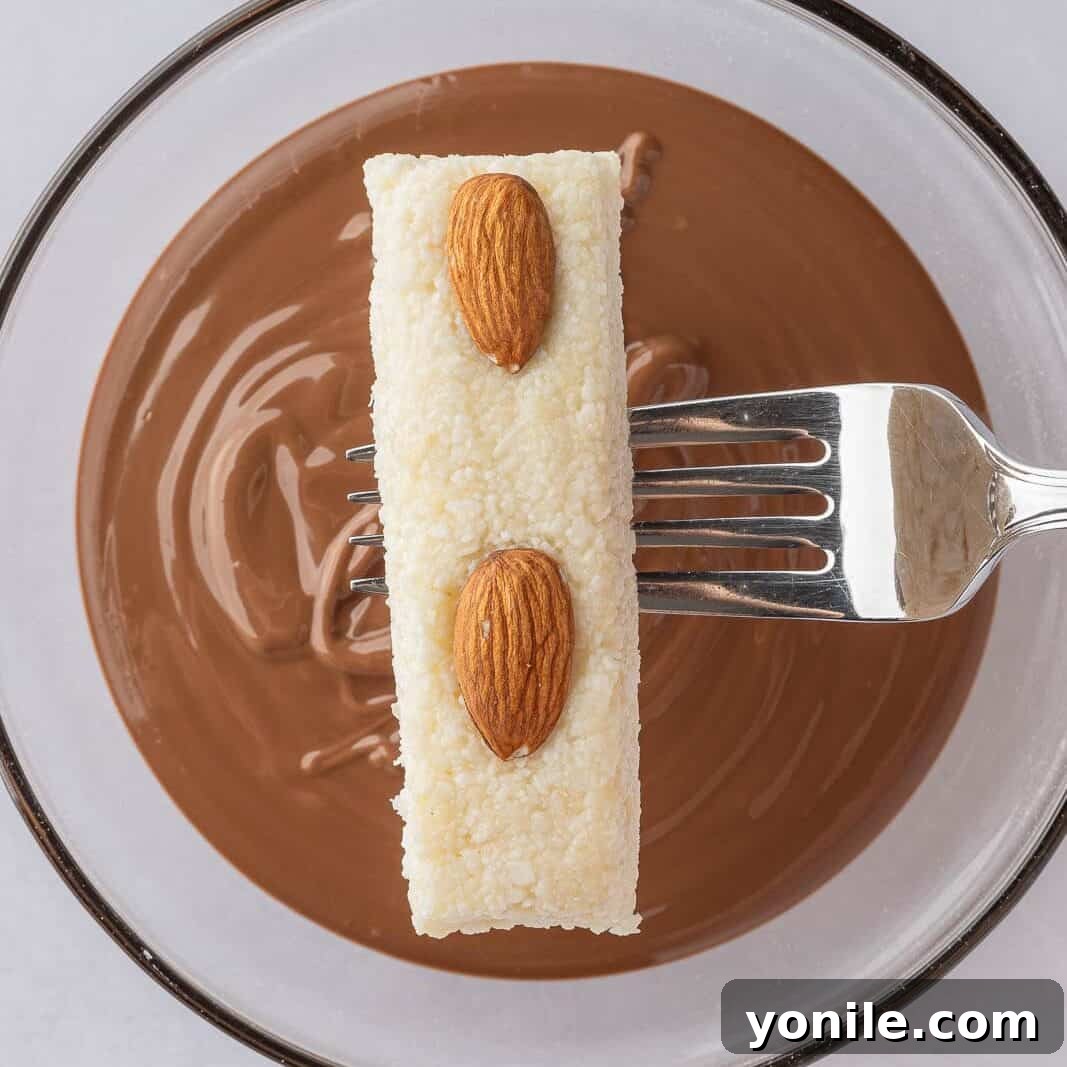
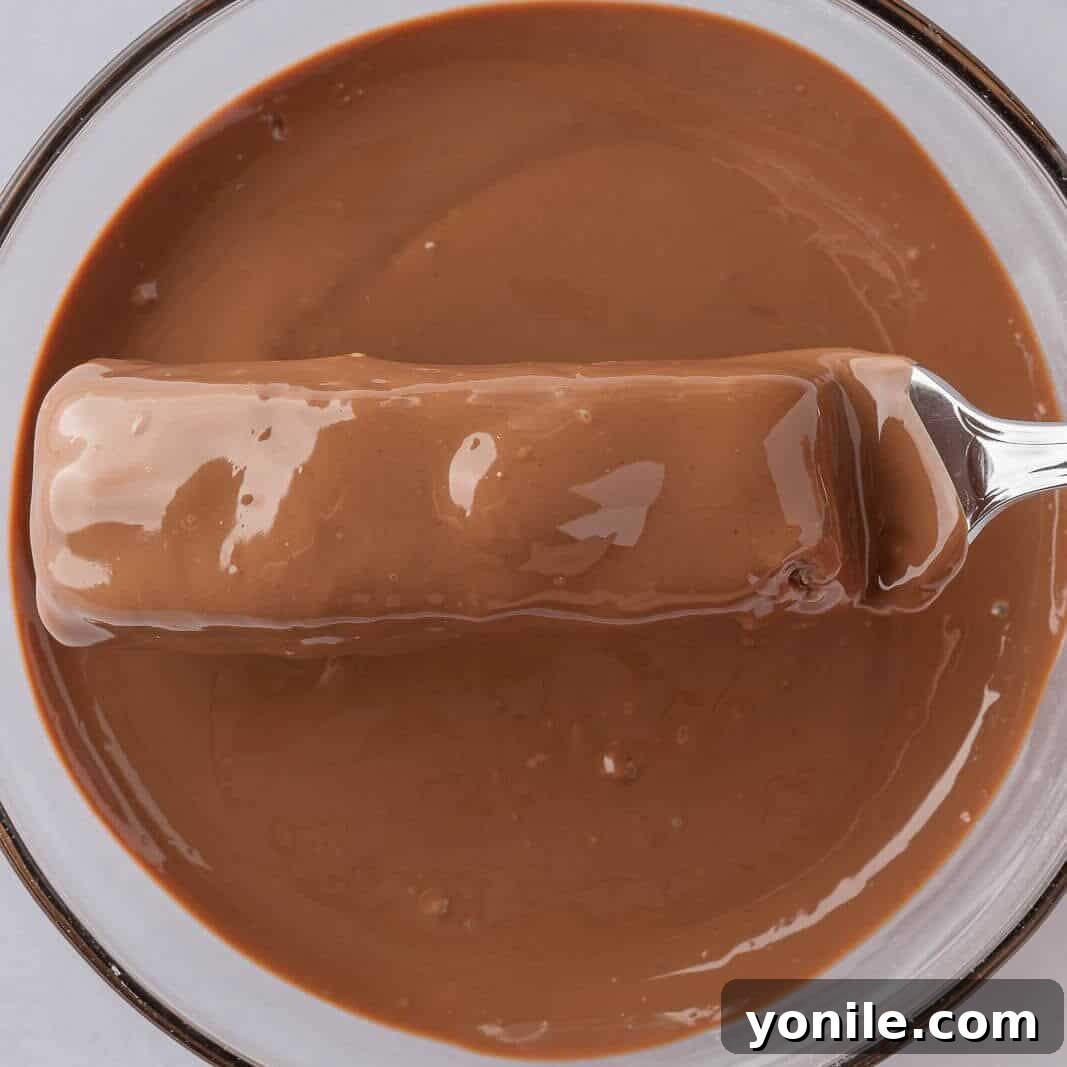
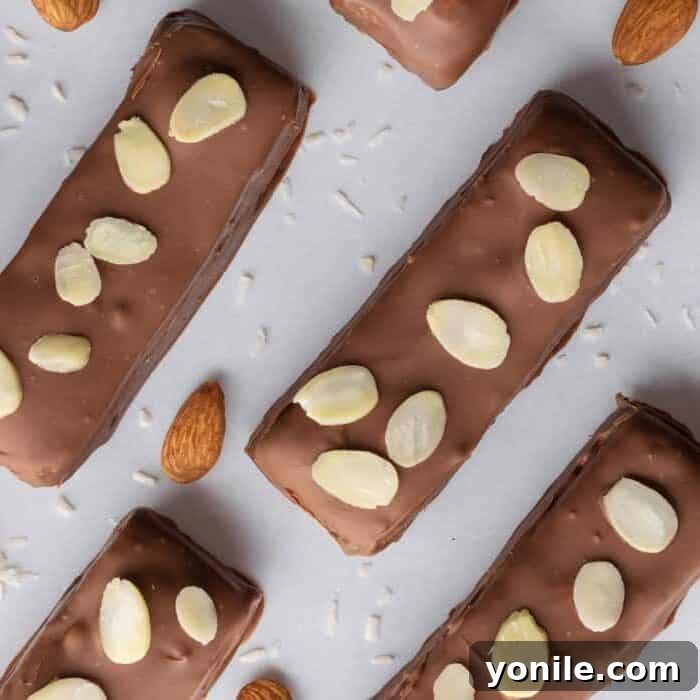
Expert Tips for Flawless Coconut Chocolate Bars
- Prevent Sticking: When working with the sticky coconut mixture, a simple trick is to lightly spray your spatula or hands with cooking spray. This will prevent the mixture from adhering, allowing for easier handling and a smoother pressing process into the pans.
- Effortless Dipping with a Fork: For a clean and even chocolate coating, always use a fork to dip your bars. The prongs allow excess chocolate to drip off easily, preventing thick, clumpy layers and ensuring a delicate, uniform shell.
- Gentle Chocolate Melting is Key: Whether you opt for a double boiler or a microwave, always melt your chocolate gently and slowly. Overheating chocolate can cause it to scorch, become grainy, or seize, making it unusable for dipping. Stir frequently to ensure a smooth, luxurious consistency.
- Work with Speed: Melted chocolate begins to set rather quickly, especially when it comes into contact with the cold coconut bars. Therefore, it’s essential to work swiftly when dipping and garnishing each bar to achieve a beautifully smooth and intact coating before the chocolate hardens.
- Keep the Bars Cold: Maintaining a very cold temperature for your coconut bars throughout the dipping process is crucial. This helps the chocolate set almost instantly upon contact, ensuring a crisp shell and preventing the coconut filling from softening or breaking apart.
- Choose Quality Chocolate: The type of chocolate you use can significantly impact the final taste. Invest in good quality chocolate chips or melting wafers for the best flavor and a smooth, easy-to-work-with consistency.
- Proper Storage: Once set, store your bars in an airtight container to maintain their freshness and prevent them from drying out.
Common Questions & Expert Answers About Your Homemade Treats
Making a makeshift double boiler at home is quite simple! Just fill a small saucepan with about 1-2 inches of water and bring it to a gentle simmer over medium-low heat. Then, place a heat-safe bowl (preferably glass or metal) on top of the saucepan, ensuring that the bottom of the bowl does not touch the simmering water. Add your chocolate chips to this top bowl. The steam from the simmering water will gently and indirectly melt the chocolate, preventing it from scorching. Stir the chocolate continuously as it melts for a smooth, even consistency.
To maintain their optimal freshness, texture, and flavor, these homemade coconut chocolate bars should be stored in an airtight container. Keep them in the refrigerator, where they will remain fresh and delightful for up to two weeks. Storing them in the fridge also helps the chocolate coating stay firm and prevents the coconut filling from becoming too soft.
Absolutely! These coconut chocolate bars are excellent candidates for freezing, allowing you to enjoy them over a longer period. For best results, once the chocolate coating has fully set, wrap each bar individually in plastic wrap or parchment paper. Then, place the wrapped bars in a freezer-safe airtight container. They can be frozen for up to two months. When you’re ready to indulge, thaw them overnight in the refrigerator, or for about an hour at room temperature (make sure to remove the wrapper first) before serving to achieve the perfect texture.
Unleash Your Creativity: Variations and Customizations
While the classic Almond Joy-inspired combination is undeniably delicious, these homemade coconut chocolate bars are incredibly versatile, offering endless possibilities for customization. Don’t hesitate to get creative and tailor them to your personal preferences or what you have available in your pantry!
- Nut Alternatives: If almonds aren’t your favorite, or you’re looking for a different flavor profile, consider swapping them for other roasted nuts. Pecans offer a buttery richness, walnuts provide a slightly earthier crunch, or even macadamia nuts for a tropical touch.
- Chocolate Choices: Experiment with different types of chocolate for your coating. Beyond milk and dark, white chocolate can create a beautiful contrast, or try a flavored chocolate for an added dimension. You could also drizzle a contrasting chocolate over the top for a decorative finish.
- Add-ins to the Coconut Filling: Before pressing the coconut mixture into the pan, fold in some mini chocolate chips for an extra chocolatey interior. A teaspoon of vanilla extract or almond extract can also enhance the overall flavor. For a citrusy twist, add a bit of orange or lime zest.
- Toppings Galore: Beyond sliced almonds, consider other toppings. A sprinkle of sea salt flakes on top of the wet chocolate can truly elevate the flavor, offering a delightful sweet and salty combination. Chopped pecans, mini M&Ms, or even a dusting of cocoa powder could also be interesting garnishes.
- Spice It Up: For a more gourmet touch, you could infuse the melted chocolate with a pinch of cayenne pepper for a subtle spicy kick, or add a dash of cinnamon or cardamom to the coconut mixture for warmth.
- Mini Bites: Instead of cutting into traditional bar shapes, roll the coconut mixture into small balls before dipping in chocolate for delightful bite-sized truffles. These are perfect for entertaining or portion control.
More Delightful Coconut Creations to Explore
If you’re a fan of the sweet, tropical flavor of coconut and are eager to explore more coconut-infused treats, you’ll love these other recipes from Cookin’ With Mima:
- Almond Joy Energy Bites
- Almond Joy Overnight Chia Pudding
- Almond Joy Ice Cream
Final Thoughts on These Irresistible No-Bake Treats
These no-bake coconut chocolate bars are truly a testament to the fact that delicious desserts don’t have to be complicated. They are the perfect solution for those moments when you crave a sweet treat that’s both easy to prepare and profoundly satisfying. By combining simple pantry staples like shredded coconut, sweetened condensed milk, chocolate chips, and almonds, you can create a delightful confection that everyone will adore. Whether you’re making them for a special occasion, a casual snack, or a thoughtful homemade gift, these Almond Joy-inspired bars are guaranteed to impress with their perfect blend of chewy, crunchy, and chocolatey goodness. Indulge in the joy of creating something truly special with minimal effort and maximum flavor.
If you embark on this delicious journey and try this recipe or any other on Cookin’ With Mima, please consider leaving a star rating and comment below. Your feedback helps others discover amazing recipes!
Connect with Cookin’ With Mima on Facebook, Instagram, and Pinterest for all the latest culinary inspiration and delightful recipes.
Pin Recipe
Print Recipe
Almond Joy Inspired No-Bake Coconut Chocolate Bars
Mariam Ezzeddine
10
2
2 10
14 Bars
Ingredients
-
4 to 5 cups unsweetened shredded coconut, depending on desired consistency and type of coconut used. -
14 ounces sweetened condensed milk -
2 cups chocolate chips (choose milk or dark chocolate based on preference) -
28 whole almonds, roasted for enhanced flavor and crunch. -
Sliced almonds, for optional garnish.
Instructions
-
Prepare Baking Trays: Line two 8×4 inch baking trays with plastic food wrap or aluminum foil, ensuring enough overhang to easily lift the bars out later. Lightly spray the lining with baking spray to prevent any sticking. Set these prepared pans aside.
-
Ready the Cookie Sheet: Prepare a separate cookie sheet by covering it with a sheet of parchment paper. This will serve as the drying rack for your chocolate-dipped bars, so keep it easily accessible.
-
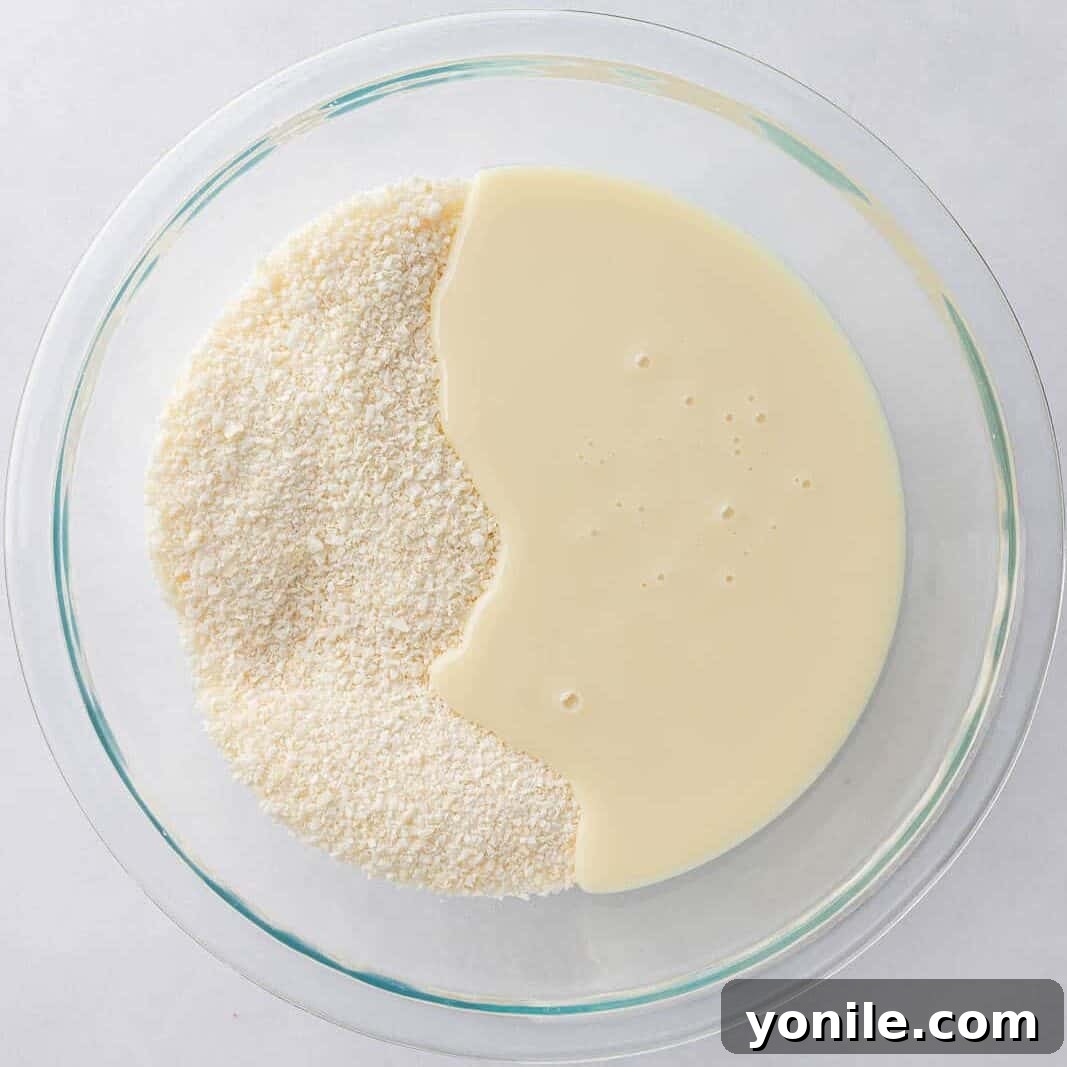
Mix the Coconut Filling: In a large mixing bowl, thoroughly combine the sweetened condensed milk with the shredded coconut. Begin with 4 cups of coconut, mixing well with your hands to ensure every single piece of coconut is beautifully and evenly coated with the milk. The ideal consistency should be thick, sticky, and firm enough to hold its shape when you try to roll a ball with it. If the mixture appears too soft or wet, gradually add more coconut, one tablespoon at a time, until the desired firm yet pliable consistency is achieved. A proper consistency is crucial; if too soft, the bars will be challenging to dip into chocolate without breaking apart.
-
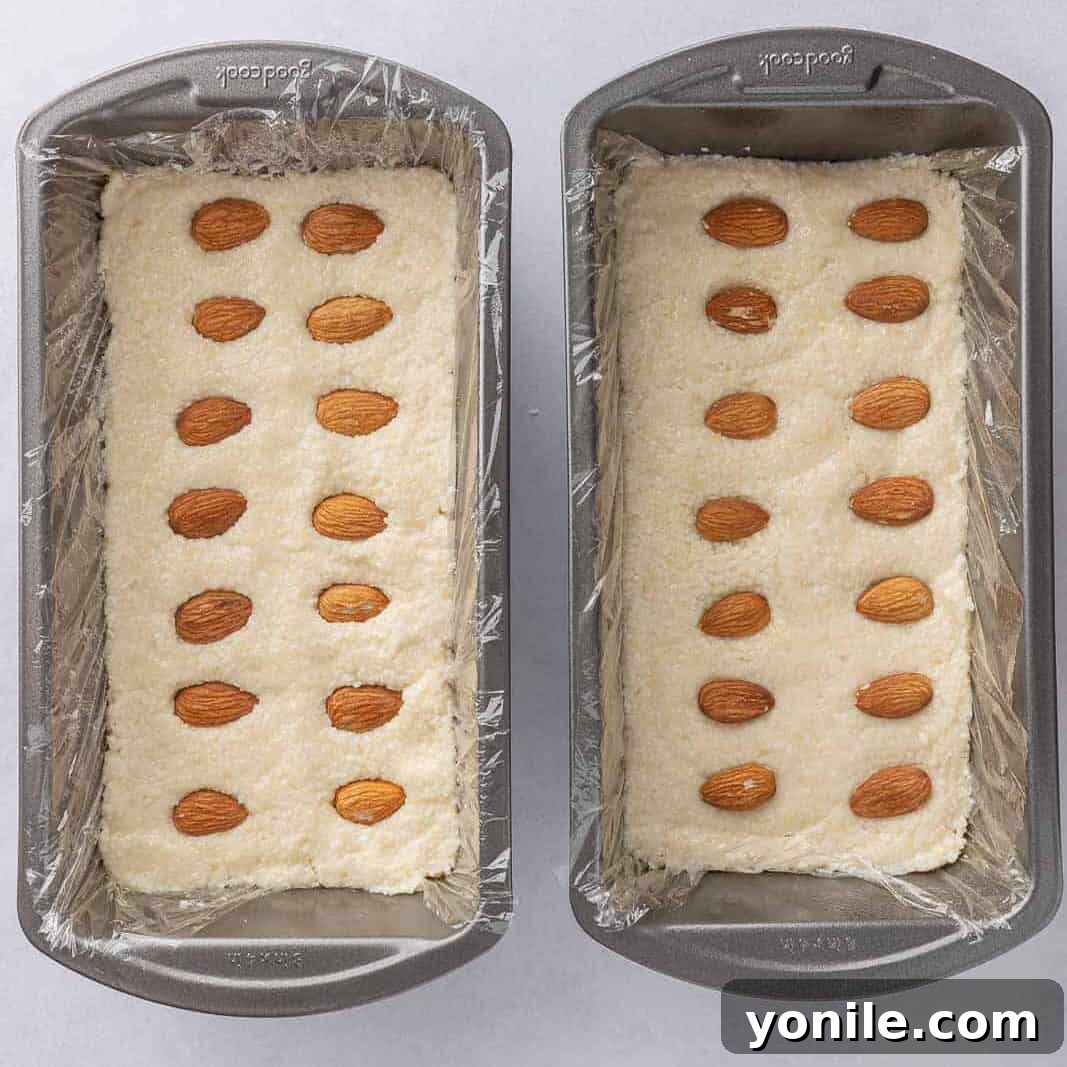
Divide the Mixture: Divide the prepared coconut mixture evenly between the two lined 8×4 inch pans. If you have a single 8×8 inch pan, you can use that instead, adjusting the thickness of the layer as needed.
-
Press Firmly: With the help of a spatula (which you may wish to spray lightly with cooking spray to prevent sticking), firmly press the coconut mixture into the bottom of each pan. Compact it well to create a dense, even layer that will hold together when cut.
-
Add Almonds: Carefully arrange the roasted whole almonds on top of the pressed coconut mixture. Strategically place them so that each future bar will have two almonds visible on its surface, creating the iconic Almond Joy look.
-
Freeze the Filling: Transfer both pans to the freezer and allow them to chill for approximately 1-2 hours. This critical step ensures the coconut filling becomes very firm, making it easy to cut and handle without falling apart during the subsequent chocolate-dipping process.
-
Cut the Bars: Once the coconut filling is adequately chilled and firm, remove one pan at a time from the freezer. Invert the pan onto a clean cutting board and carefully peel away the plastic wrap or aluminum foil. Using a sharp knife, cut the 8×4 inch block into 7 individual bars. Ensure that each bar includes two almonds on top, as planned.
-
Re-chill Cut Bars: Place the newly cut coconut bars back into the freezer immediately to maintain their solid, chilled state while you prepare the chocolate coating. Repeat this entire cutting process for the second 8×4 pan of filling. Keeping them very cold is essential for successful and neat dipping.
-
Melt the Chocolate: Prepare your chocolate coating using either a double boiler for a smooth, even melt, or carefully in the microwave. If using a microwave, heat the chocolate chips in 30-second increments on 50% power, stirring thoroughly after each interval until the chocolate is completely smooth, glossy, and fully melted. Be careful not to overheat to avoid scorching.
-
Dip the Bars: Working efficiently with one bar at a time, retrieve a chilled coconut bar from the freezer. Use a fork to gently dip the bar completely into the melted chocolate, ensuring it is fully coated from all sides.
-
Remove Excess Chocolate: Carefully lift the chocolate-coated bar with the fork, allowing any excess chocolate to drip back into the bowl. Gently tap the fork against the side of the bowl to encourage drips to fall, then smoothly transfer the bar onto the prepared cookie sheet lined with parchment paper.
-
Garnish (Optional): If desired, immediately sprinkle the top of the freshly dipped bar with a few sliced almonds for an extra visual appeal and a delicate crunch before the chocolate has a chance to set.
-
Repeat the Process: Continue this dipping and garnishing process for all remaining coconut bars. Work quickly and efficiently to keep the melted chocolate at an ideal dipping consistency.
-
Set the Chocolate: Once all bars are dipped, place the cookie sheet with the chocolate-covered bars back into the fridge or freezer. This will help the chocolate set quickly and achieve that satisfying crisp shell.
-
Enjoy! After the chocolate has fully set (this usually takes about 15-30 minutes in the fridge or less in the freezer), your homemade Almond Joy-inspired Coconut Chocolate Bars are ready to be savored! Enjoy your delectable, easy-to-make treats.
Recipe Notes for Success
- Non-Stick Spatula Trick: To prevent the sticky coconut mixture from adhering to your spatula while pressing it into the pans, lightly spray the spatula with cooking spray. This simple trick ensures a smoother, more even layer with less hassle.
- The Fork Advantage for Dipping: A fork is truly your best friend for dipping these bars into chocolate. Its design allows excess chocolate to drip off easily, preventing thick, clumpy coatings and ensuring a delicate, uniform chocolate shell around each bar.
- Melt Chocolate Gently: Always melt your chocolate slowly and gently, whether you’re using a double boiler or a microwave. Overheating can cause the chocolate to scorch, become grainy, or seize, which would ruin its smooth texture and make it difficult to coat the bars. Stir frequently for the best results.
- Work with Speed: Melted chocolate begins to set quite rapidly, especially when it comes into contact with the cold coconut bars. Therefore, it’s important to work efficiently and quickly when dipping and garnishing each bar to achieve a smooth, professional finish before the chocolate stiffens.
- Maintain Cold Temperature: Keeping the coconut bars very cold throughout the entire process is paramount. This ensures the chocolate sets almost instantly upon contact, providing a satisfying crisp shell and preventing the coconut filling from breaking apart or losing its firm structure.
Nutrition Information (Per Bar)
Carbohydrates: 38g |
Protein: 4g |
Fat: 26g |
Saturated Fat: 20g |
Polyunsaturated Fat: 1g |
Monounsaturated Fat: 2g |
Cholesterol: 10mg |
Sodium: 45mg |
Potassium: 320mg |
Fiber: 4g |
Sugar: 32g |
Vitamin A: 76IU |
Vitamin C: 1mg |
Calcium: 110mg |
Iron: 1mg
Love this recipe? Share your thoughts and leave a comment below!