
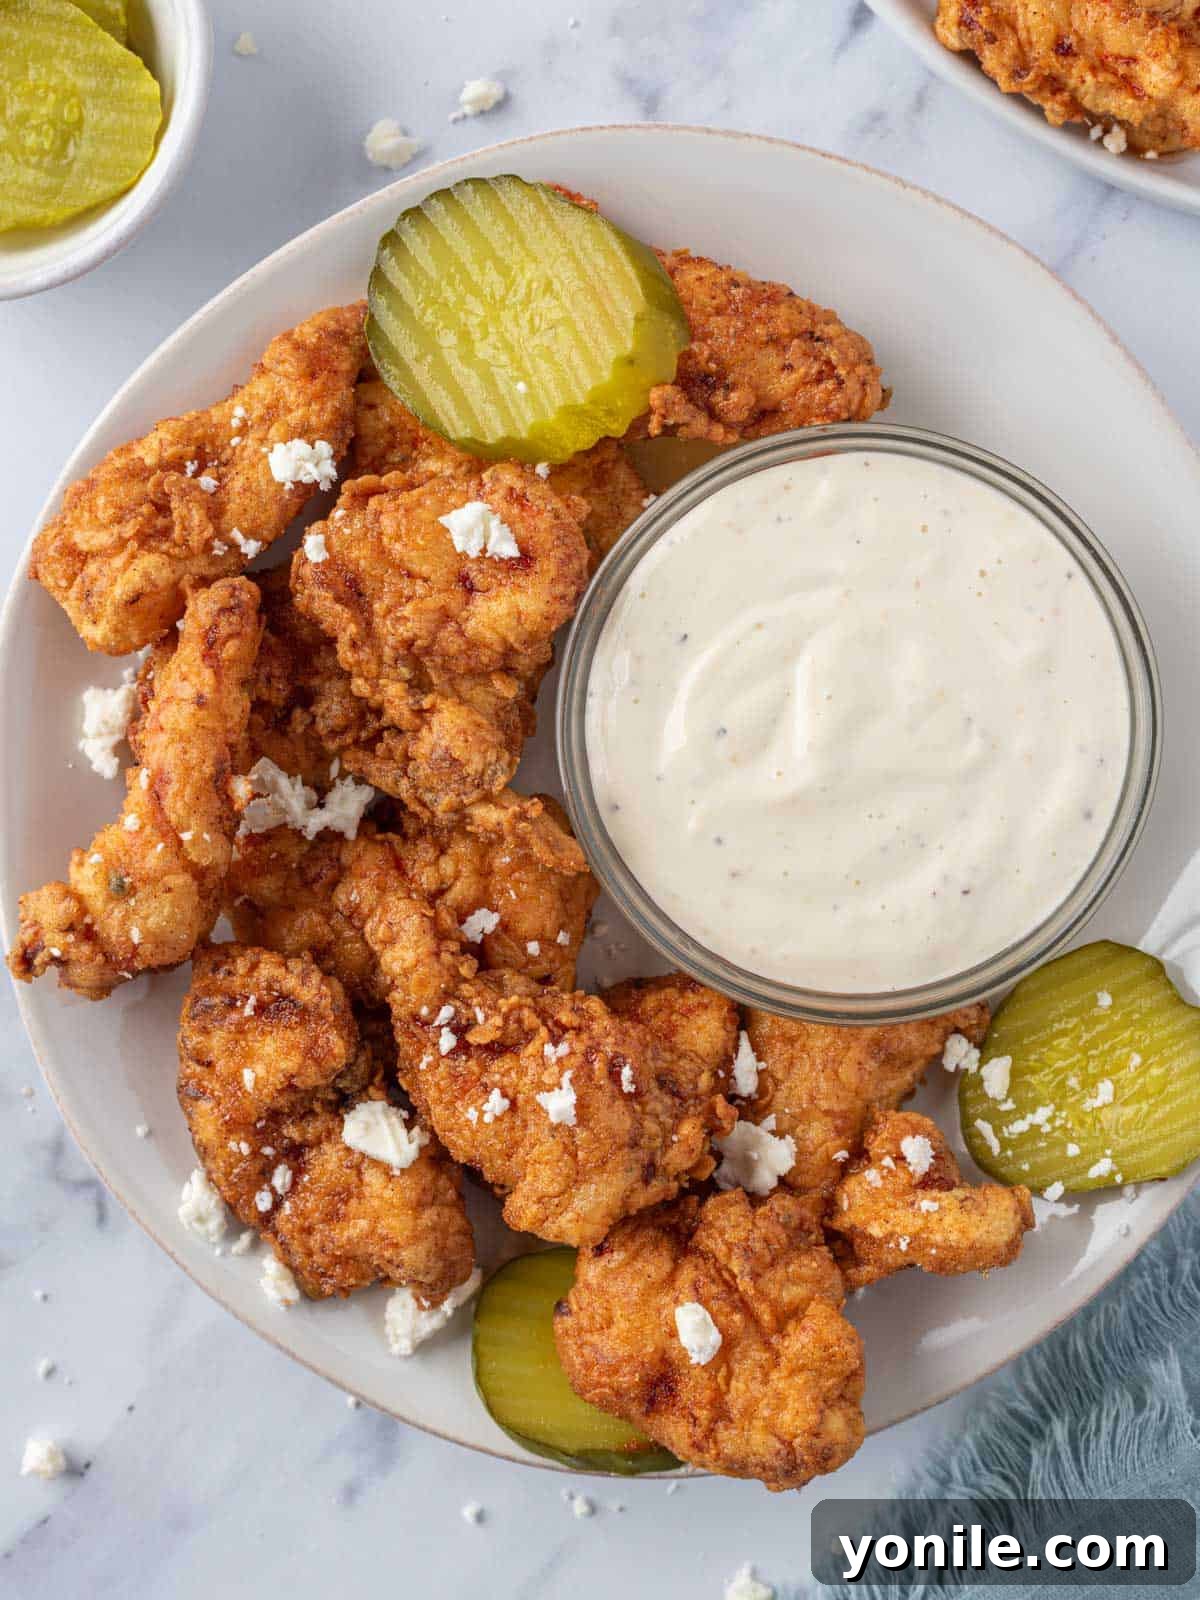
Authentic Nashville Hot Chicken Tenders: Crispy, Spicy, and Irresistibly Flavorful
Get ready to experience an explosion of flavor with these **Nashville Hot Chicken Tenders**! Infamously spicy yet delightfully sweet, these golden-brown fried chicken tenders are a culinary revelation that promises to make you sweat in the best possible way. Each tender boasts a perfectly crispy exterior that gives way to incredibly juicy, succulent meat, all generously coated in an iconic fiery sauce. This isn’t just a meal; it’s an addictive sensation that will have your family begging for more. Forget expensive takeout – with this recipe, you can recreate the authentic taste of Nashville right in your own kitchen, delivering restaurant-quality hot chicken tenders that are superior in every bite.
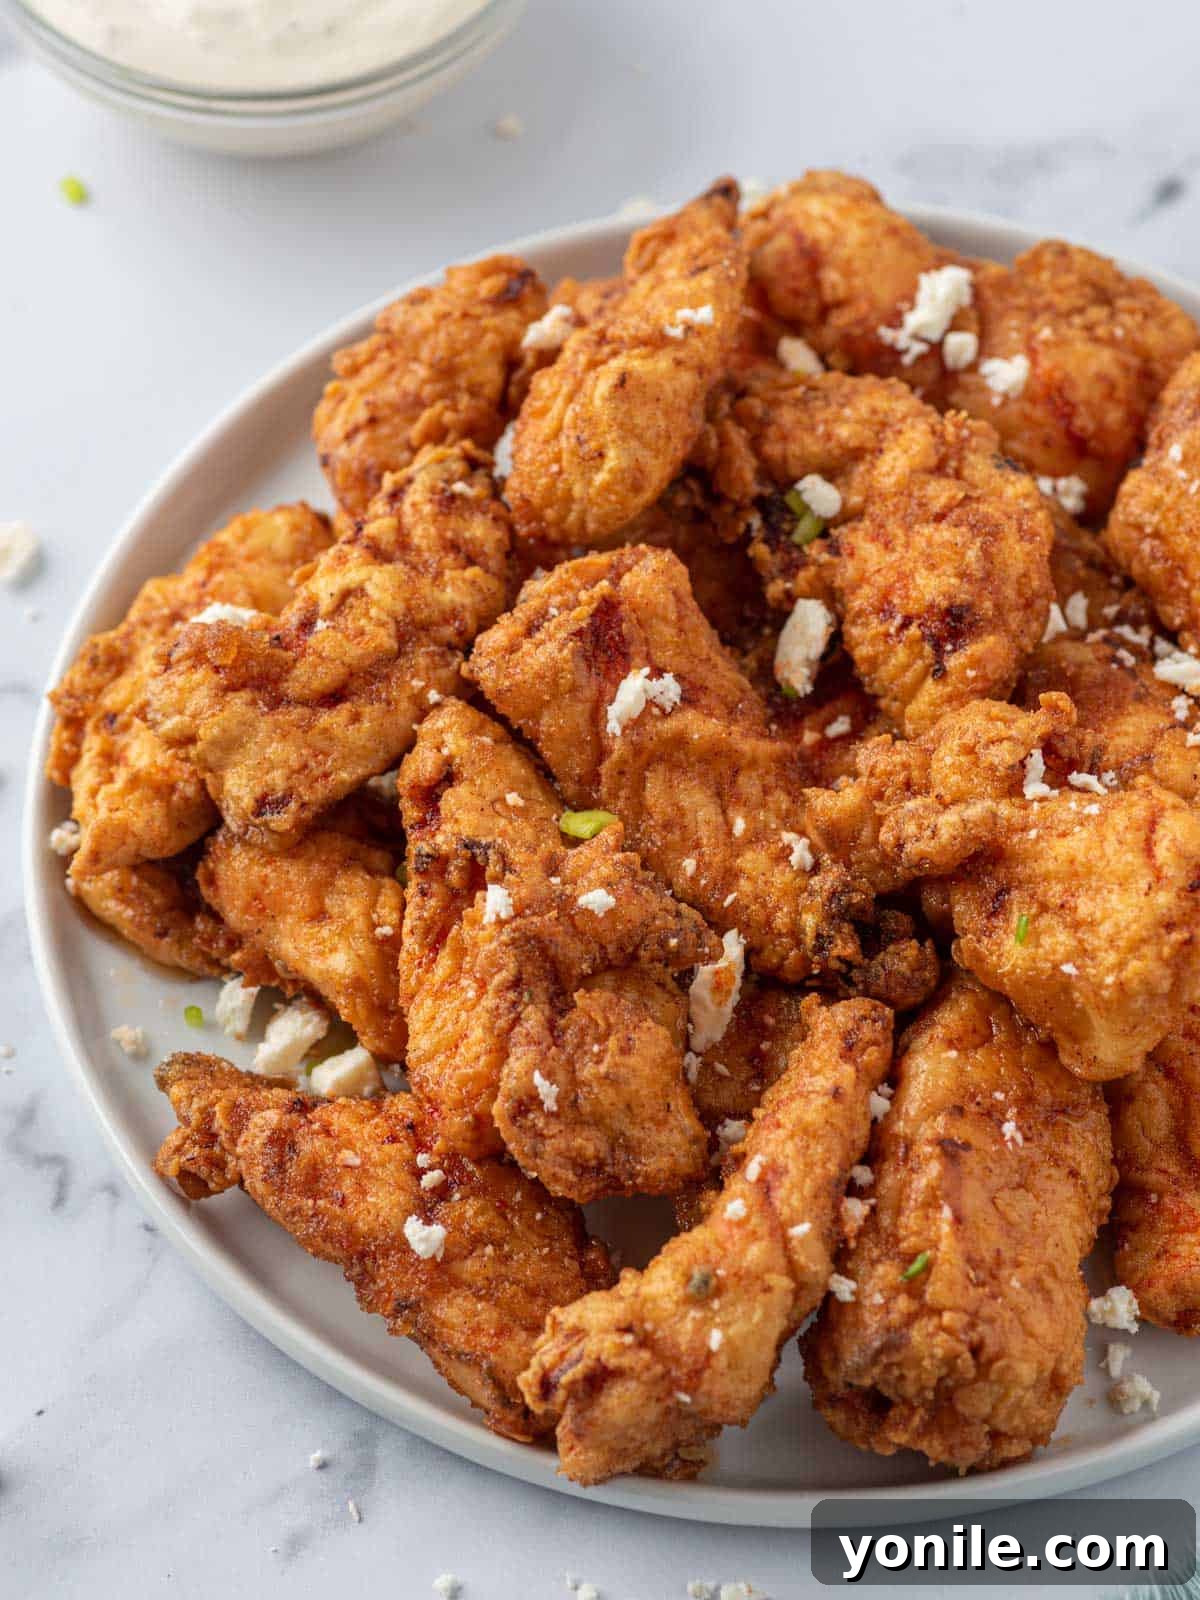
These Nashville Hot Chicken Tenders are a testament to crispy, spicy fried chicken at its finest. They’re guaranteed to awaken your tastebuds with their bold, complex profile. The secret to their unparalleled juiciness and tenderness lies in a strategic buttermilk marinade, infusing the chicken with moisture and flavor before it even hits the fryer. Despite their gourmet appeal, this recipe is surprisingly straightforward and comes together in less than an hour of active cooking time. It might look impressive, but the process is far easier than you’d imagine, making this a must-try recipe you absolutely won’t regret.
Once you’ve mastered the art of frying these tenders, you’ll find yourself with perfectly seasoned oil. Don’t let it go to waste! You can easily strain and reuse it for other delicious fried dishes. Consider making my Sweet and Spicy Asian Chicken or Crispy Honey Chicken later in the week to maximize its use and enjoy more incredible homemade meals!
Why You’ll Fall in Love with This Nashville Hot Chicken Tenders Recipe
There are countless reasons why this Nashville Hot Chicken Tenders recipe stands out, promising a culinary experience that will quickly become a household favorite:
- Unbelievably Crispy Perfection: Say goodbye to soggy chicken! Our method ensures each tender is encased in an incredibly crispy, golden-brown crust. Every bite delivers a satisfying crunch followed by an explosion of hot flavor. This homemade version surpasses takeout, as restaurant-ordered chicken often loses its coveted crispness during the journey home. You’ll achieve a perfect texture that’s simply impossible to replicate with delivery.
- Surprisingly Simple to Prepare: Despite its impressive results, this recipe is remarkably straightforward. The process involves just a few key steps: first, a flavorful marinade for tenderizing, followed by a seasoned coating, and then a quick deep-fry. The final flourish is a simple yet potent Nashville hot sauce that comes together in minutes. Even novice cooks will find this recipe approachable and rewarding.
- A Classic Southern Icon Reimagined: These chicken tenders are inspired by the legendary fried chicken originating from Nashville, Tennessee. The story goes that Prince’s Hot Chicken Shack inadvertently created this iconic dish as a form of “revenge” that backfired deliciously, turning a punishment into a beloved regional specialty. By making these tenders at home, you’re not just cooking; you’re participating in a rich culinary tradition, bringing a piece of Southern comfort and spice to your table.
- Juicy & Tender Every Time: Thanks to the buttermilk marinade, your chicken tenders will be infused with moisture and flavor, ensuring they are melt-in-your-mouth tender on the inside, perfectly complementing their crispy exterior.
- Customizable Heat Level: While this recipe delivers an authentic Nashville kick, you have full control. Easily adjust the amount of cayenne pepper in the coating and sauce to tailor the spice level to your preference, from a gentle warmth to an intense inferno.
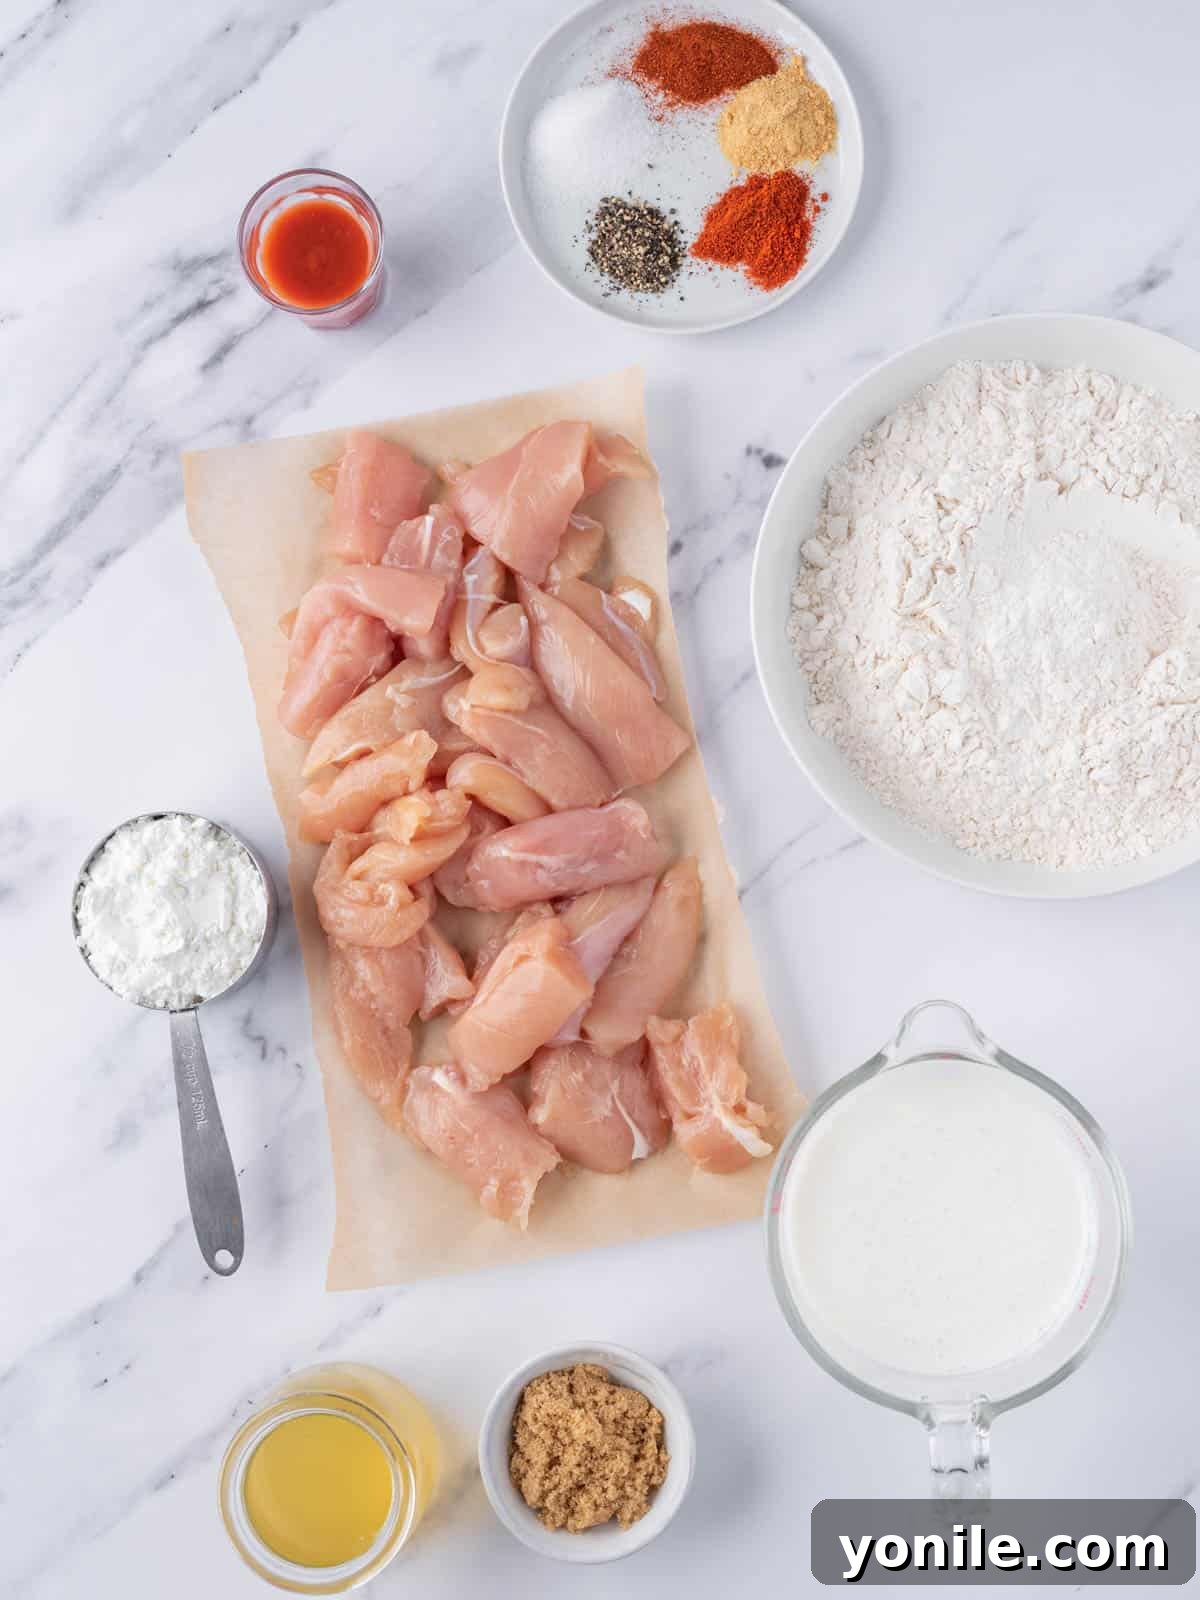
Essential Ingredients for Nashville Hot Chicken Tenders
Crafting the perfect Nashville Hot Chicken Tenders requires a balance of pantry staples and key spices:
- For the Marinade: This crucial step infuses the chicken with moisture and flavor. You’ll need fresh buttermilk (essential for tenderizing the meat), tangy pickle brine (adds depth and a unique zest), a generous splash of your favorite hot sauce (for an initial layer of heat), aromatic paprika, fiery cayenne pepper, pungent garlic powder, and a foundational blend of salt and black pepper.
- Chicken Selection: We recommend high-quality chicken tenders for their naturally tender texture and uniform size, which ensures even cooking. However, for a more economical option, you can easily slice boneless, skinless chicken breasts into thinner strips of similar size.
- Seasoned Coating: This dry mixture is what gives our tenders their incredible crunch. Combine all-purpose flour, crisping corn starch (the secret to extra crunch!), vibrant paprika, an additional kick of cayenne pepper, savory onion powder, fragrant garlic powder, and precise amounts of salt and black pepper.
- Frying Oil: A neutral-flavored oil with a high smoke point is critical for deep-frying. Vegetable oil is a classic choice, but other suitable options include peanut oil, canola oil, or sunflower oil. Ensure you have enough to submerge the chicken pieces.
- Nashville Hot Sauce: This is where the magic happens! You’ll create this iconic sauce by whisking together a portion of the hot frying oil (this technique captures fried chicken flavor), sweet brown sugar (to balance the heat), a significant amount of cayenne pepper (for that signature Nashville burn), more paprika (for color and flavor), a touch of garlic powder, and a pinch of salt.
- Optional Garnish: For an extra layer of flavor and texture, consider serving your Nashville Hot Chicken Tenders with crumbled feta cheese and a side of cooling ranch or blue cheese dressing.
Step-by-Step Guide: How To Make Nashville Chicken Tenders
Follow these detailed steps to achieve perfectly crispy, juicy, and spicy Nashville Hot Chicken Tenders:
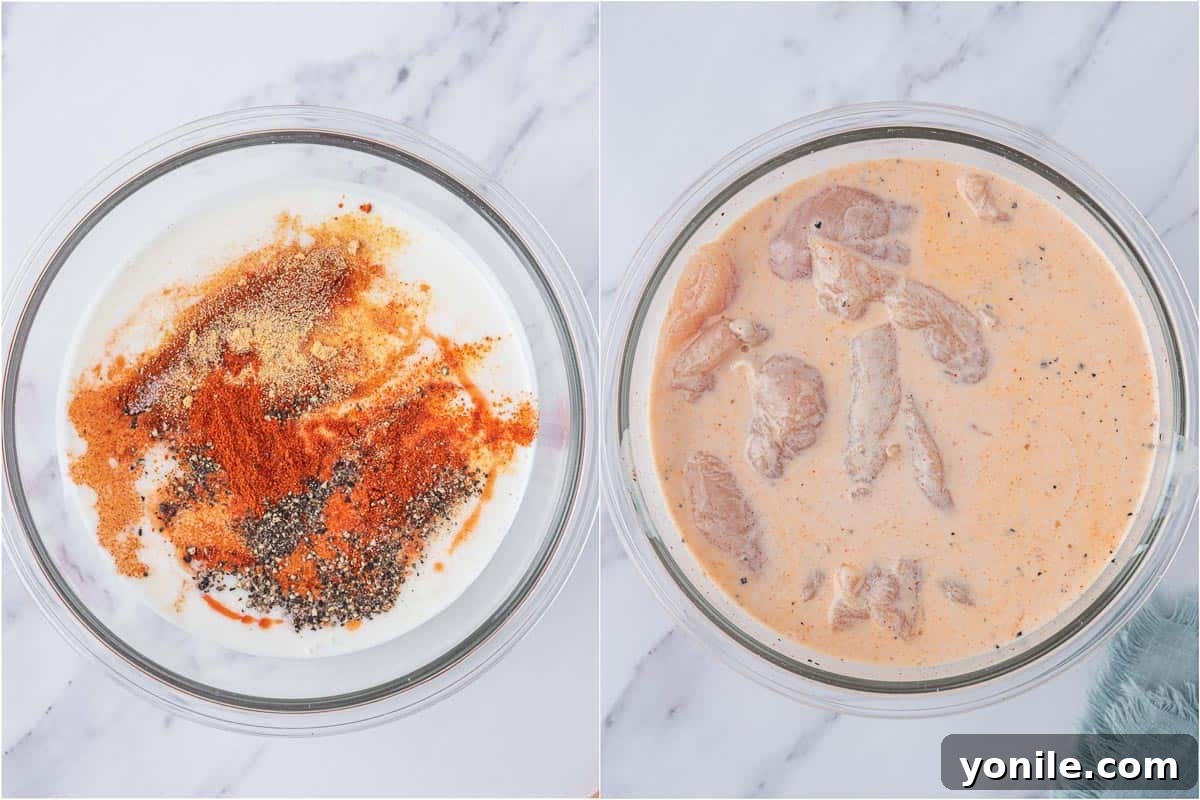
Step 1: Prepare the Flavor-Infused Marinade. In a large, non-reactive bowl, whisk together the buttermilk, pickle brine, hot sauce, paprika, cayenne pepper, garlic powder, and both salt and black pepper. This mixture forms the backbone of your chicken’s flavor and tenderness. Add the chicken tenders to this fragrant marinade, ensuring each piece is fully submerged and coated. Cover the bowl tightly and refrigerate for a minimum of 2 hours, or ideally, overnight, to allow the flavors to penetrate deeply and the buttermilk to work its tenderizing magic.
Step 2: Create the Crispy Coating Mixture. While your chicken is marinating, prepare the dry coating. In a wide, shallow bowl (perfect for dredging), combine the all-purpose flour, corn starch, paprika, cayenne pepper, onion powder, garlic powder, salt, and black pepper. Whisk these dry ingredients together thoroughly, ensuring an even distribution of all the spices. This seasoned flour mixture is key to achieving that signature crispy crust.
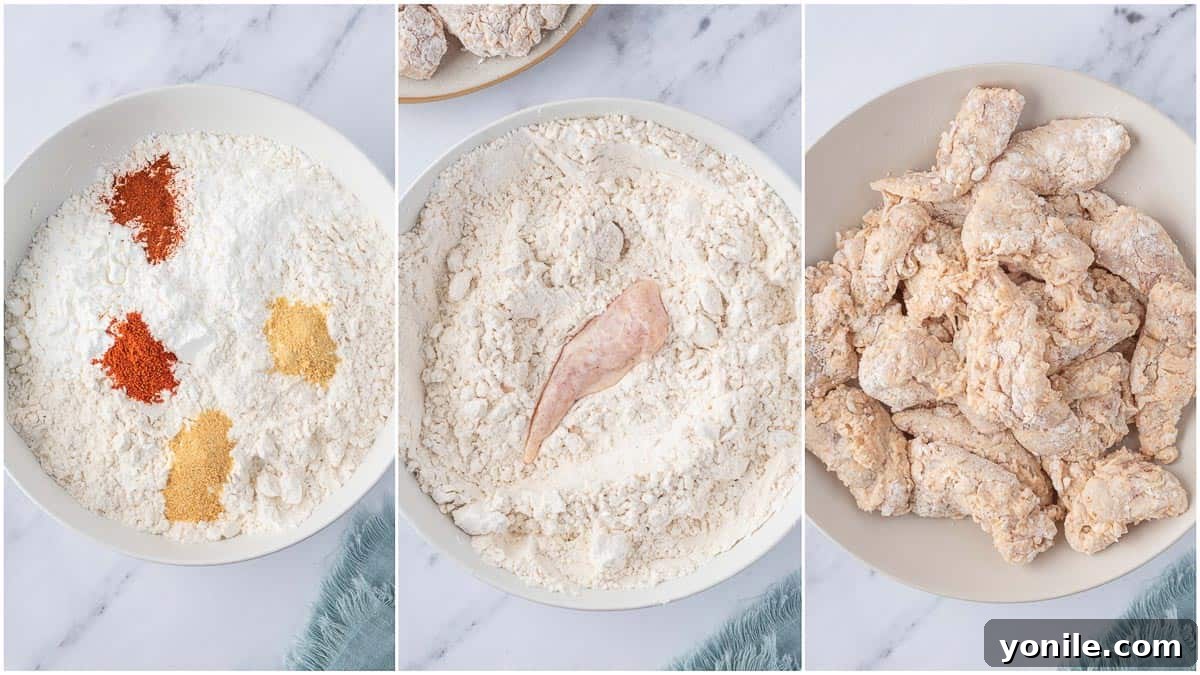
Step 3: Master the Dredging Technique. Remove the marinated chicken tenders from the refrigerator. One at a time, take each chicken piece from the buttermilk marinade, allowing any excess liquid to drip off. Immediately transfer it to the shallow bowl with the seasoned flour mixture. Press the chicken firmly into the flour, turning it to ensure it’s completely and evenly coated. You want a “shaggy” texture, where the flour clings to every crevice. Repeat this process with all the chicken pieces, placing the coated tenders on a clean plate or wire rack while you prepare for frying.
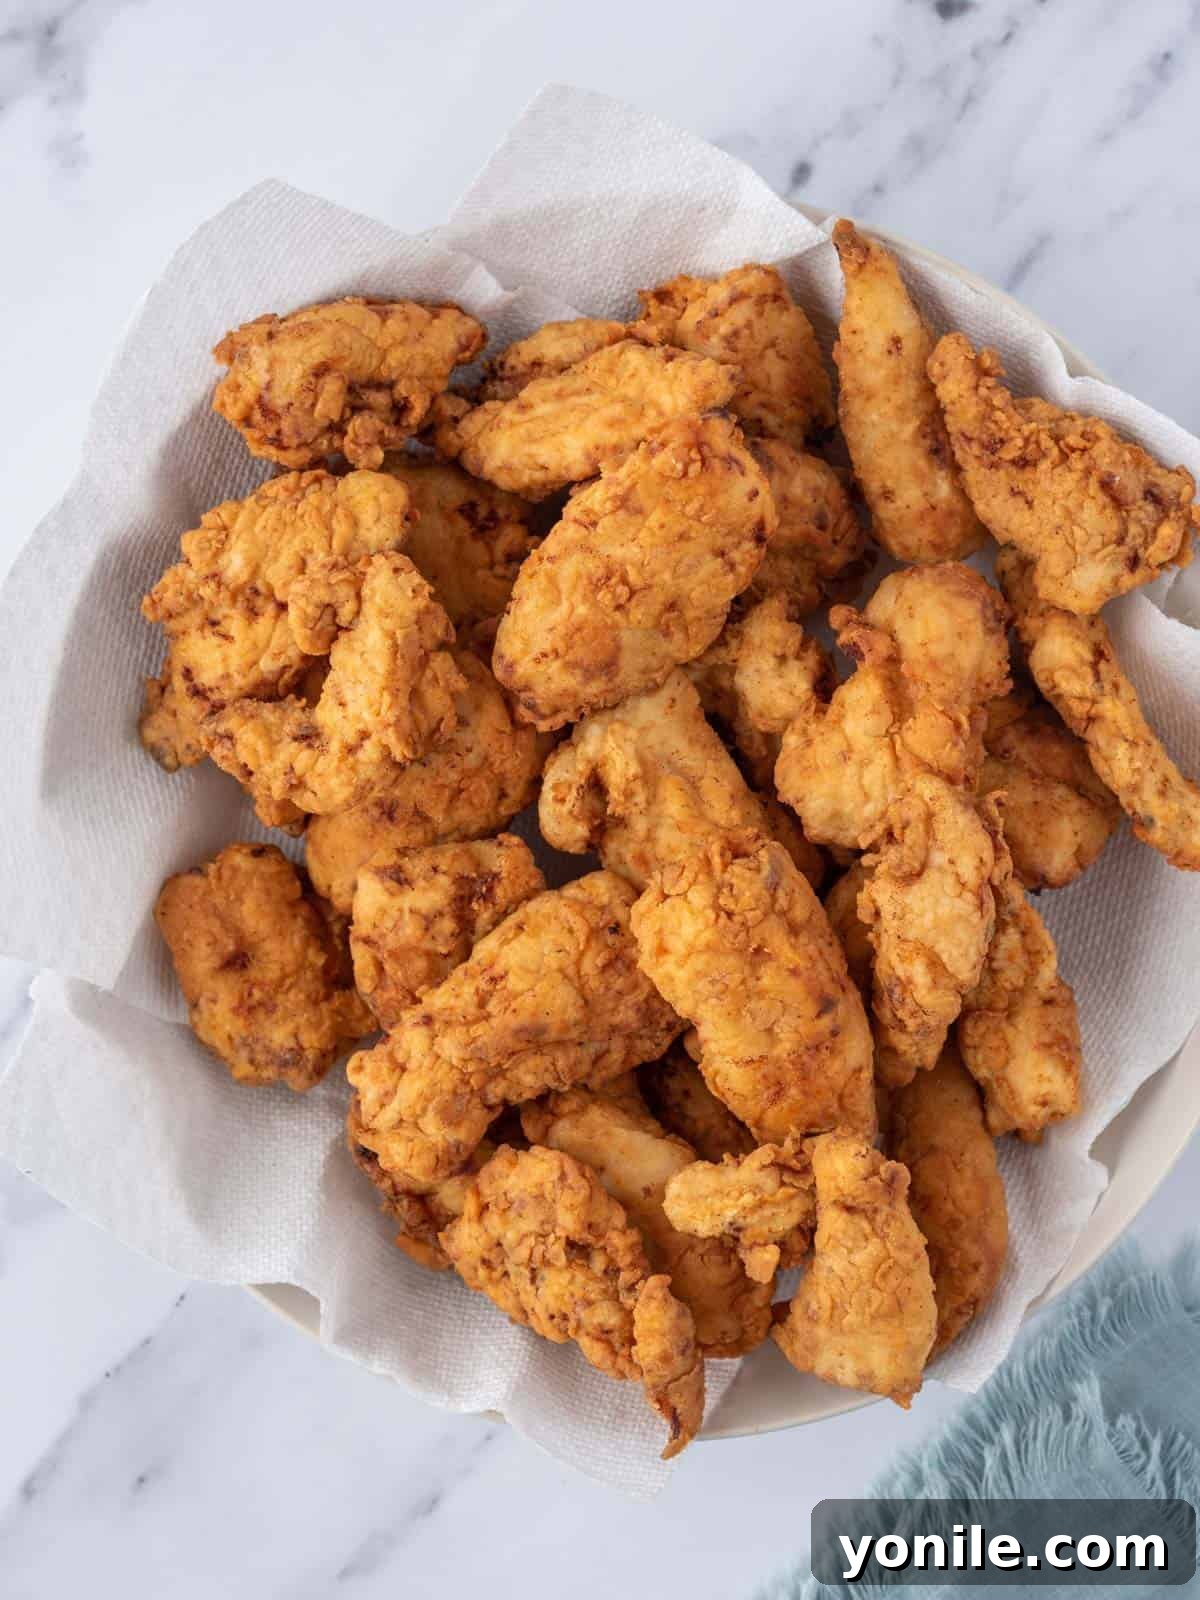
Step 4: Deep-Fry to Golden Perfection. In a large, deep pot or Dutch oven, pour enough vegetable oil to ensure the chicken tenders will be fully submerged. Heat the oil over medium heat until it reaches an optimal temperature of 350-375°F (175-190°C). Use a kitchen thermometer for accuracy. Carefully and slowly add the coated chicken tenders to the hot oil, working in batches to avoid overcrowding the pot. Overcrowding will lower the oil temperature and result in greasy, less crispy chicken. Fry each batch for approximately 5-6 minutes, or until the chicken is cooked through (internal temperature of 165°F / 74°C) and boasts a beautiful crispy, golden-brown crust. As each batch finishes, transfer the fried tenders to a wire rack set over paper towels to drain excess oil. For best results, keep the cooked tenders warm in a 250°F (120°C) oven while you fry the remaining batches.
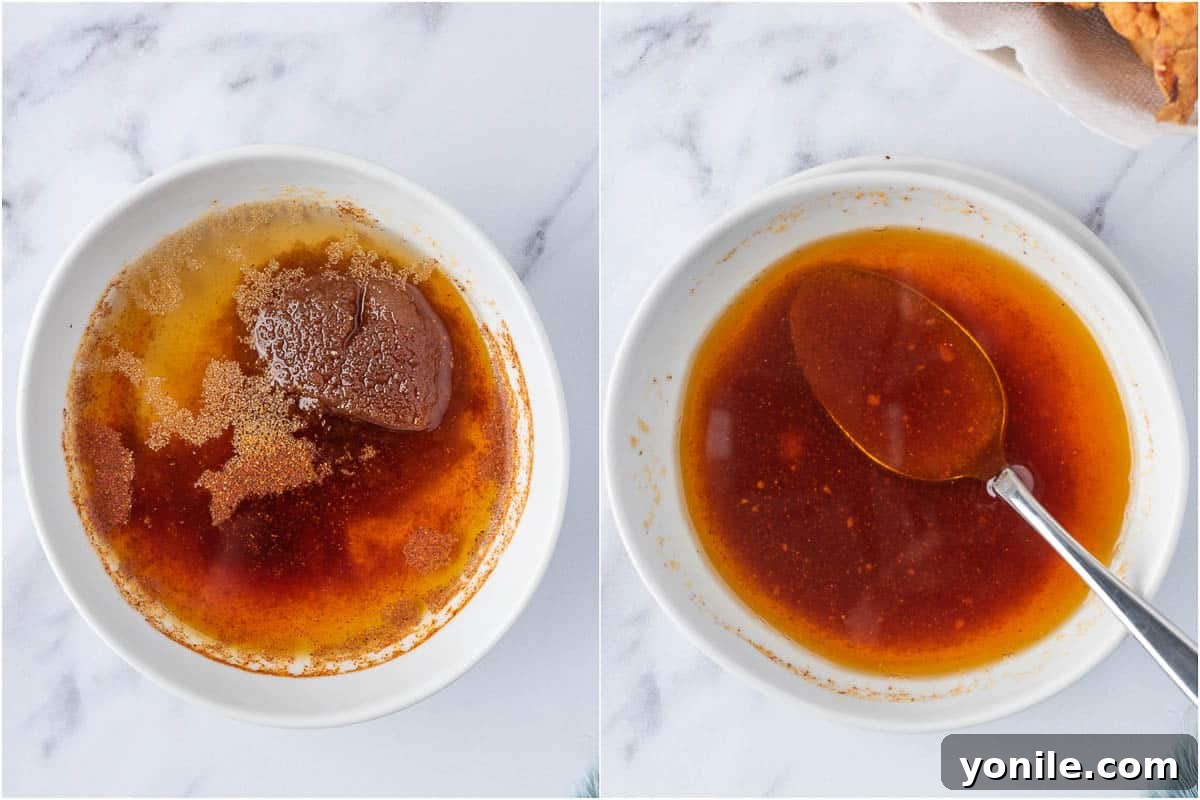
Step 5: Craft the Signature Nashville Hot Sauce. Once all the chicken is fried, carefully spoon about ½ cup of the hot frying oil from your pot into a small, heat-proof bowl. To this hot oil, add the brown sugar, a generous two teaspoons of cayenne pepper, one teaspoon of paprika, ½ teaspoon of garlic powder, and salt. Whisk vigorously until all ingredients are well combined and the sugar has dissolved. The hot oil is crucial here, as it helps to bloom the spices and create that unique, fiery flavor profile. Adjust cayenne to your preferred heat level.
Step 6: Generously Coat the Tenders with Hot Sauce. Now for the grand finale! You have two options for coating: you can either brush the prepared Nashville hot sauce generously over each fried chicken tender for a more controlled application, or for an authentic and bolder coating, place the fried chicken in a large bowl, pour the sauce over, and toss until every piece is evenly coated and glistening with the fiery red sauce. Be warned, this step brings the heat!
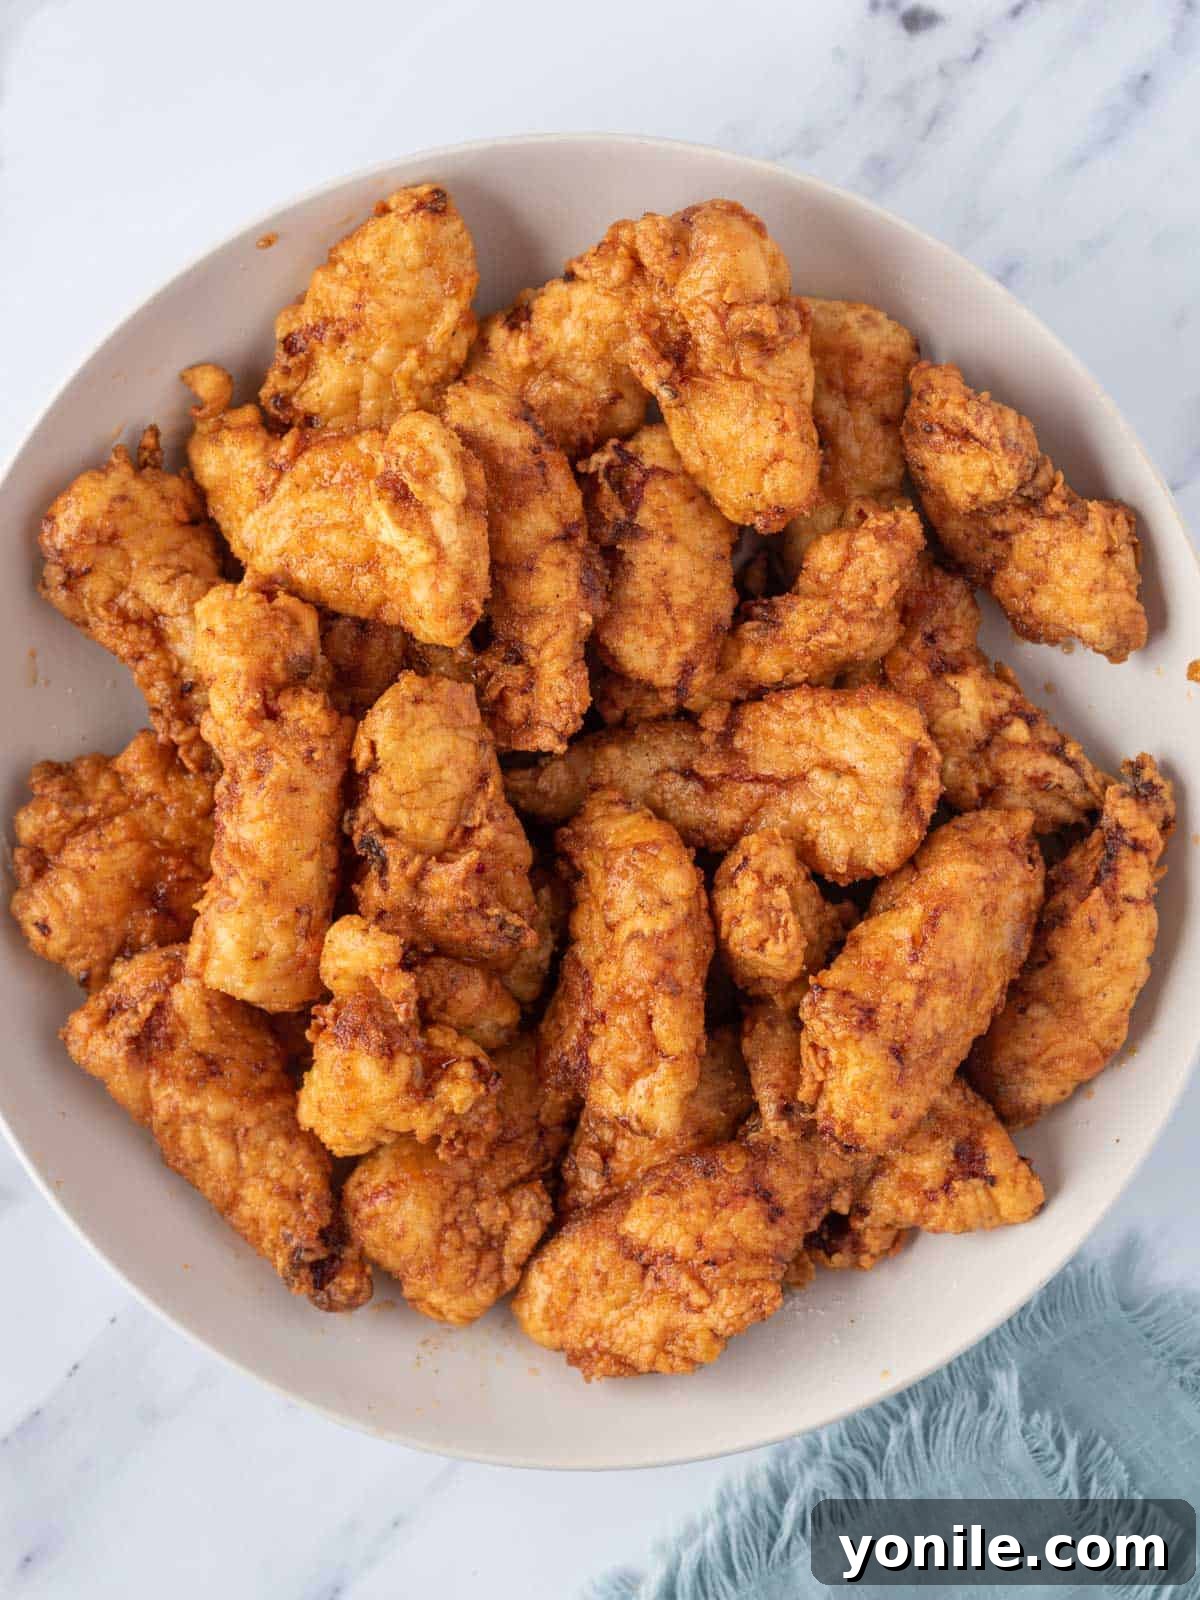
Step 7: Garnish and Serve Immediately. Arrange your Nashville Hot Chicken Tenders on a serving platter. For an optional but highly recommended touch, sprinkle crumbled feta cheese over the top – its tangy saltiness offers a delightful contrast to the spicy chicken. Serve immediately with cooling ranch dressing or blue cheese dip on the side, and a stack of white bread and pickle slices, which are traditional accompaniments that help cut through the richness and heat. Enjoy the fiery, crispy goodness!
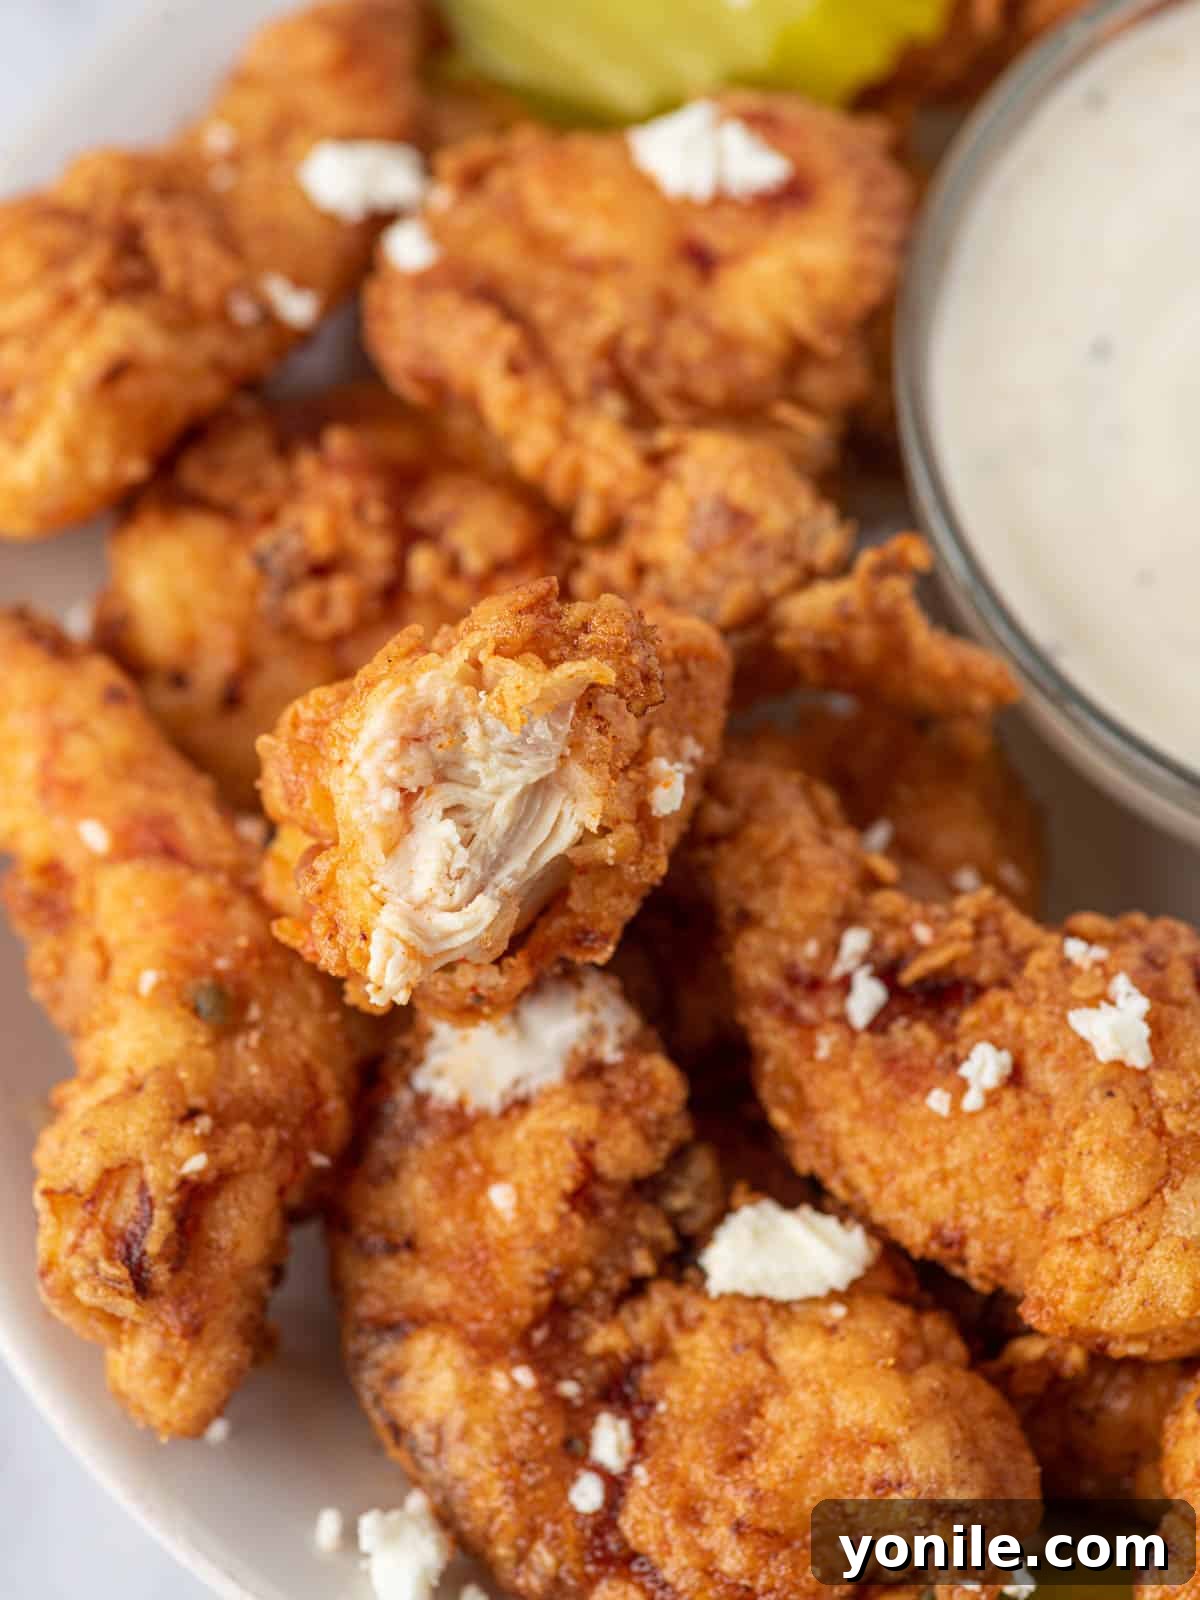
Expert Tips for the Best Nashville Hot Chicken Tenders
Achieving restaurant-quality Nashville Hot Chicken Tenders at home is entirely possible with these essential tips:
- Choose the Right Frying Vessel: A heavy-bottomed pot, such as a cast-iron Dutch oven, is ideal for deep-frying. Its excellent heat retention properties ensure a stable oil temperature, which is crucial for even cooking and a consistent crispy crust. Always opt for a pot with high edges to minimize oil splatters and enhance safety during the frying process.
- Avoid Overcrowding the Pot: Resist the urge to add too many chicken pieces to the oil at once. This will drastically lower the oil’s temperature, leading to greasy, undercooked chicken with a less-than-crispy coating. Fry in small batches, allowing each piece ample space to cook properly and brown beautifully. Patience is key for perfect results!
- Maintain Warmth and Crispness: As you fry the chicken in batches, keep the already cooked tenders warm and crispy by placing them on a wire rack set over a baking sheet in a preheated oven at 250°F (120°C). This prevents them from cooling down and becoming soggy while the remaining chicken cooks.
- The Non-Negotiable Buttermilk: Do not skip the buttermilk marinade! Buttermilk’s acidity works wonders by tenderizing the chicken, breaking down muscle fibers and ensuring the final product is incredibly moist and succulent. It’s the secret to tenders that literally melt in your mouth.
- Monitor Oil Temperature Closely: Accurate oil temperature is paramount. Ensure your frying oil reaches at least 350°F (175°C) before adding the chicken. If the chicken is introduced to oil that isn’t hot enough, it will absorb excessive oil, resulting in a heavy, greasy texture rather than a light, crispy one. A kitchen thermometer is your best friend here.
- Immediate Enjoyment for Peak Crispness: Nashville Hot Chicken Tenders are best enjoyed immediately after being sauced. The sauce, while delicious, will inevitably soften the crispy coating over time. While leftovers are still incredibly flavorful, they won’t retain the same initial crunch. Embrace the moment for maximum crispness!
- Spice Level Customization: The beauty of homemade Nashville Hot Chicken is control over the heat. If you prefer a milder version, reduce the amount of cayenne pepper in both the coating and the hot sauce. For those who crave extra fire, feel free to add more!
- Safety First: When deep frying, always exercise caution. Keep a fire extinguisher nearby and never leave hot oil unattended. Use tongs to carefully place and remove chicken from the hot oil.
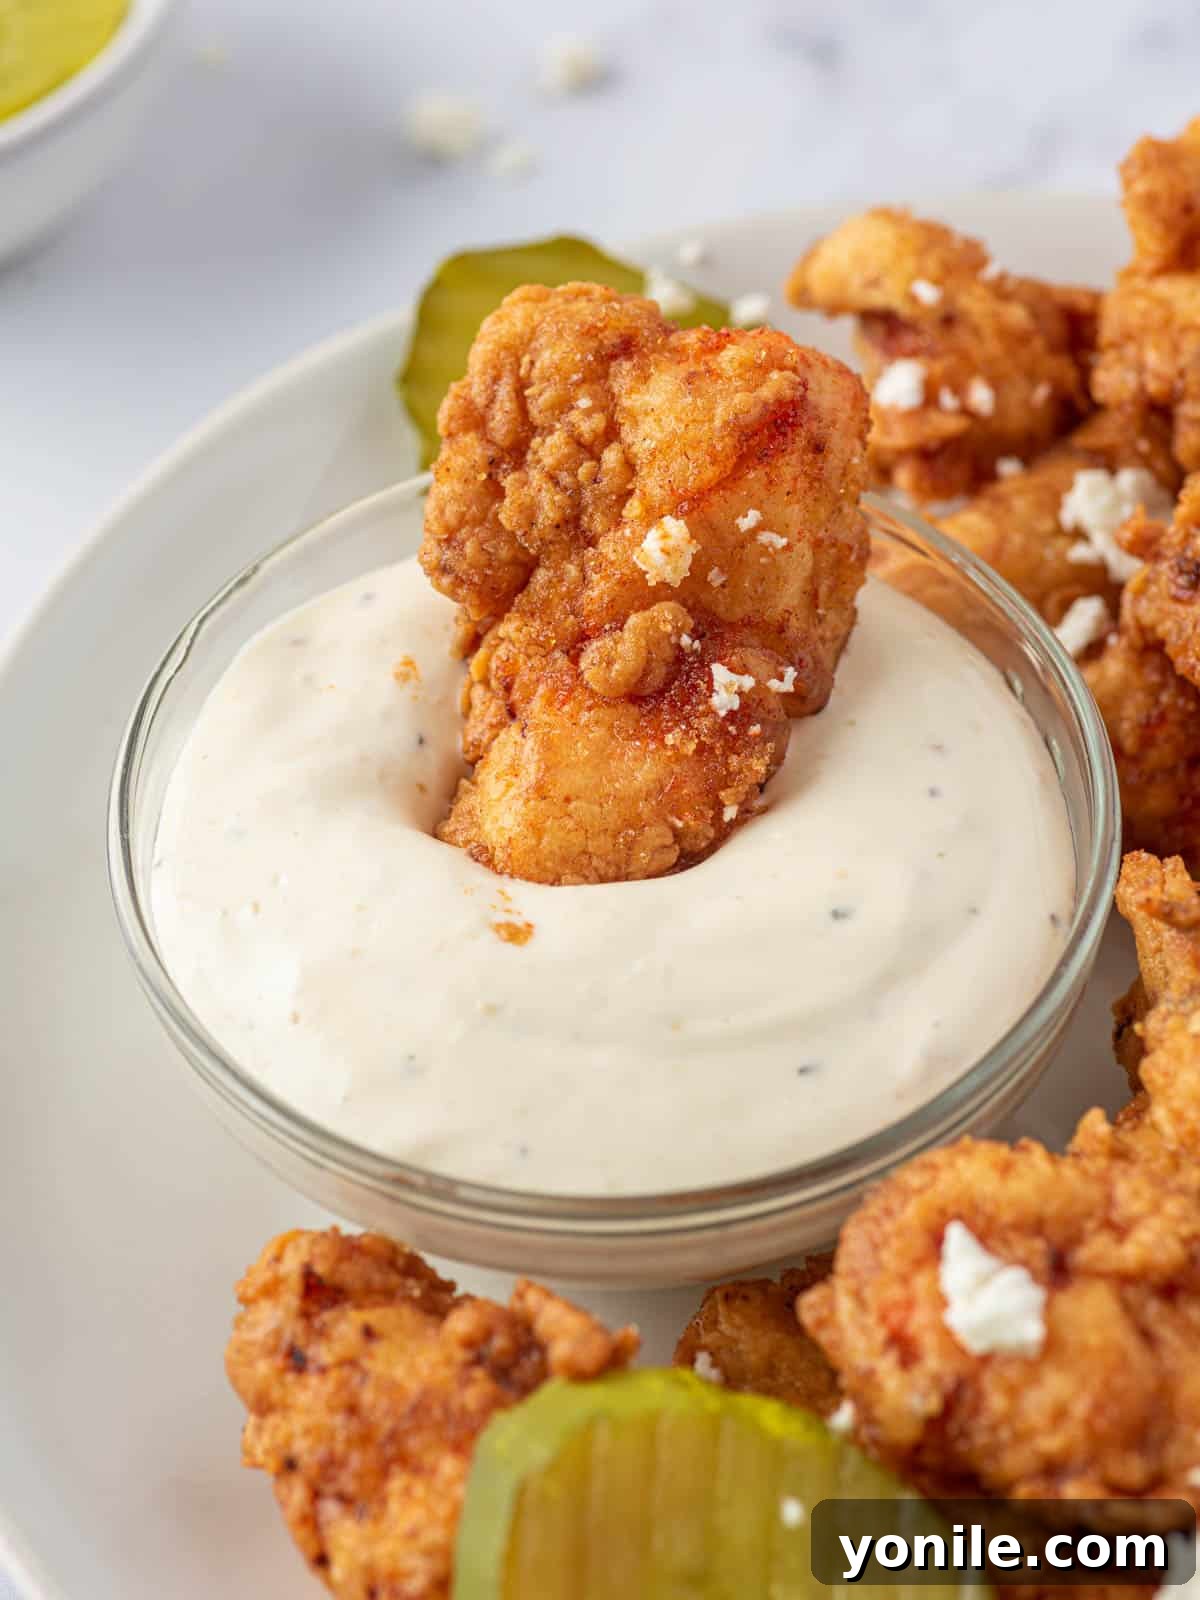
Storing and Reheating Your Nashville Hot Chicken Tenders
While best enjoyed fresh, you can certainly save and savor your Nashville Hot Chicken Tenders for later with these tips:
Storing: To store any leftover hot chicken tenders, place them in an airtight container and refrigerate for up to 1-2 days. Keep in mind that due to the sauce, the chicken tenders will naturally lose some of their initial crispiness. This is completely normal but easily remedied during reheating.
Freezing: If you’re planning to keep them longer, ensure the tenders are **fully cooled** before freezing. Arrange them in a single layer on a baking sheet and freeze until solid. Then, transfer them to a freezer-safe bag or airtight container, removing as much air as possible, and store in the freezer for up to 1 month. Thaw the tenders overnight in the refrigerator before reheating.
Reheating: For the best results and to help restore some crispness, avoid the microwave if possible. Instead, reheat your Nashville Hot Chicken Tenders in the oven or an air fryer. Preheat your oven to 375°F (190°C) or your air fryer to 360°F (180°C). Place the tenders in a single layer and reheat for 10-15 minutes in the oven, or 3-4 minutes in the air fryer, flipping halfway through, until thoroughly heated and crisped to your liking.
Frequently Asked Questions About Nashville Hot Chicken Tenders
What can I substitute for buttermilk?
If you don’t have buttermilk on hand, don’t worry! You can easily make your own homemade version. Simply combine 1 cup of regular milk (dairy or non-dairy works) with 1 tablespoon of white vinegar or lemon juice. Stir gently and let the mixture sit for about 5 minutes. You’ll notice it will begin to curdle slightly, mimicking the acidity and texture of traditional buttermilk, making it perfect for tenderizing chicken.
What can I serve with these chicken tenders?
Nashville Hot Chicken Tenders are traditionally served with plain white bread and crisp pickle slices, which beautifully cut through the richness and heat. However, there are many other fantastic side dishes that complement their spicy flavor. Consider serving them with Crispy Air Fryer French Fries, Crispy Air Fryer Sweet Potato Fries, creamy coleslaw, Cheesy Popovers, Quick Homemade Mashed Potatoes, or even mac and cheese for the ultimate comfort meal.
Are Nashville tenders very hot?
Yes, authentic Nashville Hot Chicken Tenders are designed to be quite spicy! This recipe specifically incorporates hot sauce in the marinade and a significant amount of cayenne pepper in both the coating and the final hot oil sauce. The combination creates a fiery kick that is a hallmark of the dish. However, you can always adjust the amount of cayenne pepper to tailor the heat level to your personal preference, from mildly warm to extra-spicy.
Can I use chicken breast instead of chicken tenderloins?
Absolutely, you can use boneless, skinless chicken breasts if tenderloins aren’t available. However, chicken tenderloins are naturally more tender and cook quickly, making them ideal for this recipe. If using chicken breasts, we recommend slicing them into uniform strips of similar thickness to tenderloins to ensure even cooking. You might also want to tenderize the chicken breast strips for a little extra time in the buttermilk marinade to achieve a texture closer to that of tenderloins.
Can I air fry or bake Nashville Hot Chicken Tenders?
While this recipe focuses on traditional deep-frying for ultimate crispness, you can certainly adapt it for an air fryer or oven for a slightly healthier alternative. For air frying, preheat to 375°F (190°C), spray lightly with oil, and cook for 15-20 minutes, flipping halfway. For baking, preheat your oven to 400°F (200°C), place coated tenders on a wire rack over a baking sheet, and bake for 20-25 minutes, flipping once, until golden and cooked through. The sauce should still be applied after cooking for best flavor.
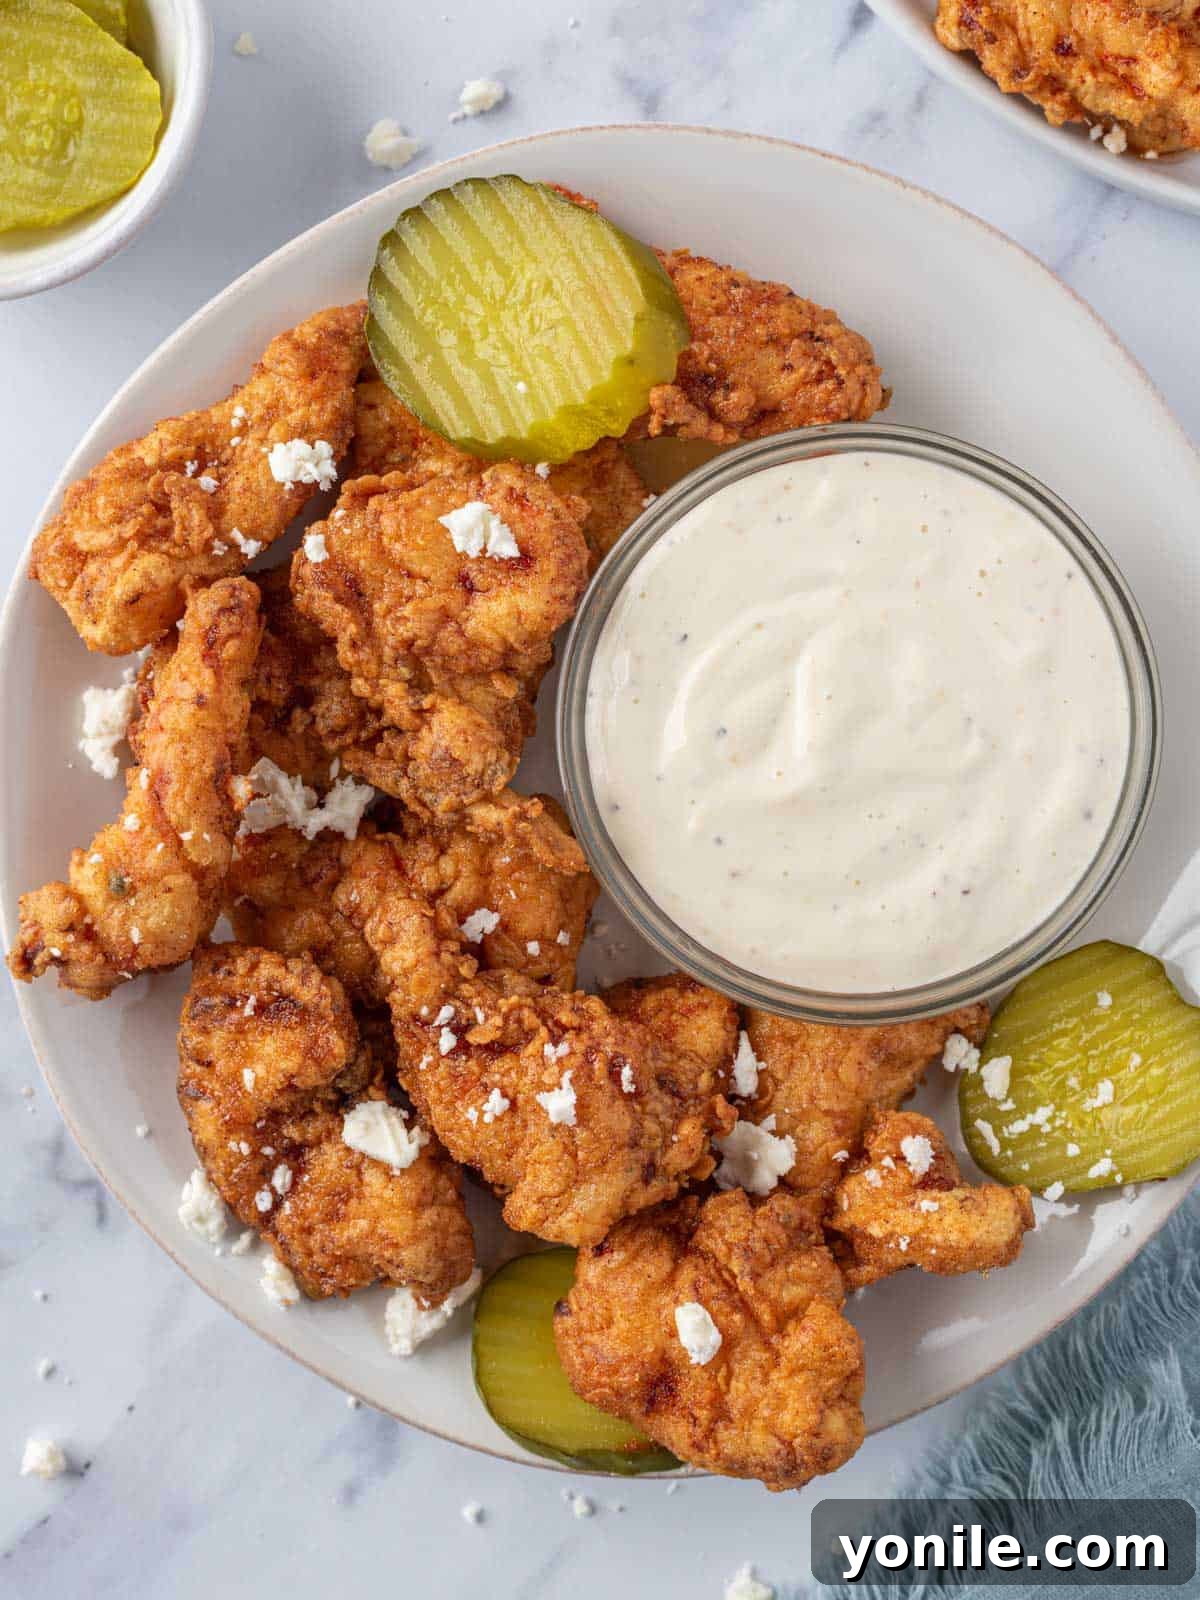
More Irresistible Chicken Recipes to Try
If you loved these Nashville Hot Chicken Tenders, be sure to explore more fantastic chicken recipes from our collection:
- Crispy Baked Chicken Tenders
- Parmesan Crusted Chicken Breast
- Crispy Oven Baked Popcorn Chicken
- Fried Chicken Sandwich
- Homemade Popcorn Chicken
The culinary journey of Nashville Hot Chicken is rich with tradition, but it also has a rather **amusing origin story**! Legend tells of Thornton Prince, a man whose lover, suspecting an affair, decided to exact a spicy revenge. She prepared his breakfast chicken with an extreme dose of heat, hoping to teach him a lesson. To her surprise, Prince not only endured the fiery meal but absolutely loved it! He refined the recipe and eventually opened Prince’s Hot Chicken Shack, the establishment credited with popularizing this now-famous dish. What began as an act of spicy retribution transformed into a beloved culinary phenomenon, proving that sometimes, the best flavors come from the most unexpected places.
If you try this incredible Nashville Hot Chicken Tenders recipe and enjoy it as much as we do, please consider leaving a star rating and a comment below. Your feedback means the world to us! And for all my latest social posts, delicious recipes, and culinary adventures, make sure to follow me at Cookin’ With Mima on FACEBOOK | INSTAGRAM | PINTEREST. Happy cooking!

Nashville Hot Chicken Tenders
Ingredients
To marinate the chicken
- 1 lb chicken tenders
- 1 cup buttermilk
- ½ cup pickle brine
- 2 tablespoons hot sauce
- 1 teaspoon paprika
- 1 teaspoon cayenne pepper
- 1 teaspoon garlic powder
- ½ teaspoon ground black pepper
- ¾ tsp salt
To make coating
- 1 ½ cup all-purpose flour
- ½ cup corn starch
- 1 teaspoon paprika
- ½ teaspoon cayenne pepper
- 1 teaspoon onion powder
- 1 teaspoon garlic powder
- ½ tsp black pepper
To make Nashville sauce
- ½ cup hot oil, use the chicken frying oil
- 2 tablespoons brown sugar
- 2 teaspoons cayenne pepper
- 1 teaspoon paprika
- ½ teaspoon garlic powder
- ¼ teaspoon salt
Other
- Vegetable oil, for deep frying
- Crumbled feta cheese, to serve (optional)
- Ranch or blue cheese dressing, for dipping (optional)
Instructions
-
In a large bowl, combine buttermilk, pickle brine, hot sauce, paprika, cayenne pepper, garlic powder, black pepper, and salt for the marinade. Add the chicken tenders, cover, and marinate for at least 2 hours, or preferably overnight, in the refrigerator.
-
In a shallow bowl, whisk together flour, corn starch, paprika, salt, cayenne pepper, onion powder, and garlic powder to create the seasoned coating.
-
Remove chicken tenders from the marinade, allowing excess liquid to drip off. Dredge each piece thoroughly in the flour mixture, pressing to ensure an even and thick coating. Set aside on a plate or wire rack.
-
In a large, deep pot, heat vegetable oil over medium heat to 350-375°F (175-190°C). Carefully add chicken pieces in batches (do not overcrowd) and fry for 5-6 minutes until cooked through, crispy, and golden. Transfer to a wire rack set over paper towels.
-
To prepare the Nashville sauce, carefully spoon ½ cup of the hot frying oil into a small bowl. Whisk in brown sugar, cayenne pepper, paprika, garlic powder, and salt until well combined and smooth.
-
Brush the prepared Nashville hot sauce over the fried chicken pieces, or pour the sauce over the chicken in a bowl and toss until each tender is evenly coated.
-
Serve the Nashville chicken tenders immediately, garnished with crumbled feta cheese (optional) and a side of ranch or blue cheese dressing for dipping.
Notes
- A cast-iron Dutch oven retains heat well, making it perfect for frying. Use a pot with high edges to prevent oil splatter.
- Avoid overcrowding the oil with too many chicken pieces at once, as this will lower the oil temperature and result in greasy chicken.
- As the chicken fries in batches, place cooked chicken in a 250°F (120°C) oven to keep it warm and crispy.
- Buttermilk is crucial for tenderizing the chicken; do not skip it for the best results.
- Ensure the oil temperature reaches at least 350°F (175°C). Adding chicken to cooler oil can make it greasy.
- This dish is best eaten immediately for maximum crispiness. Leftovers are still delicious but will soften due to the sauce.