
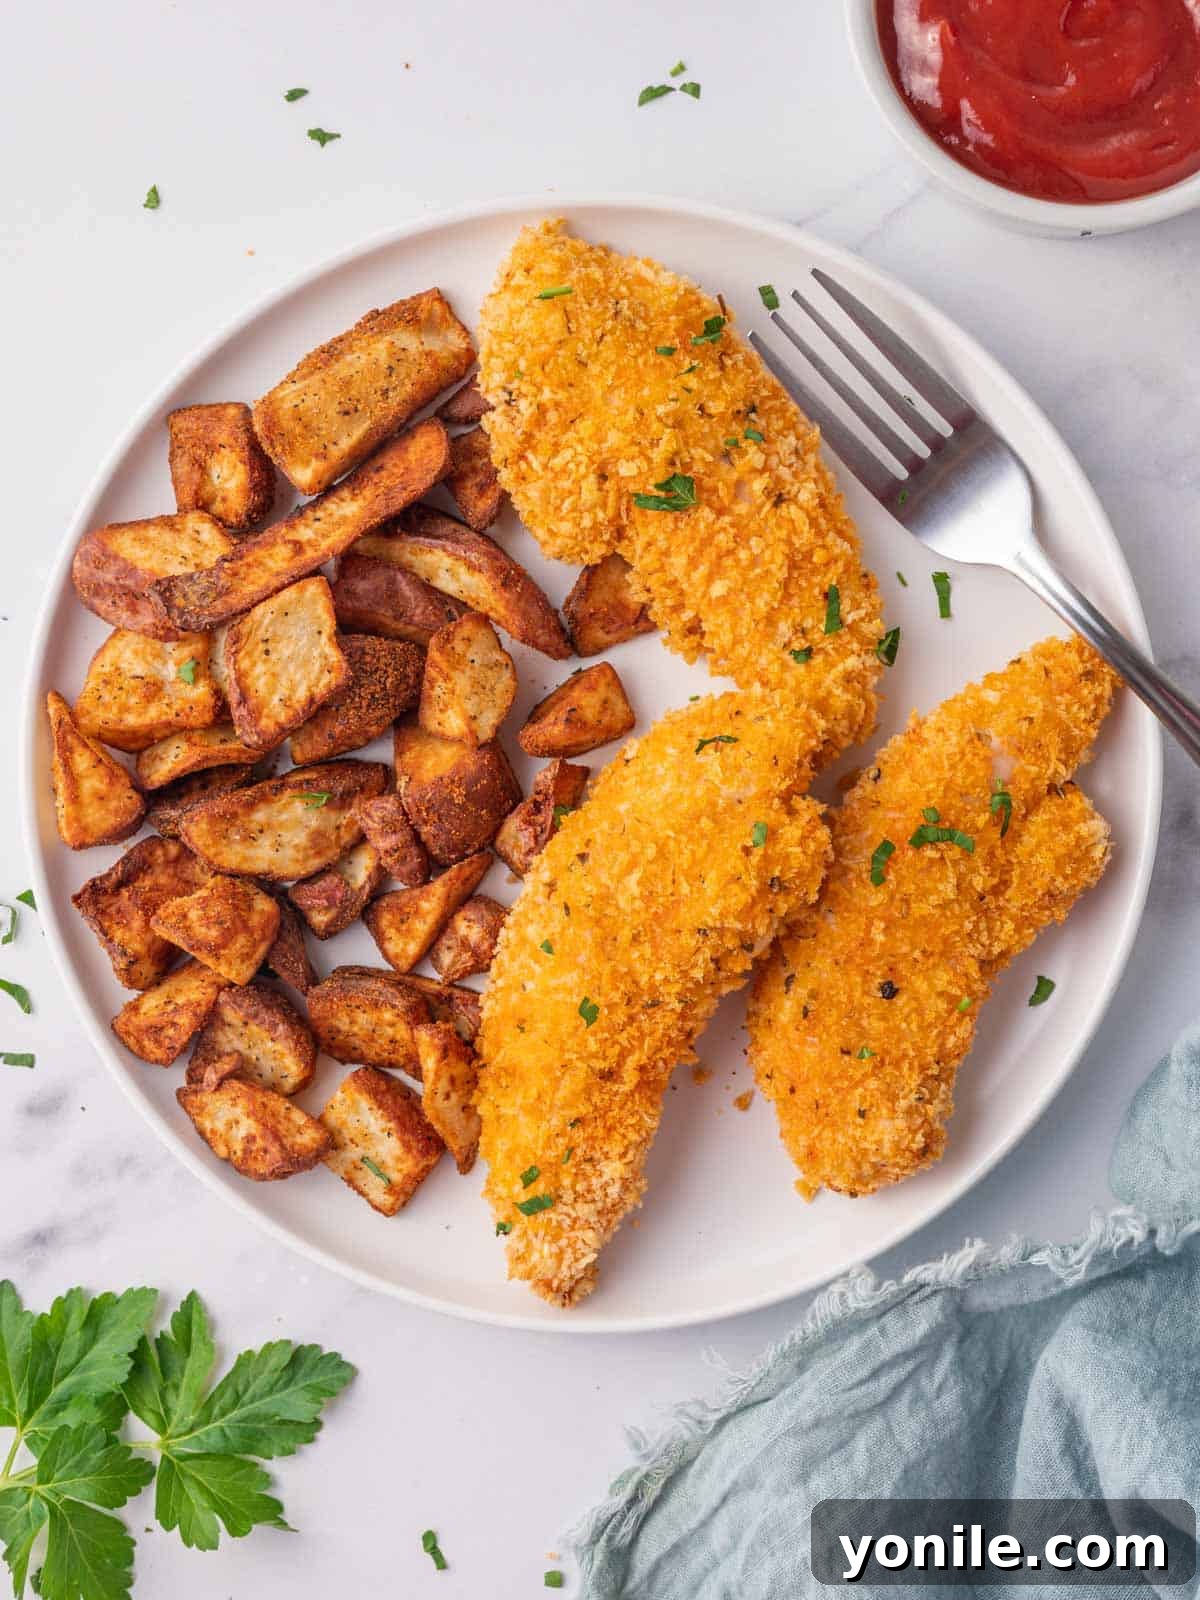
Welcome to the ultimate guide for crafting the crispiest, juiciest, and most flavorful Baked Panko Chicken Tenders right in your own kitchen! Forget deep-frying and excessive oil; this recipe delivers an unbeatable crunch and tender interior, all thanks to the magic of panko breadcrumbs and the simplicity of oven baking. Infused with a thoughtful blend of herbs and spices, these homemade chicken strips are guaranteed to become a cherished family favorite, perfect for weeknight dinners, party appetizers, or a comforting weekend meal.
Every bite of these golden-brown tenders offers a satisfying crispiness that contrasts beautifully with the succulent chicken inside. They are incredibly versatile, pairing wonderfully with a wide array of dipping sauces, from classic ketchup to gourmet honey mustard or a tangy BBQ glaze. Get ready to elevate your chicken tender game with a recipe that’s not only easy to make but also promises a healthier twist without sacrificing an ounce of flavor or texture.
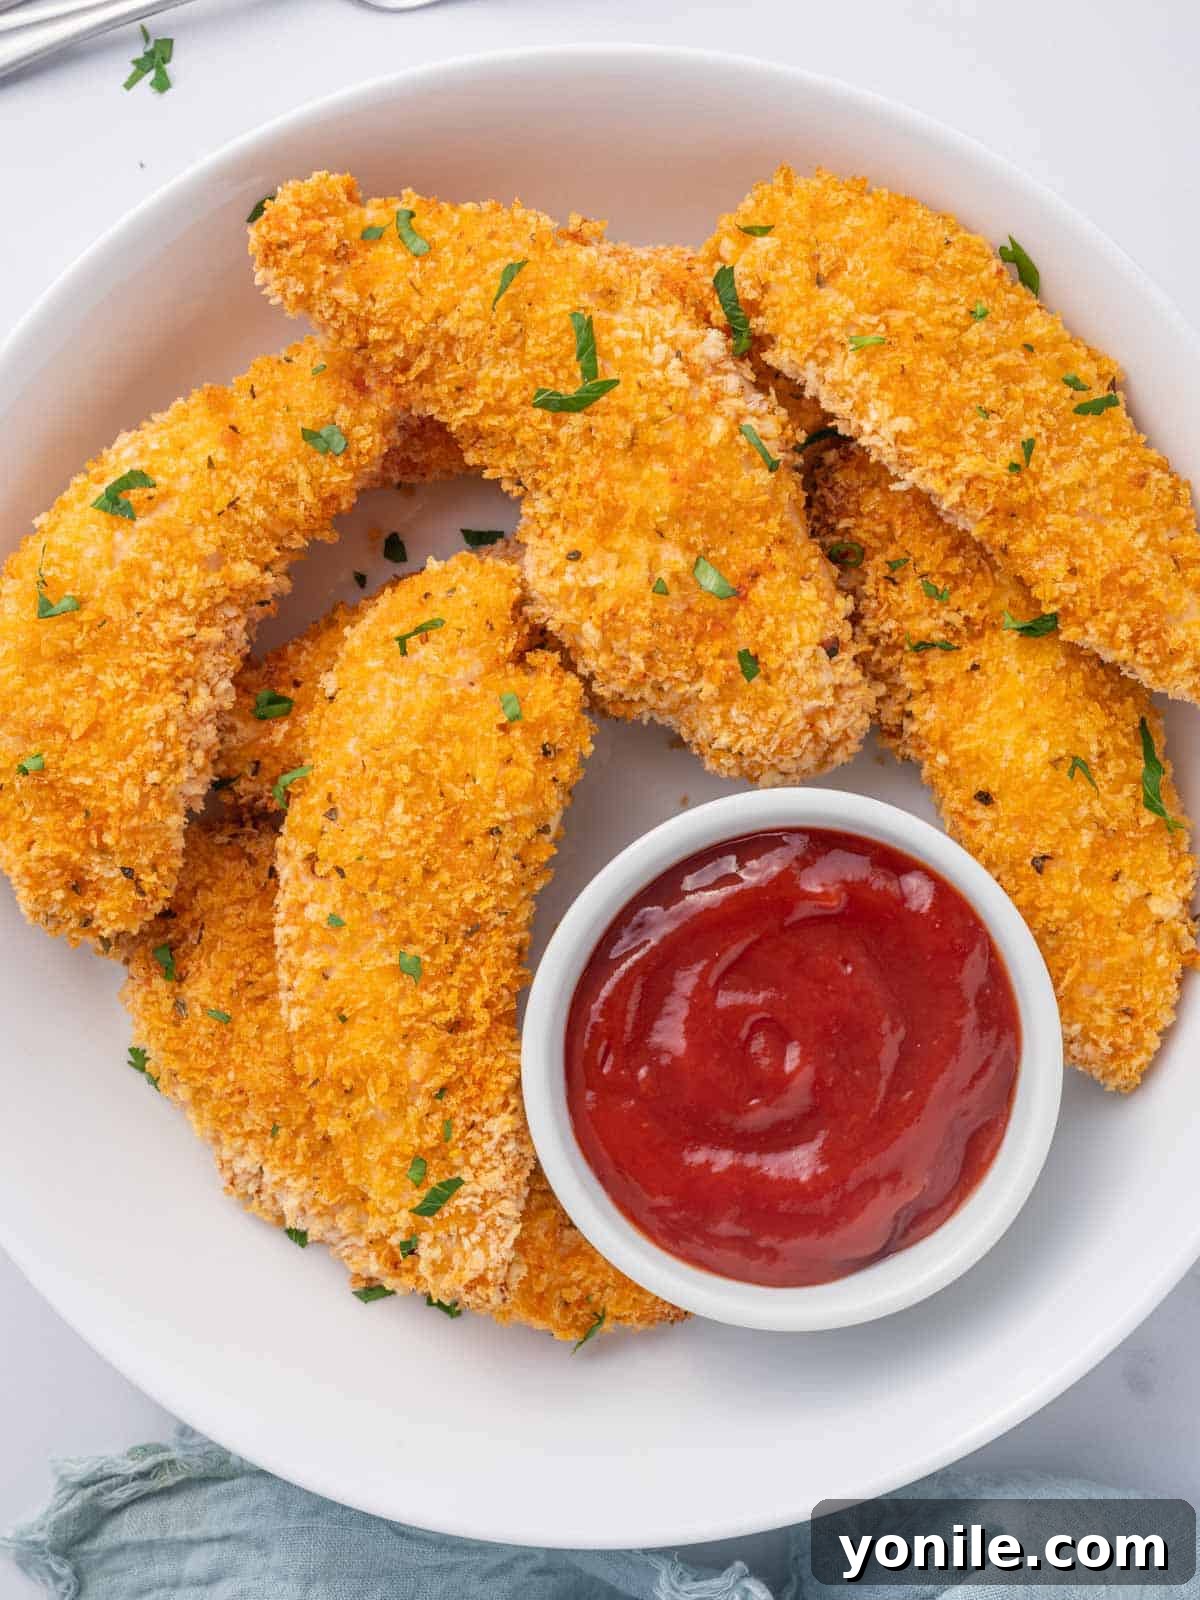
The secret to these sensational chicken tenders lies in a meticulously layered breading process. Each chicken tenderloin is first dredged in a seasoned flour mixture, then dipped into whisked eggs, and finally coated generously with a flavorful panko breadcrumb blend. This three-step coating method ensures maximum flavor penetration and, more importantly, creates an incredibly robust crust that achieves unparalleled crispiness when baked. This simple yet effective technique is what sets this recipe apart as the best way to make chicken tenders at home, delighting both kids and adults alike.
If you’re a fan of delicious chicken tender recipes, you might also enjoy exploring variations like my Baked Buffalo Chicken Tenders, Baked Crispy Chicken Tenders, or the boldly flavored Nashville Hot Chicken Tenders for even more culinary adventures.
Why These Baked Panko Chicken Tenders Will Be Your New Go-To Recipe
These aren’t just any chicken tenders; they’re the embodiment of simplicity, flavor, and incredible texture. Here’s why you’ll fall in love with this baked panko chicken recipe:
- Unmatched Crunch Factor: Panko breadcrumbs are the undisputed champions of crispiness. Their light, airy, and flaky texture absorbs less oil and delivers a superior crunch compared to traditional breadcrumbs. When baked, they transform into a golden, irresistible crust that will have you reaching for more.
- No Deep Frying Required: Say goodbye to the mess, grease, and guilt associated with deep-fried foods. These chicken fingers achieve a remarkably crispy exterior by simply baking in the oven. This method not only makes cleanup a breeze but also results in a significantly lighter, healthier meal that you can feel good about serving your family.
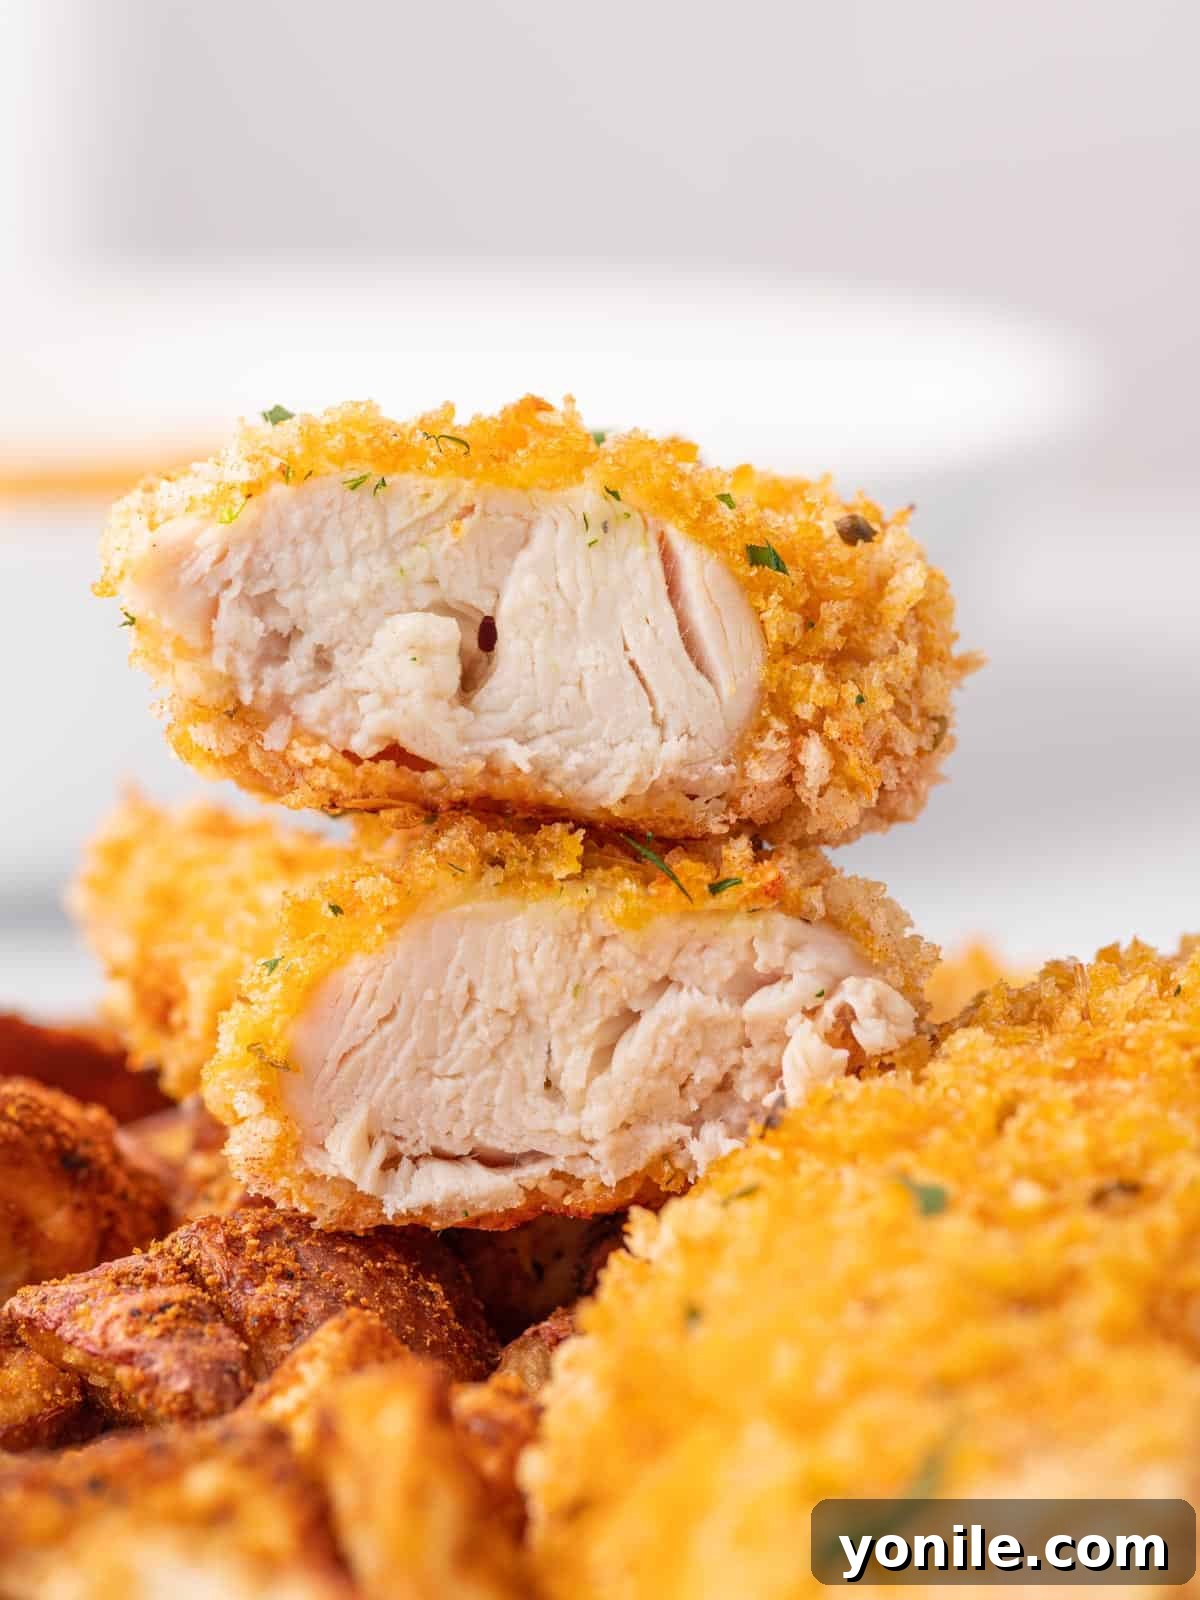
- Perfectly Juicy Every Time: Baking the chicken tenders at the right temperature ensures they cook through evenly while retaining all their natural juices. The panko coating acts as a protective barrier, locking in moisture to guarantee tender, succulent chicken with every bite.
- Kid-Friendly and Family Approved: Chicken tenders are a universal favorite, and this panko-crusted version is no exception. Their mild yet flavorful seasoning and delightful crunch make them incredibly appealing to even the pickiest eaters. Plus, they’re a fantastic canvas for various dipping sauces, allowing everyone to customize their meal.
- Effortless Preparation: With just a few simple steps and readily available ingredients, you can whip up a batch of these delicious tenders in under 30 minutes. It’s an ideal solution for busy weeknights when you need a quick, satisfying, and wholesome meal.
Essential Ingredients for Perfect Panko Chicken Strips
Creating truly exceptional baked panko chicken tenders starts with quality ingredients. Here’s what you’ll need and why each component is crucial:
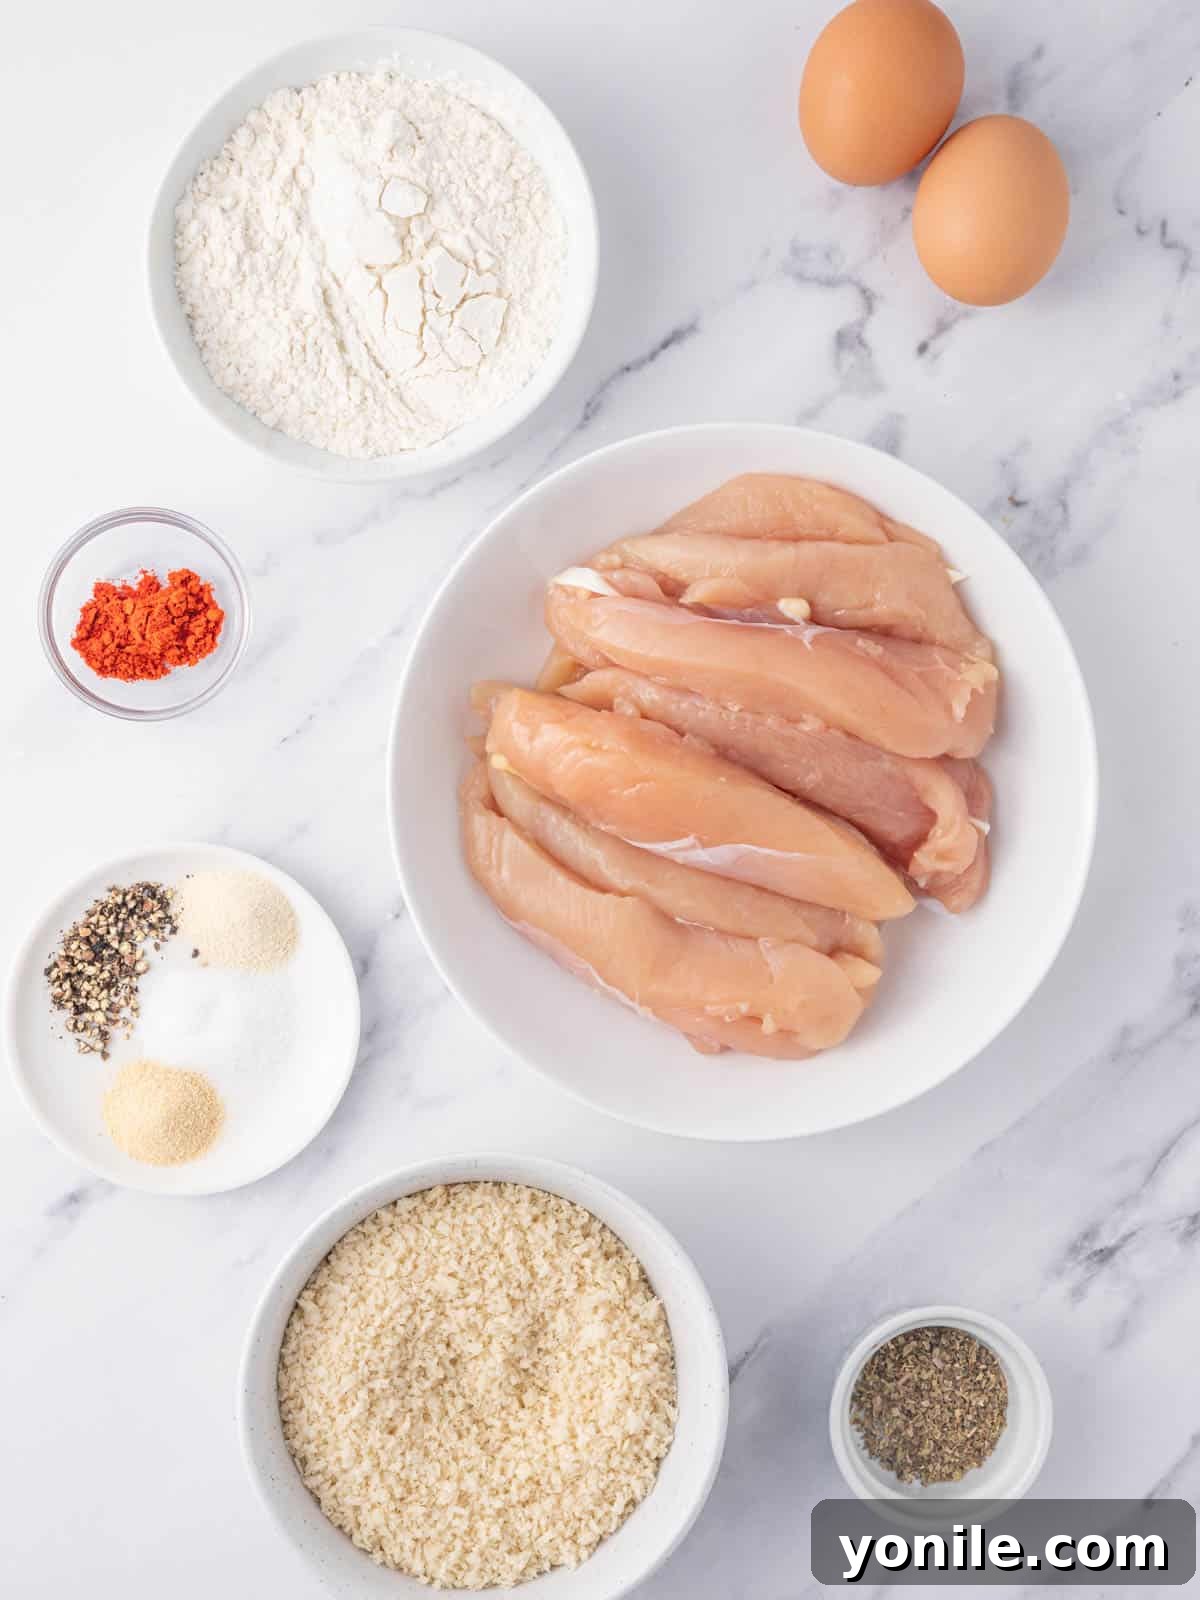
- Chicken: For the best results, use chicken tenderloins. They are naturally shaped for tenders and cook quickly. Alternatively, you can slice boneless, skinless chicken breasts into uniform 1-inch thick strips. Ensuring uniform size helps them cook evenly.
- All-Purpose Flour: This forms the initial dry layer, providing a surface for the egg wash to adhere to, which in turn helps the panko stick perfectly.
- Essential Seasoning:
- Garlic Powder & Onion Powder: These pantry staples infuse a foundational savory flavor into the flour dredge, making sure every layer of your chicken is seasoned.
- Salt & Ground Black Pepper: Crucial for enhancing all the other flavors. We divide the salt and pepper between the flour and panko mixtures to ensure balanced seasoning throughout the breading.
- Paprika & Dried Oregano: Added to the panko breadcrumbs, these spices introduce a warm, earthy, and aromatic dimension. You can opt for smoked paprika to lend a delightful smoky depth to your chicken tenders.
- Eggs: Lightly beaten and ideally at room temperature, eggs act as the binding agent between the flour and the panko, helping the breadcrumbs adhere firmly to the chicken.
- Panko Breadcrumbs: The star of the show! Japanese-style panko breadcrumbs are coarser and flakier than regular breadcrumbs, leading to a much crispier texture when baked. Do not substitute with regular breadcrumbs if you want that signature crunch.
- Fresh Parsley: A vibrant garnish that adds a touch of freshness, color, and a subtle herby note to the finished dish.
Step-by-Step: How to Make Irresistibly Crispy Panko Chicken Tenders
Follow these simple instructions to create perfect baked panko chicken tenders every time:
- Step 1: Preheat and Prepare Your Baking Sheet. Begin by preheating your oven to a robust 400°F (200°C). While the oven heats up, line a large baking sheet with parchment paper. This prevents sticking and makes cleanup a breeze. Set it aside.
- Step 2: Dry the Chicken. Using paper towels, thoroughly pat dry the chicken tenderloins (or breast strips). Removing excess moisture is a critical step as it helps the flour adhere better, creating a crispier crust. Set the dried chicken aside.
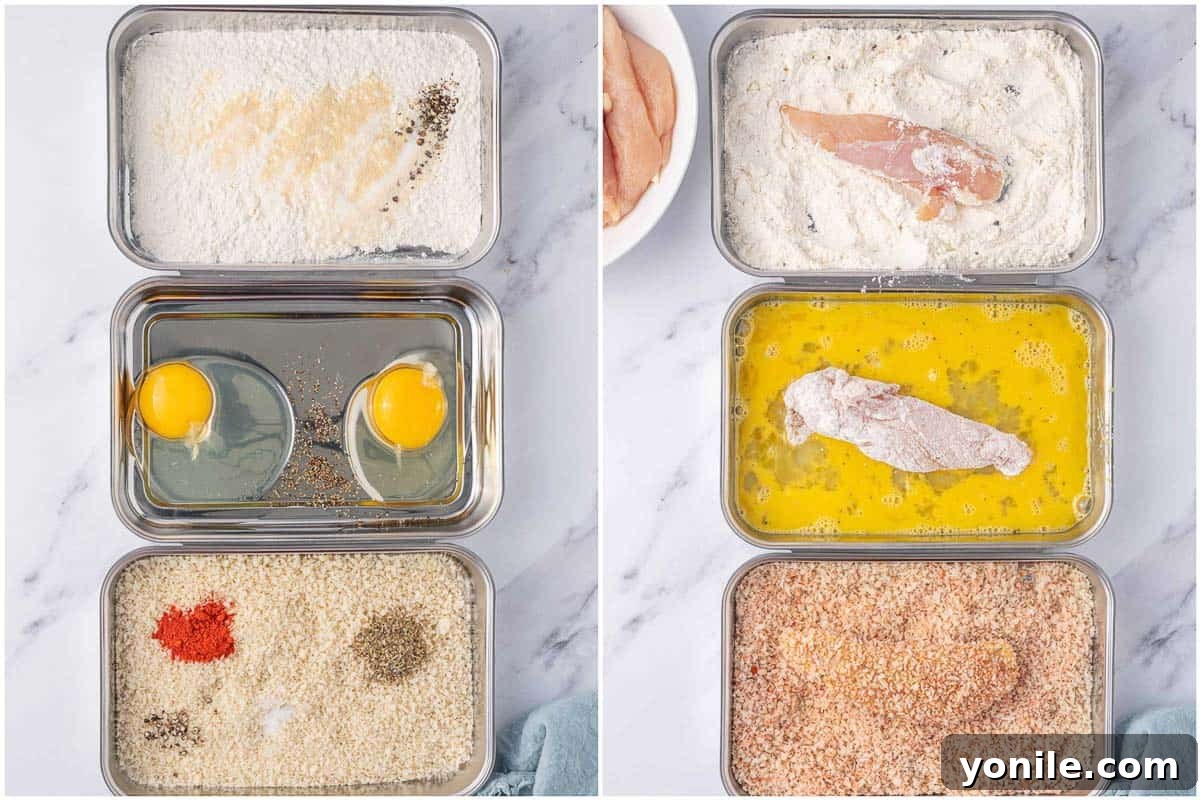
- Step 3: Set Up Your Breading Stations. Arrange three separate shallow bowls for your breading station.
- In the first bowl, combine the all-purpose flour, 1 teaspoon garlic powder, 1 teaspoon onion powder, ½ teaspoon salt, and ½ teaspoon ground black pepper. Whisk well to ensure the spices are evenly distributed.
- In the second bowl, whisk the two eggs until well combined. Season lightly with a pinch of salt and pepper.
- In the third bowl, combine the 1 ½ cups of panko breadcrumbs, 1 teaspoon paprika, 1 teaspoon dried oregano, the remaining ½ teaspoon salt, and ½ teaspoon ground black pepper. Mix thoroughly to coat the panko with the seasonings.
Set these three bowls in a clear assembly line.
- Step 4: Coat the Chicken. Using the “one hand wet, one hand dry” technique (use one hand for dipping in flour and panko, and the other for egg), dredge each chicken tenderloin:
- First, coat the chicken evenly in the flour mixture, shaking off any excess.
- Next, dip it into the whisked egg mixture, allowing any extra egg to drip off.
- Finally, press the chicken into the seasoned panko breadcrumbs, ensuring it’s completely and thoroughly coated on all sides. Press gently to help the panko adhere.
Place the coated chicken tenders onto the prepared baking sheet in a single layer, ensuring they are not overcrowded.
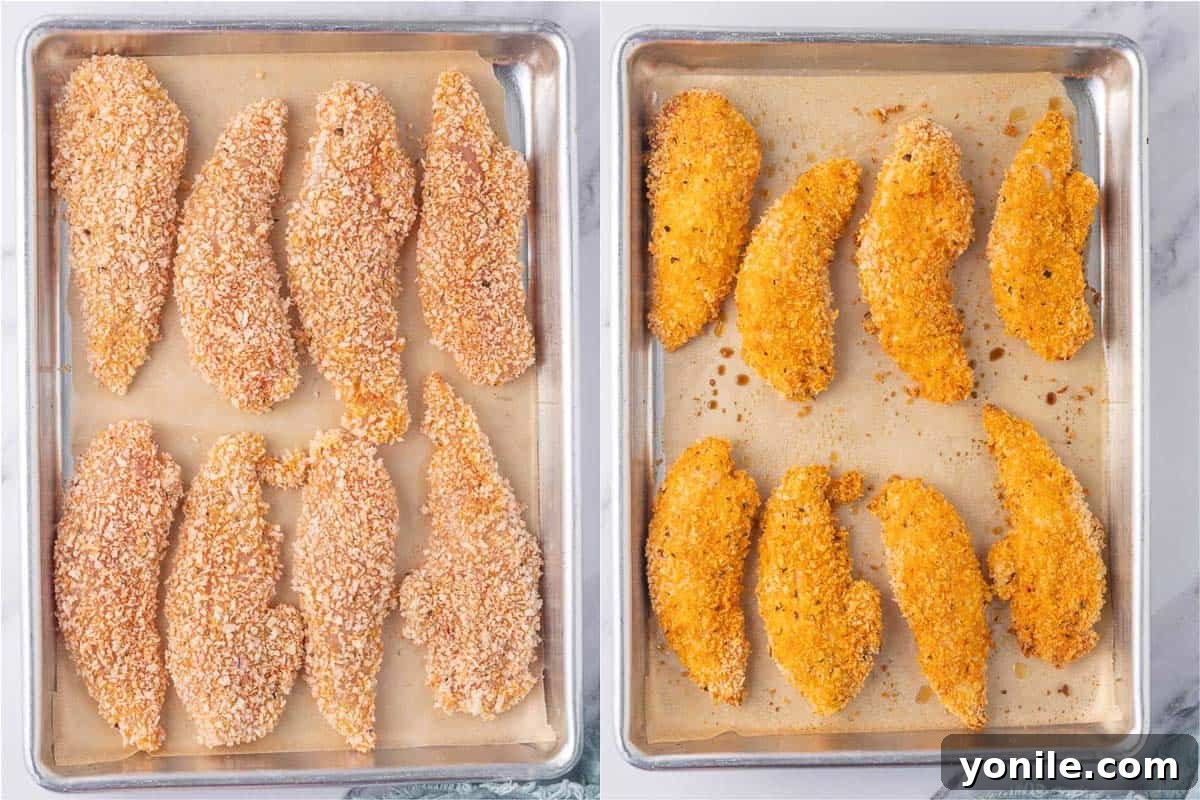
- Step 5: Bake to Golden Perfection. Arrange the breaded chicken tenders on the prepared baking sheet, leaving some space between each piece for even cooking. Bake for 18-20 minutes, or until the chicken is cooked through and the panko coating is golden brown and delightfully crispy. The internal temperature of the chicken should reach 165°F (74°C).
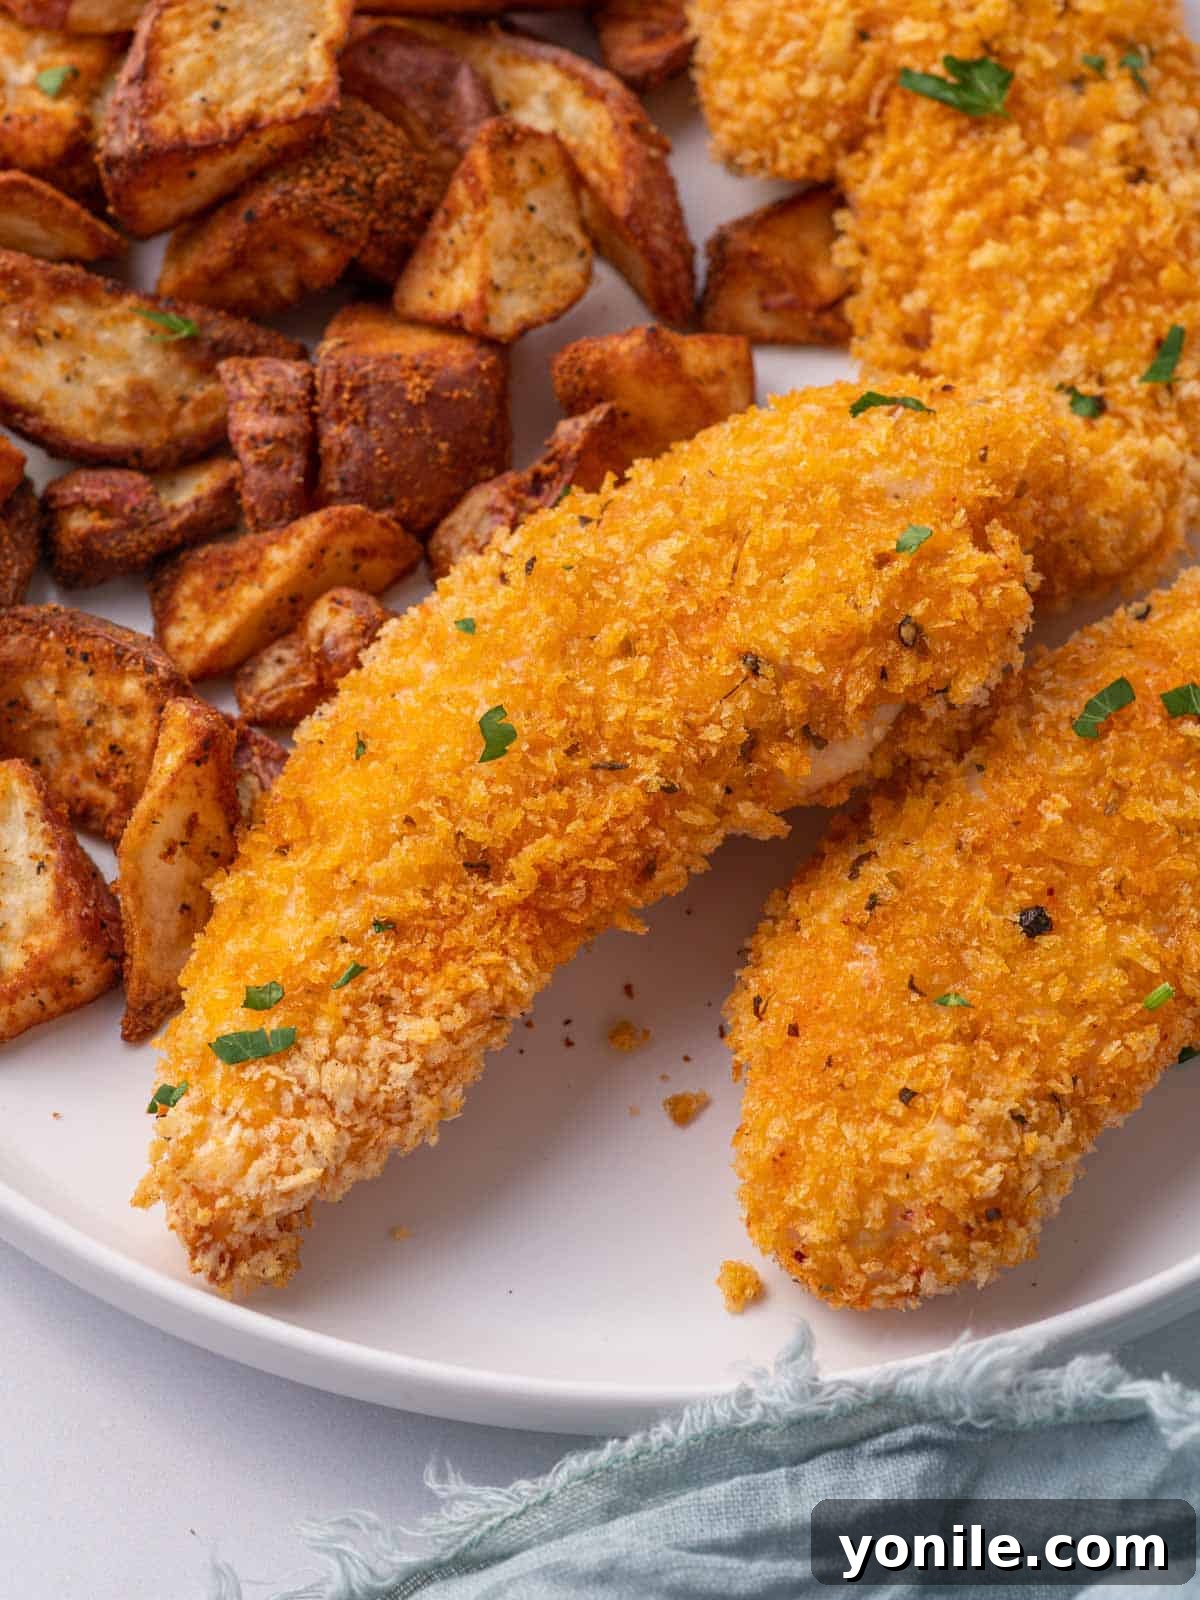
- Step 6: Garnish and Serve. Once baked, remove the chicken tenders from the oven. Garnish them generously with freshly chopped parsley for a burst of color and freshness. Serve immediately with your favorite dipping sauces, such as ketchup, honey mustard, ranch, or a creamy garlic aioli.
Pro Tips for Making the Best Chicken Tenders at Home
Achieving restaurant-quality chicken tenders at home is easier than you think. Here are some expert tips to ensure your baked panko chicken tenders are absolutely perfect:
- Remove the Tendon: If using chicken tenderloins, you might notice a thin white tendon running through them. While optional, removing this tendon can prevent a chewy texture. You can do this by holding the tendon with a paper towel and pulling the chicken away with your other hand.
- Uniform Strips for Even Cooking: If you’re cutting chicken breasts into strips, aim for pieces of roughly equal size and thickness. This ensures that all the tenders cook at the same rate, preventing some from being undercooked or overcooked.
- Stick with Panko for Supreme Crispiness: For that ultimate, light, and airy crunch, panko breadcrumbs are essential. Regular breadcrumbs tend to be denser and can result in a heavier, less crispy coating.
- Customize Your Seasoning: The provided seasoning blend is a fantastic starting point, but feel free to adjust it to your taste. Love a bit more garlic? Add extra! Prefer a different herb? Experiment with dried thyme or rosemary.
- Add a Spicy Kick: If you enjoy a little heat, incorporate a pinch or two of cayenne pepper into the flour mixture or the panko blend. You can also mix a dash of hot sauce into the egg wash for an extra layer of spice.
- The “Wet Hand/Dry Hand” Technique: To keep your hands clean and prevent clumpy breading, designate one hand for handling the wet ingredients (egg wash) and the other for the dry ingredients (flour and panko). This technique makes the breading process much smoother.
- Elevate for Extra Crispy Results: For even crispier chicken tenders all around, place them on an oven-safe wire rack set over your parchment-lined baking sheet. This allows air to circulate underneath the chicken, ensuring both sides get perfectly golden and crunchy.
- Monitor Internal Temperature: Always use a meat thermometer to ensure your chicken is cooked safely. Chicken should reach an internal temperature of 165°F (74°C). Promptly remove them from the oven once they hit this temperature to prevent them from drying out.
- Don’t Overcrowd the Pan: Give your chicken tenders space on the baking sheet. Overcrowding can lead to steaming instead of baking, resulting in a less crispy crust. If necessary, bake in batches.
Frequently Asked Questions About Baked Panko Chicken Tenders
Here are answers to some common questions about making and enjoying these crispy chicken tenders:
Absolutely! Air frying is a fantastic method for achieving extra crispiness with even less oil. To air fry, preheat your air fryer to 400°F (200°C). Lightly spritz the breaded tenders with cooking spray (or brush with a little oil) and arrange them in a single layer in the air fryer basket. Cook for 5 minutes, then flip them over and cook for another 5-7 minutes, or until golden brown and the internal temperature reaches 165°F (74°C). Cooking times may vary based on your air fryer model and chicken thickness.
While you certainly can use regular breadcrumbs, gluten-free breadcrumbs, or other types of breadcrumbs, we highly recommend sticking with panko (or gluten-free panko). Panko’s unique light and airy structure is key to achieving that superior, extra-crispy crunch that makes these chicken tenders so special. Regular breadcrumbs will result in a different, typically softer, texture.
Leftover baked panko chicken tenders can be stored in an airtight container in the refrigerator for up to 3-4 days. To reheat and maintain their crispiness, avoid the microwave. Instead, reheat them in a preheated oven or toaster oven at 350°F (175°C) for about 10-15 minutes, or until warmed through and the coating is crispy again.
Yes, these chicken tenders are perfect for freezing, making them an excellent option for meal prepping and quick future meals! You can freeze them either raw or cooked.
- To freeze raw: After coating the chicken as directed, arrange the unbaked tenders in a single layer on a parchment-lined baking sheet. Flash freeze for 1-2 hours until solid. Once frozen, transfer them to a freezer-safe bag or container and freeze for up to 3 months. When ready to bake, place the frozen tenders directly onto a baking sheet (no need to thaw) and bake in a preheated 375°F (190°C) oven for approximately 25-30 minutes, or until they reach 165°F (74°C).
- To freeze cooked: Allow cooked tenders to cool completely. Arrange in a single layer on a baking sheet and flash freeze until solid. Transfer to a freezer-safe bag and freeze for up to 2-3 months. Reheat from frozen in the oven or air fryer as described above, adding a few extra minutes to the cooking time.
These versatile panko crusted chicken tenders are fantastic with a variety of sides. Beyond your favorite dipping sauces (ketchup, ranch, honey mustard, BBQ, sweet chili), consider serving them with:
- Healthy steamed or roasted vegetables like Parmesan Roasted Glazed Carrots or Roasted Brussels Sprouts.
- Crispy potato sides such as Crispy Air Fryer French Fries or Crispy Air Fryer Roasted Potatoes.
- A fresh green salad with a light vinaigrette.
- Creamy macaroni and cheese or a vibrant pasta salad.
- Rice pilaf or quinoa for a balanced meal.
- Coleslaw or a simple corn on the cob.
More Delicious Panko Crusted Recipes to Explore
If you love the incredible crunch and versatility of panko, be sure to try these other fantastic recipes:
- Air Fryer Fish and Chips
- Crispy Air Fryer Eggplants
- Crispy Air Fryer Cod
- Baked Buffalo Chicken Tenders
- Air Fryer Salmon Patties
I hope you thoroughly enjoy preparing and savoring this incredible Baked Panko Chicken Tenders recipe. It’s truly a standout dish that brings joy to any dinner table with its perfect blend of crispy texture and juicy flavor. I encourage you to give it a try, experience its deliciousness, and share the culinary delight with your loved ones!
If you make this recipe and love it as much as I do, please consider leaving a star rating and a comment below to share your experience. Your feedback is greatly appreciated! Don’t forget to use my hashtag #CookinWithMima when sharing your delicious creations on Instagram so I can see your wonderful dishes! For all my latest recipes, tips, and culinary inspiration, be sure to follow Cookin’ With Mima on FACEBOOK | INSTAGRAM | PINTEREST. Happy cooking!

Baked Panko Chicken Tenders
Baked Panko Chicken Tenders are simple, tasty, and the best chicken tenders recipe. Panko chicken strips are super crispy thanks to the generous coating of panko.
Ingredients
- 1 ½ lb chicken tenderloins
- ¾ cup all-purpose flour
- 1 teaspoon garlic powder
- 1 teaspoon onion powder
- 1 teaspoon salt, divided
- 1 teaspoon ground black pepper, divided
- 2 eggs
- 1 ½ cup panko breadcrumbs
- 1 teaspoon paprika
- 1 teaspoon dried oregano
- Chopped parsley, to garnish
Instructions
- Preheat the oven to 400°F (200°C). Line a baking sheet with parchment paper and keep it aside.
- Pat dry the chicken tenders thoroughly and keep them aside.
- Prepare the breading station: In the first bowl, combine flour, garlic powder, onion powder, ½ teaspoon salt, and ½ teaspoon pepper. In the second bowl, whisk the eggs and season with a pinch of salt and pepper. In the third bowl, combine panko breadcrumbs, paprika, dried oregano, the remaining ½ teaspoon salt, and ½ teaspoon pepper. Set the three separate bowls aside.
- Dredge each chicken tender first in the flour, then in the egg mixture, and finally in the panko breadcrumbs mixture until well coated.
- Arrange the chicken tenders on the prepared baking sheet in a single layer and bake for 18-20 minutes until the chicken is cooked through (internal temperature 165°F/74°C) and slightly golden and crispy.
- Garnish the cooked chicken tenders with fresh parsley and serve immediately with ketchup or your favorite dipping sauce.
Notes
- If using chicken tenders, remove the white tendon to avoid chewy chicken.
- You can also cut chicken breasts into equal-sized strips for uniform cooking.
- Stick with panko breadcrumbs for the crispiest chicken strips.
- Adjust the seasoning to your taste and preference.
- Add a bit of cayenne pepper if you like spicy chicken tenders.
- When dredging the chicken, use one hand for wet ingredients and one hand for dry ingredients to keep things clean.
- Place the chicken on an ovenproof rack on the baking sheet for even crispier results.
- Cook chicken to an internal temperature of 165°F (74°C) and promptly remove it from the oven when it reaches this temperature to prevent overcooking.
- Smaller strips of chicken may cook faster, so adjust baking time accordingly.