
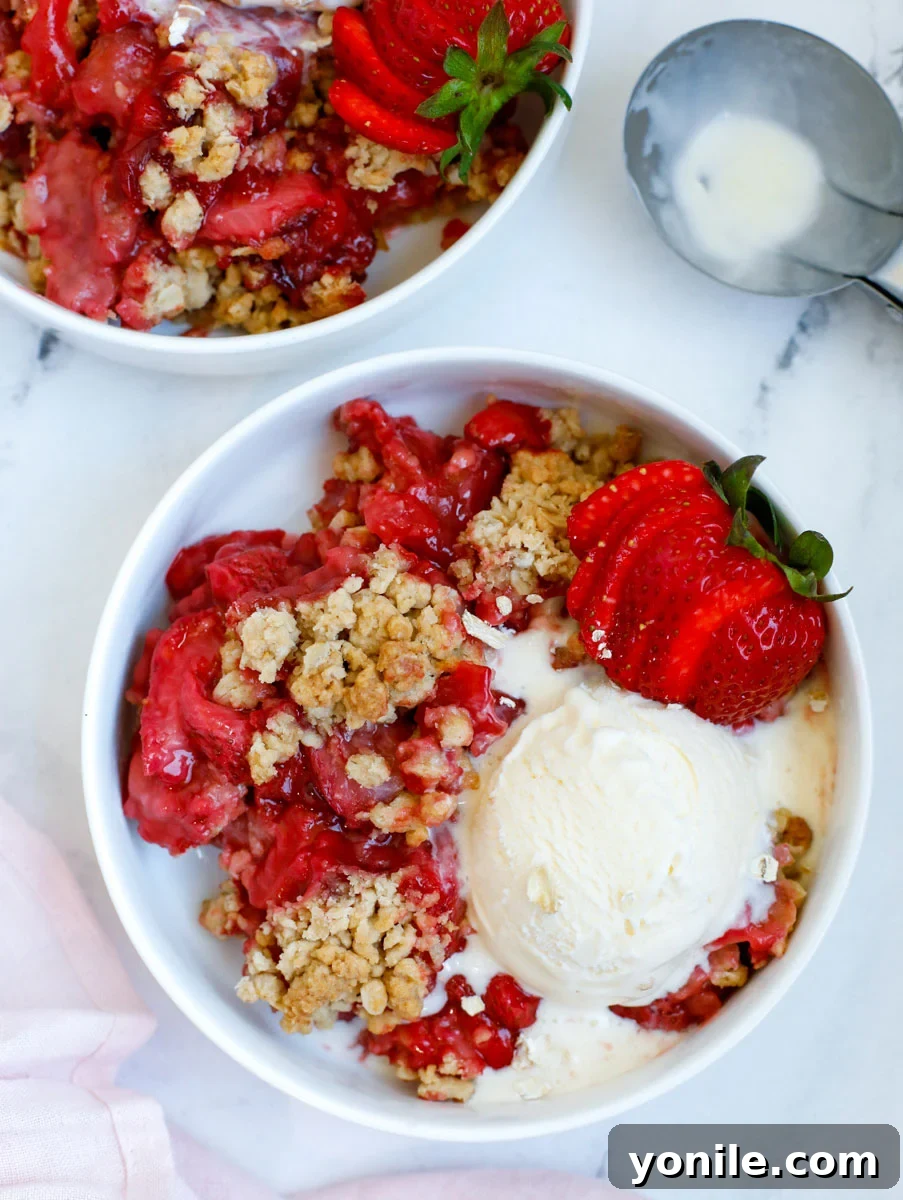
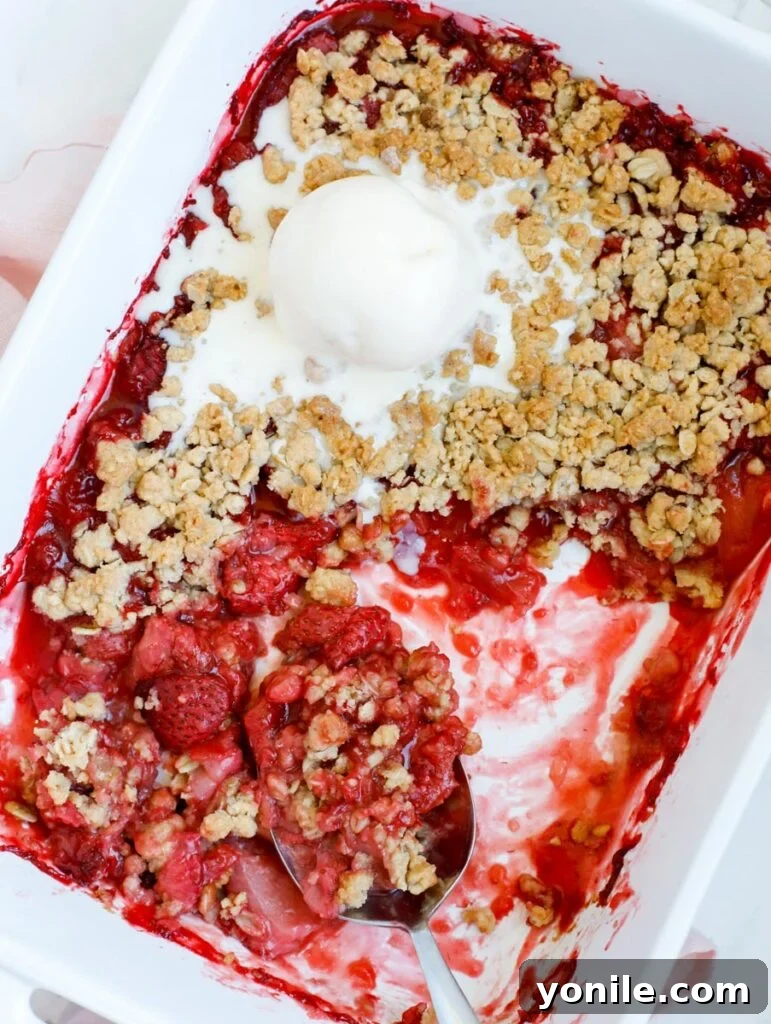
Prepare to fall in love with the quintessential taste of summer embodied in this irresistible Strawberry Crisp. Bursting with the vibrant sweetness of ripe, juicy strawberries and crowned with a golden, impossibly crumbly cinnamon oat topping, this dessert is more than just a treat – it’s an experience. Simple to prepare yet profoundly satisfying, it promises to be a crowd-pleasing favorite at any gathering. Whether you’re a seasoned baker or just starting out, this recipe offers a straightforward path to a truly spectacular dessert that captures the essence of sunshine and warmth in every spoonful.
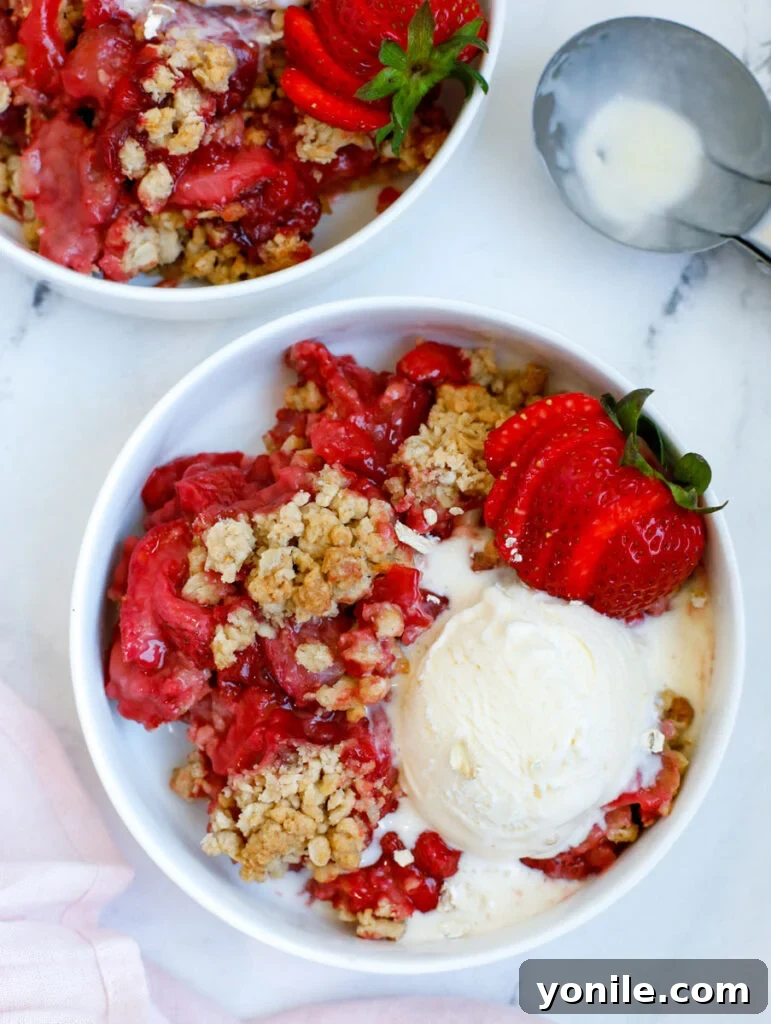
There’s nothing quite like the aroma of fresh, ripe strawberries baking to perfection, especially when they’re nestled under a blanket of crisp oats. This Strawberry Crisp recipe is a celebration of simple flavors and beautiful textures, delivering a dessert that’s as delightful to look at as it is to eat. Its vibrant colors and comforting warmth make it the ideal centerpiece for summer picnics, barbecues, or simply a cozy evening at home. Forget complicated confections; this easy fruit crisp is packed with natural sweetness and boasts a textural contrast that will leave everyone asking for more.
If you’re looking to expand your repertoire of delightful summer treats, don’t miss out on other refreshing options. You might also enjoy whipping up my Easy Fruit Salad, a light and vibrant option, or perhaps the rustic charm of my Mixed Berry Galette, which offers another fantastic way to enjoy seasonal fruits.
Why This Strawberry Crisp Will Be Your New Go-To Dessert
This Strawberry Crisp isn’t just a recipe; it’s a testament to how simple ingredients can create extraordinary flavors. Here’s why it’s destined to become a staple in your kitchen:
- Effortlessly Easy & Quick to Prepare: Forget long hours in the kitchen! With minimal ingredients and a mere 10 minutes of active prep time, this dessert comes together with incredible ease. It’s perfect for those spontaneous cravings or when you need an impressive treat without the fuss. The straightforward steps make it accessible for bakers of all skill levels, ensuring a delicious outcome every time.
- The Epitome of Summer Dessert Perfection: Imagine biting into sun-ripened, juicy strawberries, their natural sweetness intensified by a gentle bake. This crisp truly embodies the essence of summer. It’s light, bright, and utterly refreshing, making it the ultimate cool-down treat on a warm day, especially when paired with a scoop of your favorite ice cream.
- A Topping That’s Pure Crumbly Bliss: The star of any crisp is its topping, and this recipe delivers a truly exceptional one. A harmonious blend of crunchy oats, rich brown sugar, and warm cinnamon bakes into a golden-brown, perfectly crumbly crust. Each bite offers a delightful textural contrast to the soft, bubbling strawberry filling, creating a symphony of flavors and textures that is simply irresistible.
- Versatile and Customizable: While strawberries are the star, this recipe is incredibly adaptable. Feel free to mix in other berries or add a hint of citrus zest for a unique twist. It’s a canvas for your culinary creativity!
- Comforting and Nostalgic: There’s something inherently comforting about a warm fruit crisp. It evokes feelings of home, family, and simpler times, making it more than just a dessert but a heartwarming experience.
Gather Your Simple Ingredients
Crafting this delightful Strawberry Crisp requires only a handful of readily available ingredients, divided into two main components: the irresistible crisp topping and the luscious strawberry filling. Each ingredient plays a crucial role in achieving the perfect balance of flavor and texture.
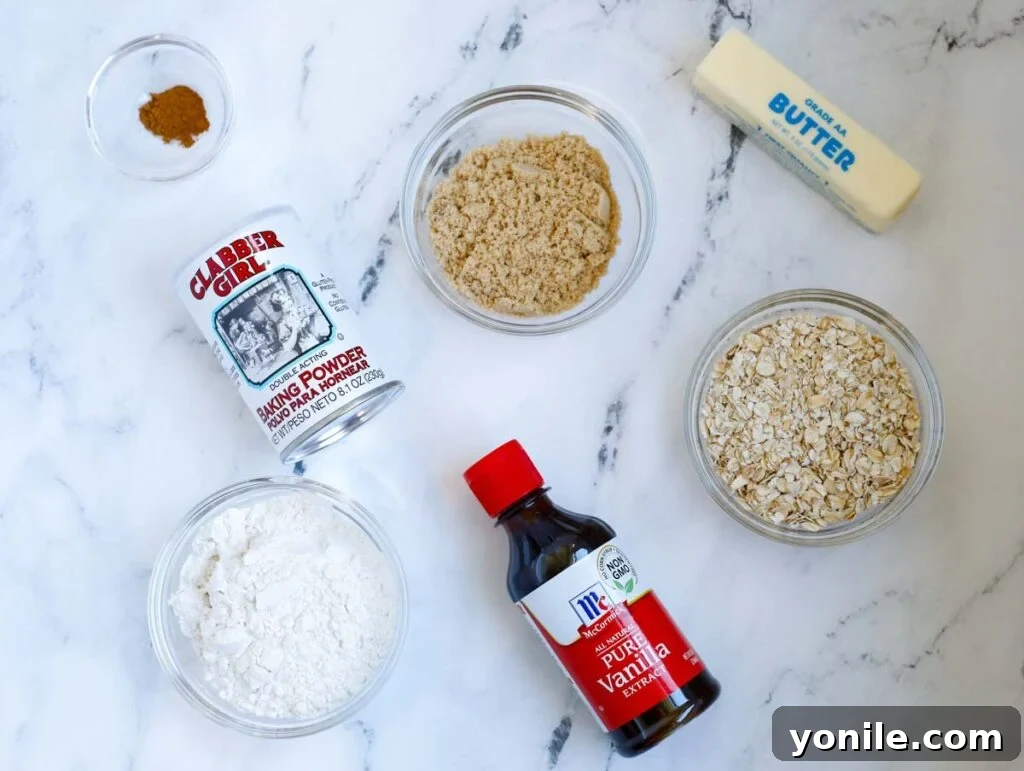
For the Crumbly Oat Topping:
- All-Purpose Flour: Provides structure and helps create the perfect crumb texture for the topping.
- Rolled Oats: The backbone of any good crisp, rolled oats (old-fashioned oats) offer that quintessential chewy and crispy texture. Avoid instant oats, as they tend to become soggy.
- Ground Cinnamon: Adds a warm, aromatic spice that beautifully complements the sweetness of the strawberries and the earthiness of the oats.
- Light Brown Sugar: Contributes a deep, caramel-like sweetness and helps achieve that desirable golden-brown color and slightly chewy consistency in the topping.
- Baking Powder: A small amount helps to lighten the topping slightly, ensuring it’s not too dense and achieves a pleasant crumbly lift.
- Unsalted Butter (Room Temperature): The key to a rich, flavorful, and perfectly crumbly topping. Using room temperature butter makes it easier to incorporate into the dry ingredients, allowing you to create those lovely crumbs without overmixing.
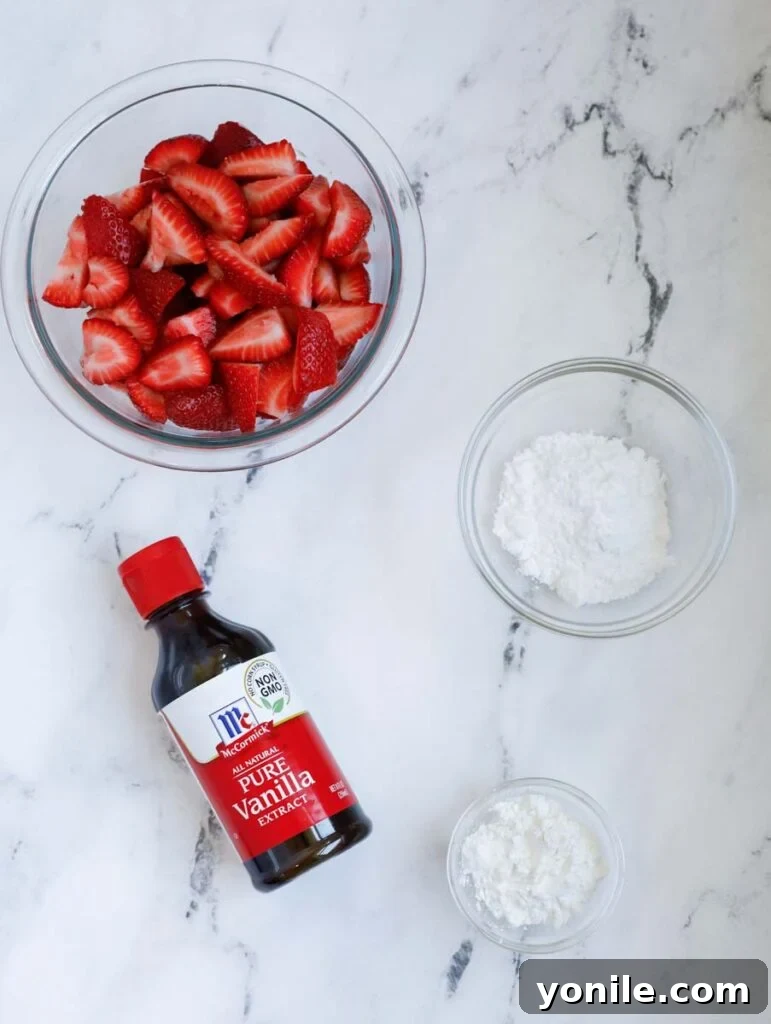
For the Juicy Strawberry Filling:
- Fresh Strawberries: The undisputed star! Opt for ripe, vibrant red strawberries. You’ll need to hull them (remove the green leafy tops) and quarter them to ensure even cooking and release of juices. If the strawberries are particularly large, cutting them into six pieces can be beneficial.
- Corn Starch: This is your secret weapon against a watery crisp. Corn starch acts as a thickening agent, creating a luscious, spoonable filling that perfectly coats the strawberries without being overly runny.
- Confectioner’s Sugar (Icing Sugar): Provides a delicate sweetness and a smooth consistency to the filling, dissolving easily and blending seamlessly with the fruit juices.
- Vanilla Extract: A touch of pure vanilla extract enhances the natural sweetness of the strawberries and adds a comforting, aromatic depth to the filling.
Step-by-Step Guide to Making the Best Strawberry Crisp
Creating this delicious Strawberry Crisp is a straightforward process that yields incredibly rewarding results. Follow these simple steps for a dessert that’s guaranteed to impress:
- Step 1: Preheat Your Oven. Begin by preheating your oven to 375°F (190°C). A preheated oven ensures even baking and a perfectly crisp topping.
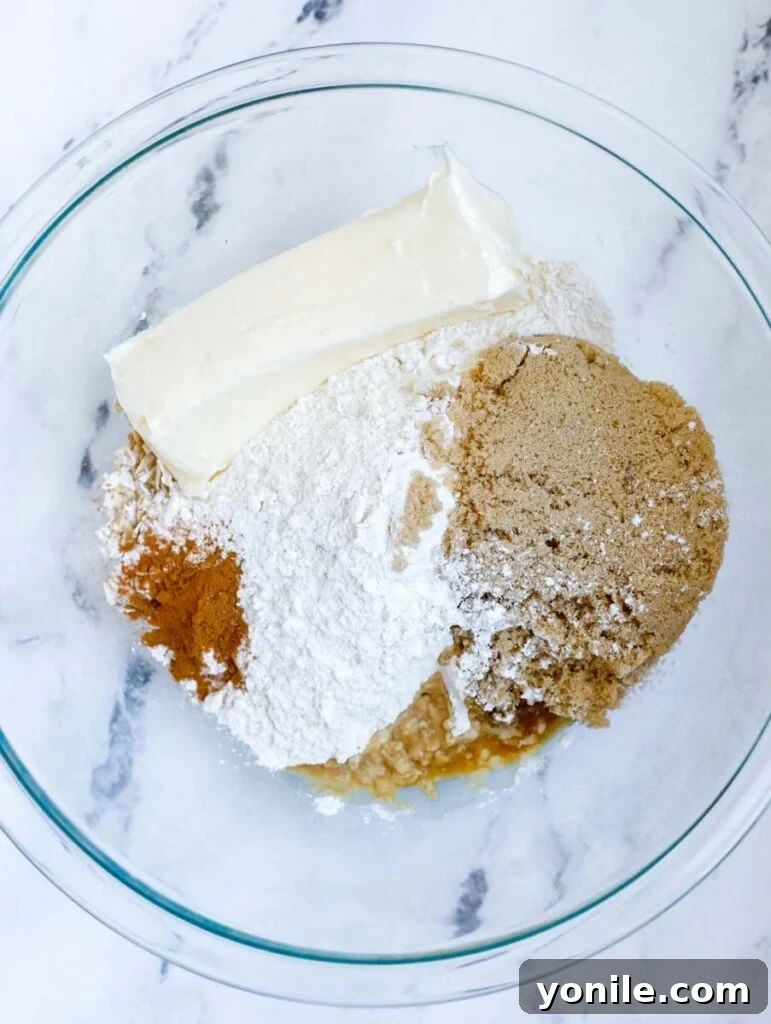
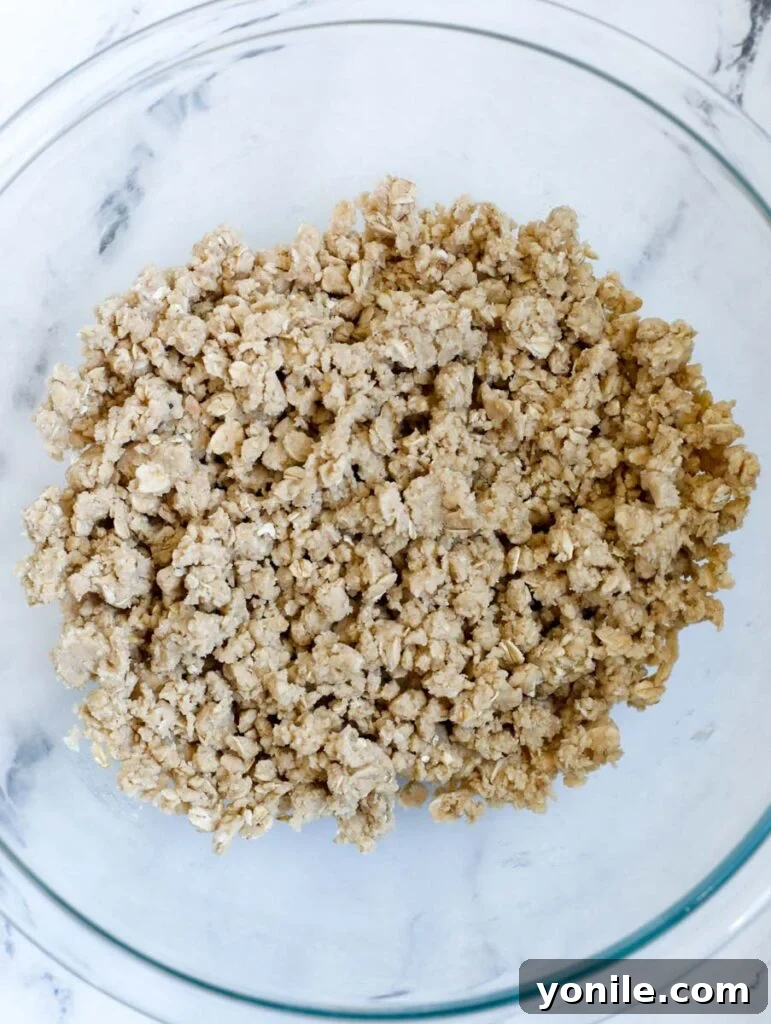
- Step 2: Prepare the Crumb Topping. In a medium-sized mixing bowl, combine all the dry ingredients for the crisp topping: all-purpose flour, rolled oats, ground cinnamon, light brown sugar, and baking powder. Whisk them together until well combined. Next, add the room temperature butter. Using your fingertips, work the butter into the dry mixture until it resembles coarse crumbs. Some larger clumps are desirable, as they will crisp up beautifully in the oven. Avoid overmixing; a light touch is best here.
- Step 3: Prepare the Strawberries. Thoroughly wash and gently dry your fresh strawberries. Hull them by removing the green tops. Then, quarter each strawberry. If you have particularly large strawberries, cutting them into six pieces will ensure they cook down more evenly and release their delicious juices.
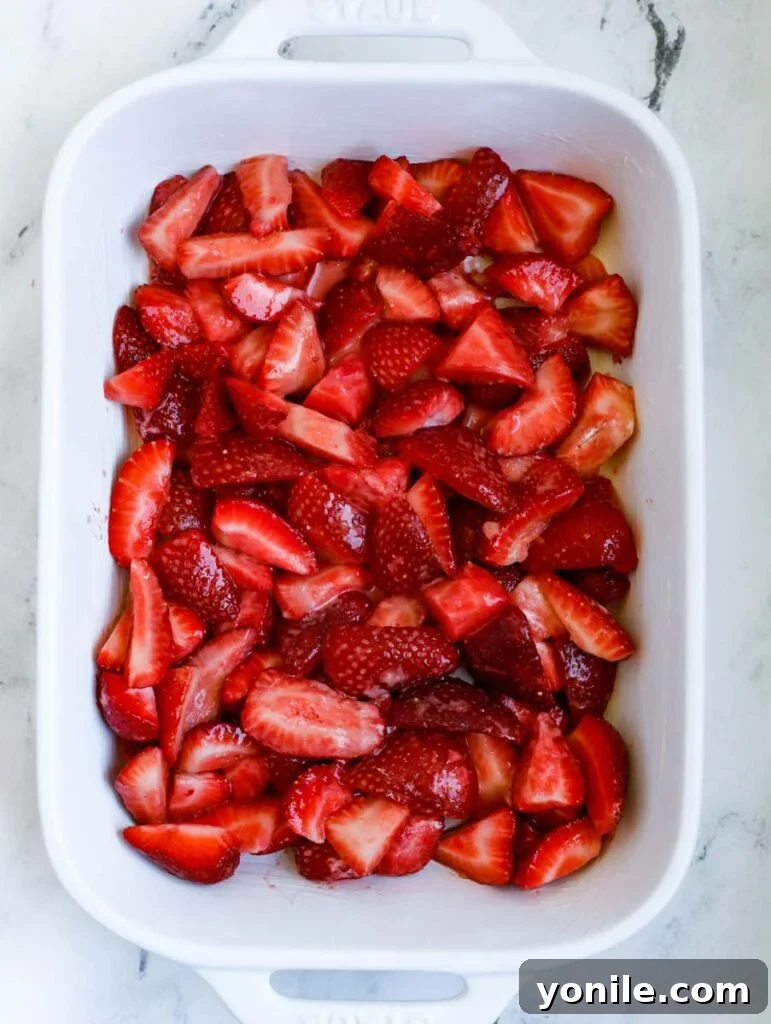
- Step 4: Combine Filling Ingredients. Place the prepared strawberries in a large bowl. Add the corn starch, confectioner’s sugar, and vanilla extract. Gently toss everything together until the strawberries are evenly coated. The corn starch is key here, as it will thicken the juices during baking, preventing a watery filling.
- Step 5: Assemble the Crisp. Lightly grease a 10.5″ x 7.5″ (or similar sized) baking dish with about 1 tablespoon of butter. This prevents sticking and adds a lovely flavor to the bottom crust. Pour the strawberry mixture evenly into the prepared baking dish, spreading it out gently.
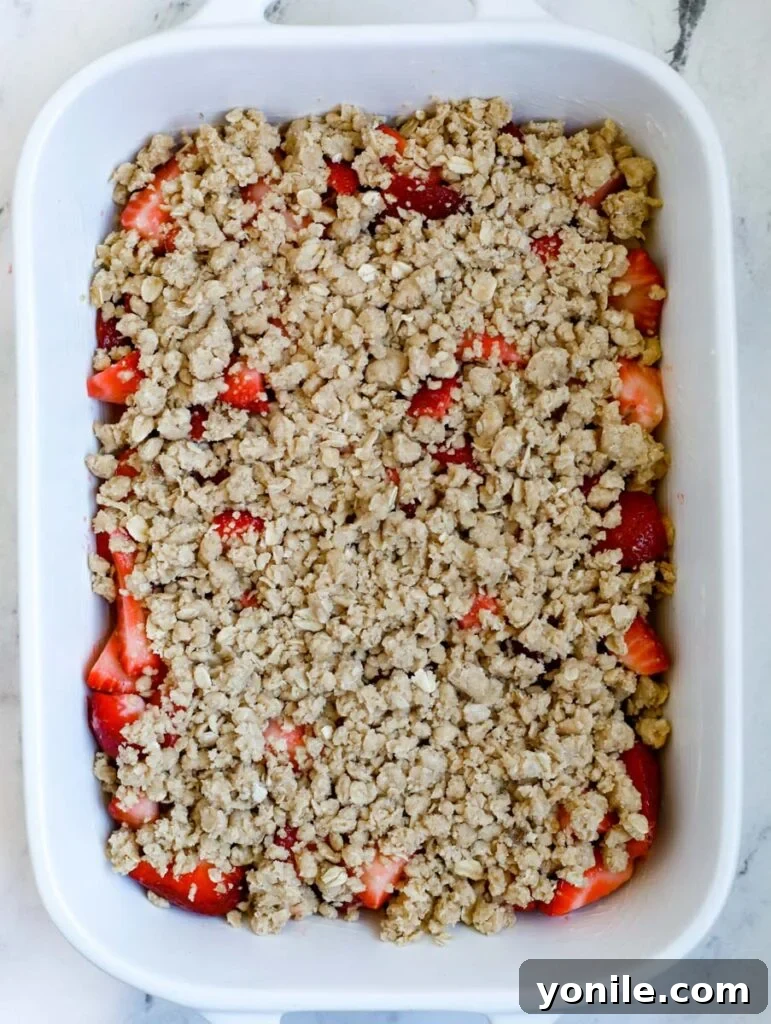
- Step 6: Top and Bake. Evenly sprinkle the prepared crumb topping over the strawberries in the baking dish, ensuring the fruit is mostly covered. Place the dish on the middle rack of your preheated oven and bake for 30-40 minutes. Baking times can vary slightly depending on your oven, so keep an eye on it. The crisp is done when the topping is golden brown and the strawberry filling is bubbly around the edges.
- Step 7: Cool and Serve. Once baked, carefully remove the Strawberry Crisp from the oven. Allow it to cool for at least 15-20 minutes before serving. This cooling time is crucial as it allows the fruit filling to set and thicken properly. Serve warm with a generous scoop of vanilla ice cream for an ultimate summer treat.
Mastering Your Strawberry Crisp: Essential Tips & Tricks
To ensure your Strawberry Crisp turns out perfectly every time, keep these valuable tips in mind:
- Always Use a Preheated Oven: This isn’t just a suggestion; it’s a rule. A properly preheated oven ensures that the crisp begins baking immediately and cooks evenly, resulting in a perfectly golden and crispy topping, and a thoroughly cooked fruit filling.
- Baking with Frozen Strawberries: If fresh strawberries aren’t available, or you prefer the convenience of frozen ones, you can absolutely use them! The key is to not thaw them first. Bake them directly from frozen. This helps prevent the crisp from becoming too watery, as the corn starch will work its magic as the berries slowly release their juices. You might need to add an extra tablespoon of corn starch to account for additional moisture.
- Proper Storage for Leftovers: Any leftover Strawberry Crisp should be stored in an airtight container in the refrigerator for up to 4 days. When ready to enjoy again, reheat gently in the oven at a low temperature (around 300°F / 150°C) until warmed through, or microwave for quicker individual servings.
- Avoid Storing Unbaked Crisp in the Refrigerator: Resist the temptation to assemble the crisp entirely and then store it unbaked in the fridge. The moisture from the strawberries will seep into the oat topping, making it soggy and preventing it from achieving that desirable crisp texture during baking. It’s best to prepare the components separately and combine just before baking.
- The Ultimate Serving Suggestion: For a truly decadent experience, serve your warm Strawberry Crisp with a generous scoop of good quality vanilla ice cream. The cold, creamy ice cream melting into the warm, fruity crisp is a match made in heaven. Whipped cream is another fantastic alternative!
- Elevate with Fresh Herbs: For an unexpected and sophisticated twist, try adding a sprinkle of fresh, finely chopped herbs like mint or basil over your crisp before serving. Their bright, aromatic notes beautifully complement the sweetness of the strawberries.
- A Delightful Breakfast Treat: Don’t limit this crisp to dessert! Top it with a dollop of Greek yogurt for a wholesome and utterly delicious breakfast or brunch option. The tanginess of the yogurt provides a wonderful balance to the sweet fruit.
Do I Have to Use Fresh Strawberries for This Crisp?
While this Strawberry Crisp truly shines with the unparalleled flavor of fresh, peak-season strawberries, you absolutely have options. You can certainly use older fresh strawberries that are still good but perhaps past their prime for eating raw, as baking will bring out their sweetness. For year-round enjoyment, frozen chopped strawberries work wonderfully. As mentioned in our tips, if you opt for frozen berries, there’s no need to thaw them beforehand. Simply add them directly to the filling mixture and proceed with the recipe. This makes the crisp a versatile dessert that can be enjoyed regardless of the season!
Can I Prepare Strawberry Crisp in Advance?
Absolutely! This Strawberry Crisp is a fantastic make-ahead dessert, making it perfect for entertaining or meal prepping. Once baked, the crisp freezes beautifully for up to 3 months. To freeze, allow the crisp to cool completely, then cover it tightly with plastic wrap and then aluminum foil. When you’re ready to enjoy it, simply thaw it overnight in the refrigerator. Then, warm it in a preheated oven at 350°F (177°C) for approximately 20 minutes, or until it’s heated thoroughly and the topping is crisp once more. This convenient option ensures you always have a delicious homemade dessert on hand!
How Can I Prevent a Soggy Strawberry Crisp?
A soggy fruit crisp can be disappointing, but it’s easily preventable with a few key considerations. The primary culprit for a watery crisp is excess moisture from the fruit. Here’s how to ensure your Strawberry Crisp remains perfectly textured:
- Drain Excess Moisture: Before mixing your fresh strawberries with the corn starch and sugar, ensure they are thoroughly washed and dried. If they seem particularly wet, gently pat them down with a paper towel to remove any surface moisture.
- Adjust Corn Starch for Fruit Ripeness: Super ripe strawberries or frozen berries tend to release more liquid during baking. If you suspect your fruit will be very juicy, consider adding an extra tablespoon of corn starch to the filling mixture. This additional thickening agent will absorb more liquid, ensuring a luscious rather than watery consistency.
- Proper Baking Time: Ensure your crisp bakes for the full recommended time, or even a few minutes longer if needed. The bubbling of the fruit juices is a good indicator that the corn starch is activated and thickening the filling properly.
- Cooling is Key: Don’t rush to serve! Allowing the crisp to cool for at least 15-20 minutes after baking gives the filling time to set and thicken further, preventing it from being too runny when scooped.
Explore More Delicious Dessert Recipes
If you’ve enjoyed this delightful Strawberry Crisp, you’ll surely love exploring these other fantastic dessert recipes. Perfect for any occasion, from quick fixes to impressive bakes:
- Quick No-Bake Chocolate Cake: A decadent treat that requires no oven!
- Easy Chocolate Covered Strawberries: Simple, elegant, and always a hit.
- Blueberry Bundt Cake: A moist and flavorful cake, perfect for breakfast or dessert.
- Strawberry French Tart: A sophisticated and beautiful dessert showcasing fresh strawberries.
- Crème Brûlée Cheesecake Bars: Indulgent bars combining two classic favorites.
We truly hope you enjoy all the recipes we share with you, and especially this delicious and remarkably simple Strawberry Crisp. We encourage you to try it, savor every bite, rate your experience, and share it with your dearest friends and family! Your culinary journey is our joy.
If you whip up this incredible recipe and love it as much as we do, please use our hashtag to share your creation with us on INSTAGRAM for a chance to be featured in our story! Also, be sure to follow Cookin’ With Mima on FACEBOOK, INSTAGRAM, and PINTEREST for all of our latest culinary adventures, tempting social posts, and exciting new recipes. Happy cooking!
Strawberry Crisp
By: Mariam Ezzeddine
This Strawberry Crisp is pure summer! Packed with juicy, sweet strawberries and topped with crumbly cinnamon oats. It’s a crowd-pleasing and easy dessert!
Prep Time: 10 minutes
Cook Time: 30 minutes
Total Time: 40 minutes
Servings: 6 servings
Ingredients
Crisp Topping
- 1 cup all-purpose flour
- 1 cup rolled oats
- 1 tsp cinnamon
- 3/4 cup light brown sugar
- 1/2 tsp baking powder
- 1/2 cup unsalted butter, soft, room temperature
Strawberry Filling
- 2 lbs fresh strawberries, hulled and quartered
- 3 tbsp corn starch
- 1/3 cup confectioner’s sugar
- 1 tsp vanilla extract
Other
- 1 tbsp butter, for coating the baking dish
- Vanilla ice cream, for serving (optional)
Instructions
- Preheat oven to 375°F (190°C).
- In a bowl, mix all the crisp topping ingredients together, and create the crumbs by loosening the dough mixture with your fingers.
- Wash and dry the strawberries. Hull and quarter them. If strawberries are too big, you can cut them into 6 pieces instead of 4.
- Place the prepared strawberries in a bowl and mix together with the corn starch, confectioner’s sugar, and vanilla extract until evenly coated.
- Rub a 10.5″ x 7.5″ baking dish with butter and then pour in the strawberry mixture.
- Cover the strawberries evenly with the crumb topping mixture and bake in the oven for 30-40 minutes on the middle rack. Baking time may vary, so look for a golden-brown topping and bubbling fruit filling.
- Remove from the oven and let the dish cool well (at least 15-20 minutes) before serving. Serve warm with vanilla ice cream.
Notes
- Always use a preheated oven for best results.
- If baking with frozen strawberries, do not thaw first. Bake frozen, and consider adding an extra tablespoon of corn starch.
- Store leftovers in the fridge for up to 4 days in an airtight container. Reheat gently in the oven or microwave.
- Avoid storing the Strawberry Crisp, unbaked, in the refrigerator, as the topping will become soggy.
- Serve with a scoop of vanilla ice cream for a classic pairing.
- Try adding fresh, chopped herbs – like mint or basil – to the serving for a fresh twist.
- Top with Greek yogurt for a delicious breakfast treat!
Nutrition
Calories: 477kcal | Carbohydrates: 75g | Protein: 5g | Fat: 19g | Saturated Fat: 11g | Cholesterol: 46mg | Sodium: 163mg | Potassium: 381mg | Fiber: 5g | Sugar: 41g | Vitamin A: 550IU | Vitamin C: 89mg | Calcium: 84mg | Iron: 2mg