
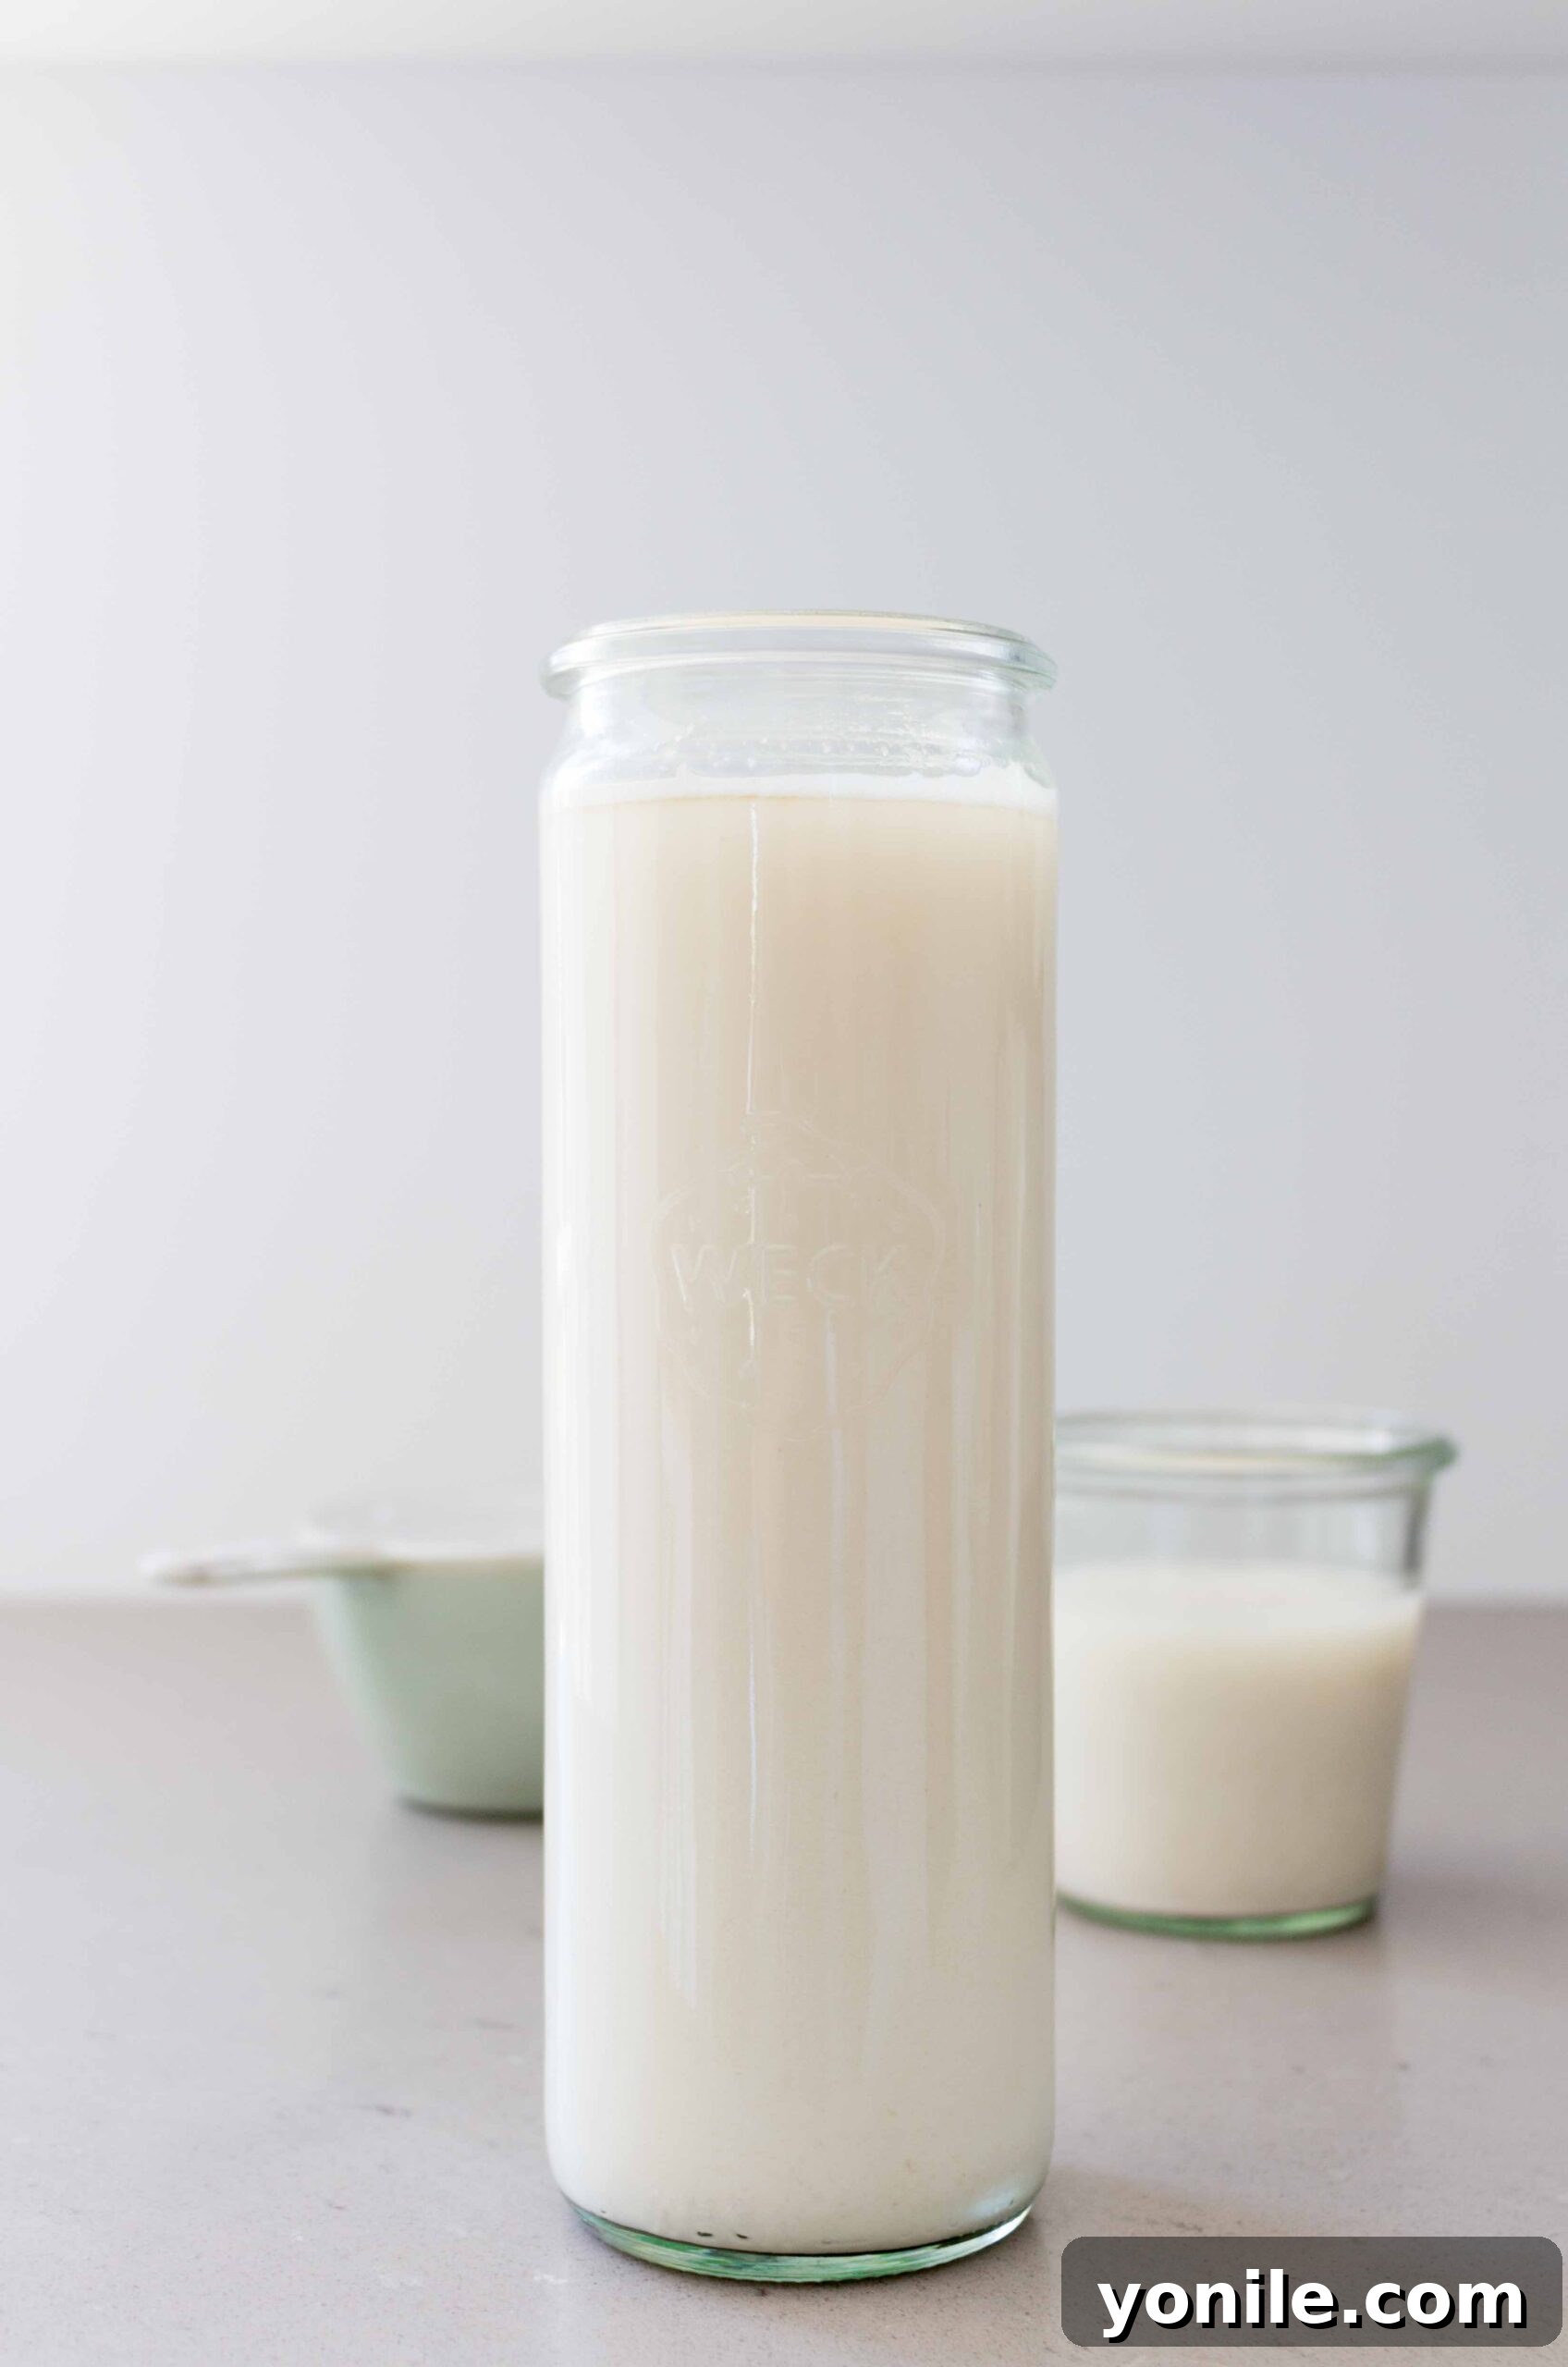
Discover the incredible simplicity and satisfaction of crafting your own creamy, delicious oat milk right in your kitchen. Forget about expensive store-bought versions filled with unnecessary additives, and say hello to a fresh, plant-based milk alternative that’s surprisingly easy to make. With just a few basic ingredients and a blender, you can enjoy non-slimy, perfectly textured oat milk in mere minutes. This comprehensive guide will walk you through every step, ensuring you achieve homemade oat milk perfection every time.
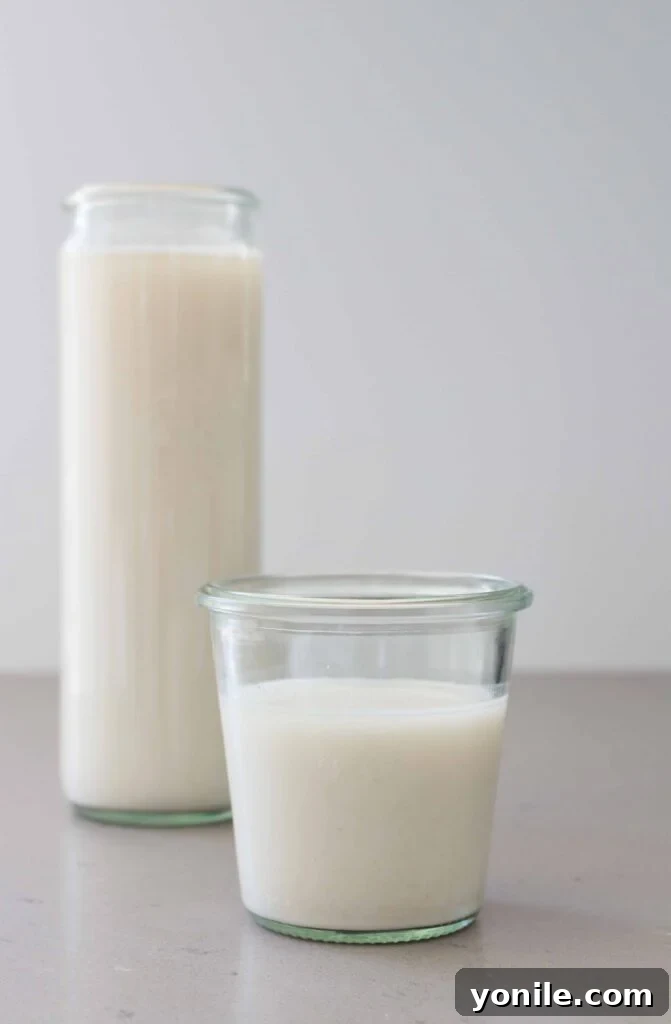
What is Oat Milk and Why It’s a Game Changer
Oat milk is a popular plant-based beverage derived from whole oat grains. It boasts a naturally creamy texture and a subtle, pleasant oatmeal-like flavor that makes it a versatile dairy-free alternative. In recent years, oat milk has surged in popularity, becoming a staple for vegans, those with lactose intolerance, and anyone looking to reduce their dairy consumption. Unlike some other plant-based milks, oat milk offers a unique richness and thickness that makes it ideal for everything from coffee and smoothies to baking and cooking.
While commercially produced oat milk is widely available, it often comes with a hefty price tag and may contain stabilizers, emulsifiers, and added sugars. This is where the magic of homemade oat milk truly shines. Crafting it at home not only saves you a significant amount on your monthly grocery bills—especially when compared to pricier alternatives like homemade almond milk—but also gives you complete control over the ingredients. Plus, the entire process takes less than five minutes, from start to finish, making it a quick and economical solution for your daily dairy-free needs.
The Abundant Benefits of Homemade Oat Milk
Choosing to make your own oat milk offers a myriad of advantages beyond just cost savings. This plant-based powerhouse brings several health and practical benefits to your table:
- Naturally Allergen-Friendly: Oat milk is inherently lactose-free, and when made with certified gluten-free oats, it becomes a safe and delicious option for individuals with gluten sensitivities or Celiac disease. Furthermore, it’s completely nut-free, making it an excellent choice for those with nut allergies who still desire a creamy plant-based milk.
- Nutrient-Rich Profile: A single serving of homemade oat milk can provide approximately 1 gram of protein and 1 gram of dietary fiber. While these figures might vary based on your oats-to-water ratio, oats themselves are known for their beneficial beta-glucans, a type of soluble fiber that has been linked to heart health and improved digestion.
- Digestive Health Support: The fiber content in oats can aid in maintaining a healthy digestive system, promoting regularity, and contributing to a feeling of fullness. This can be particularly beneficial for those looking to support their gut health through dietary choices.
- Reduced Additives and Preservatives: Commercial oat milks often contain gums, oils, and other stabilizers to achieve a specific texture and shelf life. By making it yourself, you eliminate these synthetic ingredients, ensuring you’re consuming a pure, wholesome product.
- Environmental Consideration: Choosing plant-based milks generally has a lower environmental footprint compared to dairy. Making it at home further reduces packaging waste, contributing to a more sustainable lifestyle.
- Customizable Flavor and Texture: You have the freedom to adjust the sweetness, add flavors, and control the consistency to perfectly match your preferences.
Essential Ingredients and Equipment for Success
The beauty of homemade oat milk lies in its simplicity. You don’t need a lengthy shopping list or specialized gadgets to get started. Here’s a breakdown of what you’ll need to create your perfect batch:
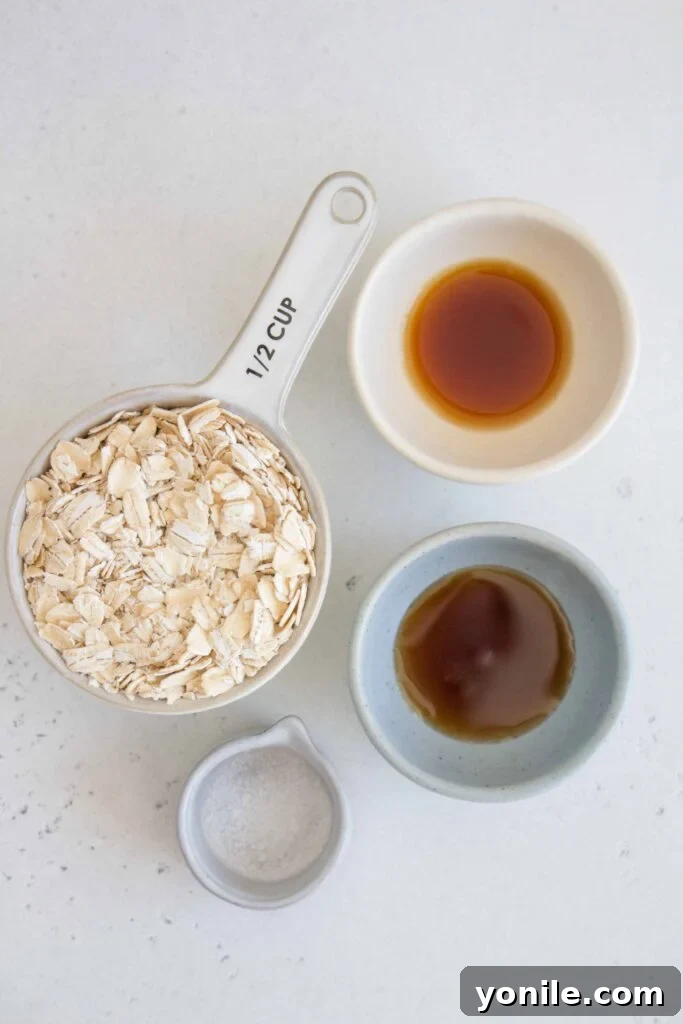
The Key Ingredients
Quality ingredients are the foundation of delicious oat milk. Here’s what to look for:
- Rolled Oats (Old-Fashioned Oats): This is arguably the most crucial ingredient. Opt for rolled oats, also known as old-fashioned oats. These oats are steamed and flattened, which allows them to break down easily in the blender without becoming overly starchy and slimy. Avoid quick oats and steel-cut oats. Quick oats are too processed and tend to create a very slimy texture, while steel-cut oats are too tough and won’t blend into a smooth milk without extensive processing.
- Filtered Water: The quality of your water directly impacts the taste of your oat milk. Using filtered water ensures a clean, pure flavor that enhances the overall experience. Unfiltered tap water can introduce off-flavors that detract from your homemade creation.
- Maple Syrup (or your preferred sweetener): While optional, a touch of sweetness elevates the flavor profile. Maple syrup is a popular choice for its rich, natural sweetness that complements oats beautifully. However, feel free to experiment with other natural sweeteners like pitted dates (add them directly to the blender), agave nectar, or a small amount of raw honey if you prefer. Adjust the quantity to your taste.
- Vanilla Extract: A small dash of real vanilla extract goes a long way in adding depth and warmth to your oat milk. I highly recommend using a high-quality, pure vanilla extract over artificial alternatives for the best flavor.
- Salt: Just a pinch of salt is enough to balance the sweetness and bring out the natural flavors of the oats. It’s a subtle addition that makes a significant difference.
The Necessary Equipment
Gathering these simple tools will make your oat milk-making process smooth and efficient:
- Blender: A high-speed blender, like a Vitamix, can achieve an incredibly smooth consistency, but any standard blender will work perfectly fine. The key is to ensure it can thoroughly pulverize the oats.
- Fine-Mesh Strainer or Nut Milk Bag: This is essential for achieving a smooth, non-slimy texture. A fine-mesh strainer will work, but a dedicated nut milk bag provides even better filtration and can yield a creamier result.
- Large Bowl: You’ll need a bowl to place your strainer over, which will collect the strained oat milk.
- Airtight Jar or Bottle for Storing: Once your oat milk is made, an airtight container is crucial for proper storage in the refrigerator to maintain its freshness. Glass jars are excellent for this purpose.
How to Make Your Own Creamy Oat Milk: A Step-by-Step Guide
Making oat milk at home is a straightforward process that takes mere minutes. Follow these simple steps for a perfect batch:
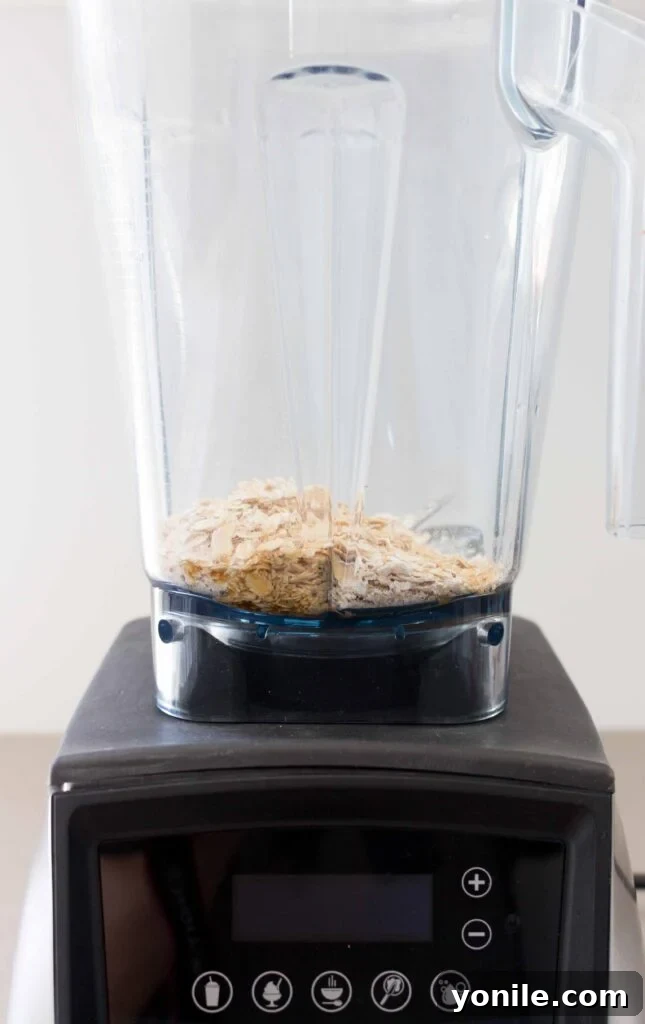
- Step 1: Combine Ingredients in Blender. Add your rolled oats, filtered water, maple syrup, vanilla extract, and a pinch of salt into your blender. Ensure the oats are at the bottom for optimal blending.
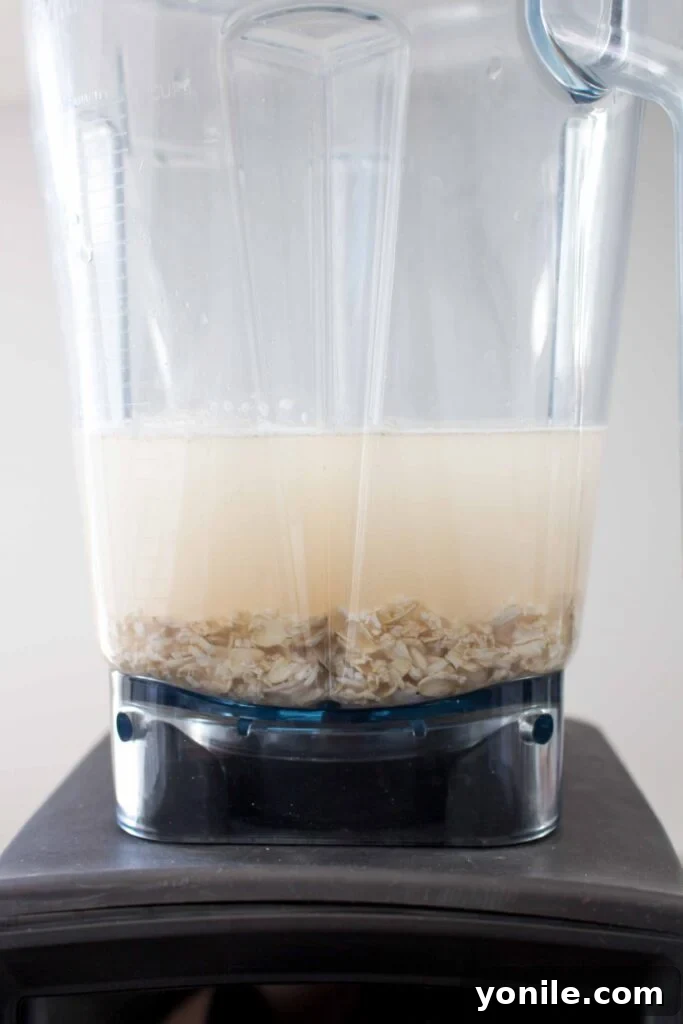
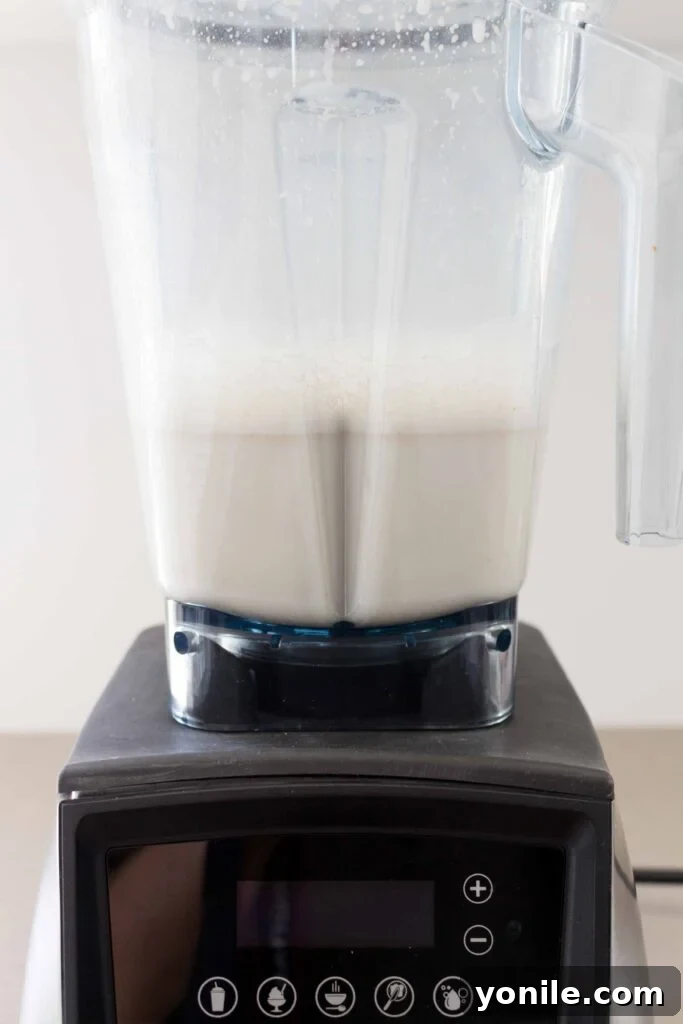
- Step 2: Blend Briefly. Blend the mixture for no more than 30 seconds. Over-blending is the primary cause of slimy oat milk, as it releases too much starch from the oats. A quick, powerful blend is all you need to break down the oats and infuse their goodness into the water.
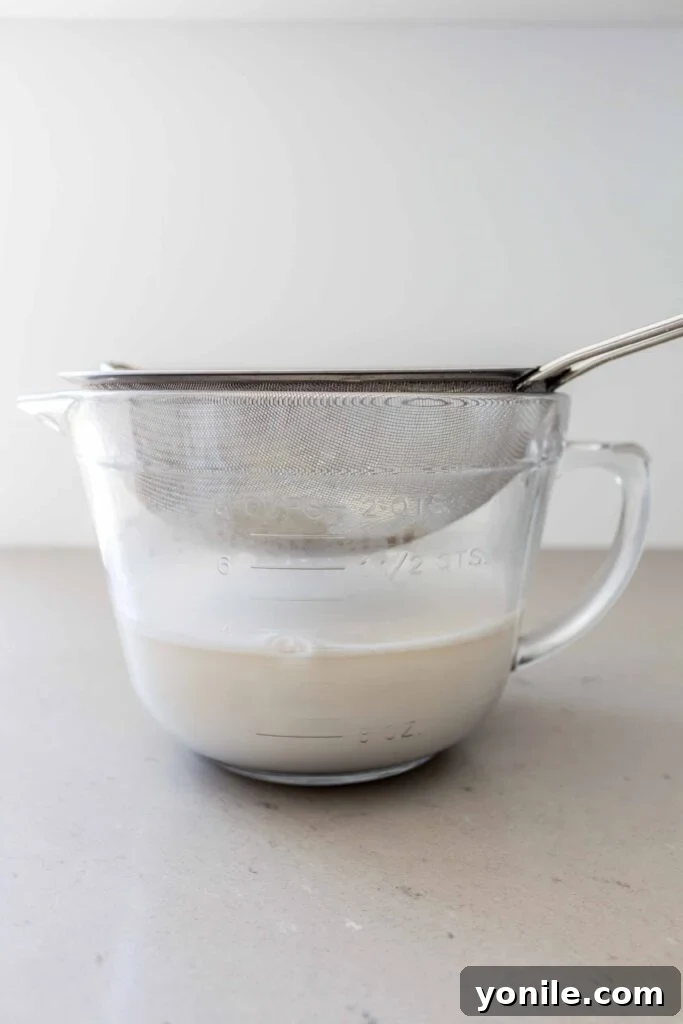
- Step 3: Strain the Milk. Place your fine-mesh strainer or nut milk bag over a large bowl. Carefully pour the blended oat mixture through the strainer. Allow the milk to drip naturally. Do NOT squeeze the nut milk bag or press down on the oats in the strainer, as this will force starch through and lead to a slimy texture.
- Step 4: Optional Double Strain. For an even smoother, less slimy consistency, you can strain the oat milk a second time using a clean strainer or nut milk bag. This step helps remove any lingering fine particles and excess starch.
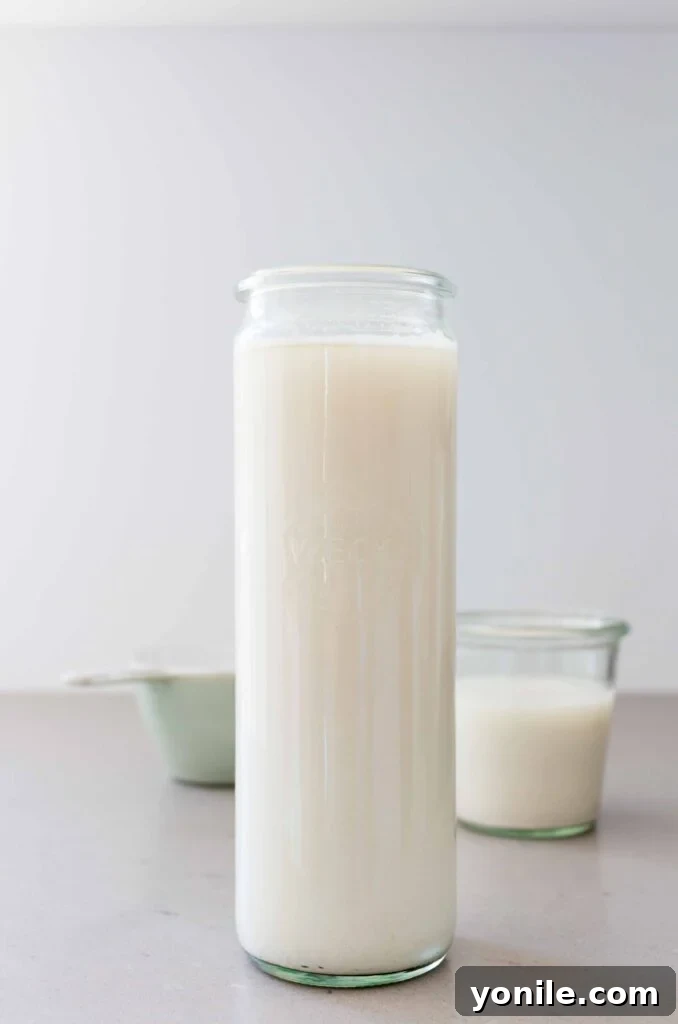
- Step 5: Store and Enjoy. Transfer your freshly made oat milk to an airtight jar or bottle. Store it in the refrigerator for up to 4 days. Remember to shake well before each use, as natural separation will occur. Oat milk is always best enjoyed chilled!
Mastering the Art of Non-Slimy Oat Milk
One of the most common concerns when making homemade oat milk is achieving a non-slimy texture. The good news is, it’s easily avoidable with a few key techniques:
- Do NOT Soak Your Oats: While soaking is common for many nut milks, it’s generally not recommended for oat milk. Soaking oats prior to blending can actually make them more prone to becoming slimy due to increased starch release.
- Blend for a Short Duration: This is paramount. Blend your oats for no more than 30 seconds. Anything longer will over-process the oats, causing them to release excessive starches, which results in a gummy, slimy consistency. A quick burst of power is sufficient.
- Use Cold Water: Some theories suggest that using cold water helps to minimize the release of starches during blending, contributing to a less slimy result.
- Gentle Straining is Key: When straining your oat milk, resist the urge to squeeze the nut milk bag or press down on the oats in the strainer. This action forces more starch through the filter, leading to a slimy texture. Let gravity do the work.
- Double Strain for Perfection: If you’re particularly sensitive to sliminess, or just want an extra-smooth finish, straining the oat milk twice can be incredibly effective. This removes even finer starch particles, ensuring a cleaner texture.
Creative Ways to Enjoy Your Homemade Oat Milk
Beyond simply drinking it, homemade oat milk is a wonderfully versatile ingredient that can elevate many dishes and beverages. Here are some delightful ways to incorporate it into your daily routine:
- In Your Morning Brew: Oat milk is renowned for its ability to create a silky, foamy texture in coffee and lattes. It froths beautifully, making it a favorite among baristas and coffee lovers alike.
- Smoothies and Shakes: Use it as a creamy base for your favorite fruit and vegetable smoothies. It adds a natural sweetness and rich texture.
- Breakfast Bowls: Pour it over your favorite cereal, granola, or use it as the liquid base for making perfectly creamy oatmeal or overnight oats.
- Chia Pudding: Create decadent chia seed puddings for a healthy breakfast or snack. The creaminess of oat milk works wonders.
- Baking and Desserts: Substitute dairy milk with oat milk in recipes for muffins, pancakes, waffles, cakes, and cookies to make them dairy-free without sacrificing moisture or flavor.
- Creamy Sauces and Soups: It can be used to add richness to savory dishes like creamy pasta sauces, gravies, or even puréed vegetable soups.
- Hot Chocolate: Whip up a comforting cup of hot chocolate with homemade oat milk for a truly indulgent treat.
What Does it Mean if My Oat Milk has Separated?
It means absolutely nothing to worry about! Natural separation is completely normal for homemade plant-based milks, including oat milk. This occurs because there are no emulsifiers or stabilizers present that would typically keep the liquid and solids uniformly mixed in store-bought versions. Simply give your jar a good shake before you pour to recombine everything, and your oat milk will be ready to enjoy.
The Best Type of Oats for Homemade Milk
For the creamiest, non-slimy homemade oat milk, whole rolled oats (old-fashioned oats) are your best and only option. These oats have been minimally processed – steamed and flattened – which allows them to blend well without releasing too much starch that leads to a gummy texture. Quick oats are too finely cut and processed, making them prone to sliminess. Steel-cut oats, on the other hand, are too coarse and won’t break down adequately to create a smooth, milky consistency. Always reach for rolled oats for superior results.
How Long Does Homemade Oat Milk Last?
When stored correctly in an airtight container in the refrigerator, homemade oat milk typically lasts for up to 4 days. After this period, it’s always a good idea to perform a quick sniff test. If it smells sour or off, it’s best to discard it. To maximize freshness, ensure your container is always sealed tightly and kept at a consistent cold temperature in your fridge.
How to Flavor and Customize Your Homemade Oat Milk
While a simple blend of oats, water, maple syrup, vanilla extract, and salt is delicious, one of the joys of making your own oat milk is the ability to customize its flavor profile. Don’t be afraid to get creative:
- Sweeteners: Beyond maple syrup, consider blending in a few pitted Medjool dates for a caramel-like sweetness and added fiber. Agave nectar, brown rice syrup, or a touch of coconut sugar are also great options.
- Spices: A pinch of cinnamon, nutmeg, or even a pumpkin spice blend can transform your oat milk into a seasonal delight. Add these directly to the blender with the other ingredients.
- Chocolate: For a chocolate oat milk, blend in a tablespoon of unsweetened cocoa powder or cacao powder. You can sweeten it further to taste.
- Fruit: For a fruity twist, blend in a small amount of fresh berries (like a few strawberries or raspberries) for a vibrant and naturally sweet milk.
- Herbs: For an adventurous flavor, try a tiny sprig of fresh mint or a dash of lavender extract (use sparingly!).
Tips for Making Your Oat Milk Extra Creamy
If you prefer a thicker, more luxurious oat milk, you can easily adjust the consistency:
- Adjust the Oats-to-Water Ratio: The simplest way to achieve creamier oat milk is to use less water relative to your oats. Experiment by reducing the water by half a cup and see if it reaches your desired thickness. Conversely, if you find your milk too thick, you can always thin it out with a little more water after straining.
- Add a Healthy Fat: For an even richer mouthfeel, you can blend in a tiny amount of healthy fat. A quarter of a pitted Medjool date can add creaminess without altering the flavor too much. A small swirl of cashew butter (if not avoiding nuts) or even a few strands of shredded coconut blended in can also enhance the richness.
What Can I Do With the Leftover Oat Pulp?
Don’t let that leftover oat pulp go to waste! It’s a fantastic source of fiber and can be repurposed in several creative ways:
- Baking: Incorporate the pulp into recipes for muffins, quick breads, cookies, or even homemade energy bites. It adds fiber and moisture.
- Oat Flour: You can dry out the pulp and grind it into a rustic oat flour.
- Smoothies: Add a spoonful of pulp to your next smoothie for an extra fiber boost.
- Compost: If you’re not keen on repurposing it in your kitchen, it makes an excellent addition to your compost pile.
I sincerely hope this detailed guide empowers you to effortlessly make homemade oat milk and enjoy all its benefits. Give this recipe a try, savor its freshness, and don’t forget to share your creations and feedback with friends and family!
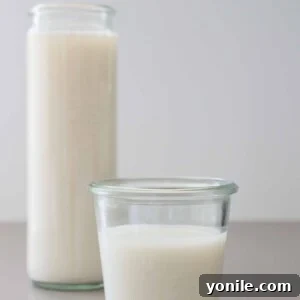
How to Make Oat Milk
Mariam Ezzeddine
5
4
4 servings
Equipment
-
Blender
-
Strainer (Fine-Mesh or Nut Milk Bag)
Ingredients
- ½ cup rolled oats, old fashion type
- 3 cups filtered water
- 1 tbsp maple syrup (optional, adjust to taste)
- 1 tsp vanilla extract
- 1 pinch of salt
Instructions
-
Add the rolled oats, filtered water, maple syrup, vanilla extract, and salt into your blender.
-
Blend for exactly 30 seconds. Do not over-blend to prevent sliminess.
-
Place a fine-mesh strainer or nut milk bag over a large bowl. Gently pour the blended oat mixture through. Allow the milk to drip naturally; do not squeeze or press the oats.
-
For an even smoother consistency, you may strain the oat milk a second time.
-
Transfer the finished oat milk to an airtight jar or bottle. Store in the refrigerator for up to 4 days. Shake well before each use. Oat milk is best consumed chilled.
Notes
Nutrition Facts (per serving)
Calories:
55kcal
|
Carbohydrates:
10g
|
Protein:
1g
|
Fat:
1g
|
Saturated Fat:
0.1g
|
Polyunsaturated Fat:
0.2g
|
Monounsaturated Fat:
0.2g
|
Sodium:
20mg
|
Potassium:
49mg
|
Fiber:
1g
|
Sugar:
3g
|
Calcium:
16mg
|
Iron:
0.4mg
If you try this recipe and like it, please use my hashtag to share it with me on INSTAGRAM for a chance to be featured in my story! Also, follow me at Cookin’ With Mima on FACEBOOK | INSTAGRAM | PINTEREST for all of my latest social posts and recipes.