

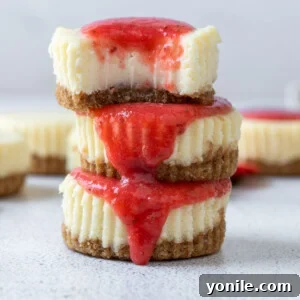
Prepare to be enchanted by these utterly delightful Mini Strawberry Cheesecakes. Each bite is a creamy, dreamy experience, perfectly portioned and bursting with the vibrant flavor of fresh strawberries. Ideal for entertaining, family gatherings, or simply treating yourself, these individual desserts are not just incredibly cute but also remarkably easy to make. They offer a sophisticated yet approachable dessert solution that will undoubtedly become a household favorite. Crafted with a rich, smooth cheesecake filling and crowned with a luscious, homemade strawberry topping, these mini cheesecakes are a celebration of summer’s bounty, especially when strawberry season is in full swing. The irresistible combination of a crisp graham cracker crust, a velvety cheesecake center, and a bright fruit topping creates a harmonious symphony of textures and tastes.
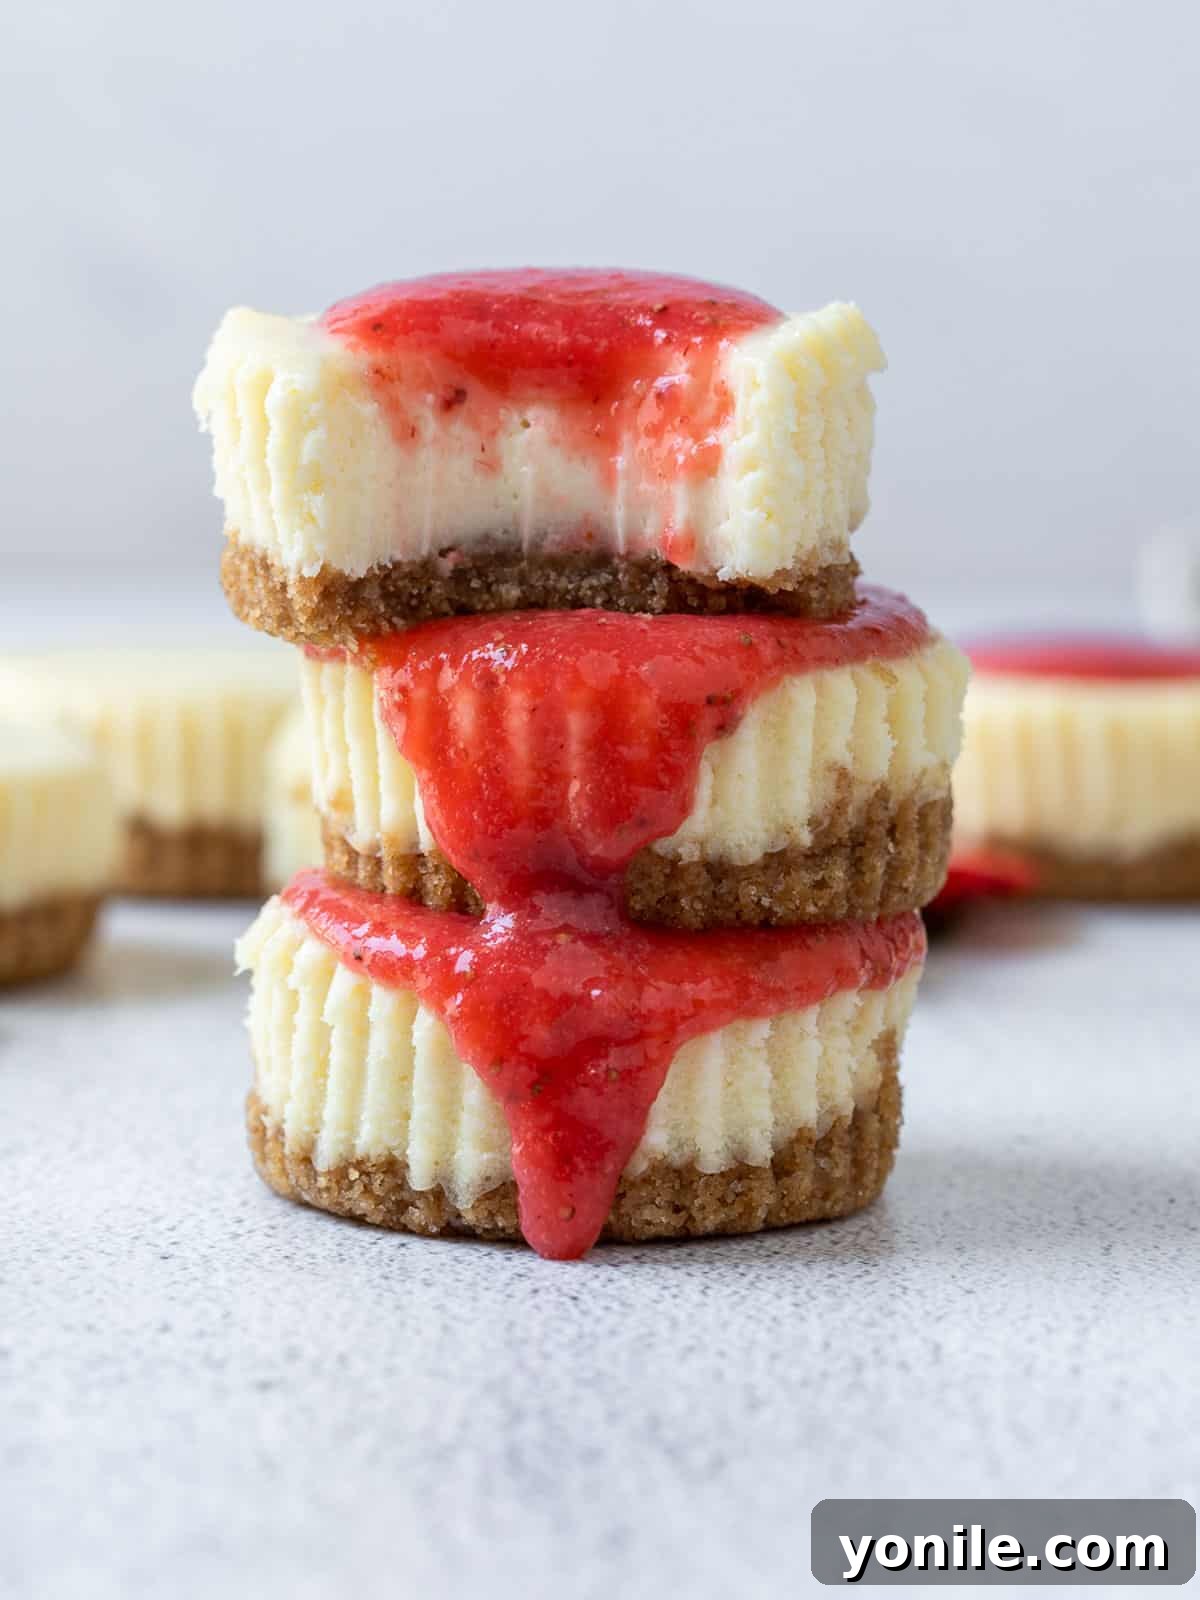
When those sweet, juicy strawberries are at their peak, there’s no better way to highlight their natural goodness than in this particular mini cheesecake recipe. The depth of flavor from the fresh fruit truly elevates this classic dessert, making it an exceptional choice for any occasion. These treats promise to deliver a satisfying sweetness and a refreshing tang, appealing to dessert lovers of all ages. If you find yourself craving more delicious dessert ideas, be sure to explore other delightful recipes such as a comforting Blueberry Bundt Cake or a rustic and charming Mixed Berry Galette.
Why These Miniature Cheesecakes Will Become Your Go-To Dessert
- Irresistibly Delicious and Perfectly Sized: There’s a special magic to bite-sized desserts, and these mini cheesecakes are no exception. Their compact form makes them not only adorable but also incredibly satisfying. The filling is exquisitely smooth, intensely creamy, and perfectly balanced in sweetness, creating a luxurious mouthfeel that will leave you wanting more. The fresh strawberry topping adds a burst of fruity brightness that complements the rich cheesecake beautifully.
- Effortless Baking – No Water Bath Required: Say goodbye to the fuss and complexity of a traditional water bath! This recipe simplifies the cheesecake-making process significantly by utilizing a standard cupcake tin. This ingenious method ensures even baking without the risk of cracks often associated with larger cheesecakes, making it perfect for novice bakers and seasoned pros alike who appreciate a straightforward approach to baking.
- Conveniently Make Ahead for Stress-Free Entertaining: Imagine the joy of having delectable desserts ready and waiting in your refrigerator, eliminating last-minute stress. These mini cheesecakes are perfect for meal prepping and can be prepared ahead of time, allowing flavors to meld and deepen. They’re an excellent option for entertaining, as you can simply grab them from the fridge and serve, enjoying more time with your guests and less time in the kitchen. Enjoy the convenience of a delicious homemade treat throughout the week!
Essential Ingredients for Perfect Mini Strawberry Cheesecakes
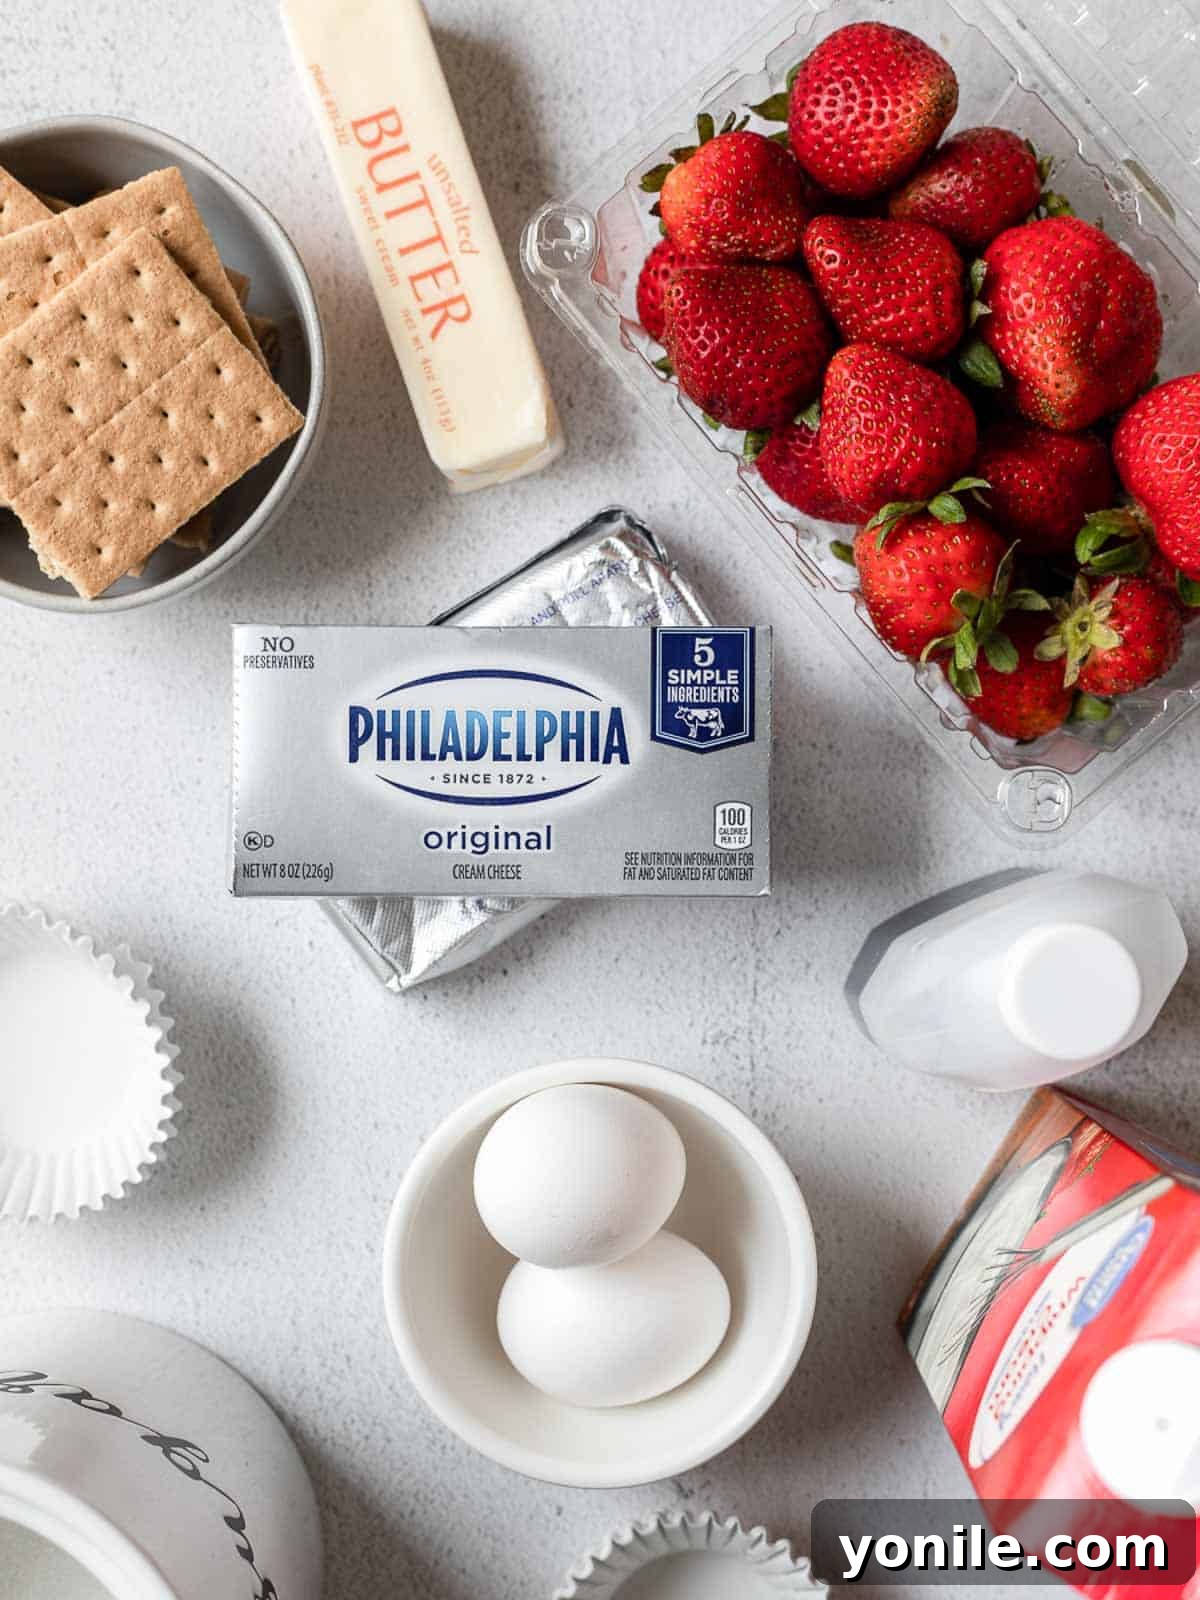
Crafting the perfect mini cheesecake relies on a few key, high-quality ingredients. Each component plays a crucial role in achieving the desired texture, flavor, and overall appeal. Let’s delve into what you’ll need for each layer of these delightful treats:
For the Crust:
- Graham Crackers: You’ll need them finely crushed to form the perfect base. You can achieve this by pulverizing whole graham cracker sheets in a food processor or by purchasing pre-crushed graham cracker crumbs for added convenience. The fine texture ensures a cohesive and sturdy crust.
- Salt: A small pinch of salt is optional but highly recommended. It subtly balances the sweetness of the crackers and sugar, enhancing the overall flavor profile of the crust.
- Granulated Sugar: Use fine white granulated sugar to ensure it dissolves seamlessly into the crust mixture, contributing to its slight crispness and sweetness without any grainy texture.
- Unsalted Butter: Melted unsalted butter is essential for binding the crust ingredients together. Using unsalted butter allows you to control the exact amount of salt in the recipe, ensuring a perfectly seasoned crust. Make sure it’s fully melted for optimal mixing.
For the Filling:
- Full-Fat Cream Cheese: This is the star of your cheesecake filling. It’s crucial that the cream cheese is brought to room temperature before mixing. This prevents lumps and ensures a silky-smooth, evenly blended batter. Always opt for full-fat cream cheese blocks, as low-fat or spreadable varieties found in tubs do not yield the same rich, creamy consistency.
- Granulated Sugar: Fine granulated white sugar is incorporated into the cream cheese to sweeten the filling and aid in achieving its smooth texture.
- Eggs: Eggs act as a binding agent and contribute to the creamy texture and structure of the cheesecake. Like the cream cheese, it’s vital that the eggs are at room temperature to prevent curdling and ensure a homogenous mixture, minimizing the risk of cracks in the finished cheesecakes.
- Heavy Cream: A splash of heavy cream adds an incredible richness and a luxurious, velvety consistency to the cheesecake filling, making it even more decadent.
- Pure Vanilla Extract: For the most authentic and aromatic flavor, always use pure vanilla extract. It enhances the sweet notes of the cheesecake and adds a comforting depth.
For the Topping:
- Fresh Strawberries: Choose ripe, vibrant red strawberries for the best flavor and color. They should be hulled (stems removed) and ready for blending. The freshness of the strawberries is key to a superior topping.
- Granulated Sugar: A small amount of fine granulated white sugar is added to the strawberry puree to sweeten it to your preference, creating a perfectly balanced fruit topping. Adjust the quantity based on the natural sweetness of your strawberries.
Step-by-Step Guide: Crafting Your Mini Strawberry Cheesecakes
Creating these delightful mini cheesecakes is a straightforward and rewarding process. Follow these detailed instructions to ensure a perfect batch every time.
- Preparation is Key: Begin by preheating your oven to 325°F (160°C). This ensures the oven is at the correct temperature for baking. Next, take a standard 12-cavity cupcake tin and line each cavity with paper cupcake liners. These liners will prevent sticking and make for easy removal of your finished cheesecakes. Set the prepared tin aside.
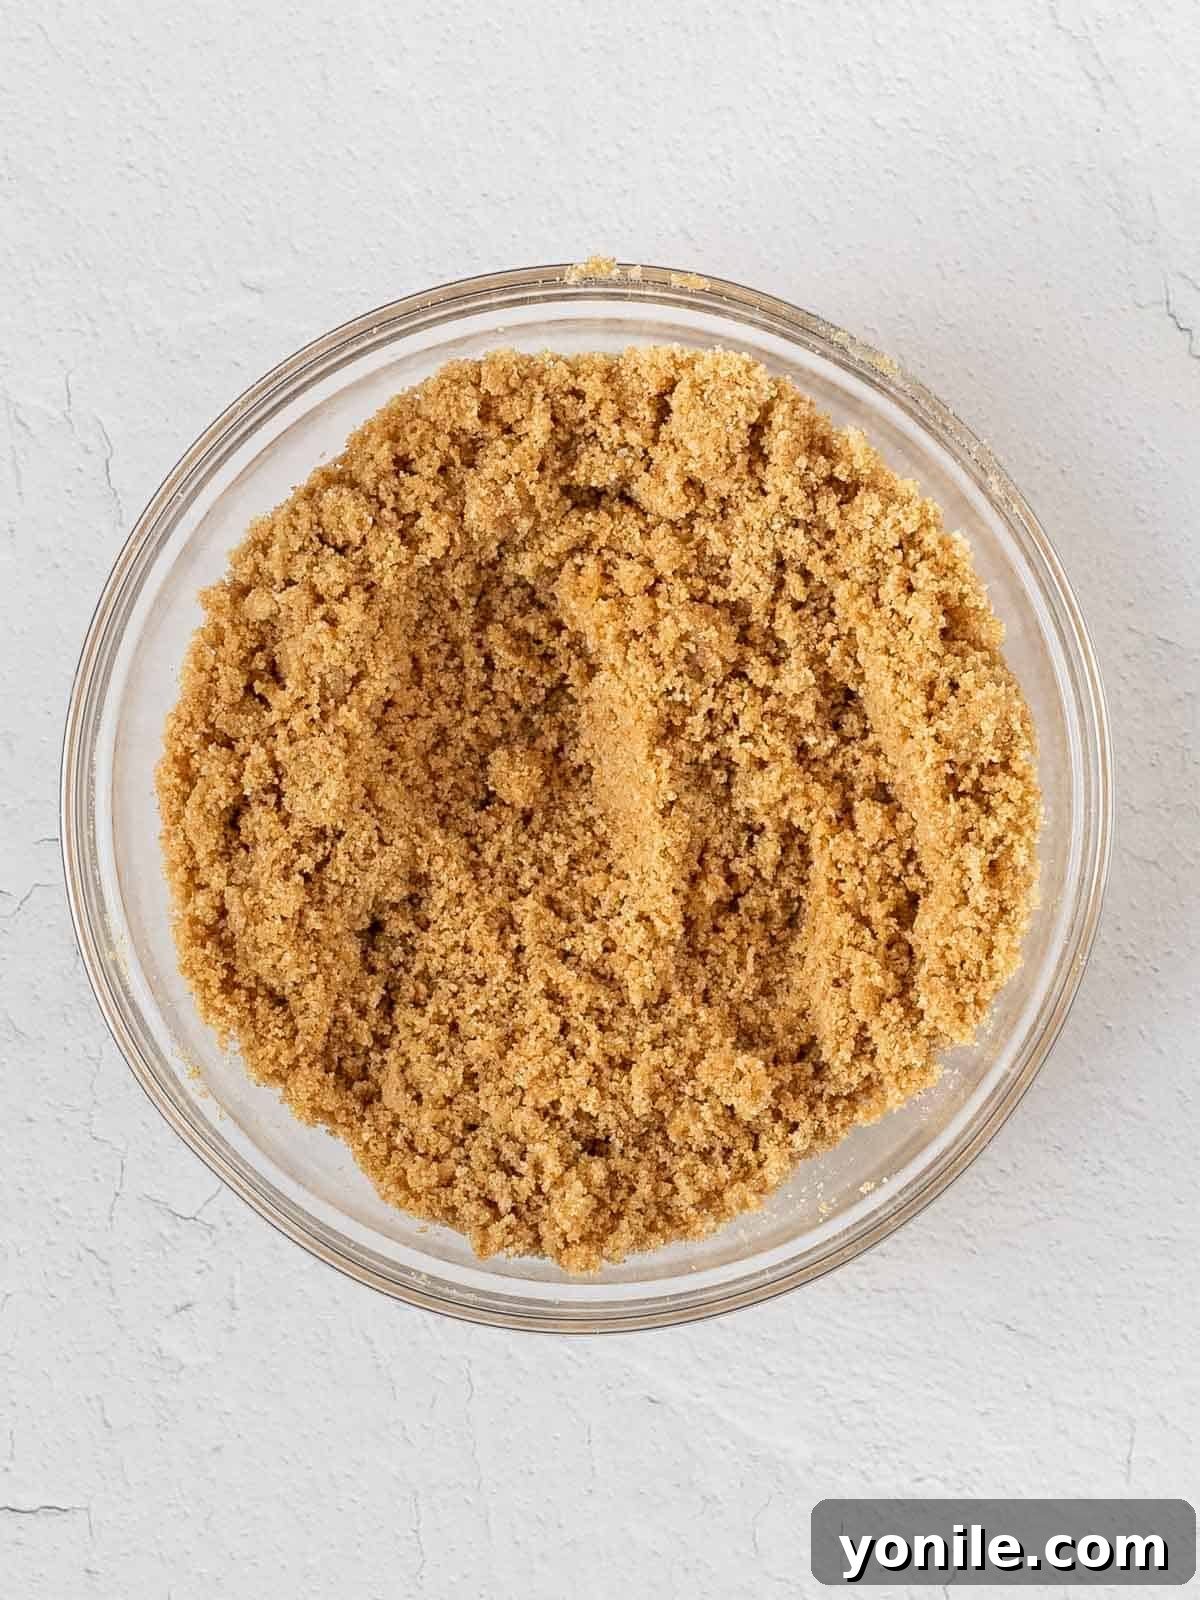
- Crafting the Graham Cracker Crust: In a medium-sized bowl, combine the finely crushed graham cracker crumbs, a pinch of salt (if using), the granulated sugar, and the melted unsalted butter. Mix these ingredients thoroughly until they are fully incorporated. The mixture should have a consistency similar to wet sand, clumped together when pressed. Distribute this crumb mixture evenly among the lined cupcake cavities. Firmly press about 1 to 1½ tablespoons of the mixture into the bottom of each liner, creating a compact and stable crust. A flat-bottomed glass or your fingers can help achieve a well-packed crust.
- Pre-Baking the Crust: Place the cupcake tin with the pressed crusts into the preheated oven. Bake for approximately 8-10 minutes, or until the edges appear lightly golden brown and fragrant. This step helps to set the crust and prevents it from becoming soggy. Once baked, remove the pan from the oven and allow the crusts to cool completely on a wire rack before adding the filling. A cool crust prevents the filling from melting prematurely.
- Adjusting Oven Temperature: After the crusts have cooled, reduce your oven temperature to 300°F (150°C). This slightly lower temperature is ideal for baking the delicate cheesecake filling, ensuring a slow and even bake that minimizes cracking.
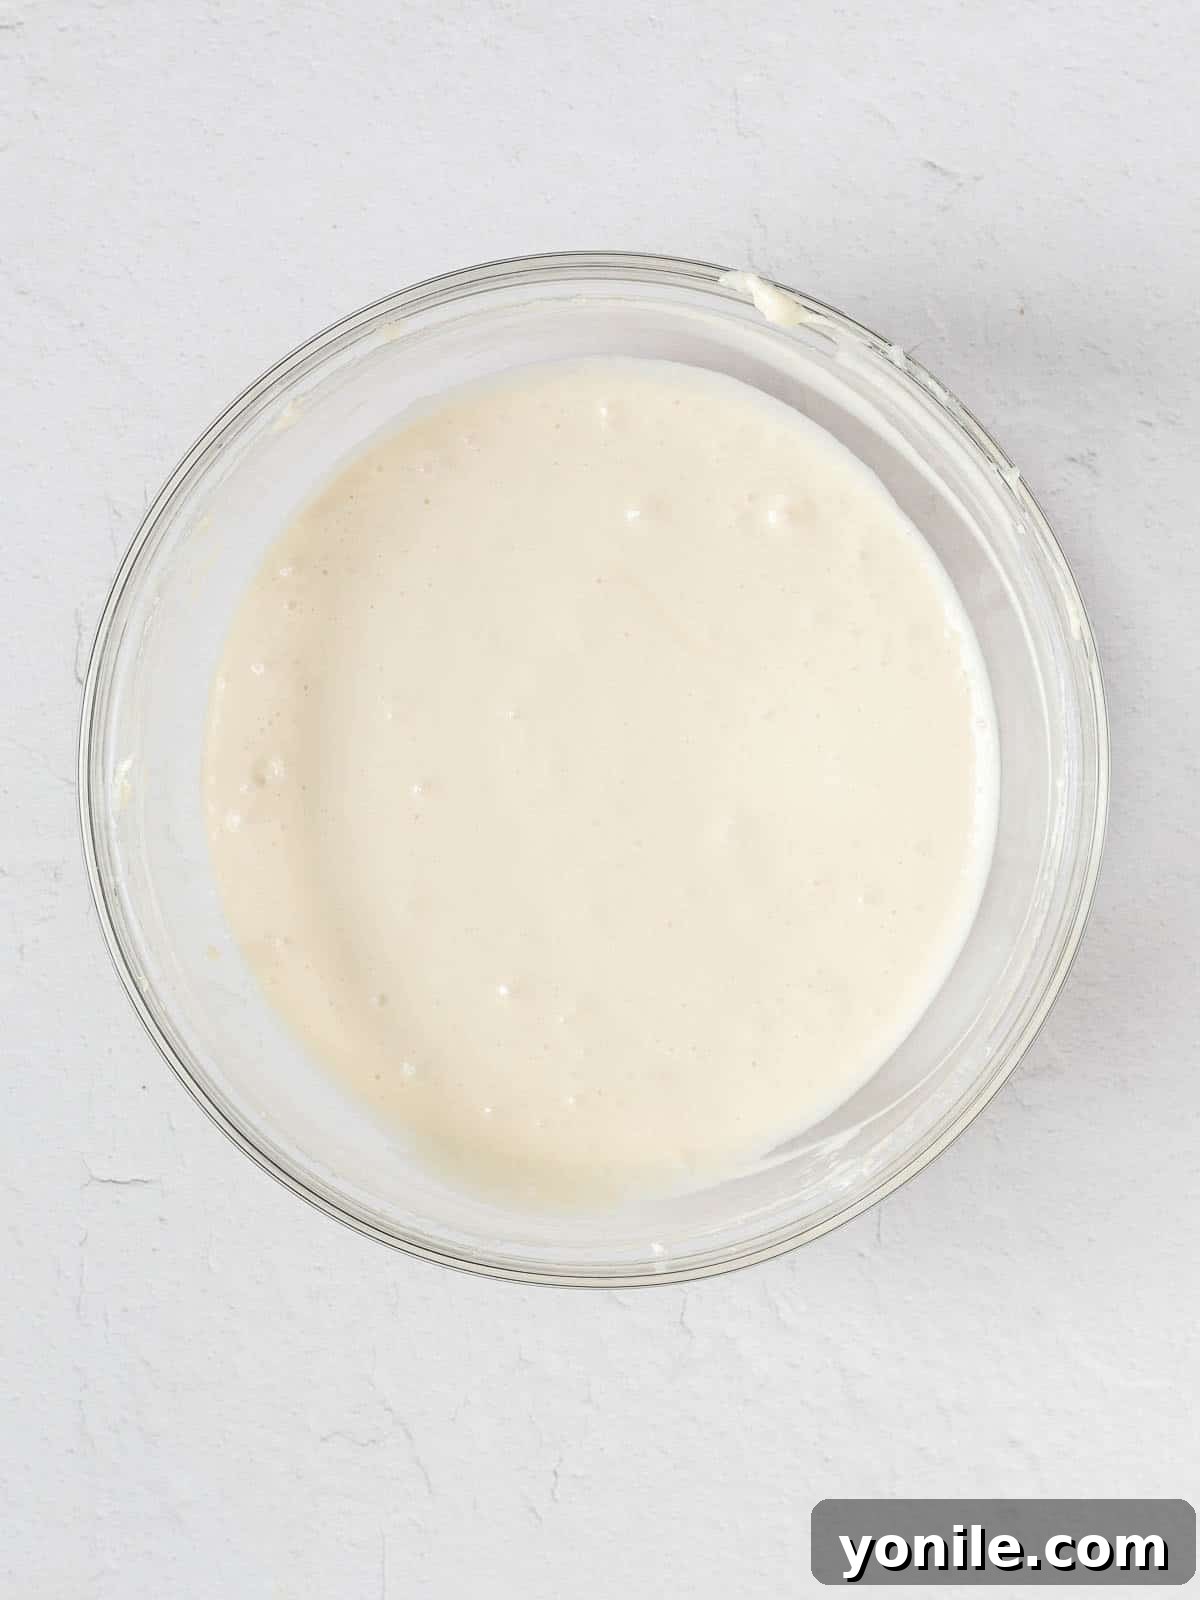
- Preparing the Creamy Cheesecake Filling: In the bowl of a stand mixer fitted with the paddle attachment, or in a large mixing bowl using a hand mixer, combine the room-temperature cream cheese and granulated sugar. Beat them together on low speed until the mixture is completely smooth and free of any lumps. This gentle mixing prevents too much air from being incorporated, which can lead to cracks. Next, add the eggs one at a time, mixing well after each addition and stopping to scrape down the sides of the bowl with a spatula to ensure everything is fully combined. Finally, pour in the heavy cream and pure vanilla extract. Mix until just combined and smooth, being careful not to overmix the batter. Overmixing can introduce too much air, which can cause the cheesecake to puff up and then sink or crack during cooling.
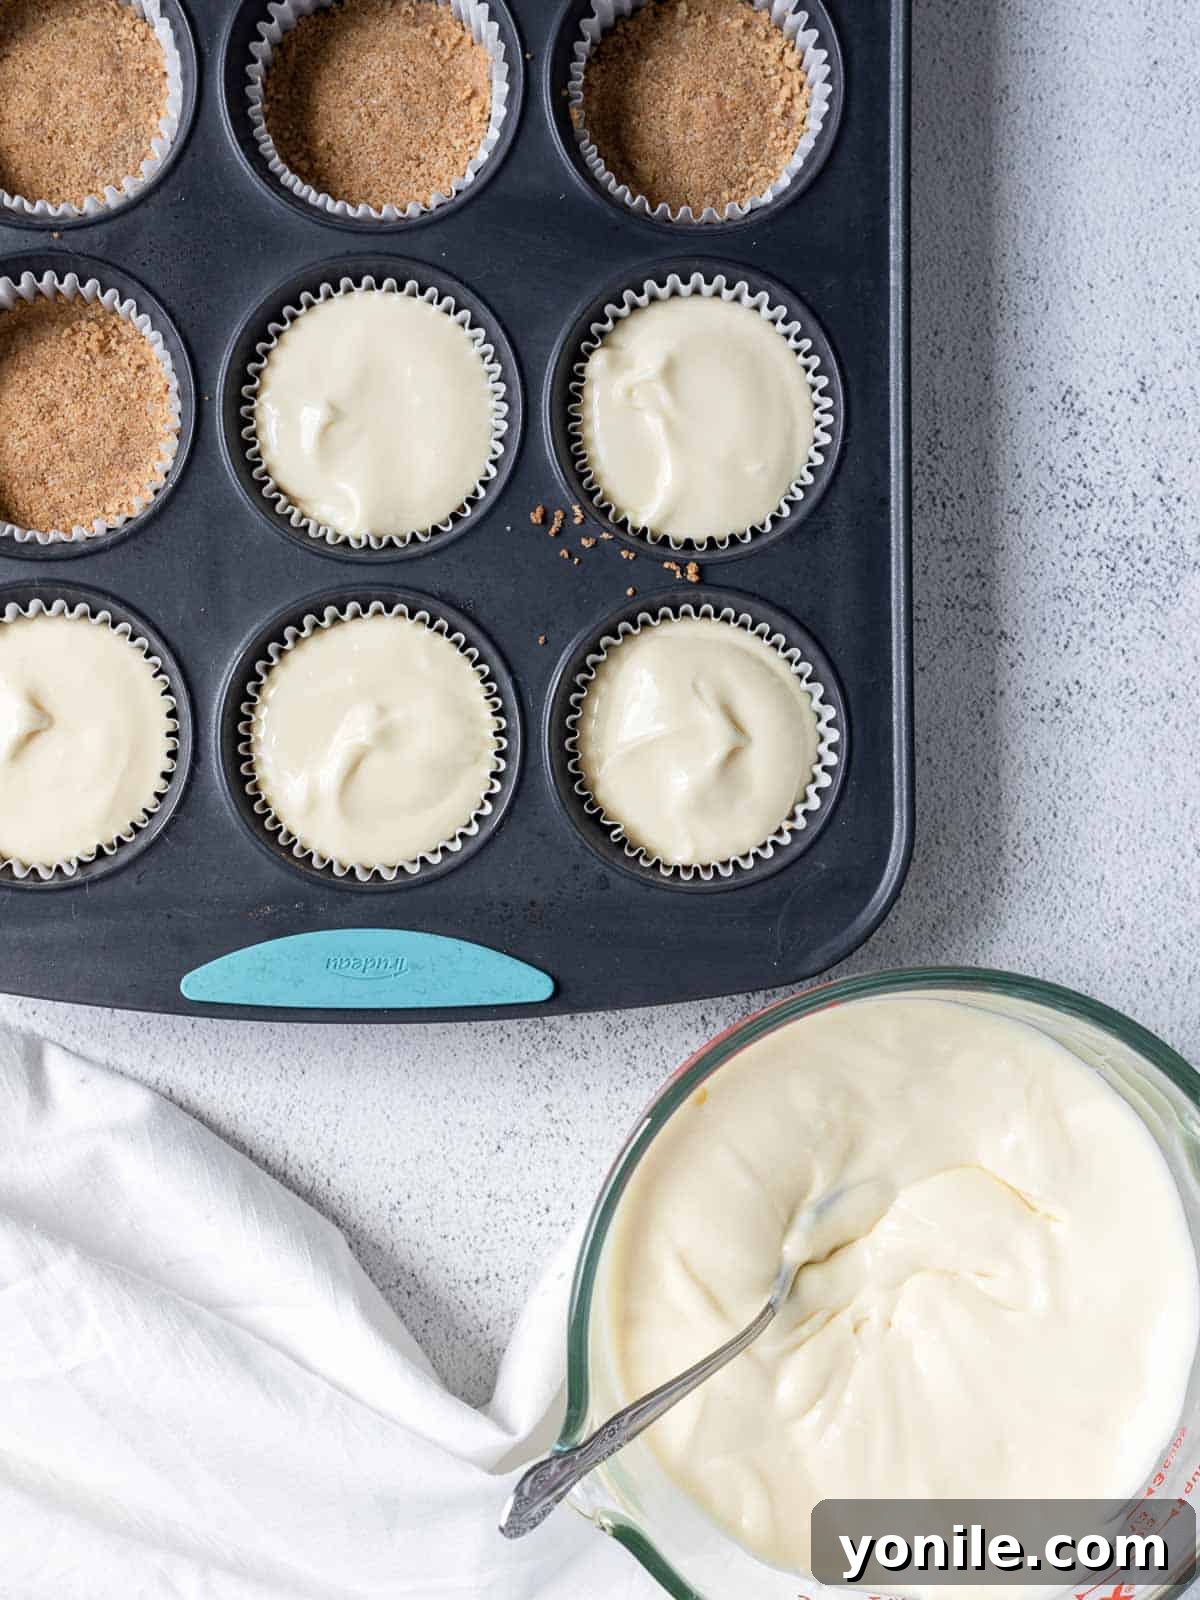
- Baking the Cheesecakes to Perfection: Carefully spoon or pour the cheesecake filling into each prepared cupcake liner, filling them almost to the top. Return the cupcake tin to the oven and bake for 15 minutes. After this initial baking period, turn off the oven but leave the cheesecakes inside with the oven door closed for an additional 30 minutes. This residual heat gently continues to cook the cheesecakes and allows them to set slowly, preventing drastic temperature changes that can cause cracks. After 30 minutes, crack the oven door open slightly and let the cheesecakes sit in the cooling oven until they reach room temperature. This gradual cooling is critical for a perfectly smooth top.
- Chilling for Optimal Texture: Once the cheesecakes have fully cooled to room temperature, transfer the entire cupcake tin to the refrigerator. Allow them to chill for at least 2 hours, or ideally overnight, until they are firm and thoroughly cold. Chilling is essential for the cheesecake to set properly and develop its signature dense, creamy texture.
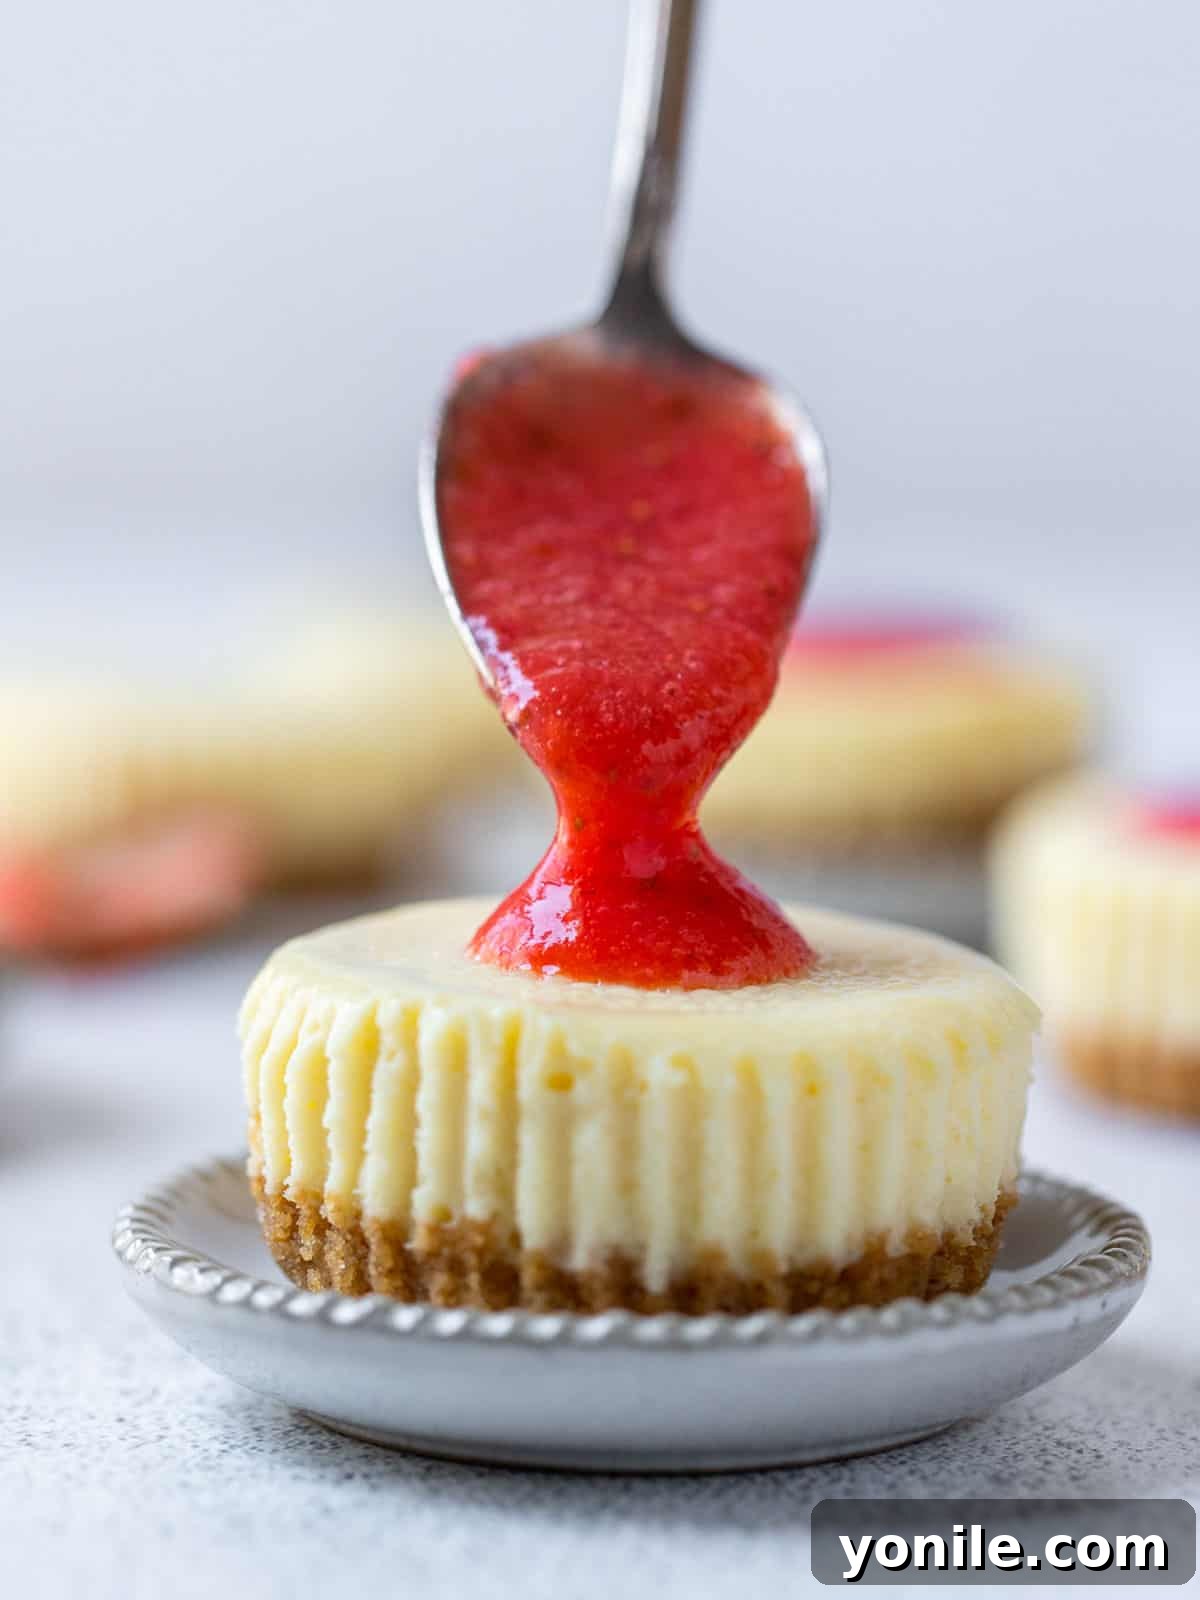
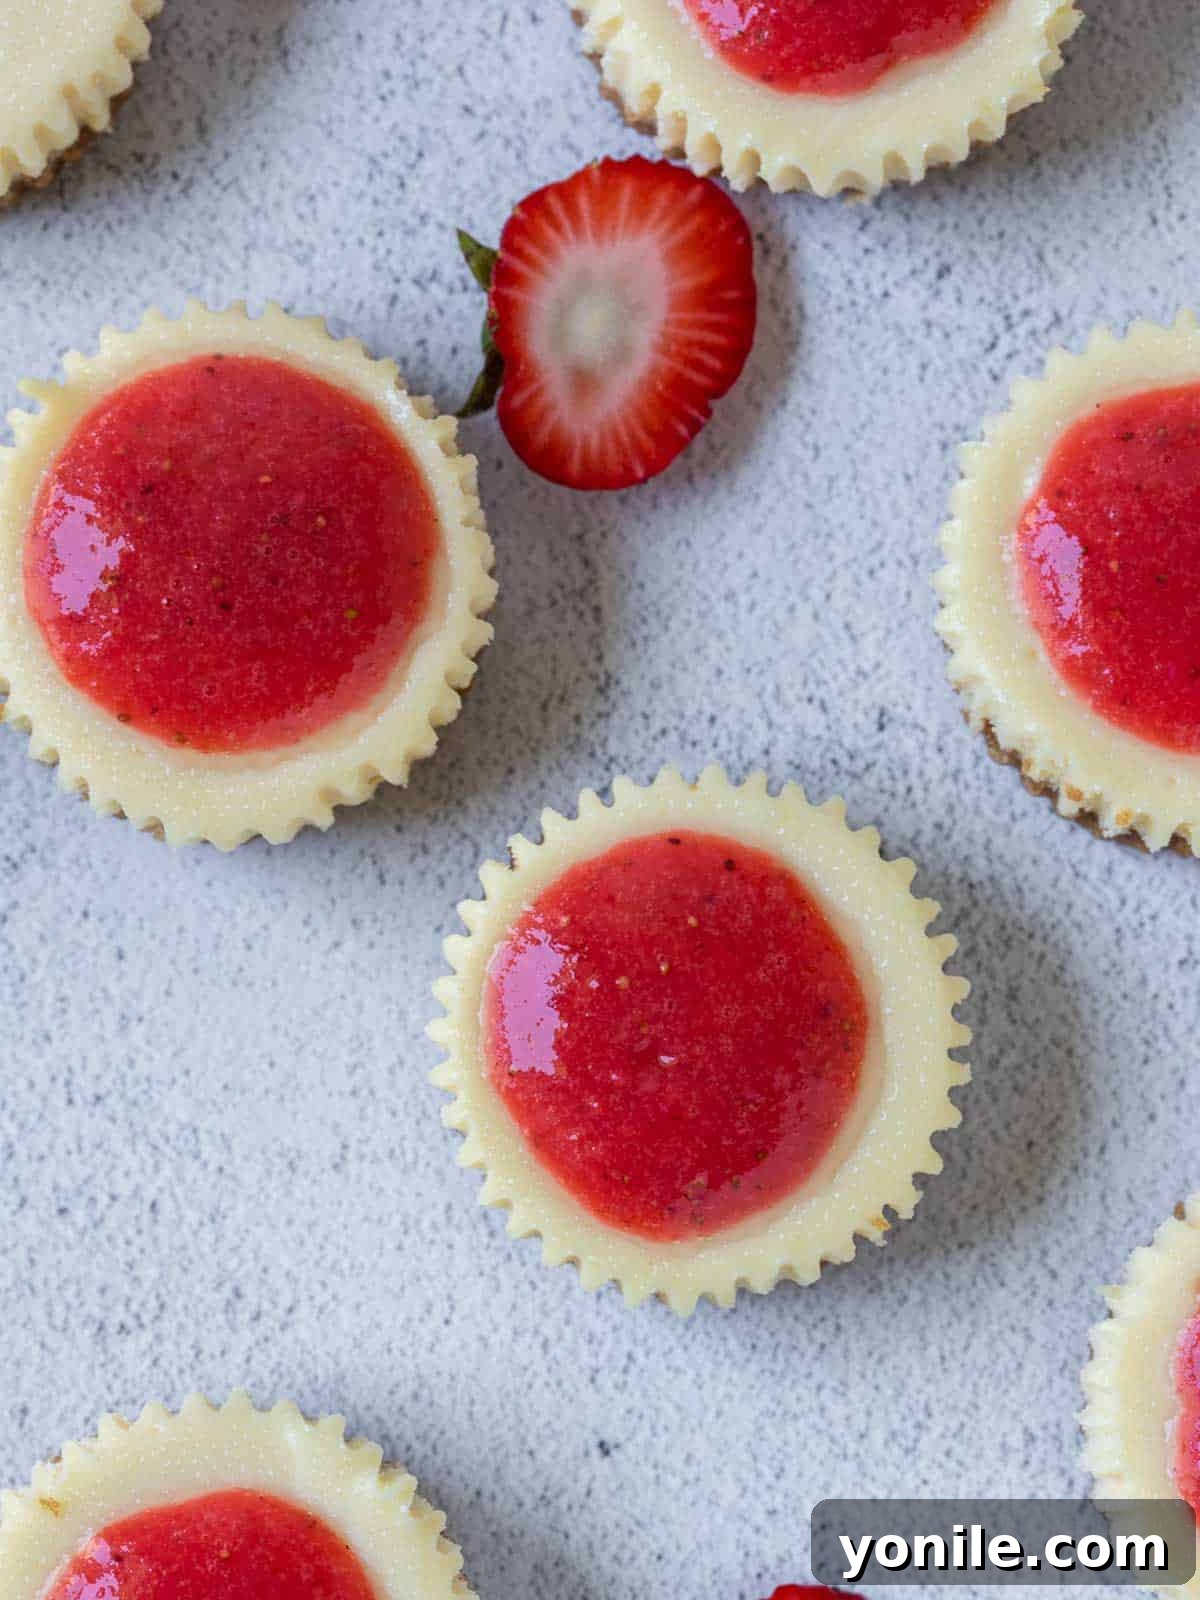
- Crafting the Fresh Strawberry Topping: While the cheesecakes are chilling, prepare your vibrant strawberry topping. Place the hulled fresh strawberries and granulated sugar into a blender or food processor. Blend until the mixture is completely smooth and forms a luscious puree. Taste the puree and add more sugar if you prefer a sweeter topping, adjusting to your liking based on the natural sweetness of your berries. Store the strawberry sauce separately in an airtight container in the refrigerator until you are ready to serve the cheesecakes. This prevents the crust from becoming soggy. When it’s time to serve, adorn each chilled mini cheesecake with a generous spoonful of this beautiful homemade strawberry sauce.
Expert Tips for Flawless Mini Cheesecake Bites
- Embrace Room Temperature Ingredients: This tip cannot be stressed enough! Ensuring all your dairy ingredients, especially the cream cheese and eggs, are at room temperature is paramount. Cold ingredients do not emulsify properly, leading to a lumpy batter that requires excessive mixing. Over-mixing introduces too much air, which can cause your cheesecakes to puff up excessively during baking and then collapse or crack upon cooling. Plan ahead by taking ingredients out of the fridge at least an hour before you begin baking.
- Choose Full-Fat Cream Cheese Blocks Wisely: The type of cream cheese you use makes a significant difference. Always opt for the solid blocks of full-fat cream cheese, rather than the low-fat versions or spreadable cream cheese that comes in tubs. These varieties are not interchangeable; the higher fat content in block cream cheese is what gives your cheesecake that characteristic rich, dense, and ultra-creamy texture. Using substitutes will result in a less satisfying and potentially watery filling.
- Prevent Cracks by Avoiding Over-Mixing: As mentioned, cold ingredients necessitate more mixing to achieve smoothness, which inadvertently incorporates more air into the batter. This excess air is a common culprit for cracks appearing on the surface of your cheesecakes during baking and cooling. Mix only until the ingredients are just combined and smooth. A gentle hand and low speed are your best friends in cheesecake making.
- Seasonal Strawberry Alternatives: While fresh strawberries are ideal, if they are not in season or readily available, don’t let that deter you! You can still enjoy these delightful mini cheesecakes by opting for high-quality store-bought strawberry cheesecake filling or a good fruit preserve as a topping. Just be mindful of the sweetness levels and adjust accordingly.
- The Art of Gradual Cooling: The gradual cooling process in the oven after it’s turned off is crucial for preventing cracks. Drastic temperature changes can shock the cheesecake, causing it to shrink rapidly and crack. Allowing it to cool slowly in the oven, and then at room temperature, creates a more stable structure.
Frequently Asked Questions About Mini Strawberry Cheesecakes
How do I know that the cheesecakes are done?
The “jiggle test” is your best friend for determining doneness in mini cheesecakes. Gently give the pan a jiggle; the centers of your mini strawberry cheesecakes should have a slight, delicate wobble, while the edges should appear fully set and firm. If the entire cheesecake still wiggles like liquid, it needs a bit more time. If there’s no jiggle at all, they might be slightly overbaked, but still delicious!
Why did my mini cheesecake filling sink down?
A sunken middle in your cheesecake is usually a sign of too much air being incorporated into the batter during mixing. To prevent this, be sure to mix the cream cheese and sugar on low speed until just combined and smooth, then add eggs one at a time without over-beating. While a sunken center can be disheartening, don’t worry – your vibrant strawberry topping will beautifully conceal any imperfections, making your cheesecakes look just as appealing.
How long do mini cheesecakes last?
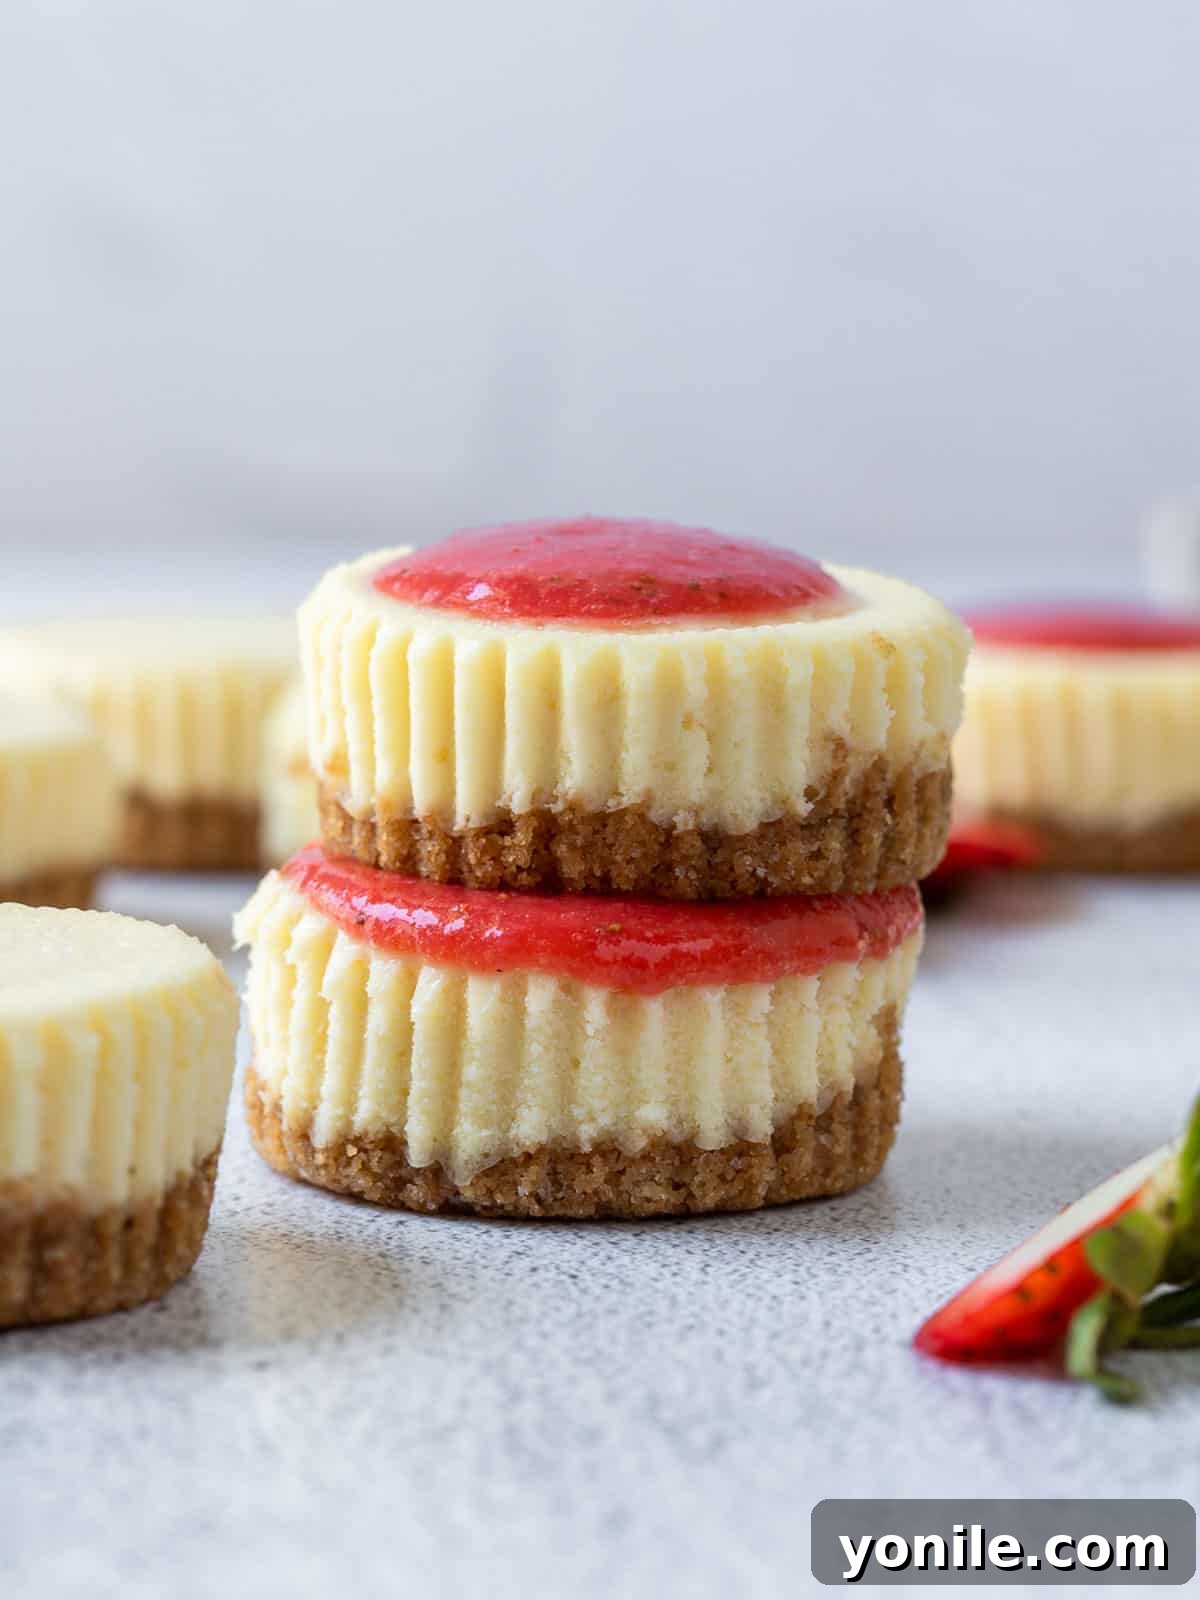
These delectable mini strawberry cheesecakes will stay fresh and delicious for up to 5 days when stored properly in an airtight container in the refrigerator. For extended freshness and to prevent the crust from becoming soggy, it’s often best to store the strawberry topping separately and add it just before serving.
Can I freeze mini cheesecakes?
Absolutely! Mini cheesecakes are excellent for freezing. If you plan to freeze them, skip adding the strawberry topping for now. Allow the cheesecakes to cool completely after baking and chilling. Then, place them uncovered on a baking sheet in the freezer until they are solid. Once frozen, transfer the individual cheesecakes to a freezer-safe bag or an airtight container, where they will keep well for up to 3 months. This is a fantastic way to prepare desserts in advance!
How do I thaw frozen mini cheesecakes?
To enjoy your frozen mini cheesecakes, simply transfer them from the freezer to the refrigerator and allow them to thaw overnight. Once fully thawed and chilled, they will be ready to top with your fresh strawberry sauce and serve, tasting just as fresh as when they were first made.
How do I peel the liners off cleanly?
Once your mini cheesecakes have been thoroughly chilled in the refrigerator, the cupcake liners should generally peel away cleanly and easily. If you encounter any sticking issues, a brief stint in the freezer (about 15-30 minutes) can often help firm them up enough for effortless removal. Alternatively, for a charming and mess-free presentation, you can simply serve the cheesecakes directly in their liners.
Discover More Irresistible Desserts You’ll Love
If you’ve enjoyed the sweet simplicity of these Mini Strawberry Cheesecakes, you’ll be thrilled to explore more delightful recipes designed to satisfy every craving. From rich and creamy bars to light and fruity tarts, there’s always something new to bake and savor. Expand your dessert repertoire with these fantastic options:
- Tropical Coconut Cheesecake Bars
- Festive Cranberry Orange Shortbread Cookies
- Super Moist and Flavorful Blueberry Bundt Cake
- Delightful Mini Pumpkin Cheesecakes
- Quick and Elegant Raspberry Puff Pastry Tart
- The Best Zesty Lemon Bars Recipe
We sincerely hope you cherish every recipe shared here, especially this wonderful Mini Strawberry Cheesecakes creation. We encourage you to try it, savor every moment, consider rating it, and share the joy with your beloved friends and family. Happy baking!
If you have the pleasure of trying this recipe and it becomes a favorite, please take a moment to leave a star rating and a comment below. Your feedback is invaluable and helps others discover these fantastic treats. Don’t forget to use our hashtag on Instagram when you share your delicious recreations so we can see your culinary masterpieces! For all our latest social posts and exciting new recipes, follow us at Cookin’ With Mima on FACEBOOK | INSTAGRAM | PINTEREST.
Rate this recipe:
5 from 2 votes
Mini Strawberry Cheesecakes
By: Mariam Ezzeddine
These Mini Strawberry Cheesecakes are super cute and are the perfect individual desserts! Made with a creamy delicious filling with a fresh strawberry topping.
Prep Time: 30 minutes
Cook Time: 25 minutes
Resting Time: 2 hours
Total Time: 2 hours 55 minutes
Servings: 12 servings
Ingredients
For the Crust:
- 8 sheets graham crackers, finely crushed
- ¼ teaspoon salt
- 2 tablespoons granulated sugar
- 4 tablespoons unsalted butter, melted
For the Filling:
- 2 8 oz blocks cream cheese, room temperature
- ¾ cup granulated sugar
- 2 whole eggs, room temperature
- ⅓ cup heavy cream, room temperature
- 2 teaspoons vanilla extract
For the Topping:
- 1 cup strawberries, hulled
- 1 tablespoon sugar
Instructions
For the Crust:
- Preheat the oven to 325°F (160°C). Line a 12-cavity cupcake tin with paper cupcake liners and set aside.
- In a small bowl, combine the finely crushed graham cracker crumbs, salt, granulated sugar, and melted butter. Mix thoroughly until fully combined. The mixture should resemble wet sand.
- Firmly press 1 to 1½ tablespoons of the crumb mixture into the bottom of each prepared cupcake liner.
- Bake the crusts for 8-10 minutes, or until they turn a light golden brown. Remove the pan from the oven and allow the crusts to cool completely on a wire rack.
For the Filling:
- Reduce the oven temperature to 300°F (150°C).
- In the bowl of a stand mixer or a large bowl with a hand mixer, beat the room-temperature cream cheese and granulated sugar together on low speed until the mixture is completely smooth and lump-free.
- Add the eggs one at a time, mixing thoroughly after each addition and scraping down the sides of the bowl to ensure everything is well incorporated.
- Add the heavy cream and vanilla extract. Mix on low speed until just combined and smooth, being careful not to overmix.
- Fill each cooled crust with the cheesecake filling, almost to the top of the liner.
- Bake the cheesecakes for 15 minutes. Then, turn off the oven and allow the cheesecakes to remain inside with the oven door closed for an additional 30 minutes. After this time, crack the oven door open slightly and let them sit until they have cooled completely to room temperature.
- Transfer the cooled cheesecakes to the refrigerator and chill for at least 2 hours, or until thoroughly set, before serving.
For the Topping:
- Place the hulled strawberries and sugar in a blender or food processor. Blend until you achieve a smooth puree. Taste and add more sugar if desired, to suit your sweetness preference.
- When you are ready to serve the chilled cheesecakes, spoon a generous amount of the fresh strawberry sauce over the top of each individual cheesecake.
Notes
- For a truly smooth and lump-free cheesecake filling, ensure all your dairy ingredients, especially the cream cheese and eggs, are at room temperature before you begin mixing.
- Always use solid blocks of full-fat cream cheese, not low-fat varieties or spreadable cream cheese from tubs. The full-fat version is essential for achieving the rich, creamy texture and structural integrity of a classic cheesecake.
- Overmixing your cheesecake batter can incorporate too much air, leading to cracks in the finished product. Mix only until ingredients are just combined and smooth. Cold ingredients often require more mixing, so room temperature is key.
- If fresh strawberries are out of season, you can easily substitute with a good quality store-bought strawberry cheesecake filling or a vibrant strawberry jam for the topping.