
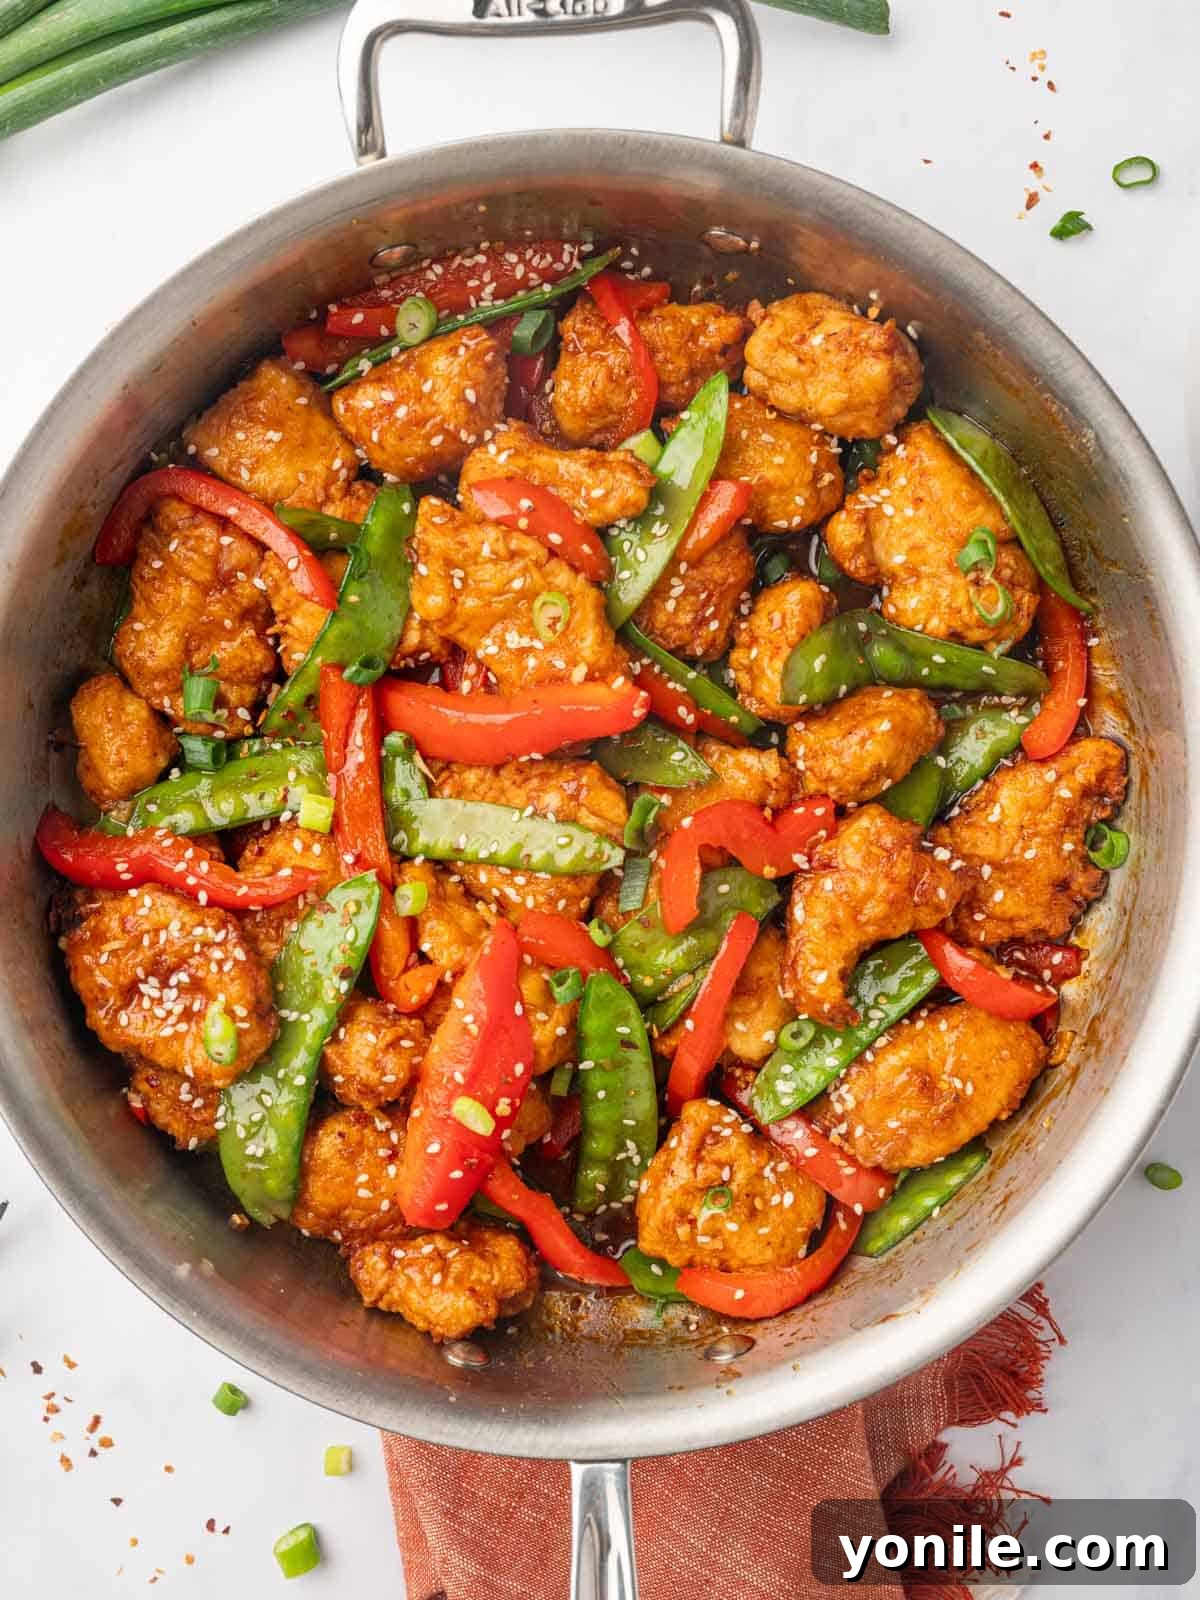
Crispy Honey Chilli Chicken: Your Ultimate Sweet & Spicy Indulgence
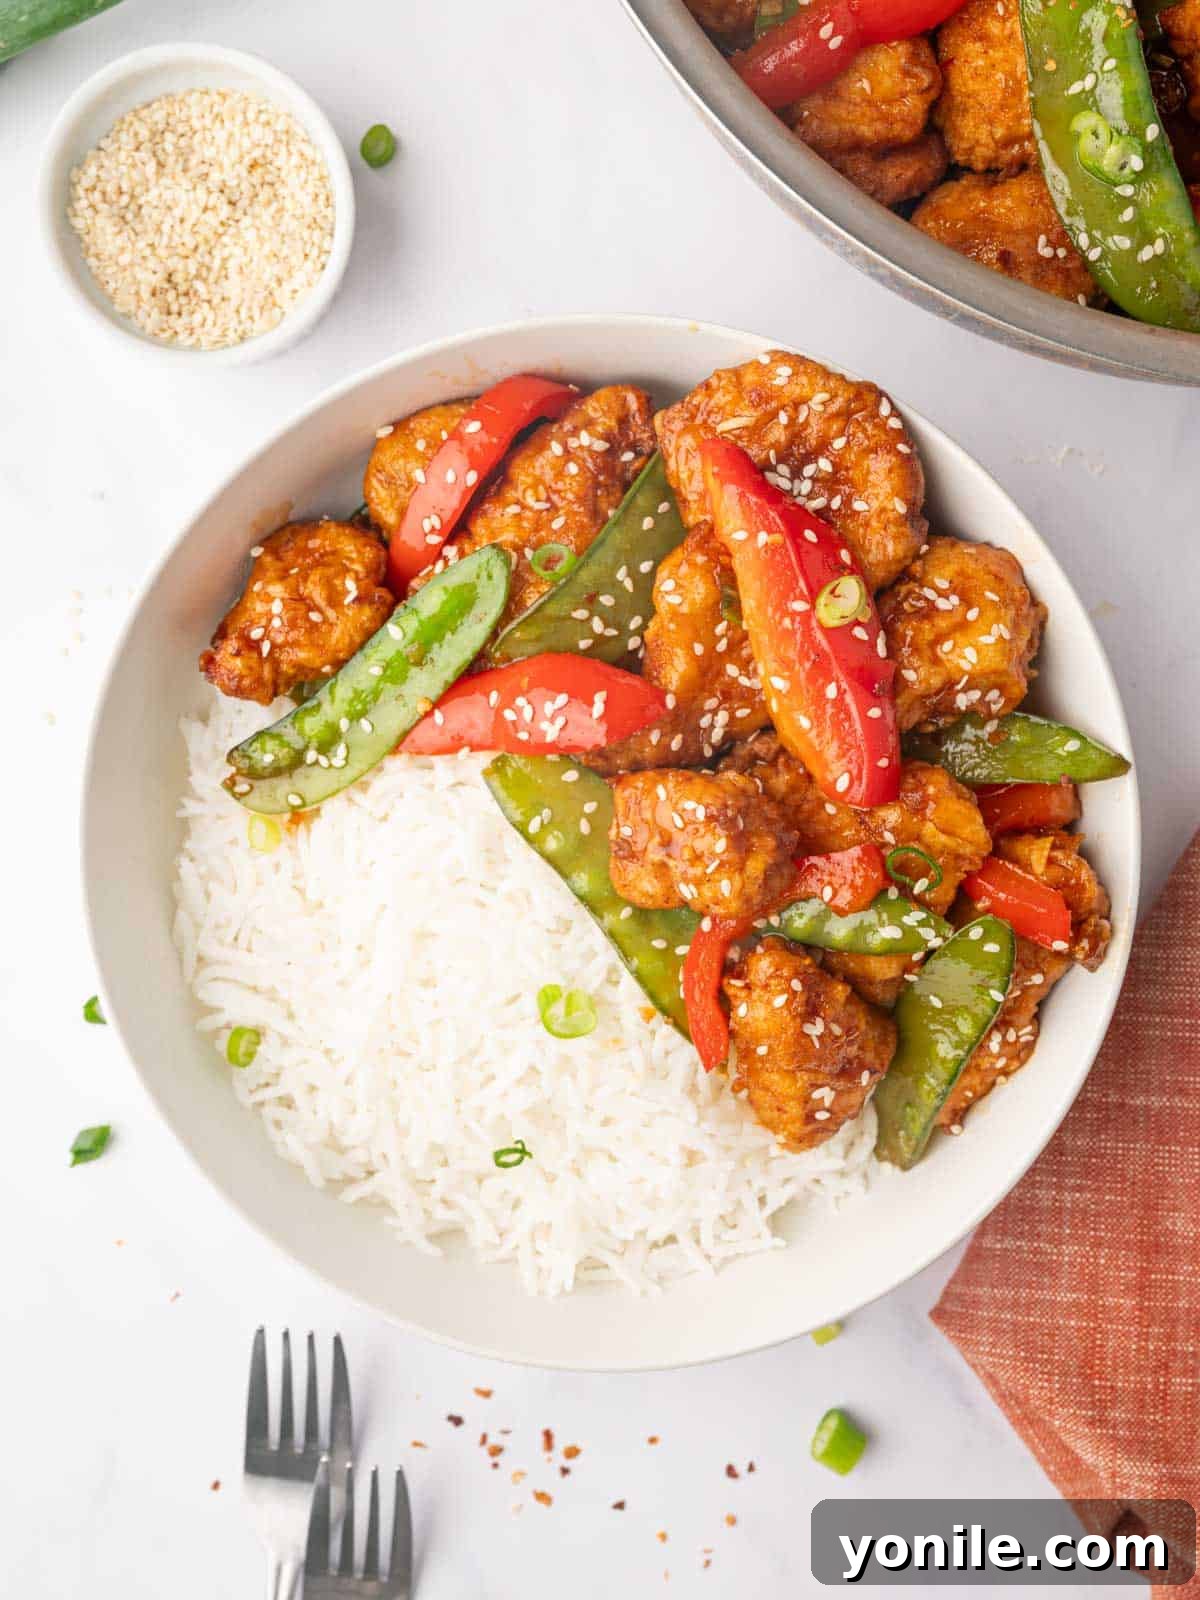
Craving a dish that perfectly balances sweet, spicy, and savory notes with an irresistible crunch? Look no further than this incredible Crispy Honey Chilli Chicken. This beloved recipe delivers a symphony of textures and flavors, featuring succulent, perfectly fried chicken bites coated in a vibrant, glossy honey chili sauce, all tossed with crisp-tender vegetables. It’s a culinary masterpiece that’s surprisingly easy to make and guaranteed to become a family favorite, whether it’s a quick weeknight dinner or a show-stopping meal for guests.
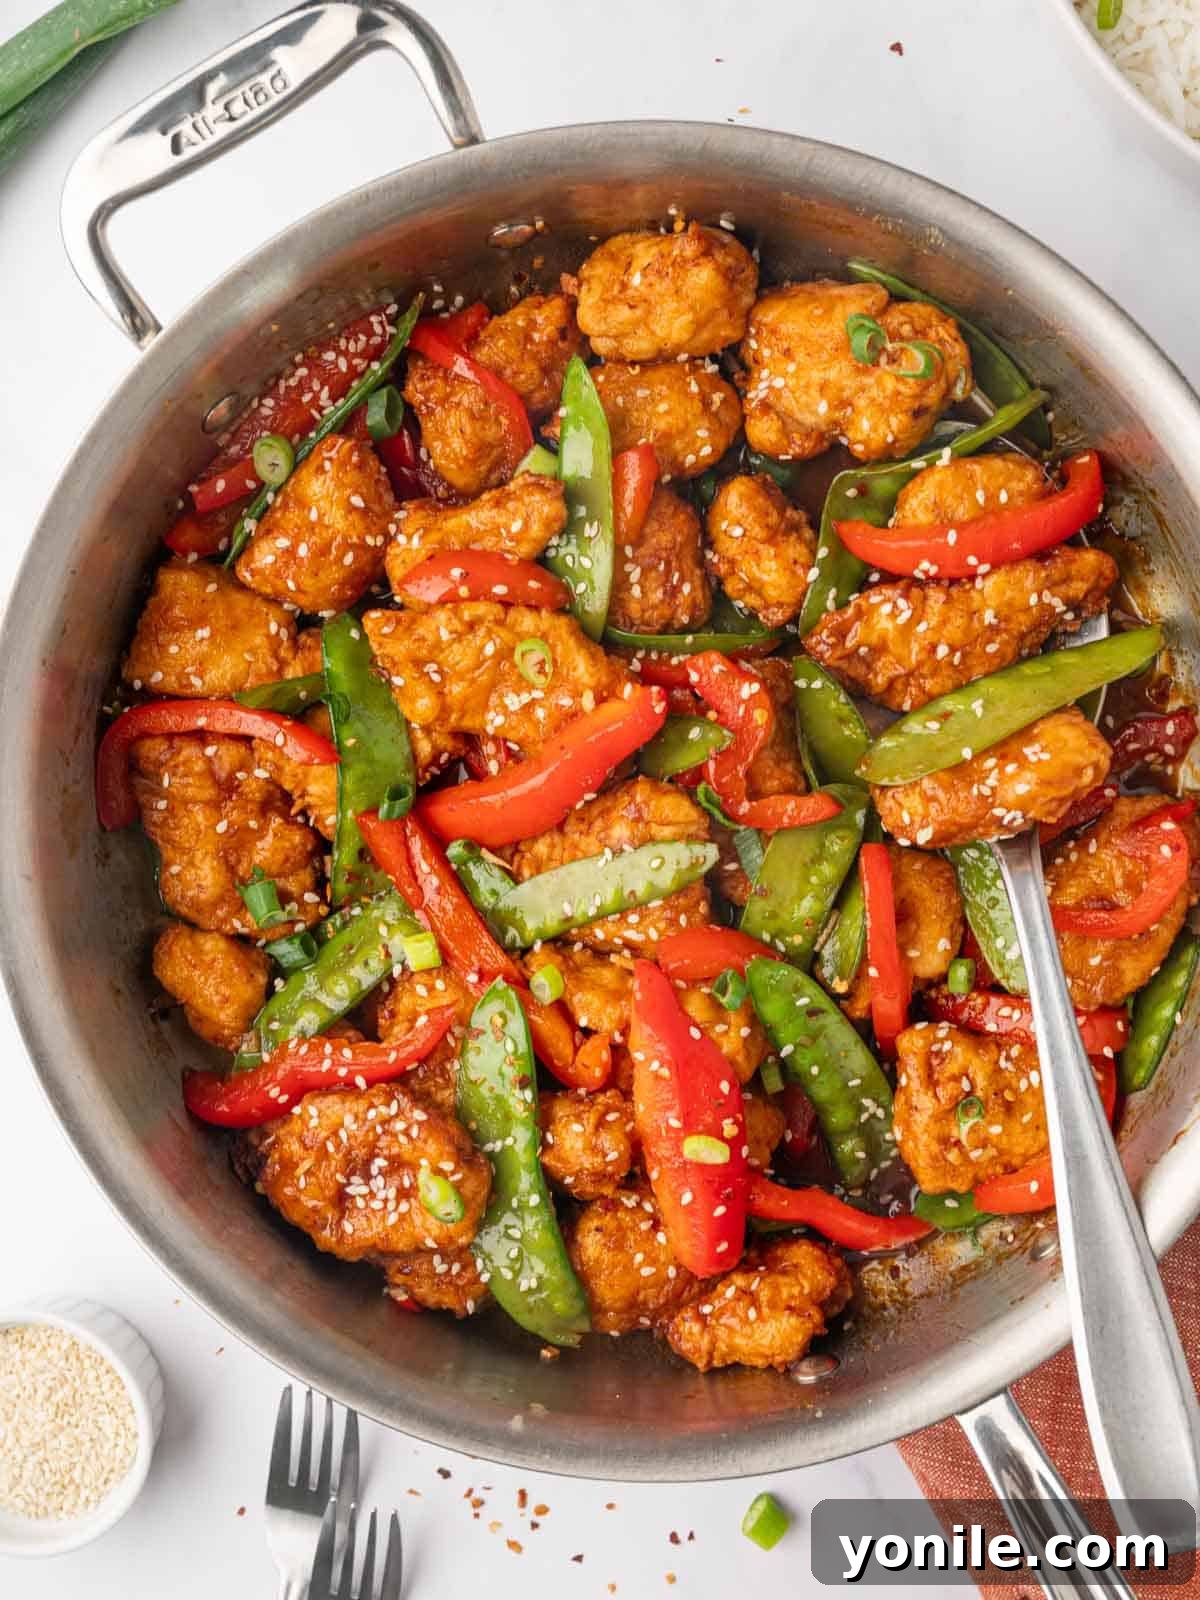
Honey Chilli Chicken is more than just a meal; it’s an experience. Its dynamic flavor profile and appealing presentation make it suitable for any occasion. Imagine serving this flavorful dish as a centerpiece for a weekend gathering, a convenient and delicious meal after a busy day, or even a standout contribution to a potluck party. The combination of crispy chicken, colorful vegetables, and that signature sweet-spicy glaze ensures it will be a hit with every single person at the table. Get ready to impress with minimal effort!
Why You’ll Absolutely Love This Crispy Honey Chilli Chicken Recipe
This recipe isn’t just another chicken dish; it’s designed for maximum flavor and ease, making it a staple you’ll return to time and again. Here’s why it will quickly become a favorite:
- Endlessly Customizable: Whether you prefer a subtle hint of heat or a fiery kick, this recipe can be easily adjusted to your desired spice level. Plus, it’s incredibly versatile with vegetables, allowing you to incorporate your favorites or whatever you have on hand.
- Remarkably Versatile: Serve it as a satisfying main course over steamed jasmine rice or a bed of noodles for a complete meal. Alternatively, transform it into a fantastic appetizer for parties and gatherings, where individual bites of crispy, saucy chicken are always a crowd-pleaser.
- Explosion of Bold Flavors: The core of this dish lies in its exquisite balance. The natural sweetness of honey beautifully complements the vibrant heat from fresh chilies and red pepper flakes, creating a unique, addictive flavor profile that truly tantalizes the taste buds and leaves you wanting more.
- Impressive, Yet Effortless: Despite its restaurant-quality appearance and complex flavors, this dish comes together in just about 40 minutes from start to finish. The array of colors and contrasting textures makes it visually stunning, making you look like a culinary expert without spending hours in the kitchen.
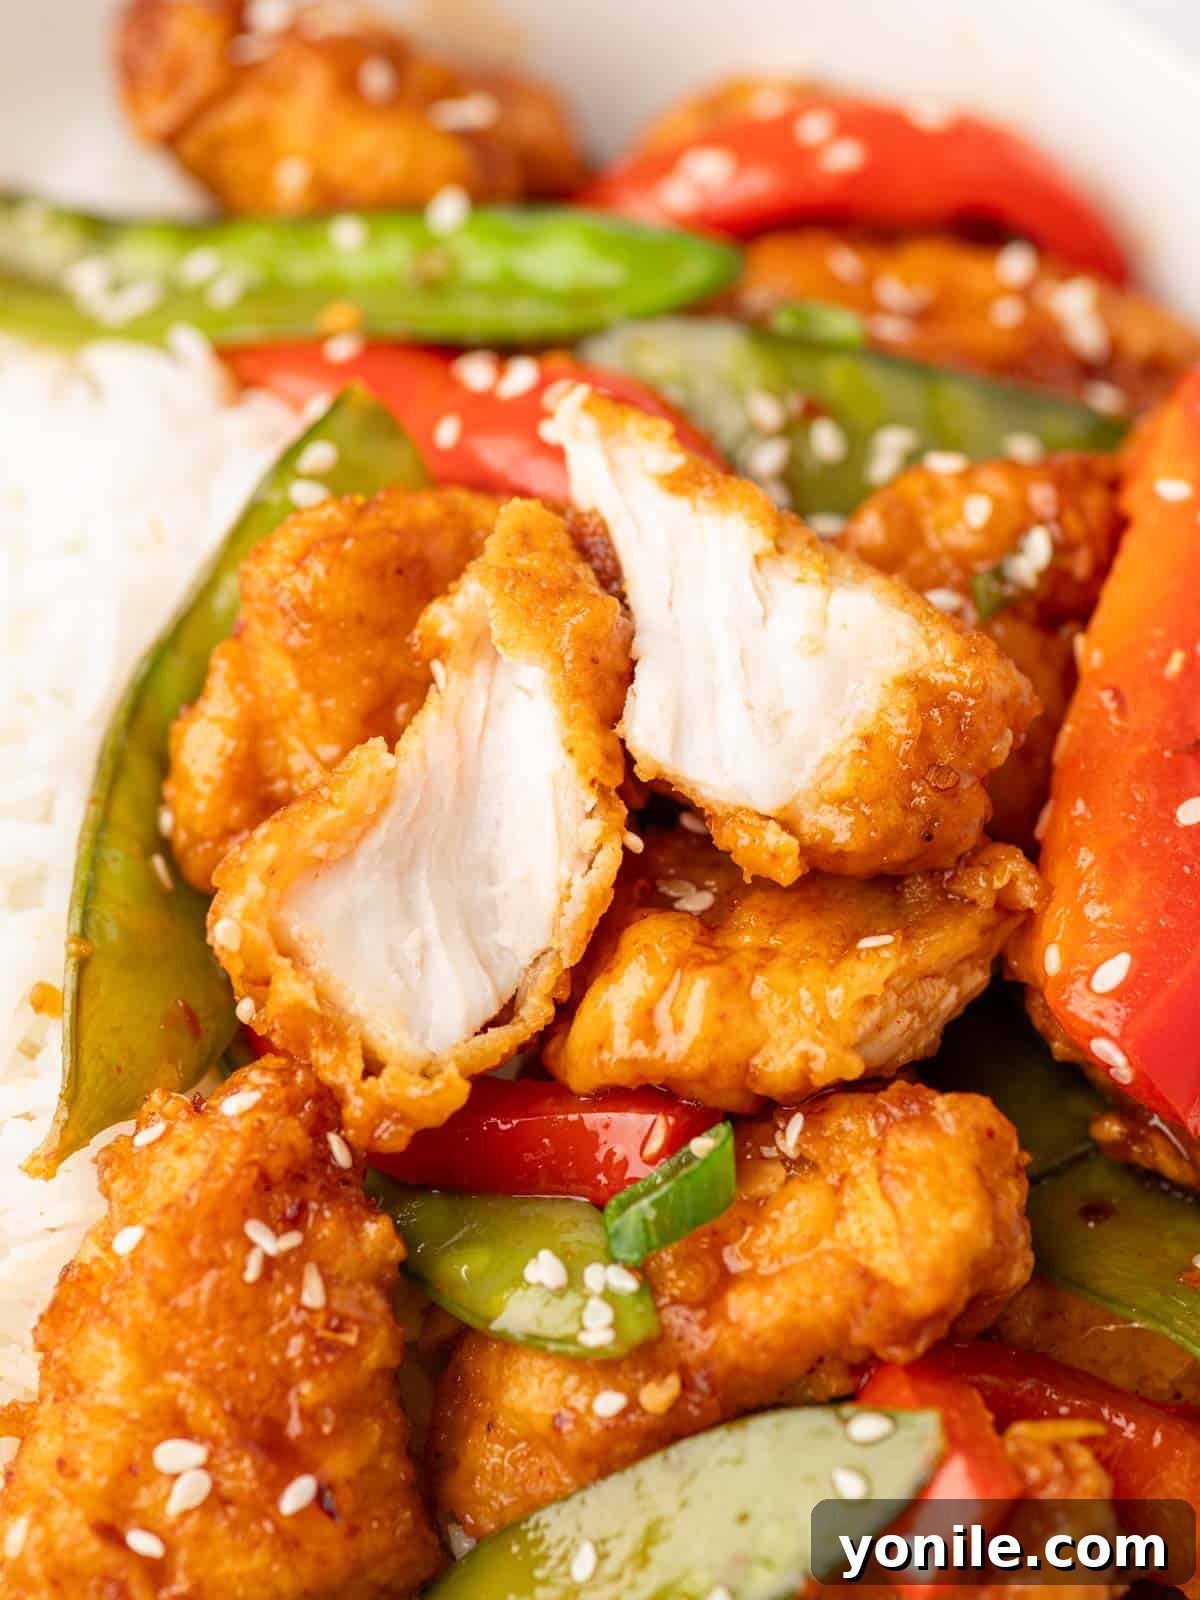
- Crispy Perfection: Achieving that coveted crispy coating on the chicken is key. Our double-dredging method ensures each piece is wonderfully crunchy on the outside while remaining tender and juicy on the inside, providing a delightful textural contrast to the soft vegetables and smooth sauce.
Essential Ingredients for Your Honey Chilli Chicken Masterpiece
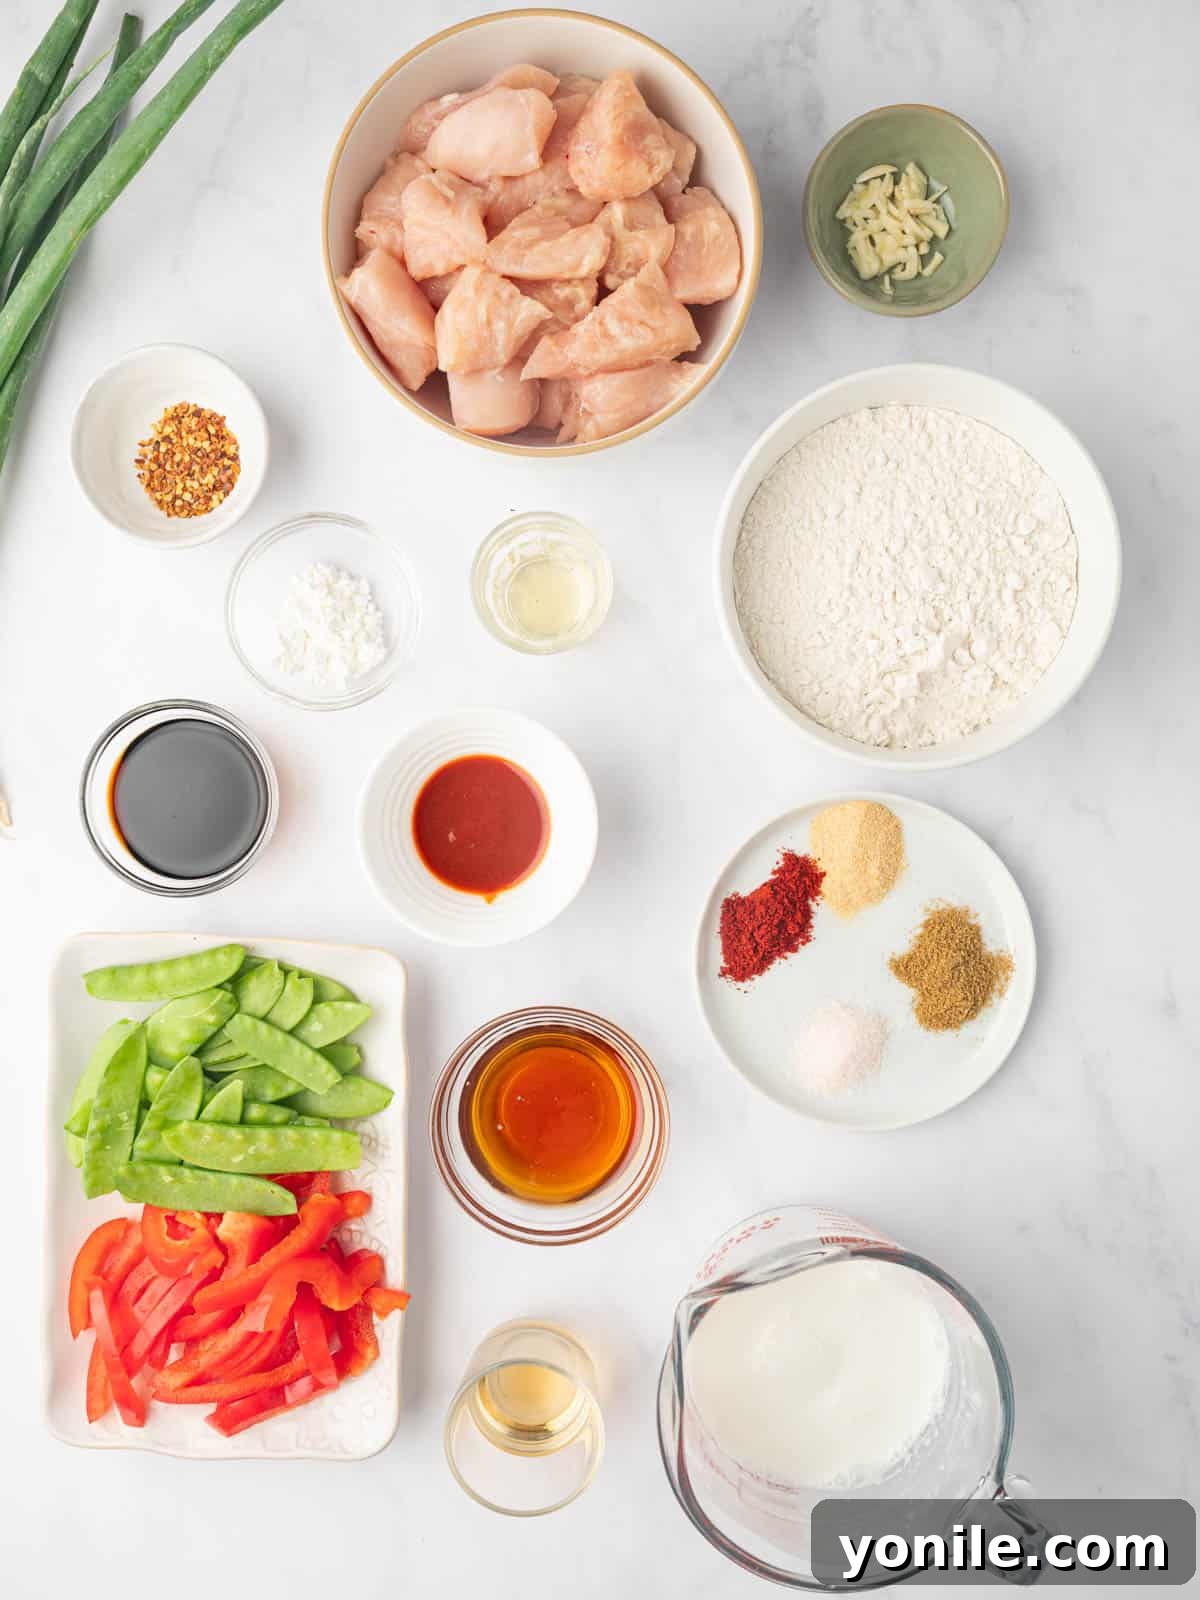
To create this sensational Honey Chilli Chicken, you’ll need a combination of fresh ingredients and pantry staples. Each component plays a vital role in building the layers of flavor and texture that make this dish so special.
- Chicken: We recommend using two pounds of boneless, skinless chicken breast, cut into uniform, bite-sized pieces. This ensures even cooking and perfect portions for every forkful. Chicken thighs can also be used for a slightly richer, juicier result.
- Seasoned Flour Coating: The secret to truly crispy chicken lies in our seasoned flour blend. All-purpose flour is mixed with aromatic garlic powder, a dash of paprika for color and mild flavor, salt to enhance all ingredients, and ground cumin for an unexpected depth of warmth. This mixture creates the ideal crunchy exterior.
- Buttermilk: Tangy buttermilk is crucial for a tender and flavorful chicken coating. It not only helps the seasoned flour adhere better but also contributes to the chicken’s succulence by subtly tenderizing the meat.
- Vegetable Oil: A neutral-flavored oil with a high smoke point, such as vegetable, canola, or sunflower oil, is essential for both frying the chicken to golden perfection and sautéing the vegetables for the sauce.
- Fresh Garlic: Minced fresh garlic infuses both the chicken coating and the sauce with its pungent, aromatic flavor, providing an indispensable base for the overall taste profile.
- Vibrant Vegetables: Vegetables add essential crunch, color, and freshness to the dish. Our recipe features red bell pepper and snow peas, which become tender-crisp, offering a delightful contrast to the chicken.
- Wet Sauce Ingredients: The heart of the dish is its rich, balanced sauce. This includes savory sesame oil for its distinct nutty aroma, golden honey for natural sweetness, water for consistency, and soy sauce for umami depth and saltiness.
- Cornstarch Slurry: A simple mixture of cornstarch and water is the key to thickening the sauce, giving it that characteristic glossy, velvety texture that clings beautifully to the chicken and vegetables.
- Red Pepper Flakes: Crushed red pepper flakes are added to the sauce to provide the signature heat, allowing you to control the spice level to your preference.
- Garnish: To finish, a sprinkle of toasted sesame seeds adds a nutty flavor and pleasant crunch, while freshly chopped green onions provide a burst of fresh, mild oniony flavor and vibrant green color, enhancing both the taste and visual appeal.
Ingredient Substitutions and Variations for Your Crispy Honey Chilli Chicken
Feel free to get creative with this recipe and adjust it to your dietary needs or flavor preferences:
- Buttermilk Alternative: If buttermilk isn’t readily available, you can easily make a homemade substitute. Simply add one tablespoon of lemon juice or white vinegar to regular milk (dairy or non-dairy), stir, and let it sit for 5-10 minutes until it slightly curdles.
- Protein Options: For a different texture, use boneless, skinless chicken thighs for a juicier result. For a fantastic vegetarian option, substitute chicken with firm tofu or paneer, cut into cubes and pan-fried until golden before tossing in the sauce.
- Vegetable Medley: Expand your vegetable horizons! Incorporate other colorful vegetables like any color bell pepper (green, yellow, orange), shredded carrots, small broccoli florets, baby corn, or sliced mushrooms.
- Gluten-Free Soy Sauce: To make this dish gluten-free, ensure you use a certified gluten-free soy sauce or opt for coconut aminos, which offer a similar savory profile.
- Spice Level: Control the heat by adjusting the amount of crushed red pepper flakes. For extra spice, add a pinch of cayenne pepper, or for milder heat, reduce the flakes or omit them entirely.
- Sweetness Adjustment: If you prefer a less sweet sauce, slightly reduce the amount of honey. You can also experiment with a touch of brown sugar for a deeper caramel note.
How To Make Crispy Honey Chilli Chicken: Step-by-Step Guide
Follow these detailed steps to create a restaurant-quality Crispy Honey Chilli Chicken right in your own kitchen. Precision and care at each stage will ensure the best flavors and textures.
Pro Tips To Perfect This Crispy Honey Chilli Chicken Recipe
Achieving restaurant-quality results at home is easier than you think with these expert tips:
- Cut Chicken Evenly: Uniformity is key for consistent cooking. Ensure all your chicken pieces are cut into roughly the same bite-sized chunks to guarantee they cook through evenly at the same rate, preventing some pieces from being undercooked or overcooked.
- Pat Chicken Thoroughly Dry: Before coating, diligently pat the chicken pieces dry with paper towels. Excess moisture is the enemy of crispiness; a dry surface allows the batter to adhere better, leading to a much crispier and more satisfying texture when fried.
- Cook in Small Batches: Resist the urge to overcrowd your pan when frying the chicken. Cooking in smaller batches helps maintain a consistent oil temperature, which is essential for crispy results. Overcrowding can drop the oil temperature, causing the chicken to steam rather than fry, leading to a soggy crust.
- Master the Sauce Thickening: If your sauce appears too thin after simmering with the cornstarch slurry, don’t panic! Simply allow it to simmer for a few extra minutes, stirring constantly, until it reaches your desired consistency – a glossy, thick sauce that beautifully coats the back of a spoon.
- Prioritize Fresh Ingredients: For the most potent and delicious flavor, always opt for fresh minced garlic rather than pre-minced jarred versions. The difference in aroma and taste is truly noticeable and elevates the entire dish.
- Monitor Oil Temperature: Use a kitchen thermometer if possible to keep your frying oil between 350-375°F (175-190°C). If the oil is too cold, the chicken will absorb too much oil and be greasy; if it’s too hot, the coating will burn before the chicken cooks through.
- Don’t Overcook Vegetables: The vegetables should be tender-crisp, not mushy. This maintains their vibrant color, fresh flavor, and crucial textural contrast against the crispy chicken.
- Serve Immediately: For the best experience, toss the chicken with the sauce and serve right away. The longer it sits, the more the chicken’s crispiness may diminish as it absorbs the sauce.
What to Serve with Your Delectable Honey Chilli Chicken
This Crispy Honey Chilli Chicken is incredibly flavorful on its own, but pairing it with the right side dishes can elevate your meal to a truly unforgettable experience. Its bold sweet and spicy profile makes it highly versatile:
- Fluffy White Rice: A classic and perfect accompaniment. The mild, absorbent nature of fluffy white rice, such as jasmine or basmati, provides a wonderful canvas for soaking up all the rich honey chili sauce.
- Vegetable Fried Rice: For a more substantial and flavorful side, serve it alongside a vibrant vegetable fried rice. The savory notes and added textures complement the chicken beautifully.
- Chili Garlic Oil Noodles: Take a cue from popular Asian-inspired restaurants and pair your honey chili chicken with these savory, slightly spicy noodles. The garlic and chili flavors will harmonize with the main dish.
- Steamed or Stir-fried Greens: A simple side of steamed broccoli, stir-fried bok choy, or green beans can add a fresh, healthy element and lighten the meal, providing a refreshing contrast to the richness of the chicken.
- Air Fryer Spring Rolls: For an appetizer or a fuller meal, crunchy spring rolls offer an extra layer of texture and are easy to prepare.
- Light Salad: A simple, crisp green salad with a light vinaigrette can cut through the richness and provide a refreshing counterpoint.
Storing and Reheating Your Honey Chilli Chicken
Proper storage and reheating ensure you can enjoy your delicious Crispy Honey Chilli Chicken for days to come, minimizing waste and maximizing flavor.
- Storing Leftovers: Any leftover Honey Chilli Chicken should be transferred to an airtight container and stored in the refrigerator. It will stay fresh and delicious for up to 3 days.
- Best Reheating Method: To best preserve the chicken’s texture and flavors, reheat it in a skillet over medium heat on the stovetop. This method allows the chicken to warm through evenly and helps restore some of its crispiness. Stir occasionally until the chicken and sauce are thoroughly heated.
- Freezing for Later: You can effectively freeze the cooked chicken pieces, *before* tossing them in the sauce, for up to 2 months. Store the crispy chicken in an airtight freezer-safe bag or container. The sauce can also be prepared and frozen separately. When you’re ready to enjoy, thaw both the chicken and sauce in the refrigerator overnight. Reheat the chicken in an oven or air fryer to crisp it back up, then gently warm the sauce and toss them together just before serving. This ensures the chicken retains its desirable crispness.
Alternative Cooking Methods for Your Crispy Chicken
While deep-frying yields the crispiest results, you can achieve delicious Crispy Honey Chilli Chicken with alternative cooking methods that are often lighter and require less oil.
- Air Fryer Method: For a super crispy chicken with less oil, the air fryer is an excellent choice. After coating the chicken pieces as directed, place them in a single layer in your air fryer basket, ensuring not to overcrowd it. Air fry at 400°F (200°C) for 12-15 minutes, shaking the basket halfway through to ensure even cooking and browning. This method results in beautifully golden and crispy chicken that rivals deep-frying.
- Oven Baking Method: If you’re looking to lighten up the recipe significantly, baking the chicken is a great option. After breading, arrange the chicken pieces in a single layer on a greased or parchment paper-lined baking sheet. Preheat your oven to 400°F (200°C) and bake for 20-25 minutes, or until the chicken is cooked through and lightly golden. While it won’t be as intensely crispy as fried or air-fried, it will still offer a satisfying texture and absorb the honey chili sauce beautifully. For extra crispiness, you can lightly mist the chicken with cooking spray before baking.
Frequently Asked Questions About Crispy Honey Chilli Chicken
Yes, absolutely! To make this recipe gluten-free, simply substitute the all-purpose flour with a high-quality gluten-free flour blend. Additionally, ensure that the soy sauce you use is specifically labeled as gluten-free (tamari is a common gluten-free soy sauce alternative).
Sesame oil and seeds provide a distinct nutty aroma and flavor profile unique to this dish. However, if you have an allergy or simply dislike sesame, you can use another flavorful oil like a mild olive oil or even walnut oil for a different nutty note. For the garnish, chopped toasted nuts (like cashews or peanuts) or crispy fried onions would offer a similar textural crunch that sesame seeds provide.
Yes, you can certainly prepare components of this dish in advance. The chicken can be breaded and fried ahead of time and stored separately. The sauce can also be made and stored in an airtight container in the refrigerator. When you’re ready to serve, simply reheat the chicken (crisping it up in an air fryer or oven is recommended), gently warm the sauce, then toss them together just before serving to maintain the chicken’s crispiness.
The spice level is easily customizable! The recipe calls for 1 teaspoon of crushed red pepper flakes, which provides a moderate, pleasant heat. If you prefer a milder dish, you can reduce the amount to ½ teaspoon or even a pinch. For those who love extra heat, feel free to increase the red pepper flakes to 1.5-2 teaspoons, or add a dash of cayenne pepper for an even more intense kick.
Explore More Asian-Inspired Chicken Recipes
If you’ve fallen in love with the vibrant flavors of this Crispy Honey Chilli Chicken, we encourage you to explore more of our delicious Asian-inspired chicken recipes. Expand your culinary repertoire with these exciting dishes:
- Sweet and Spicy Asian Chicken
- Manchurian Chicken
- Chinese Hunan Chicken
- Chinese Sesame Chicken
- Thai Red Curry Chicken
With its straightforward preparation, highly adaptable ingredients, and undeniably bold and irresistible taste, this Crispy Honey Chilli Chicken is destined to become a beloved staple in your culinary collection. Whether you choose to feature it as the star of your dinner table or serve it as a fantastic appetizer to kick off a gathering, this recipe is guaranteed to garner rave reviews and become a cherished family favorite!
If you give this exceptional recipe a try, or any of our other tempting recipes, we would absolutely love for you to leave a star rating and a comment in the section below. Your feedback helps us grow and inspires other home cooks! Also, be sure to follow Cookin’ With Mima on Facebook | Instagram | Pinterest to stay updated with all our latest social posts, culinary tips, and mouth-watering new recipes.

Crispy Honey Chilli Chicken
Ingredients
To fry chicken
- 2 lb chicken breasts, cut into bite-size pieces
- 1 ½ cup all-purpose flour
- 1 teaspoon garlic powder
- 1 teaspoon paprika
- 1 teaspoon salt
- ½ teaspoon ground cumin
- 1 ½ cups buttermilk
- Vegetable oil, for frying
To make sauce
- 1 tablespoon vegetable oil
- 1 teaspoon minced garlic
- 1 medium red bell pepper, sliced
- 1 cup snow peas
- 1 teaspoon sesame oil
- ¼ cup honey
- 2 tablespoons water
- 2 tablespoons soy sauce
- 1 teaspoon cornstarch + 2 tablespoons water (for slurry)
- 1 teaspoon crushed red pepper flakes
- 2 teaspoons sesame seeds, to garnish
- 2 tablespoons green onions, chopped, to garnish
Instructions
- Pat dry the chicken pieces thoroughly with a kitchen towel to ensure crispiness.
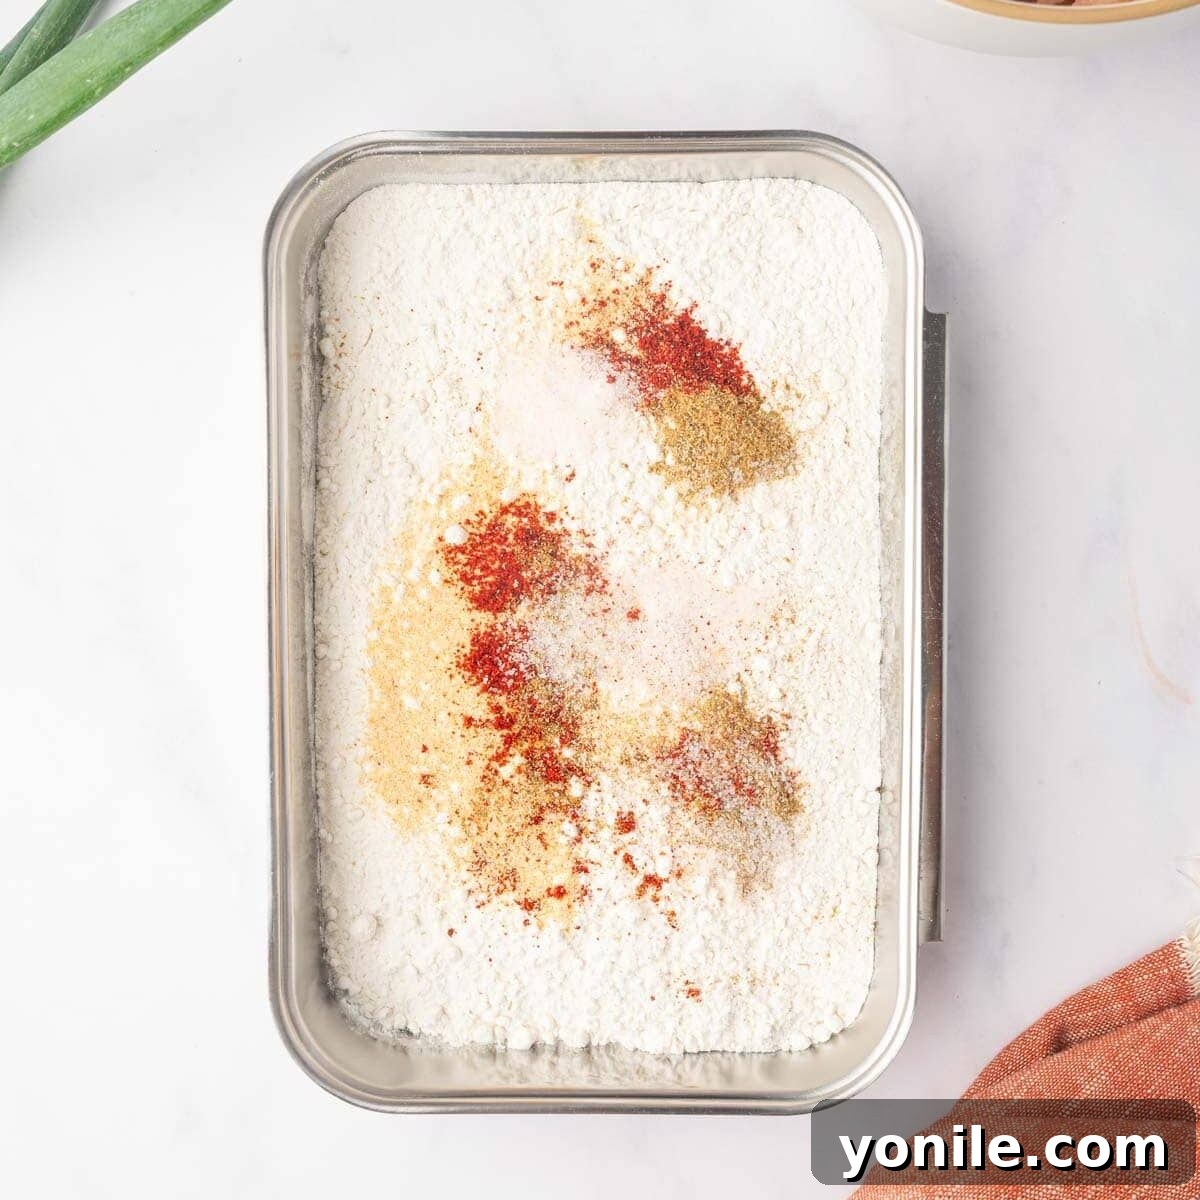
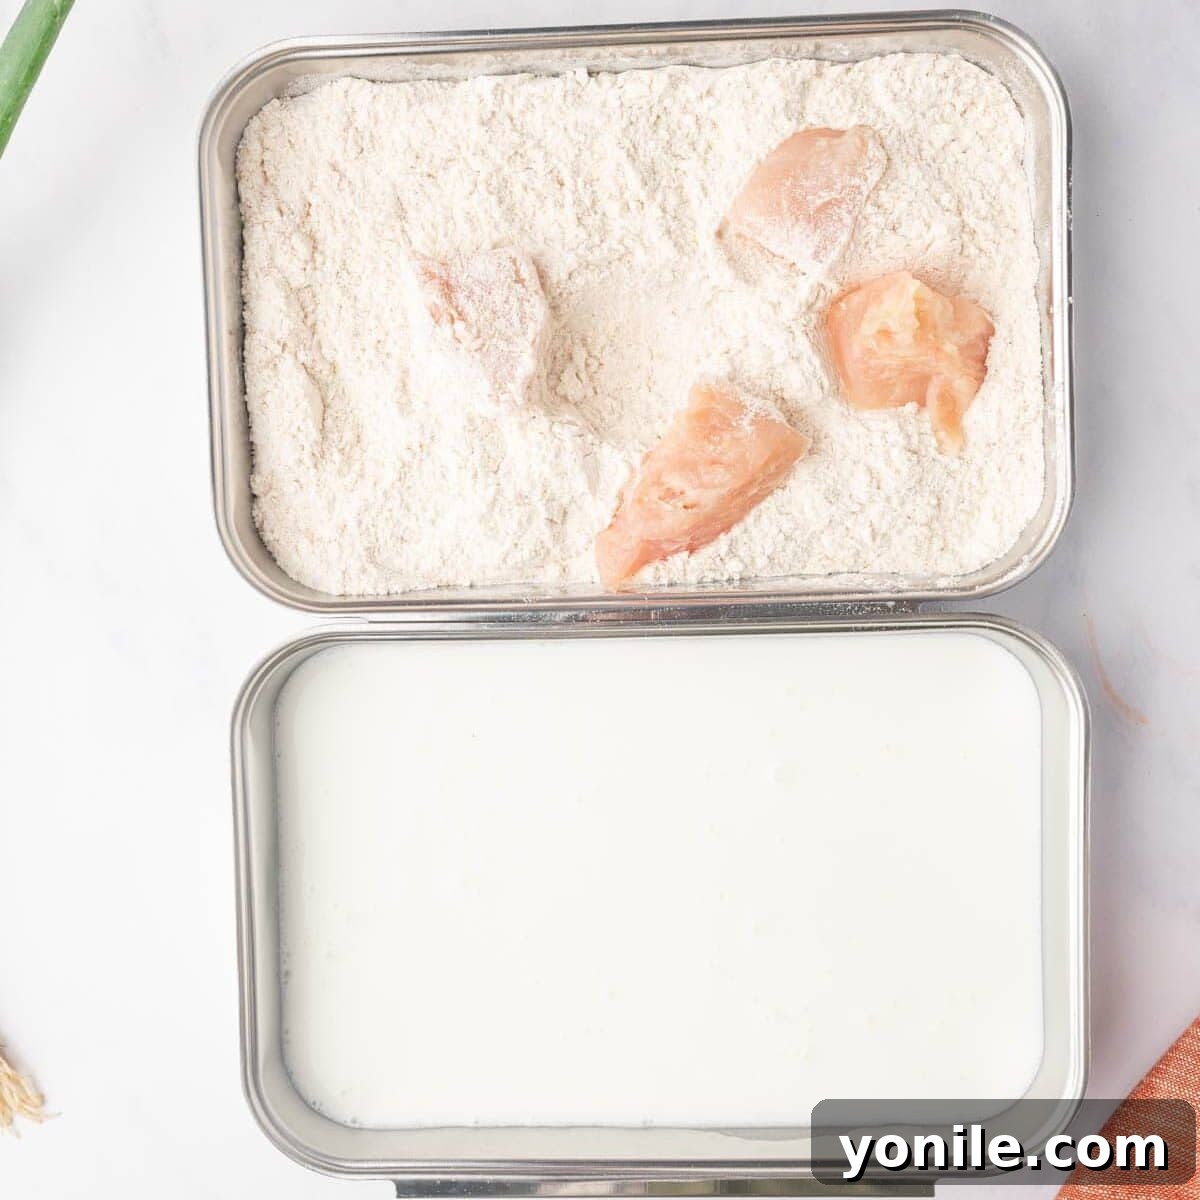
- Prepare your breading station: In one bowl, combine flour, garlic powder, paprika, salt, and ground cumin. In a separate bowl, place the buttermilk.
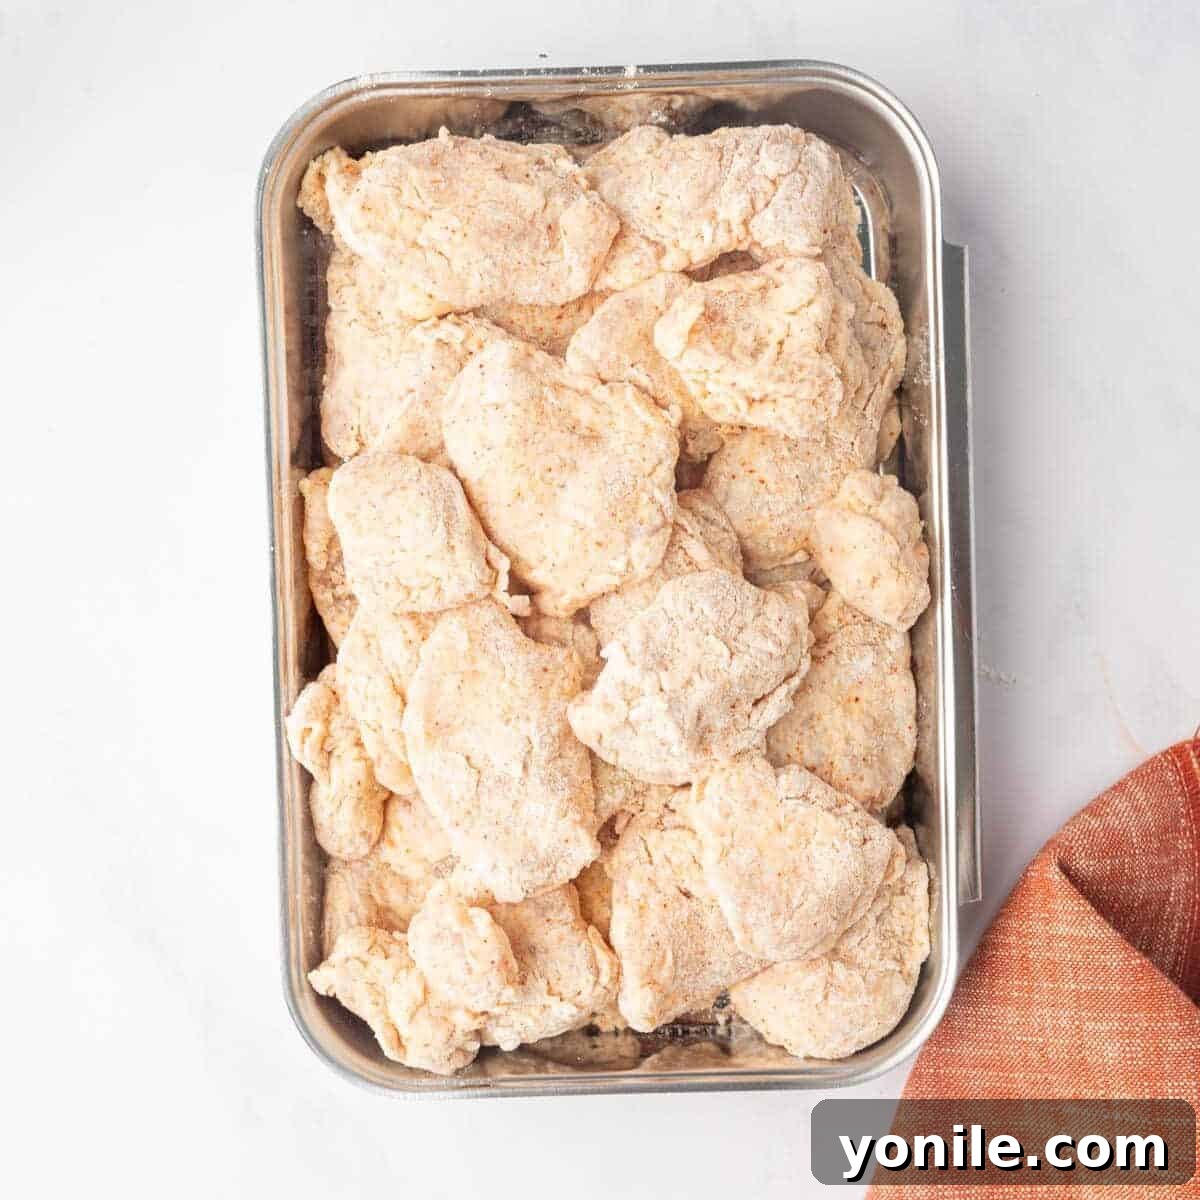
- Coat each chicken piece first in the seasoned flour mixture, then dip it into the buttermilk, and finally coat it again in the flour mixture, shaking off any excess after each step.
- Meanwhile, heat vegetable oil in a wok or deep skillet for deep frying. Ensure the oil is hot enough, around 350-375°F (175-190°C).
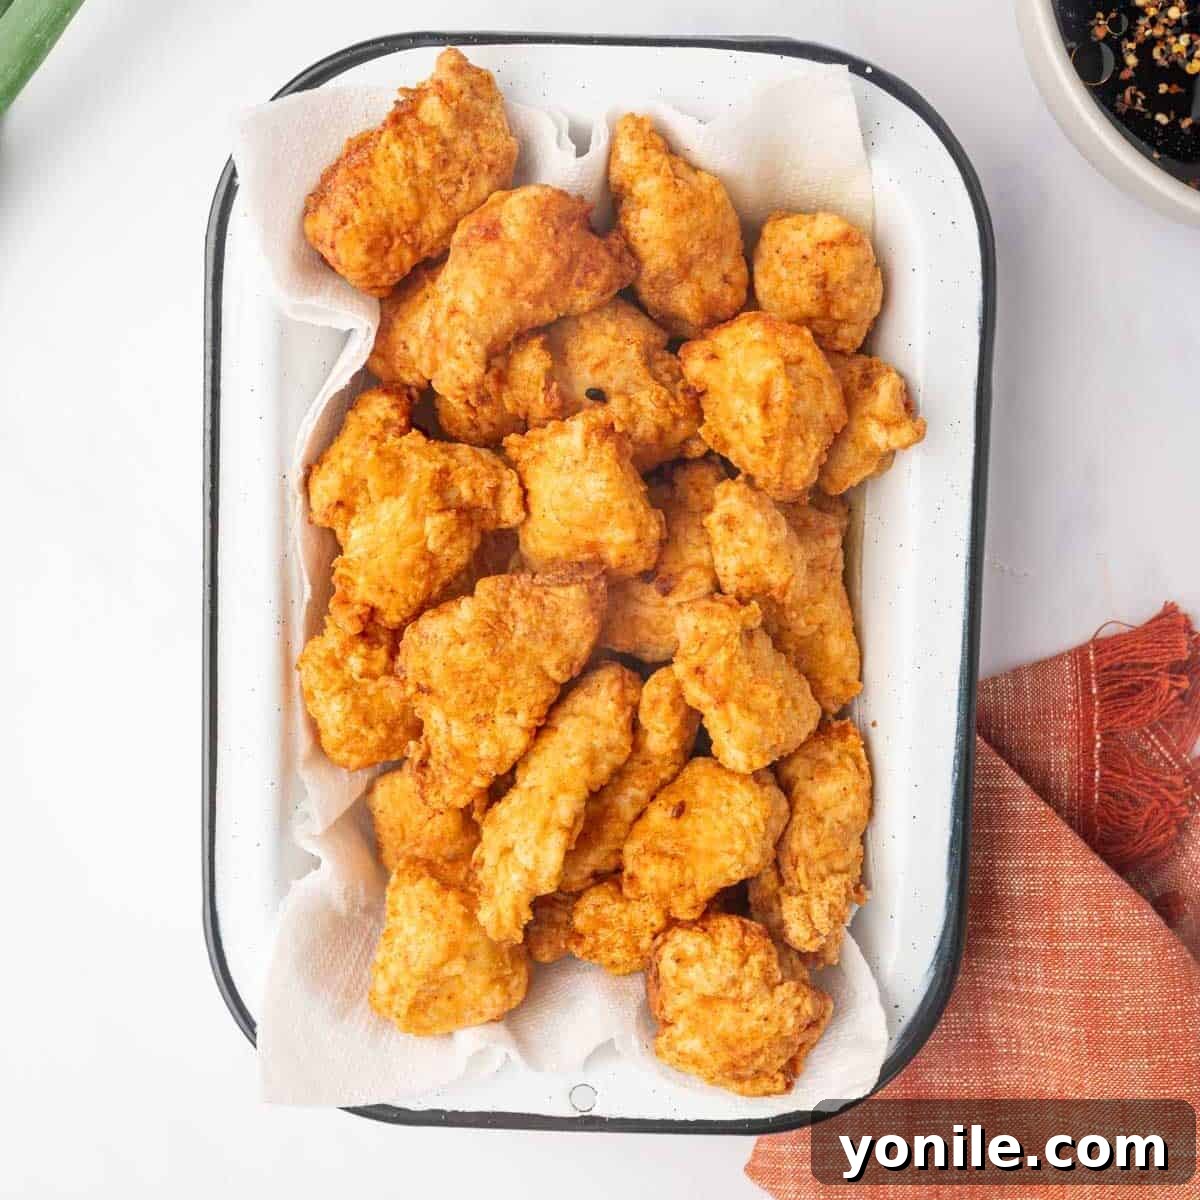
- Carefully add the coated chicken to the hot oil in batches to avoid overcrowding. Cook for 5-7 minutes per batch, until golden brown, crispy, and cooked through.
- Drain the fried chicken on a wire rack lined with paper towels, then transfer to a bowl and set aside.
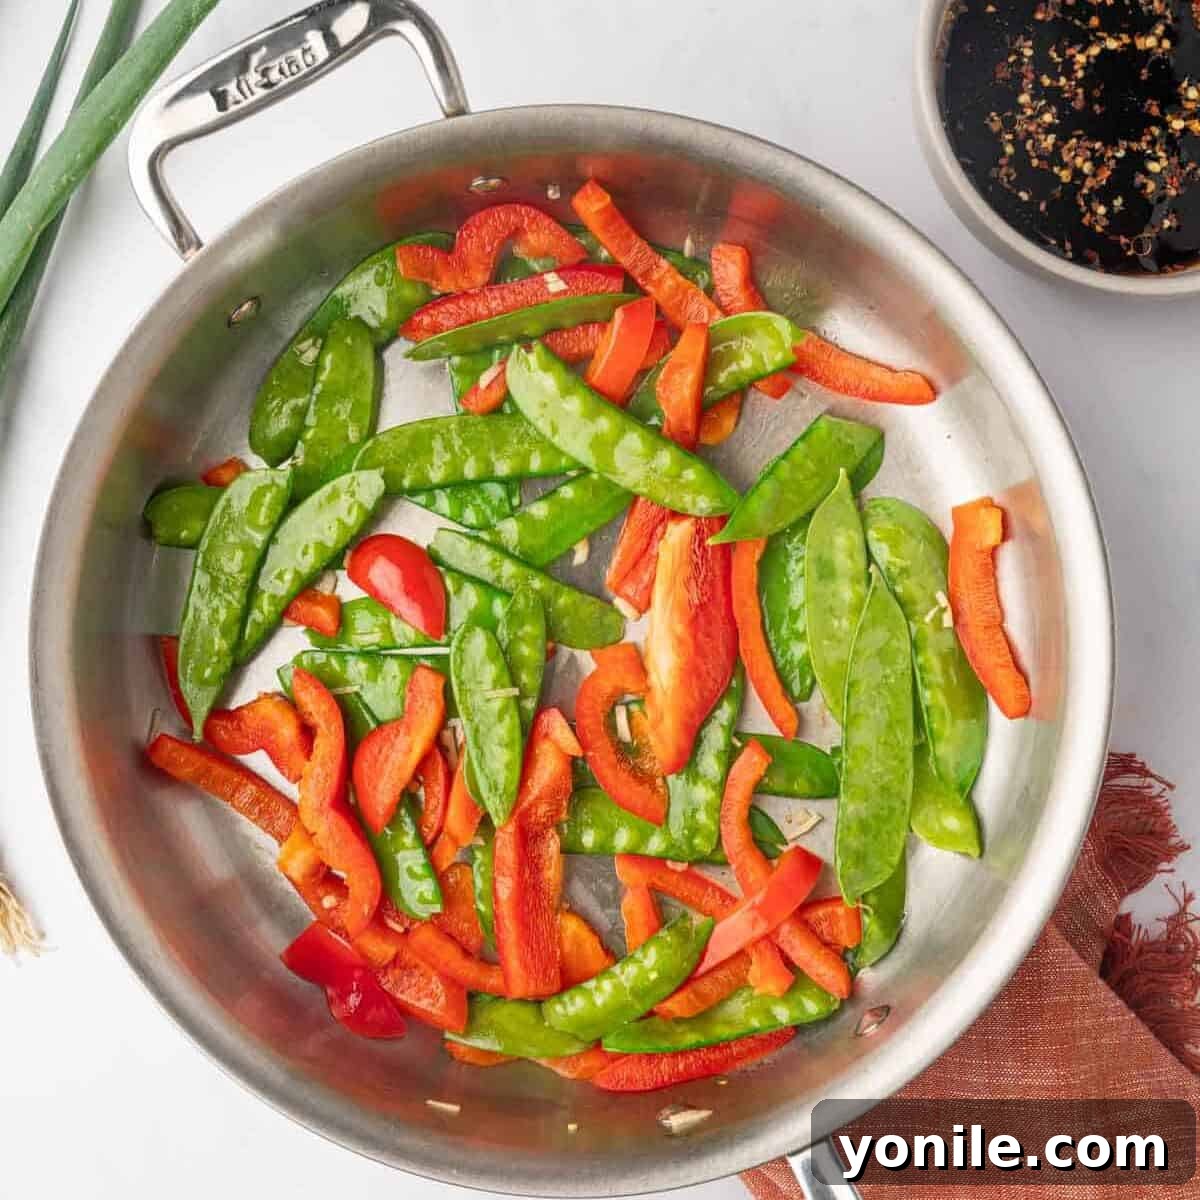
- Prepare the sauce: In a separate skillet, add 1 tablespoon of oil and minced garlic, frying for about a minute until fragrant. Add bell peppers and snow peas, cooking for 3-5 minutes until tender-crisp.
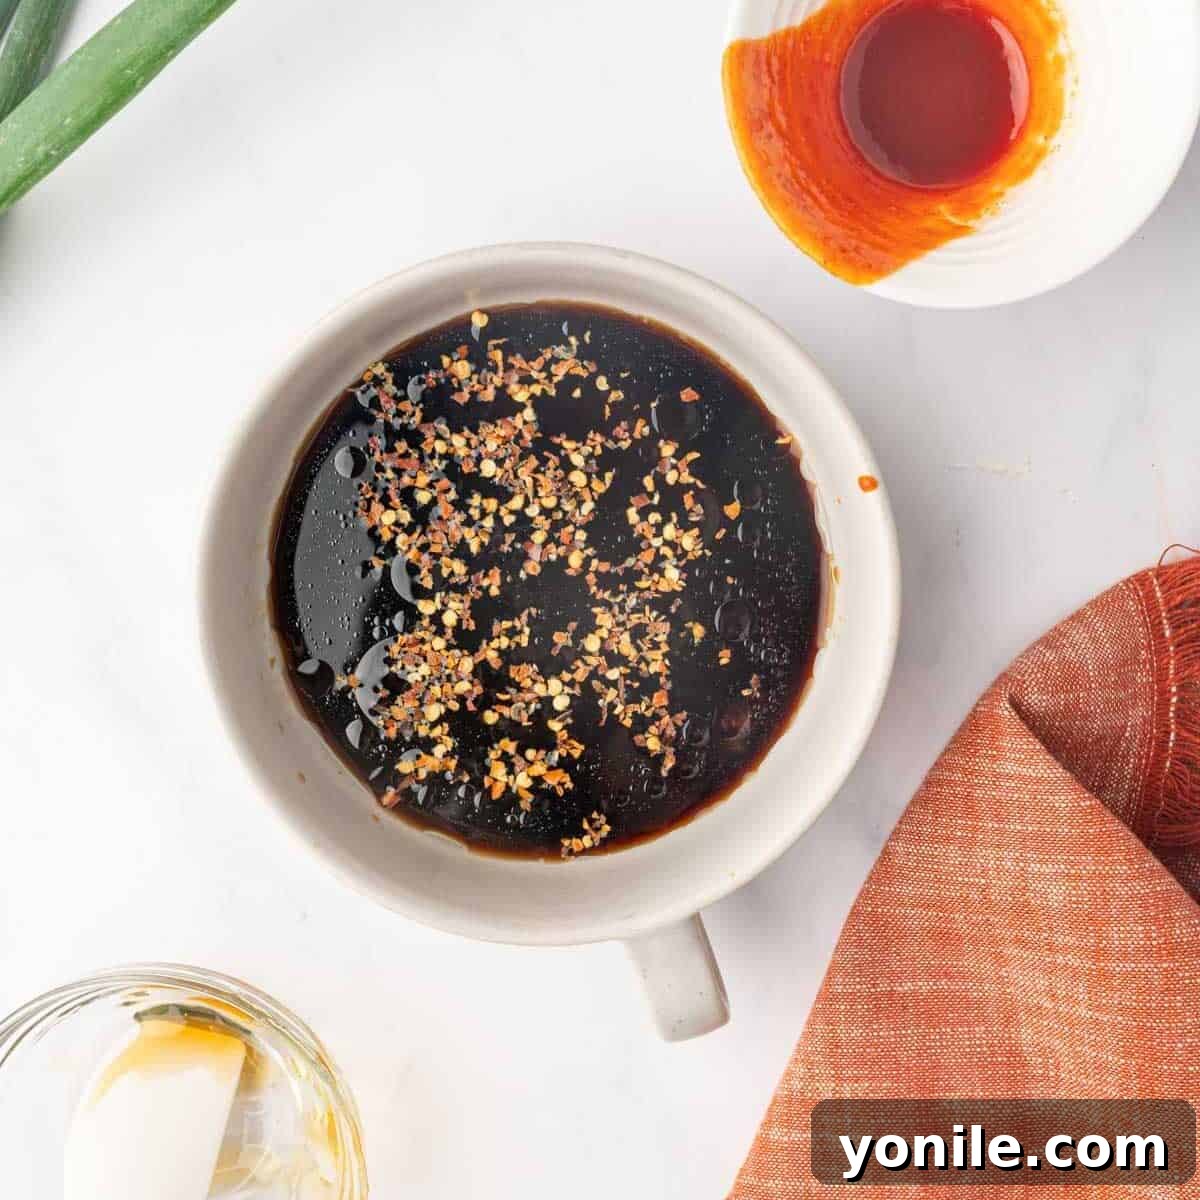
- In a bowl, combine sesame oil, honey, water, soy sauce, and red pepper flakes. In a small separate bowl, mix cornstarch with 2 tablespoons of water to create a slurry. Add the liquid sauce mixture to the skillet with the vegetables, bring to a simmer, then stir in the cornstarch slurry. Simmer for 2 minutes, stirring, until the sauce thickens.
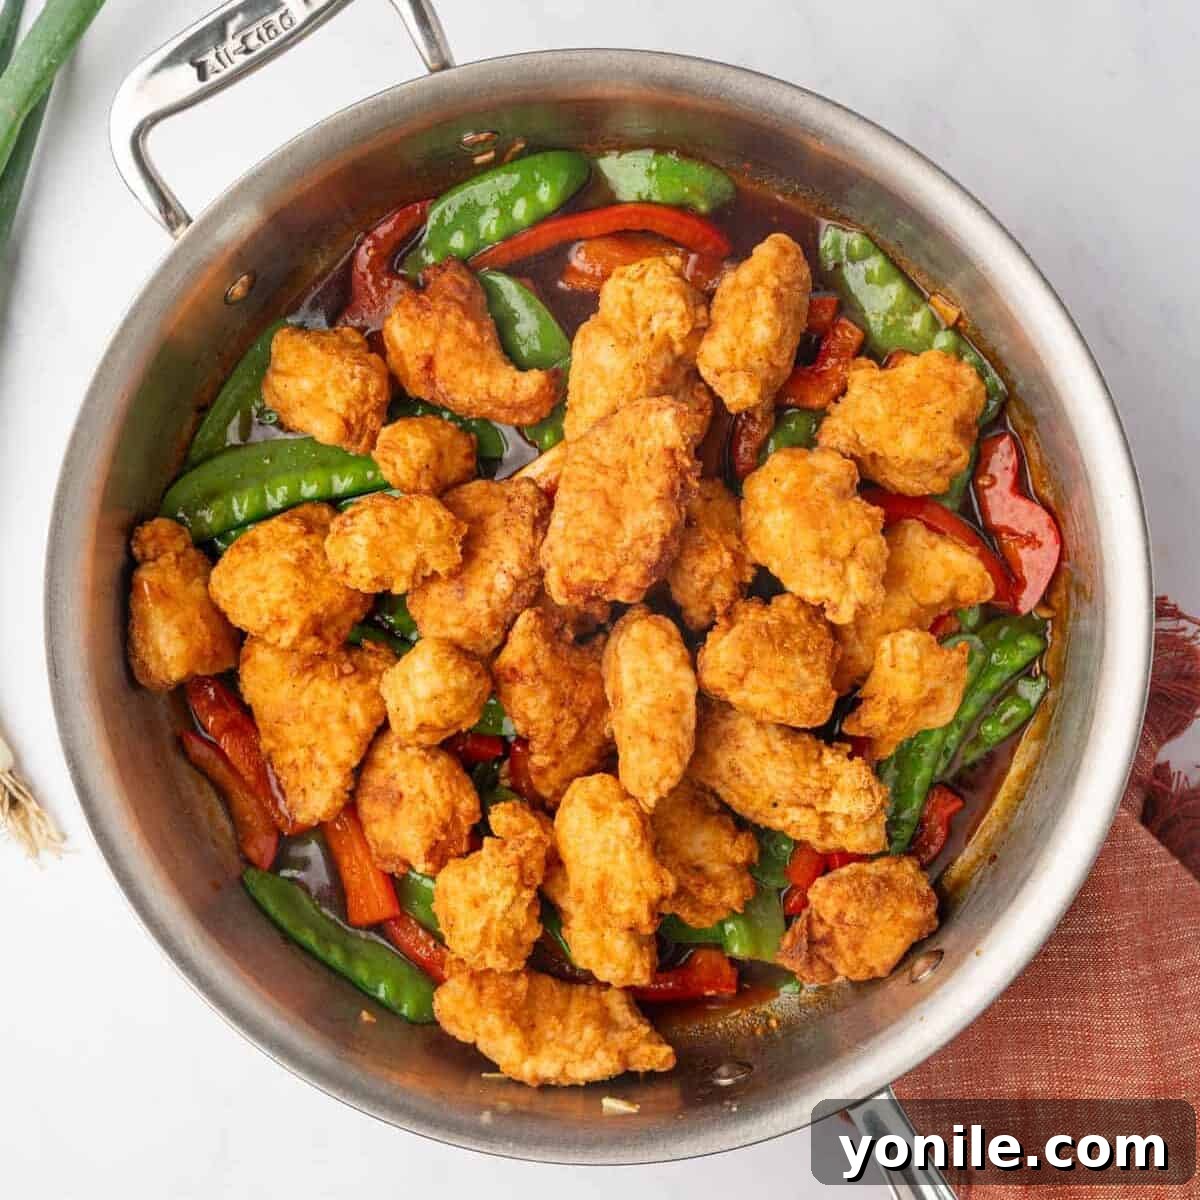
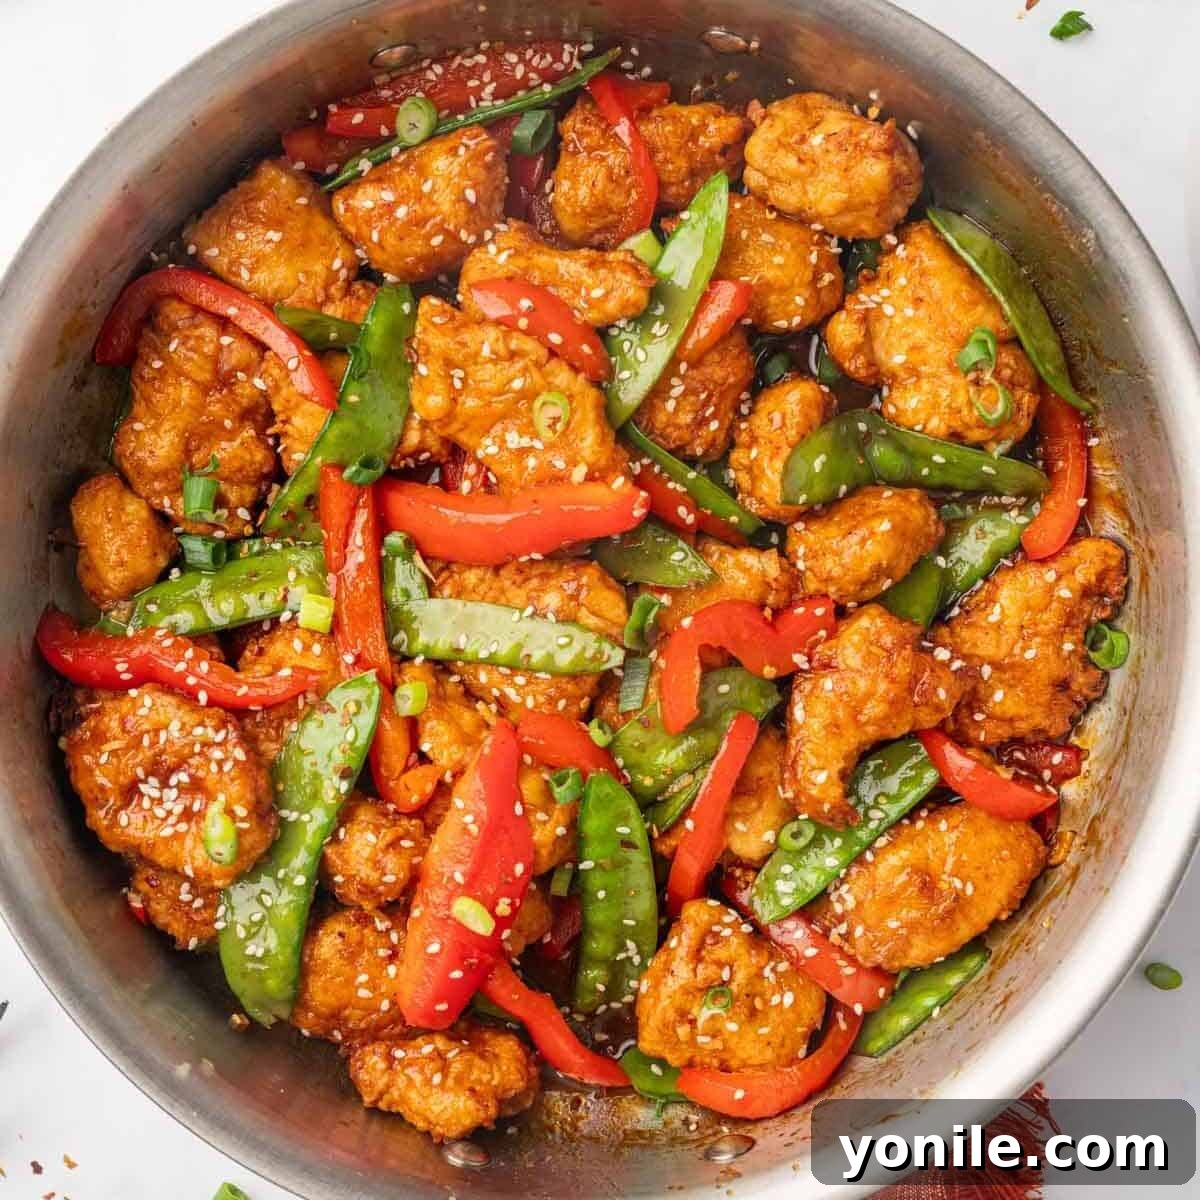
- Transfer the fried crispy chicken into the skillet with the sauce and vegetables. Toss everything until well combined, ensuring all pieces are evenly coated.
- Garnish generously with sesame seeds and chopped green onions before serving immediately.
Notes
- Cut Chicken Evenly: Ensure chicken pieces are uniform in size for consistent cooking.
- Pat Chicken Dry: Always pat chicken dry before coating for a crispier batter.
- Cook in Batches: Fry chicken in small batches to prevent overcrowding and maintain oil temperature.
- Thicken the Sauce: If the sauce is too thin, simmer for a few extra minutes until it reaches desired consistency.
- Fresh Ingredients Only: Use fresh minced garlic for the best, most vibrant flavor.
Nutrition
Calories: 702kcal | Carbohydrates: 59g | Protein: 55g | Fat: 27g | Saturated Fat: 7g | Polyunsaturated Fat: 7g | Monounsaturated Fat: 10g | Trans Fat: 0.3g | Cholesterol: 145mg | Sodium: 1242mg | Potassium: 742mg | Fiber: 3g | Sugar: 20g | Vitamin A: 1814IU | Vitamin C: 54mg | Calcium: 68mg | Iron: 5mg