

Welcome to the ultimate guide for creating your own batch of delicious and wholesome Homemade Fruit and Nut Bars! These incredibly versatile snack bars are a perfect blend of natural sweetness, satisfying crunch, and essential nutrients, designed to fuel your day from morning to night. Whether you’re searching for a quick, energizing breakfast, a wholesome midday pick-me-up, or a guilt-free treat, these homemade energy bars are crafted to meet your cravings and sustain your energy levels without compromising on taste. Forget expensive store-bought alternatives; our recipe empowers you to create superior healthy snack bars right in your own kitchen.
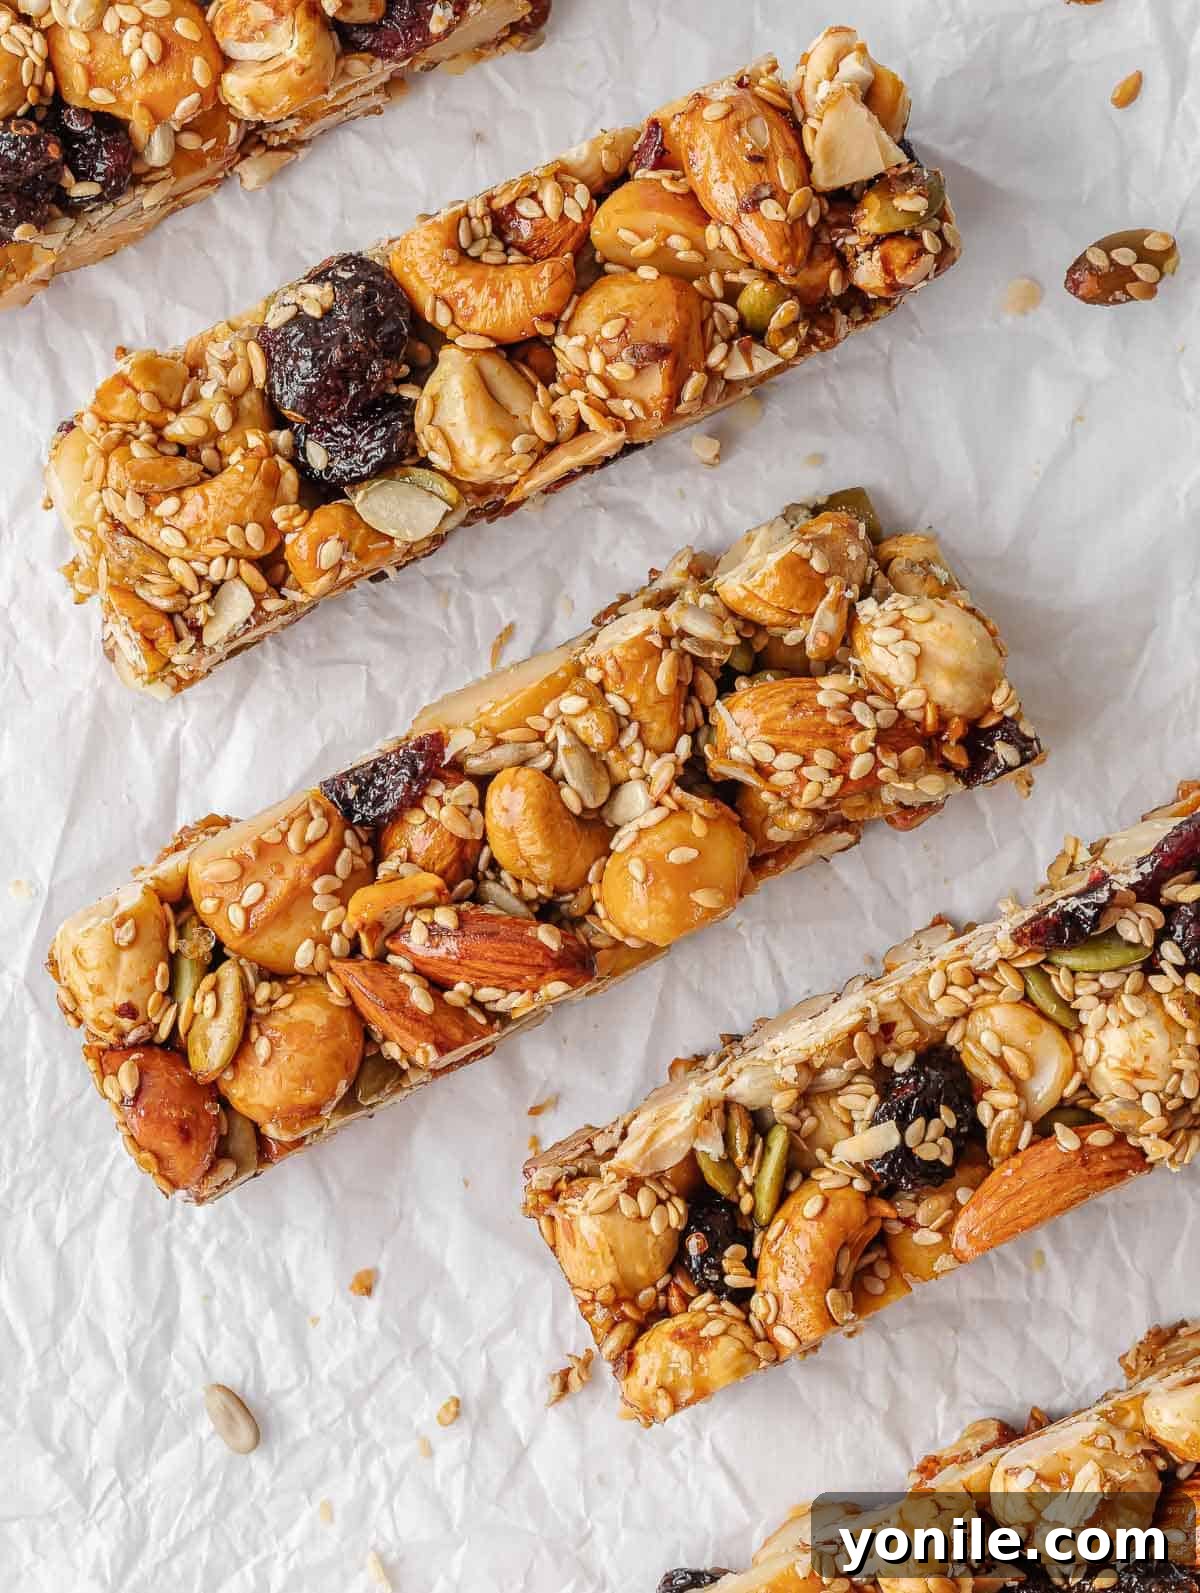
Inspired by the popular KIND Nut Bars, our homemade version offers all the flavor and nutritional benefits at a fraction of the cost. In less than an hour of active preparation and baking time, you can whip up a batch of these delectable fruit and nut energy bars that not only taste incredible but also keep well for days, making them ideal for meal prepping and busy schedules. This easy nut bar recipe is a testament to how simple and rewarding healthy eating can be.
If you’re looking to expand your repertoire of nutritious and tasty recipes, don’t miss our delightful Blueberry Oatmeal Bake, another fantastic option for a wholesome start to your day.
Why You’ll Love This Easy Nut Bar Recipe
There are countless reasons why these homemade fruit and nut bars will become a staple in your kitchen. They are more than just a snack; they are a lifestyle choice that supports your health and simplifies your daily routine.
- Nutritious and Delicious: These bars are a powerhouse of essential nutrients. Packed with a generous blend of nuts, dried fruits, and seeds, they provide healthy fats, plant-based protein, fiber, vitamins, and minerals. Each bite offers a satisfying crunch and natural sweetness, proving that healthy food can be incredibly flavorful. They’re designed to keep you feeling full and satisfied, making unhealthy cravings a thing of the past.
- Easy to Make: Simplicity is key! This recipe is incredibly straightforward and requires minimal culinary skills. With just a few simple steps and common pantry ingredients, you can prepare a batch of these bars in under an hour. It’s the perfect recipe for those busy weekdays when you need a reliable and wholesome snack solution without spending hours in the kitchen.
- Customizable to Your Taste: One of the greatest advantages of making your own snack bars is the freedom to customize. This recipe serves as a fantastic base, allowing you to easily swap out ingredients to suit your personal preferences, dietary needs, or what you have on hand. Whether you prefer specific nuts, different dried fruits, or unique spice combinations, these bars can be tailored just for you.
- Perfect On-the-Go Snack: Life is fast-paced, and having convenient, healthy snacks ready is a game-changer. These bars are individually portioned, sturdy, and mess-free, making them ideal for packing in lunchboxes, gym bags, hiking packs, or simply grabbing as you head out the door. They provide sustained energy for workouts, busy workdays, or outdoor adventures, ensuring you always have a nutritious option within reach.
- Budget-Friendly: Commercial nut bars can be surprisingly expensive. By making them at home, you significantly cut down on costs while often getting a fresher, higher-quality product. This recipe demonstrates that eating healthy doesn’t have to break the bank.
- No Added Refined Sugars: Unlike many store-bought options that are loaded with refined sugars and artificial additives, our recipe relies on natural sweeteners like honey, providing sweetness without the unhealthy extras. You control exactly what goes into your body.
Fruit and Nut Bar Ingredients
The beauty of these homemade fruit and nut bars lies in their simple, wholesome ingredients. Each component plays a crucial role in delivering flavor, texture, and nutritional value. Here’s a detailed look at what you’ll need to create these healthy, delicious treats:
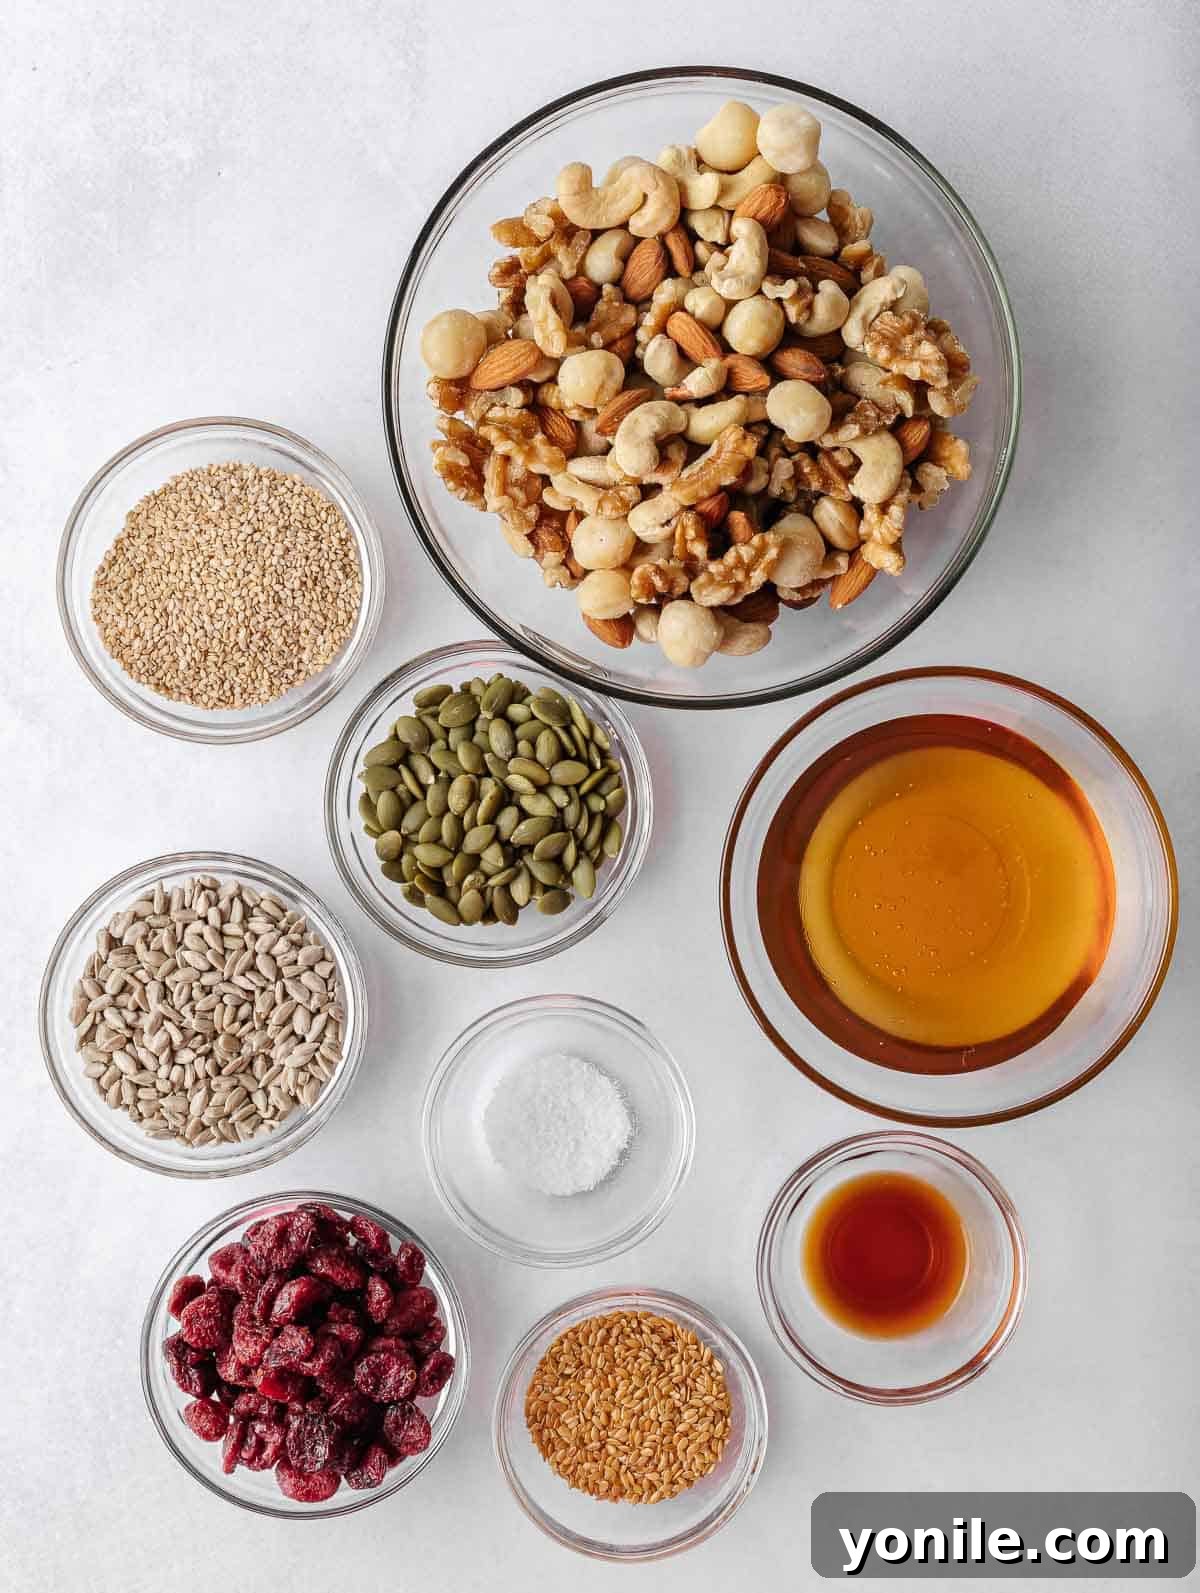
- Nuts – A diverse mix of nuts creates the best flavor profile and textural contrast. For an ideal balance, we recommend using a combination of half whole nuts and half chopped nuts. This ensures some satisfying larger pieces alongside smaller bits that bind well. Popular choices include cashews (for their creamy texture), walnuts (rich in omega-3s), pecans (buttery and flavorful), almonds (crunchy and nutrient-dense), and macadamia nuts (for a luxurious taste). Feel free to choose your favorites or create a unique blend. Nuts are a fantastic source of healthy fats, protein, and dietary fiber, contributing significantly to the bars’ satisfying nature.
- Dried Cranberries – These vibrant berries add a delightful tartness and chewiness that perfectly complements the rich nuts. You can easily substitute them with any other dried fruit you prefer, such as sweet raisins, golden raisins, Medjool dates (chopped finely), dried apricots (also chopped), or even shredded coconut for a tropical twist. If using larger dried fruits, remember to cut them into smaller, bite-sized pieces to ensure even distribution and easier eating. Dried fruits provide natural sweetness and a boost of antioxidants.
- Seeds – Seeds are nutritional powerhouses that enhance the texture and nutrient content of these bars. We suggest a blend of sunflower seeds (mild, nutty flavor), pumpkin seeds (also known as pepitas, offering a distinct earthy taste), sesame seeds (tiny but mighty, with a subtle crunch), and flaxseeds (packed with omega-3 fatty acids and fiber). These seeds add valuable minerals and healthy fats.
- Salt – A pinch of salt is essential! It doesn’t just make these bars “perfectly snackable” by enhancing the overall flavor; it also helps to balance the sweetness from the dried fruits and honey, bringing out the nutty flavors more effectively.
- Honey – As the primary binder and sweetener, honey plays a crucial role in holding these bars together and imparting a rich, natural sweetness. Its sticky texture is what makes the mixture cohesive. For a vegan alternative or if you prefer a different flavor, pure maple syrup is an excellent substitute, offering a similar binding quality and delightful aroma.
- Vanilla Extract – Just a hint of vanilla extract can make a big difference. It acts as a flavor enhancer, adding warmth and depth that subtly elevates all the other ingredients, creating a more complex and inviting taste profile.
Ingredient Substitutions and Variations
Get creative with your homemade nut bars! This recipe is incredibly adaptable, allowing you to experiment with different combinations and personalize your snack bars. Here are some ideas:
- Nut Alternatives: Feel free to mix and match or swap out the suggested nuts. Walnuts, pecans, hazelnuts, or even pistachios can be used in place of or in addition to almonds and cashews. Roasting your nuts lightly before adding them can enhance their flavor and crunch even further.
- Dried Fruits: Beyond cranberries, consider using diced dried cherries, blueberries, figs, or even finely chopped prunes. For a burst of natural sweetness and chewiness, these options work wonderfully. Ensure any larger dried fruits are chopped to distribute evenly throughout the bars.
- Seeds: Boost the nutritional content by incorporating chia seeds for omega-3s and extra fiber, hemp hearts for plant-based protein, or even poppy seeds for a unique texture.
- Sweeteners: While honey and maple syrup are fantastic, you can also experiment with other natural liquid sweeteners. Agave nectar offers a neutral sweetness, while brown rice syrup provides a slightly less sweet, malty flavor and excellent binding properties.
- Flavor Enhancers: Add a sprinkle of cinnamon, nutmeg, or pumpkin pie spice for a warm, comforting flavor. A dash of almond extract can amplify the nutty notes. For a touch of indulgence, consider adding a handful of mini chocolate chips or cocoa nibs after baking but while the bars are still warm, allowing them to melt slightly before cooling.
- Protein Boost: For an extra protein kick, a tablespoon of unflavored or vanilla protein powder can be mixed in with the dry ingredients, though you might need a tiny bit more liquid binder.
How To Make Fruit and Nut Bars
Crafting your own batch of wholesome fruit and nut bars is a straightforward and rewarding process. Follow these simple steps to create perfectly crunchy, chewy, and nutritious energy bars every time.
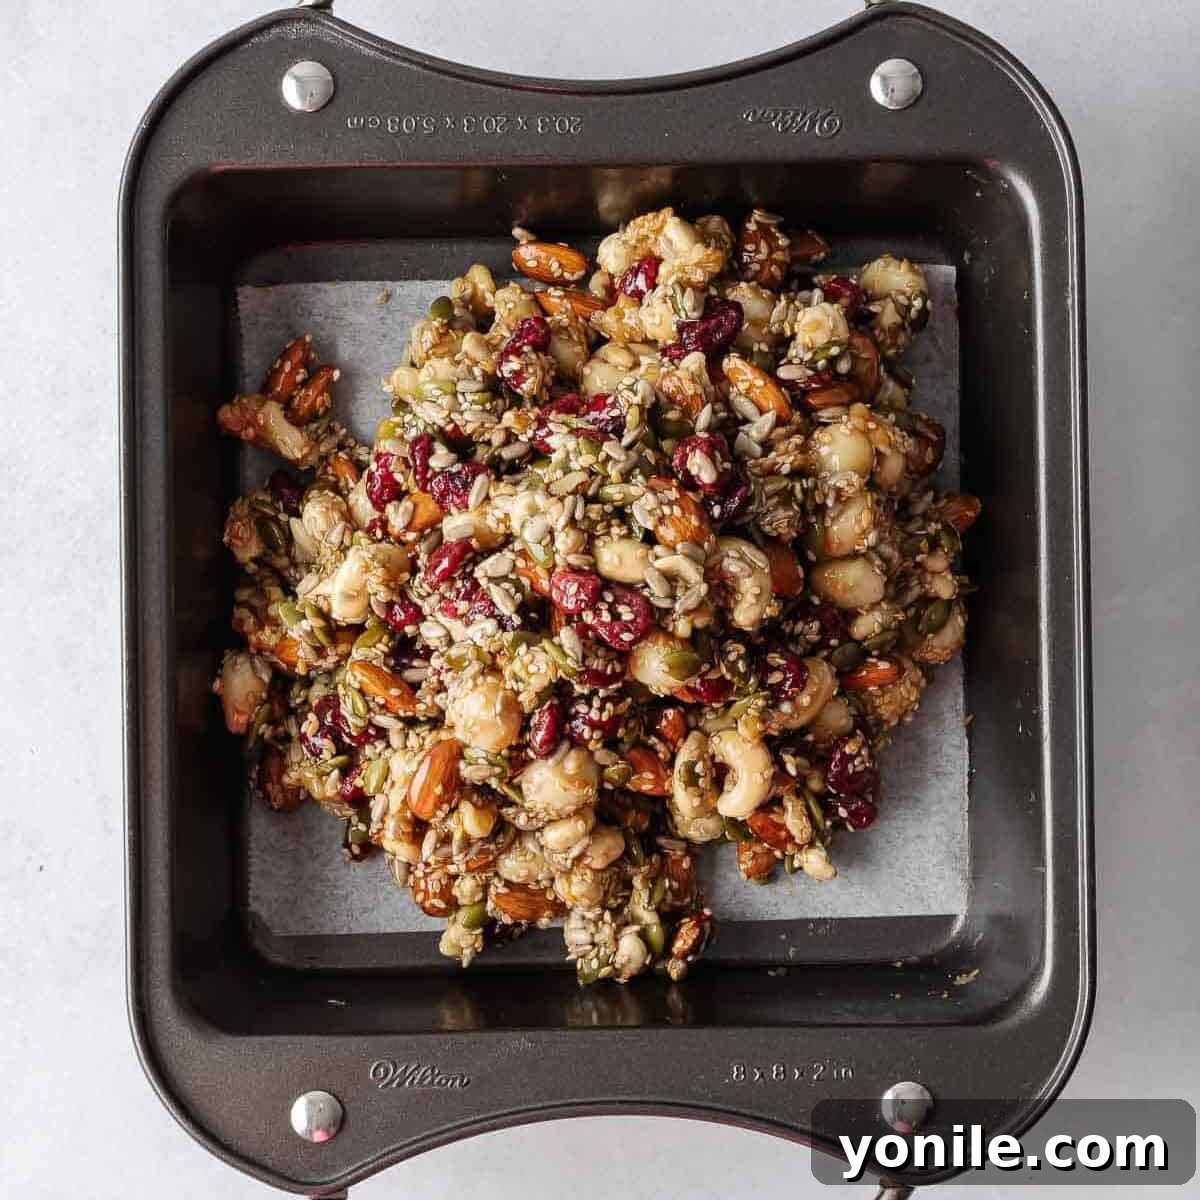
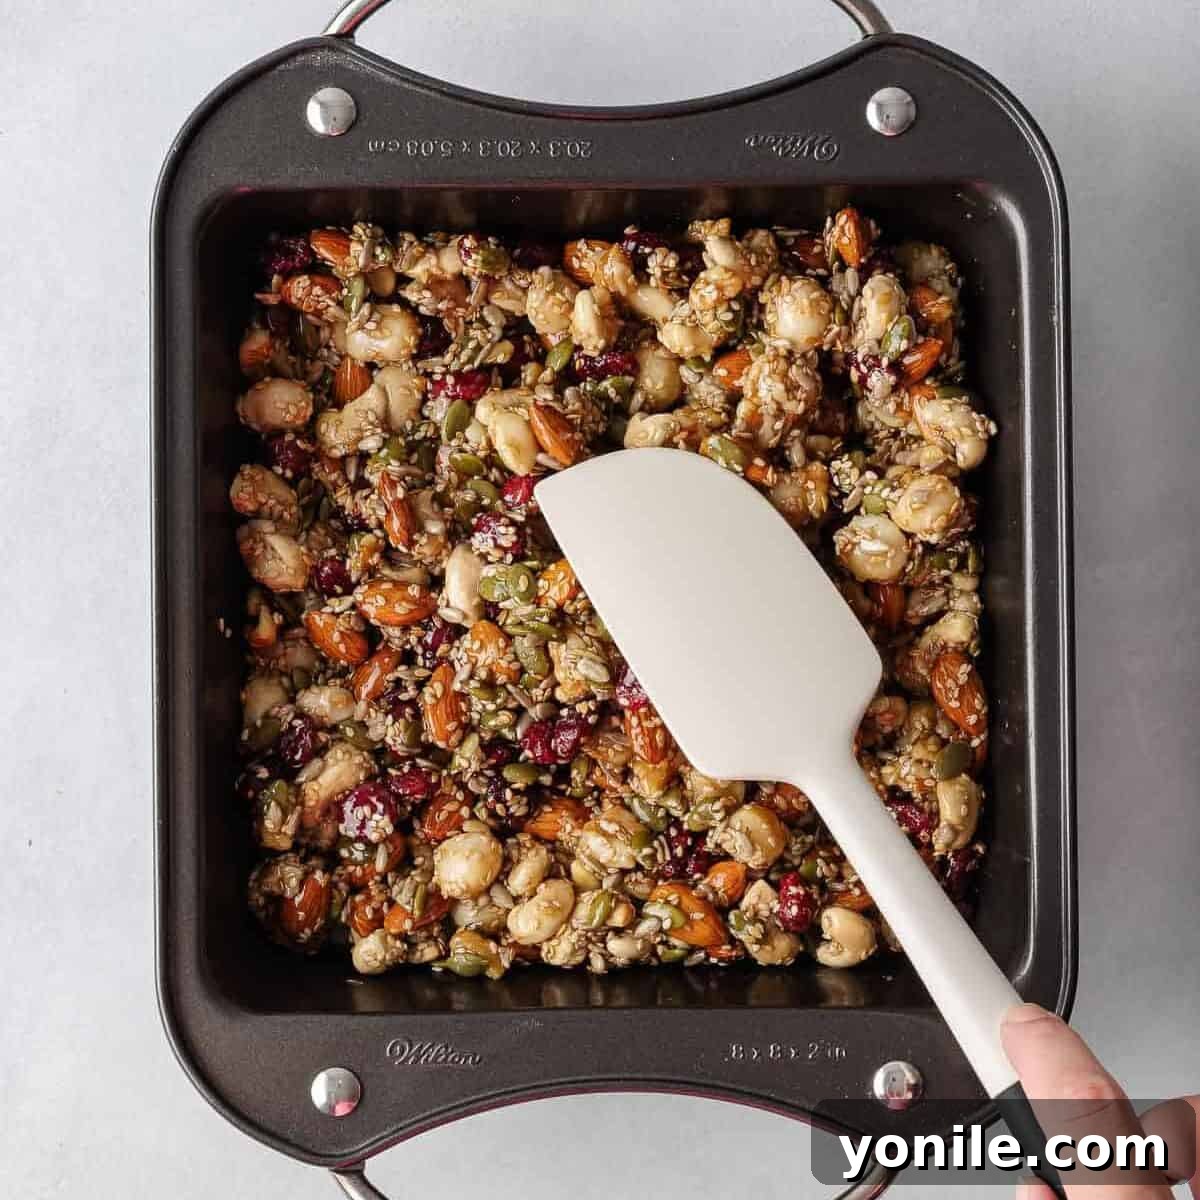
Step 5: Bake the nut and seed bars. Place the baking pan into your preheated oven. Bake for approximately 30-40 minutes. Keep a close eye on them; the nuts should begin to toast and turn a beautiful deep golden-brown color around the edges. This indicates they are perfectly baked and will be wonderfully crunchy.
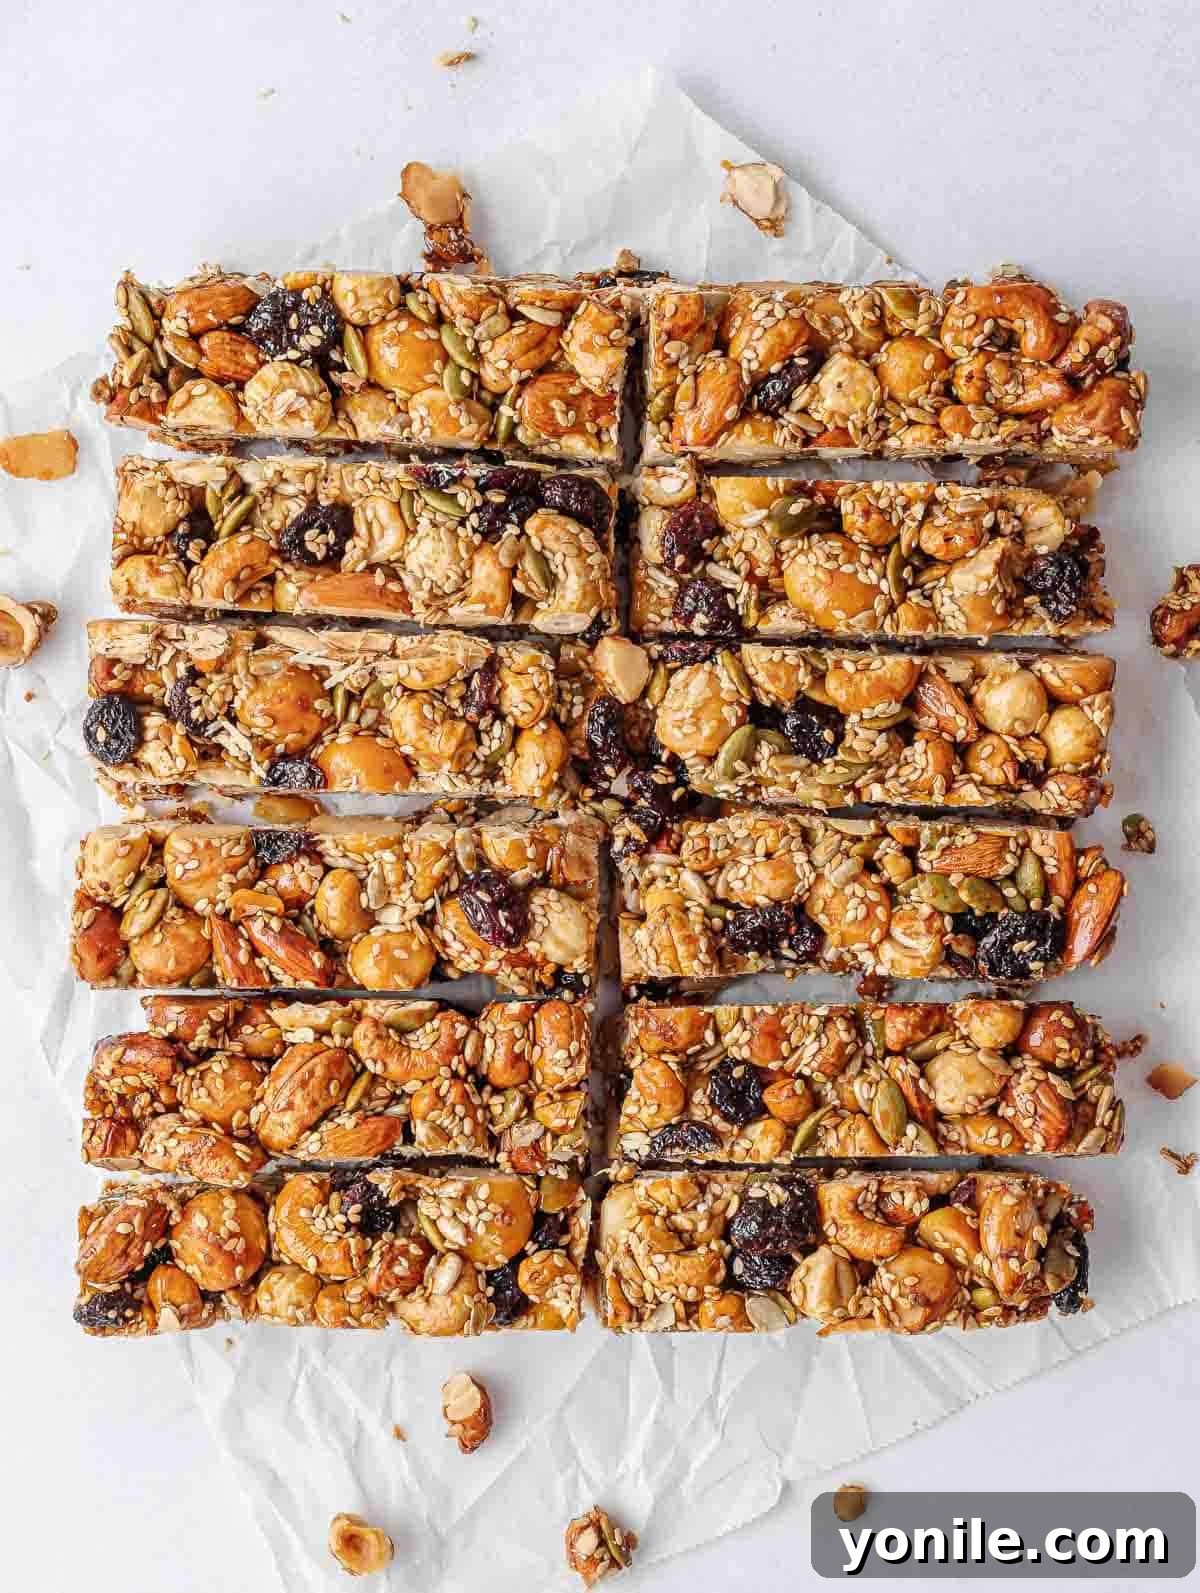
Step 6: Cool completely and cut. This is another critical step for bar integrity. Remove the pan from the oven and allow the bars to cool *completely* in the pan for at least 2-3 hours, or even longer. They need this time to firm up and set properly. Once fully cooled, use the parchment paper overhang to lift the entire slab onto a cutting board. Use a sharp knife to cut the large slab into 12 even, individual bars.
Step 7: Wrap and store. For optimal freshness and convenience, wrap each bar individually in parchment paper or plastic wrap. Store these homemade energy bars in an airtight container in the refrigerator for 1-2 weeks. This helps them maintain their firmness and prevents them from softening, especially in warmer climates. For longer storage, they can also be frozen.
Tips To Make the Best Homemade Snack Bars
Achieving the perfect homemade fruit and nut bar is easy with a few simple tips and tricks. These suggestions will help you ensure your bars are flavorful, hold together well, and stay fresh for longer.
- Use Fresh Ingredients: The quality of your ingredients directly impacts the taste and texture of your bars. Always ensure your nuts and seeds are fresh, not rancid. You can often tell by their smell and taste. Fresh ingredients will provide the best flavor and a satisfying crunch. Consider lightly toasting nuts before mixing for enhanced flavor.
- Press Firmly: This cannot be stressed enough! After transferring the mixture to the baking dish, use a flat-bottomed object (like another smaller baking dish, the back of a large spoon, or a sturdy spatula) to press the mixture down as firmly and evenly as possible. This compression is vital for the bars to bind properly and not crumble when cut.
- Cool Properly: Patience is a virtue, especially when making snack bars. Allowing enough time for the bars to chill and set completely in the pan is crucial. Trying to cut them while they are still warm will result in crumbly, messy bars. A minimum of 2-3 hours, or even placing them in the refrigerator for an hour after they’ve reached room temperature, will yield perfectly firm bars.
- Cut Evenly: Once completely cooled and firm, use a sharp, heavy knife to cut the bars. For a professional look and consistent portions, you might want to mark the cutting lines first. You can also lightly grease your knife with a bit of cooking spray to prevent sticking, especially if your bars are particularly sticky.
- Store Correctly: To maximize freshness and prevent your bars from becoming soft or sticky, proper storage is essential. Store the bars in an airtight container. If your home is particularly warm or humid, or if you plan to keep them for more than a few days, storing them in the refrigerator is highly recommended. This helps maintain their firm texture and extends their shelf life.
- Parchment Paper is Your Friend: Don’t skip lining your baking pan with parchment paper, leaving an overhang on all sides. This makes lifting the entire baked slab out of the pan incredibly easy, preventing sticking and making the cutting process much smoother.
- Adjust Sweetness: Taste your mixture before baking (if it doesn’t contain raw eggs) to ensure the sweetness level is to your liking. You can always add a touch more honey or maple syrup if desired.
What to Serve with Homemade Fruit and Nut Bars
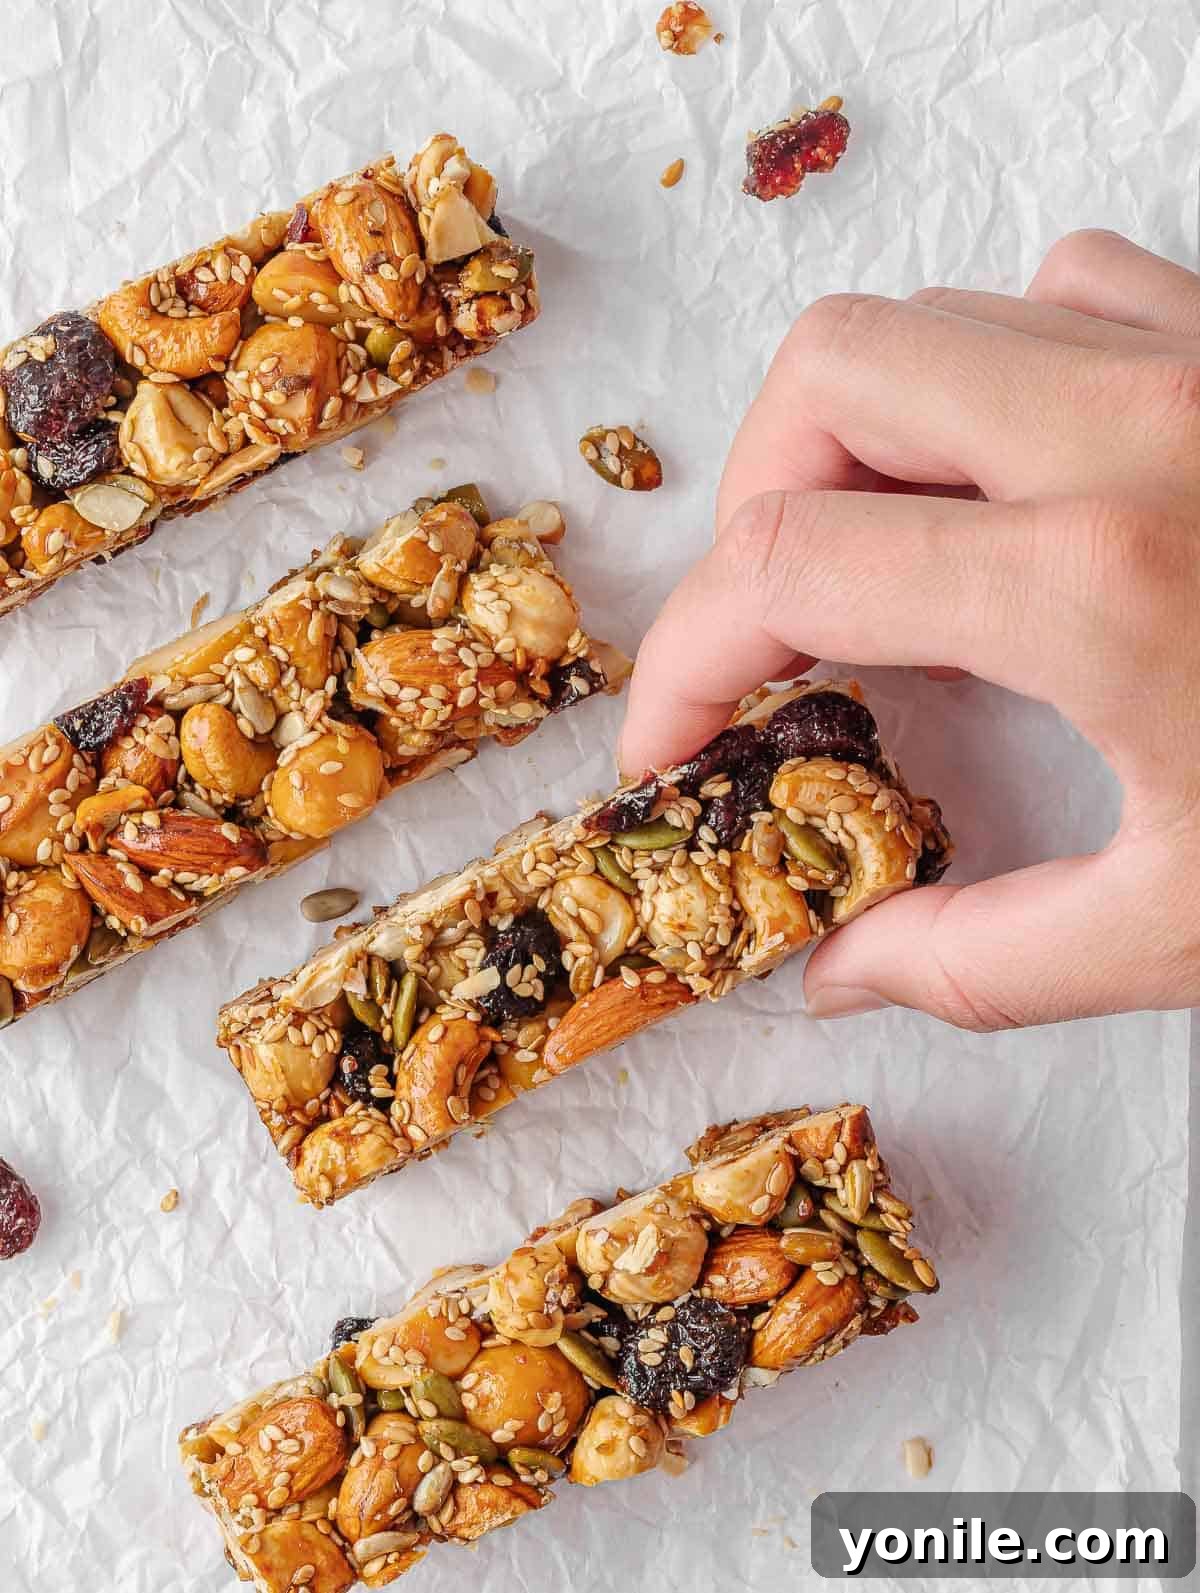
These versatile healthy snack bars are fantastic on their own, but they also pair beautifully with a variety of foods to create a more substantial meal or an even more satisfying snack. Here are some serving suggestions:
- Yogurt: For a balanced breakfast or a protein-rich snack, crumble a bar over a bowl of Greek yogurt. The creaminess of the yogurt and the crunch of the bar create a delightful textural contrast. Add some fresh berries for extra flavor and antioxidants.
- Fresh Fruit: Complement the rich flavors of the bars by serving them alongside fresh fruit slices such as apples, bananas, pears, or a handful of grapes. This adds natural hydration and an extra dose of vitamins and fiber.
- Smoothies: Enjoy a homemade fruit and nut bar with your favorite refreshing smoothie for a complete and energizing on-the-go meal. The smoothie provides hydration and additional nutrients, while the bar offers satisfying sustenance.
- Tea or Coffee: For a comforting break, pair these bars with a warm cup of herbal tea or a rich coffee. The flavors meld perfectly, making for a delightful and mindful snack experience. They are an excellent accompaniment to your morning brew or afternoon tea.
- Cheese and Crackers: For a more savory pairing, break up a bar and enjoy it with a small portion of cheese and whole-grain crackers. This creates a satisfying balance of sweet, salty, and savory flavors.
- As a Dessert: While healthy, these bars are sweet enough to satisfy dessert cravings. Serve them alongside a scoop of low-fat vanilla ice cream or a dollop of whipped cream for a guilt-free indulgence.
Frequently Asked Questions About Fruit and Nut Bars
For optimal freshness and to prevent them from becoming sticky, store your homemade nut bars in an airtight container in the refrigerator. This is especially important if you live in warmer or humid climates. Properly stored in the fridge, they will maintain their quality and delightful texture for at least one to two weeks.
While you technically can freeze these nut bars for extended storage, I personally do not prefer it due to changes in texture. Freezing and thawing can sometimes make the bars a bit softer or chewier than desired. However, if you need to store them for longer than two weeks, wrap them tightly in plastic wrap and then foil, and store in a freezer-safe bag for up to 2-3 months. Thaw at room temperature or in the refrigerator before enjoying.
Absolutely! This recipe is naturally gluten-free as long as you ensure all your ingredients are certified gluten-free. Pay particular attention to your dried fruits and sweeteners, verifying their labels to confirm they haven’t been processed in facilities with gluten-containing products. Most nuts and seeds are naturally gluten-free.
To make your fruit and nut bars less sticky, ensure they are fully cooled and set before cutting and storing them in the refrigerator. You can also lightly dust them with a tiny bit of coconut flour or finely ground nuts before wrapping. Another tip is to reduce the amount of liquid sweetener slightly or increase the dry ingredients, though this might affect binding.
If your bars are crumbling, it’s likely due to not pressing the mixture firmly enough into the pan before baking, or not allowing them to cool completely. The firm pressing step is crucial for cohesion. Additionally, ensure you’re using enough sticky binder (honey or maple syrup) to hold everything together. If they’re too dry, a bit more liquid sweetener next time can help.
More Nutritious Snack Recipes
If you’re looking to broaden your collection of wholesome and energizing snacks, explore these other fantastic recipes that are perfect for any time of day:
- Chocolate Chia Protein Pudding
- Vanilla Protein Energy Balls
- Strawberry Oatmeal Breakfast Bars
- Almond Joy Energy Bites
- No-Bake Energy Balls
Our Homemade Fruit and Nut Bars are more than just a snack; they are a delightful and nutritious solution for maintaining energy and satisfying cravings throughout your busy day. Easy to prepare, fully customizable, and packed with wholesome ingredients, these bars offer a perfect balance of sweet and crunchy in every bite. Whether you’re a seasoned baker or new to the kitchen, this recipe promises a rewarding experience and a delicious outcome. Try this recipe today and discover the joy of making your own healthy, tasty treats that will keep you energized and happy.
If you give this recipe a try or explore any of my other healthy creations, please consider leaving a star rating and a comment in the section below. Your feedback is greatly appreciated! For my latest culinary adventures and recipe updates, follow Cookin’ With Mima on Facebook | Instagram | Pinterest.
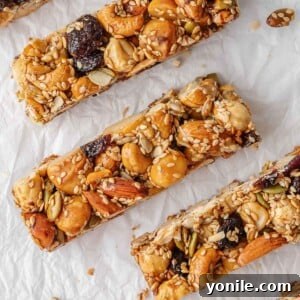
Fruit and Nut Bars
Mariam Ezzeddine
5 minutes
40 minutes
2 hours
2 hours 45 minutes
12 bars
Ingredients
- 1 cup whole nuts, I used cashews, walnuts, pecans, almonds, macadamia nuts.
- 1 cup chopped nuts, I used cashews, walnuts, pecans, almonds, macadamia nuts.
- ½ cup dried cranberries
- ¼ cup sunflower seeds
- ¼ cup pumpkin seeds
- ¼ cup sesame seeds
- 1 Tbsp flaxseeds
- ½ tsp salt
- ½ cup honey
- 2 tsp vanilla extract
Instructions
- Preheat oven to 350 degrees F (175°C). Spray an 8” square baking pan with cooking spray and line it with parchment paper, leaving an overhang on the sides.
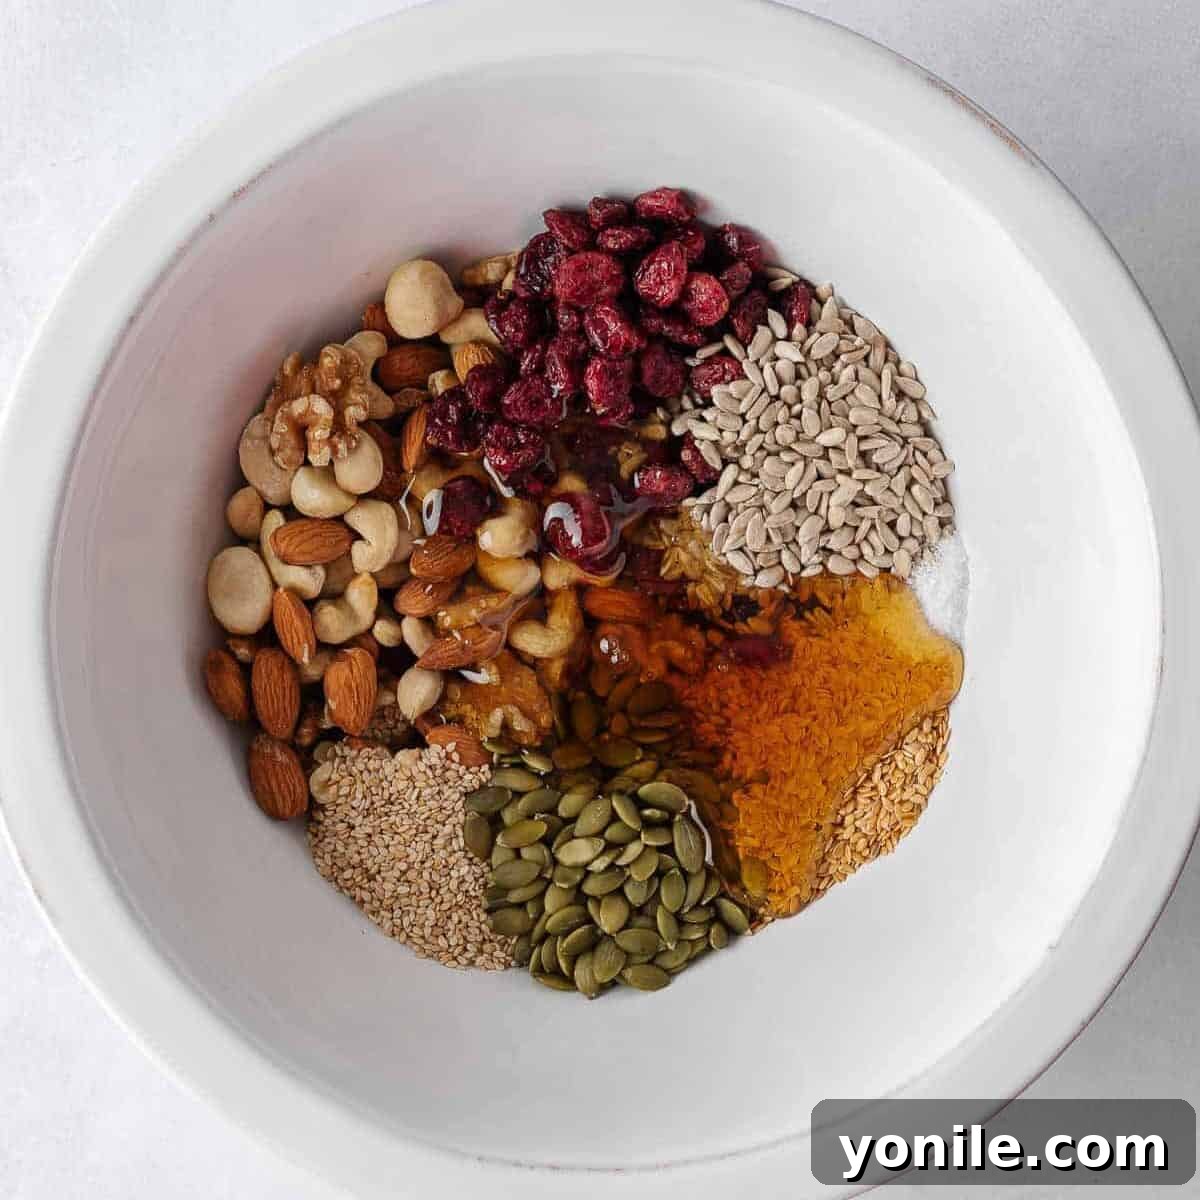
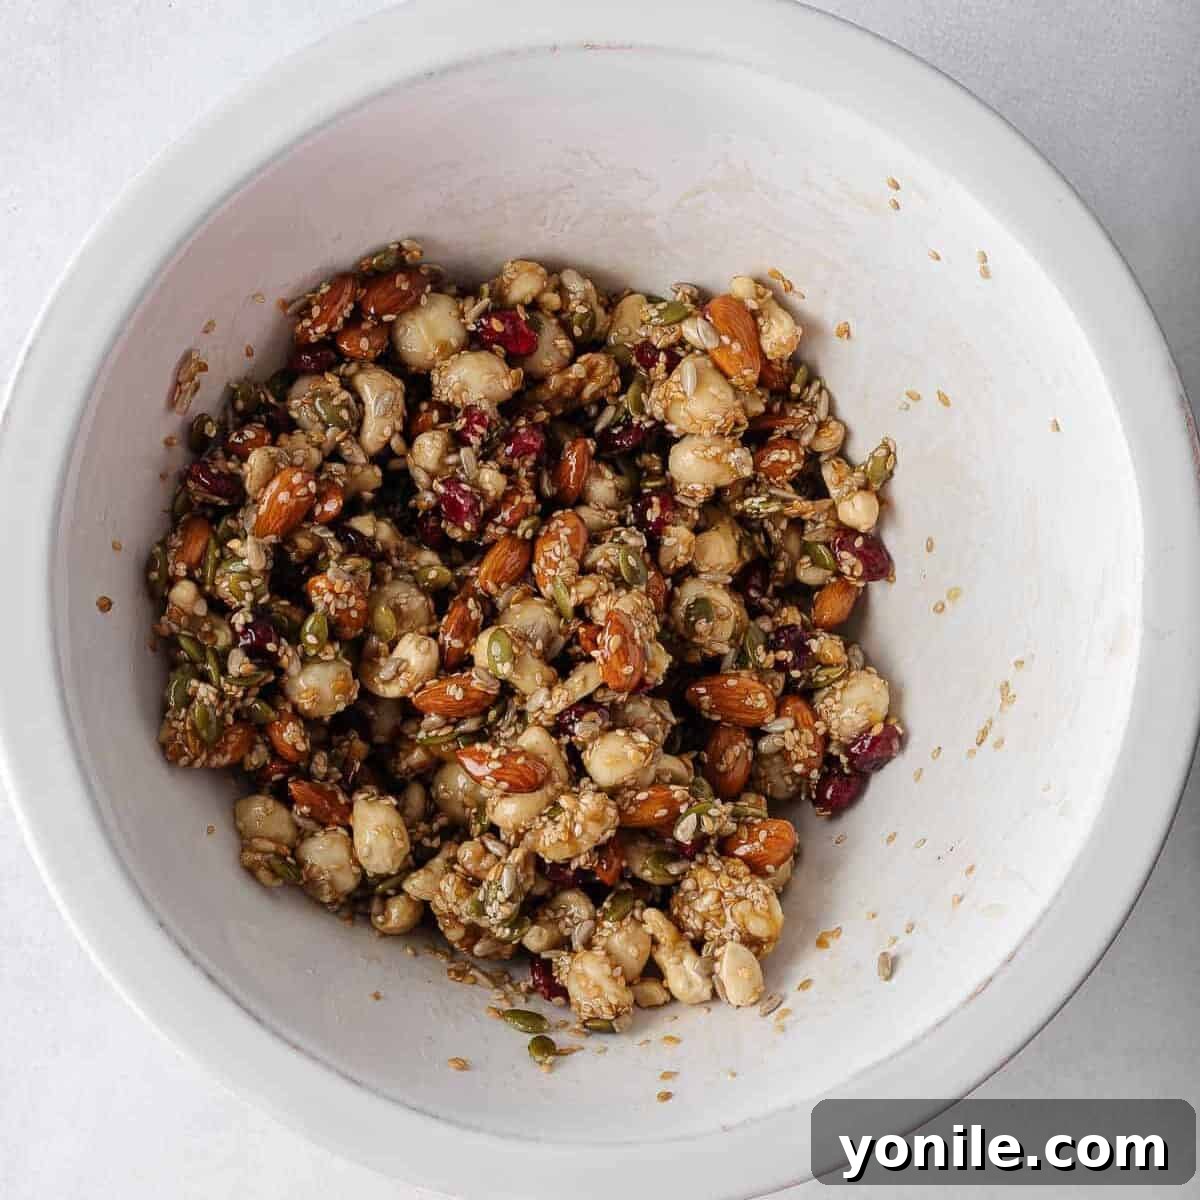
- Place all the nuts, dried fruits, and seeds into a large bowl. Add the honey and vanilla extract. Mix them thoroughly until all ingredients are well coated.
- Transfer the mixture to the prepared baking pan. Using a spatula or the back of a spoon, flatten the mixture down into one firm, even layer by firmly pressing on it.
- Bake for anywhere from 30-40 minutes until the nuts start to brown slightly and the bars have a nice deep golden-brown color around the edges.
- Cool the bars completely in the pan for about 2-3 hours at room temperature. Transfer to a cutting board using the parchment paper overhang and cut into 12 bars using a sharp knife.
- Wrap each bar individually in parchment paper or plastic wrap. Store in an airtight container in the refrigerator for 1 week or freeze for longer storage up to 2-3 months.
Notes
- Use Fresh Ingredients: Ensure your nuts and seeds are fresh to maintain the best flavor and texture.
- Press Firmly: Press the mixture firmly into the baking dish to ensure the bars hold together well and don’t crumble.
- Cool Properly: Allow enough time for the bars to chill and set before cutting. This step is crucial for firm bars.
- Cut Evenly: Use a sharp knife to cut the bars into even pieces for a professional look and consistent portions.
- Store Correctly: Store the bars in an airtight container in the refrigerator to keep them fresh for longer, especially in warm climates.
Nutrition (Per Serving – 1 of 12 bars)
Carbohydrates: 22g |
Protein: 5g |
Fat: 17g |
Saturated Fat: 2g |
Polyunsaturated Fat: 8g |
Monounsaturated Fat: 6g |
Trans Fat: 0.001g |
Sodium: 100mg |
Potassium: 176mg |
Fiber: 3g |
Sugar: 16g |
Vitamin A: 6IU |
Vitamin C: 0.3mg |
Calcium: 55mg |
Iron: 2mg
Like this recipe? Rate and comment below!