
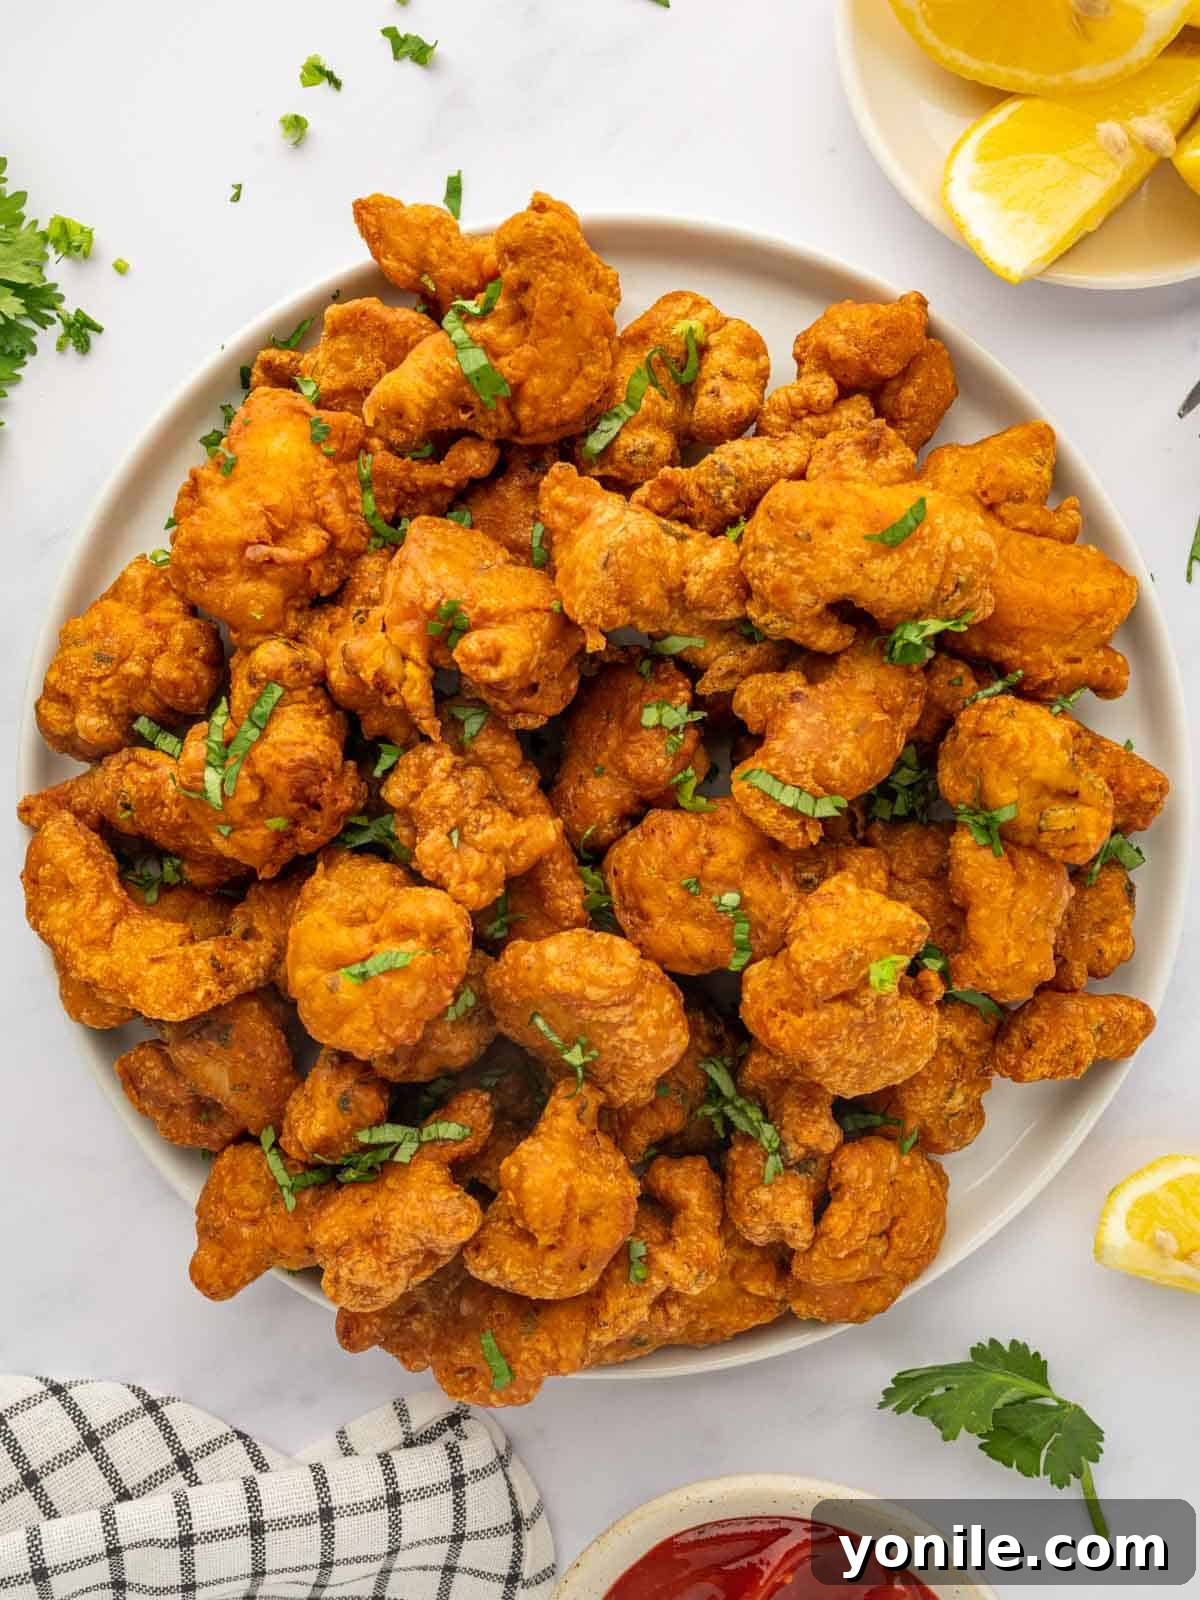
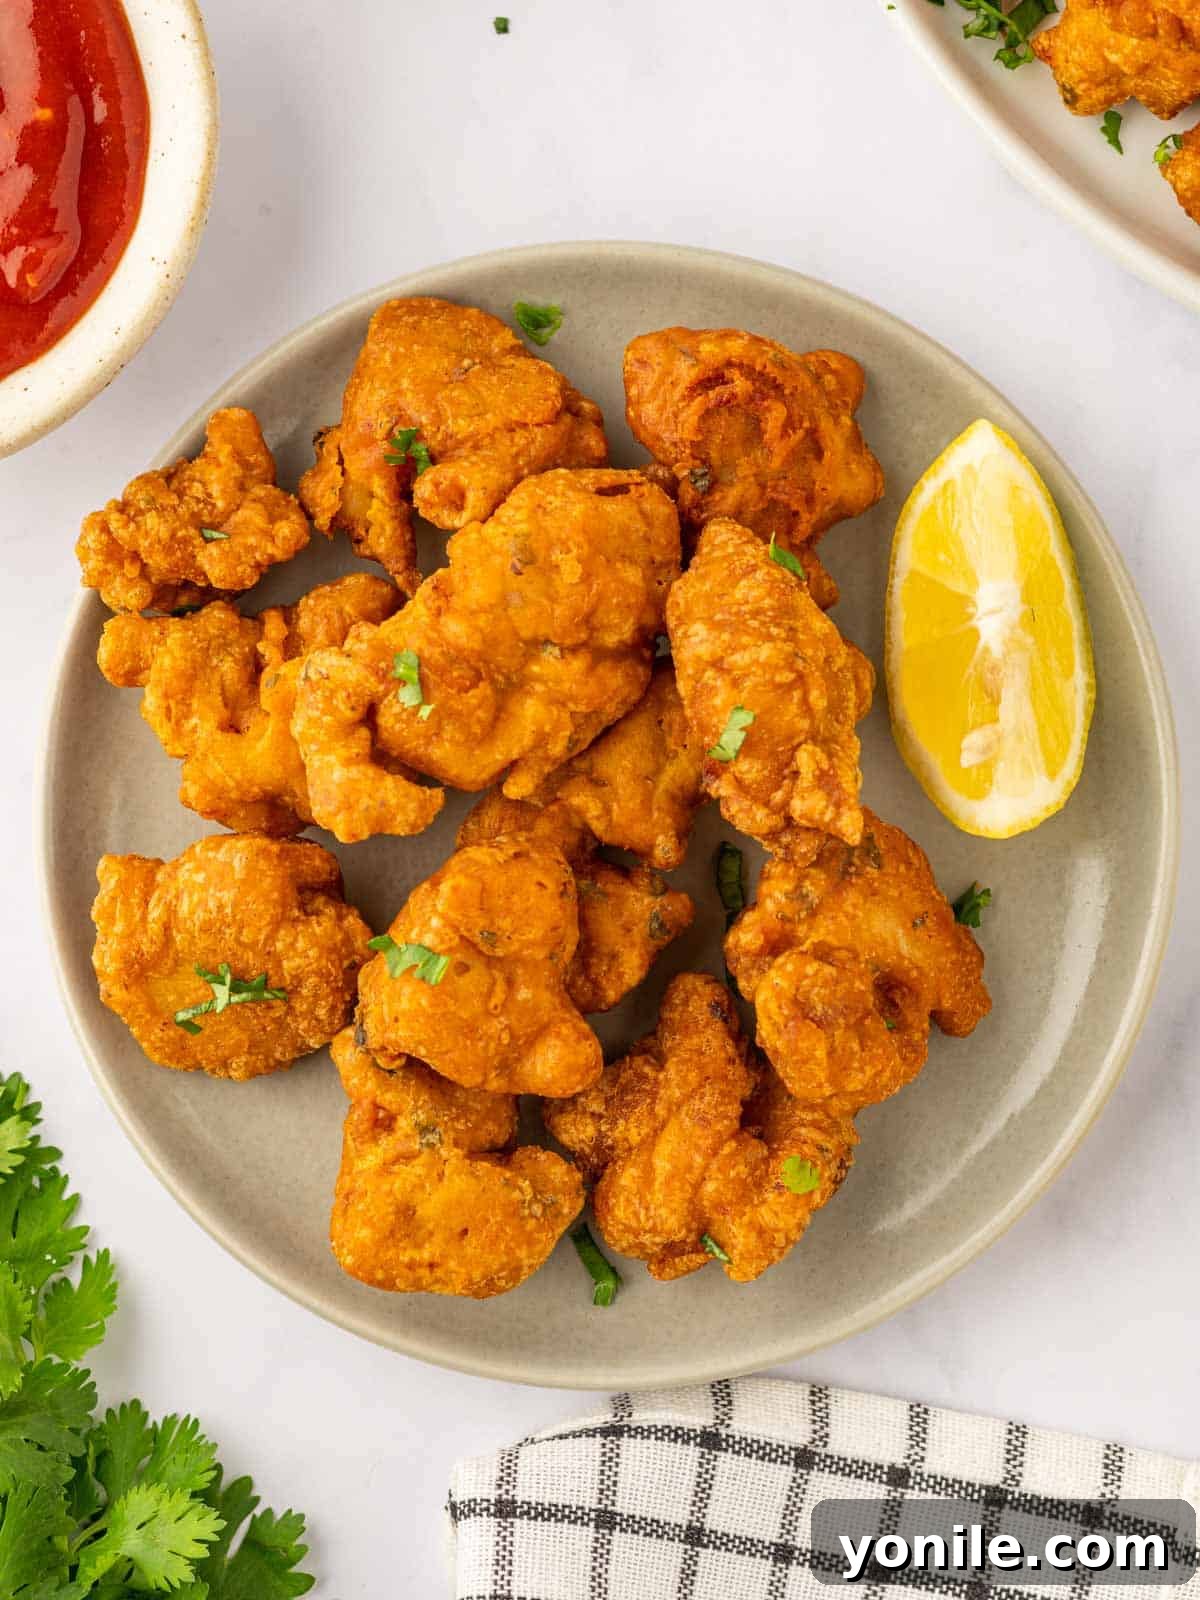
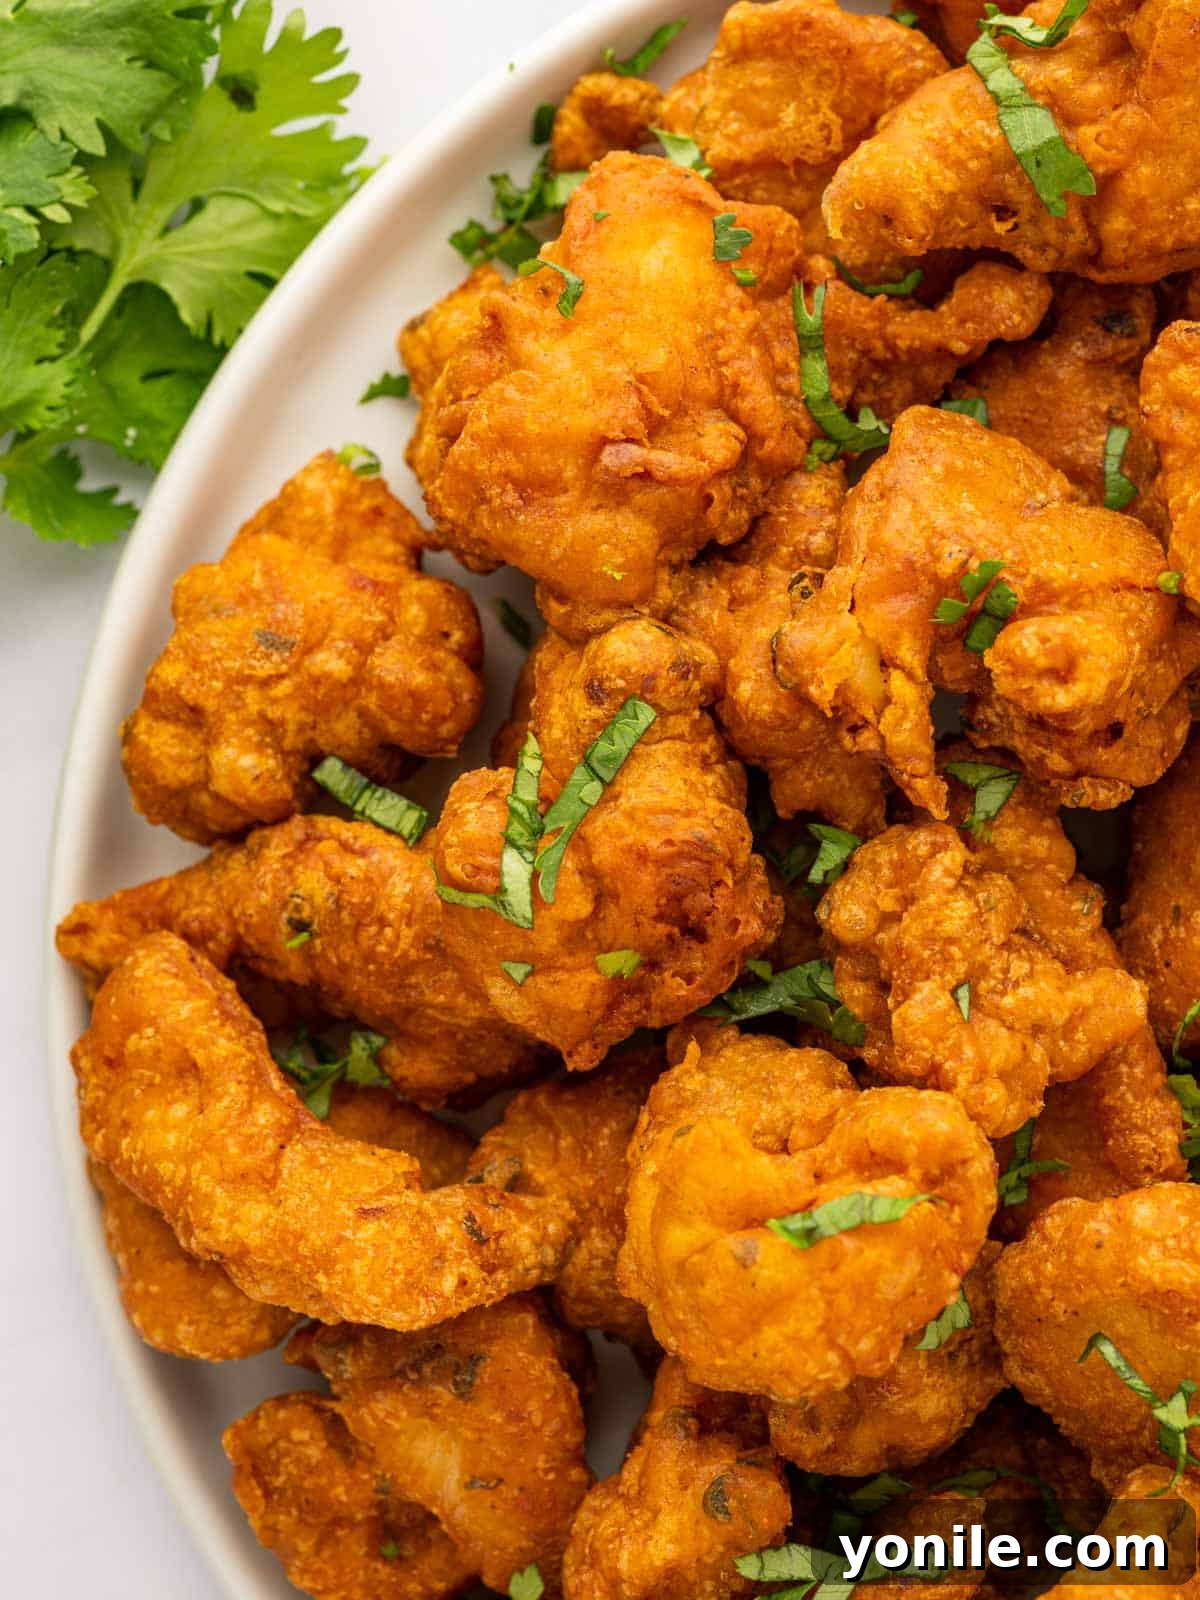
Welcome to the ultimate guide for creating the most delicious Chicken Pakora right in your own kitchen! This beloved Indian street food sensation boasts an irresistible combination of succulent chicken pieces, marinated in a vibrant blend of aromatic spices, and then deep-fried to achieve a truly golden, crispy coating. Each bite promises a burst of flavor and a satisfying crunch that makes it a perfect appetizer or a delightful snack any time of the day. Best of all, with our streamlined recipe, you can have this flavorful dish on your table in roughly 30 minutes, making it an ideal choice for busy weeknights or impromptu gatherings.
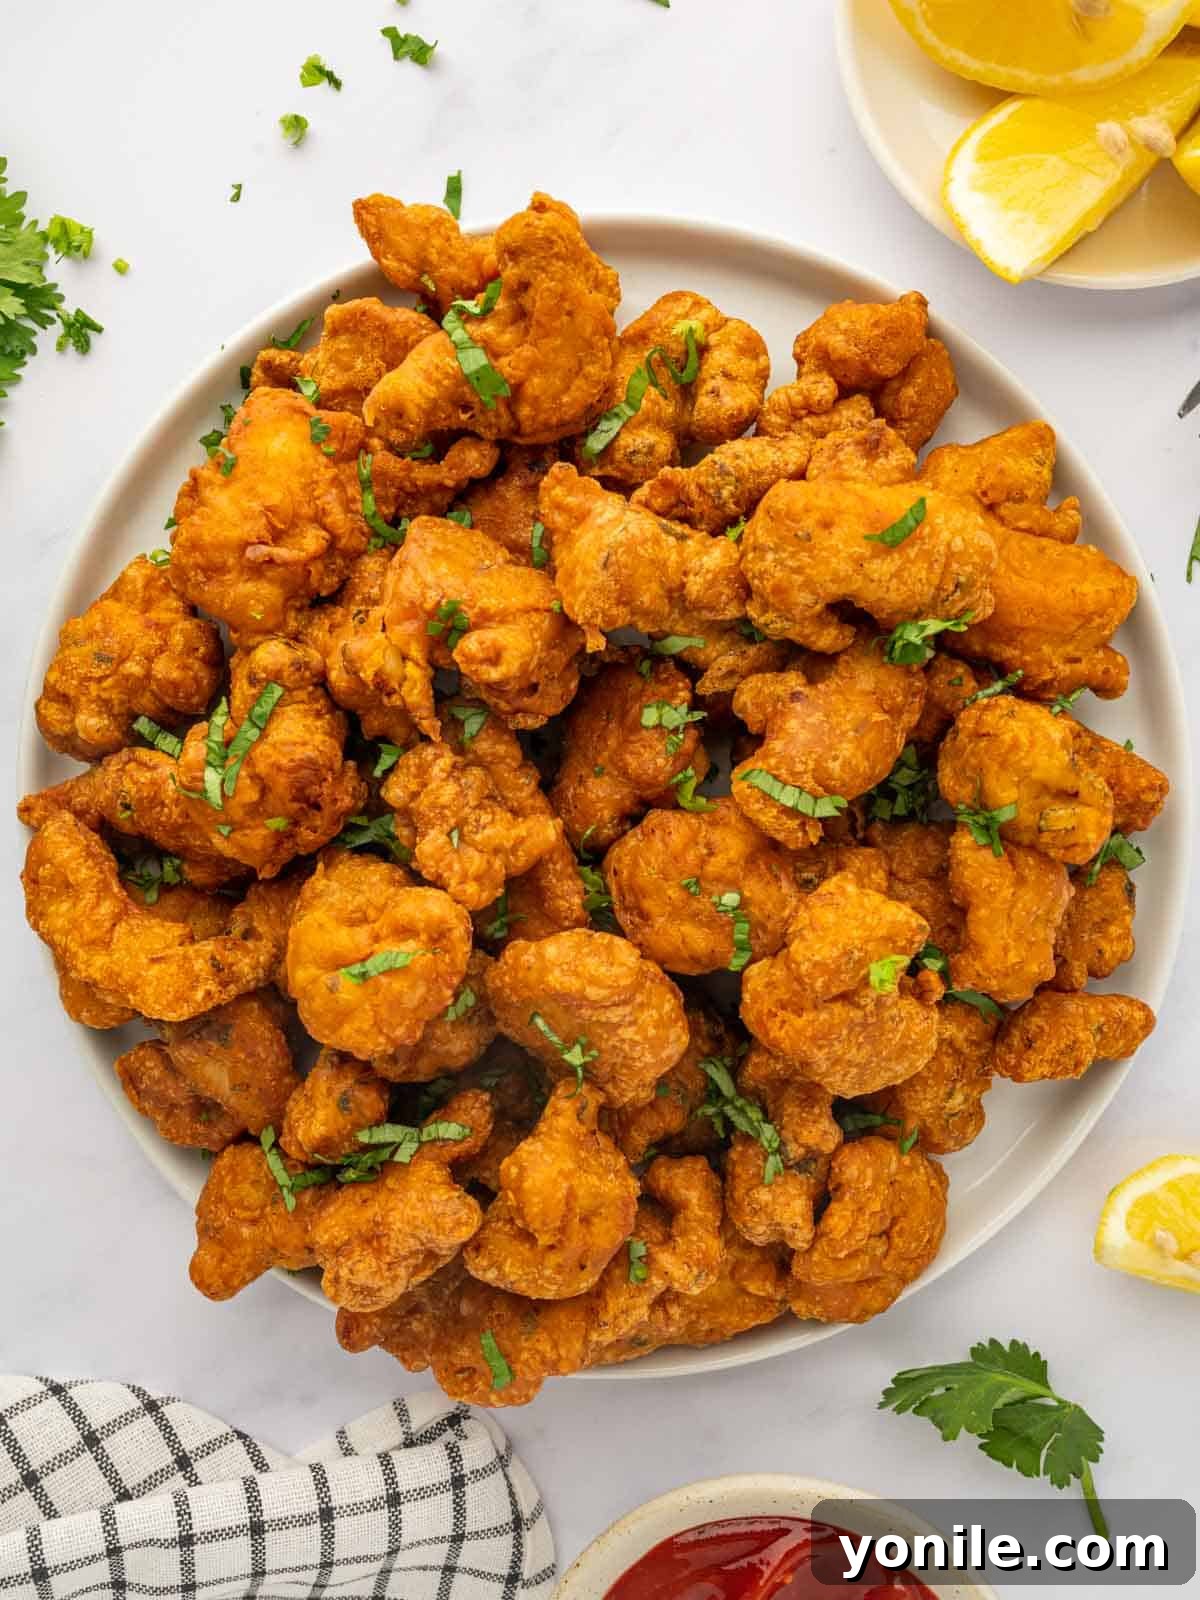
Chicken Pakora is more than just a dish; it’s an experience. It’s the kind of spicy, flavorful bite-sized chicken that elevates any party, tailgate, or family meal. Imagine serving these crispy delights with an array of cooling dips and tangy sauces – they’re sure to be a crowd-pleaser! This recipe is incredibly versatile and can easily be doubled or even tripled for larger events, guaranteeing a touchdown at your next Super Bowl party or a huge hit at a potluck. Despite its impressive flavor profile and party-perfect status, the preparation is straightforward enough for a simple snack or a light meal on any given weeknight.
If you’re eager to explore more chicken recipes that tantalize the taste buds, be sure to try my Million Dollar Chicken Bake or my refreshing Lemon Chicken Piccata.
Why You’ll Fall in Love with This Chicken Pakora Recipe
There are countless reasons why this Chicken Pakora recipe stands out. Here are just a few:
- Unforgettable Flavor Profile: This dish is a true celebration of Indian cuisine, bursting with rich, complex flavors and aromatic spices that create a truly unique and satisfying taste experience. It’s a culinary journey in every bite, offering a delightful departure from everyday meals.
- Remarkable Flavor Flexibility: Whether you prefer a mild warmth or a fiery kick, this recipe allows you to easily adjust the heat levels. You can dial up or down the spiciness by tweaking the chili content or by pairing the pakoras with various dips – from cooling yogurt-based chutneys to zesty tamarind sauces. This adaptability makes it suitable for all palates.
- Perfect for Any Party: These perfectly bite-sized pieces of crispy chicken are the ultimate finger food. They’re incredibly easy to serve and eat, making them an ideal appetizer for potlucks, game nights, celebrations, or any gathering where delicious, fuss-free food is desired. They disappear fast, so be prepared to make extra!
Understanding Chicken Pakora: A Culinary Delight
Before diving into the recipe, let’s explore what makes Chicken Pakora such a cherished dish. Pakora, in its essence, refers to a fritter, a snack originating from the Indian subcontinent. It typically consists of a main ingredient (vegetables, paneer, or meat) dipped in a spiced batter, usually made from gram flour (chickpea flour), and then deep-fried. Chicken Pakora, as the name suggests, uses tender chicken pieces as its star. The magic lies in the marinade and the batter. The chicken is infused with a medley of traditional Indian spices, giving it depth and warmth, while the gram flour batter ensures a uniquely crisp and textured exterior that locks in the juices, resulting in a tender, flavorful interior.
Essential Ingredients for Your Chicken Pakora
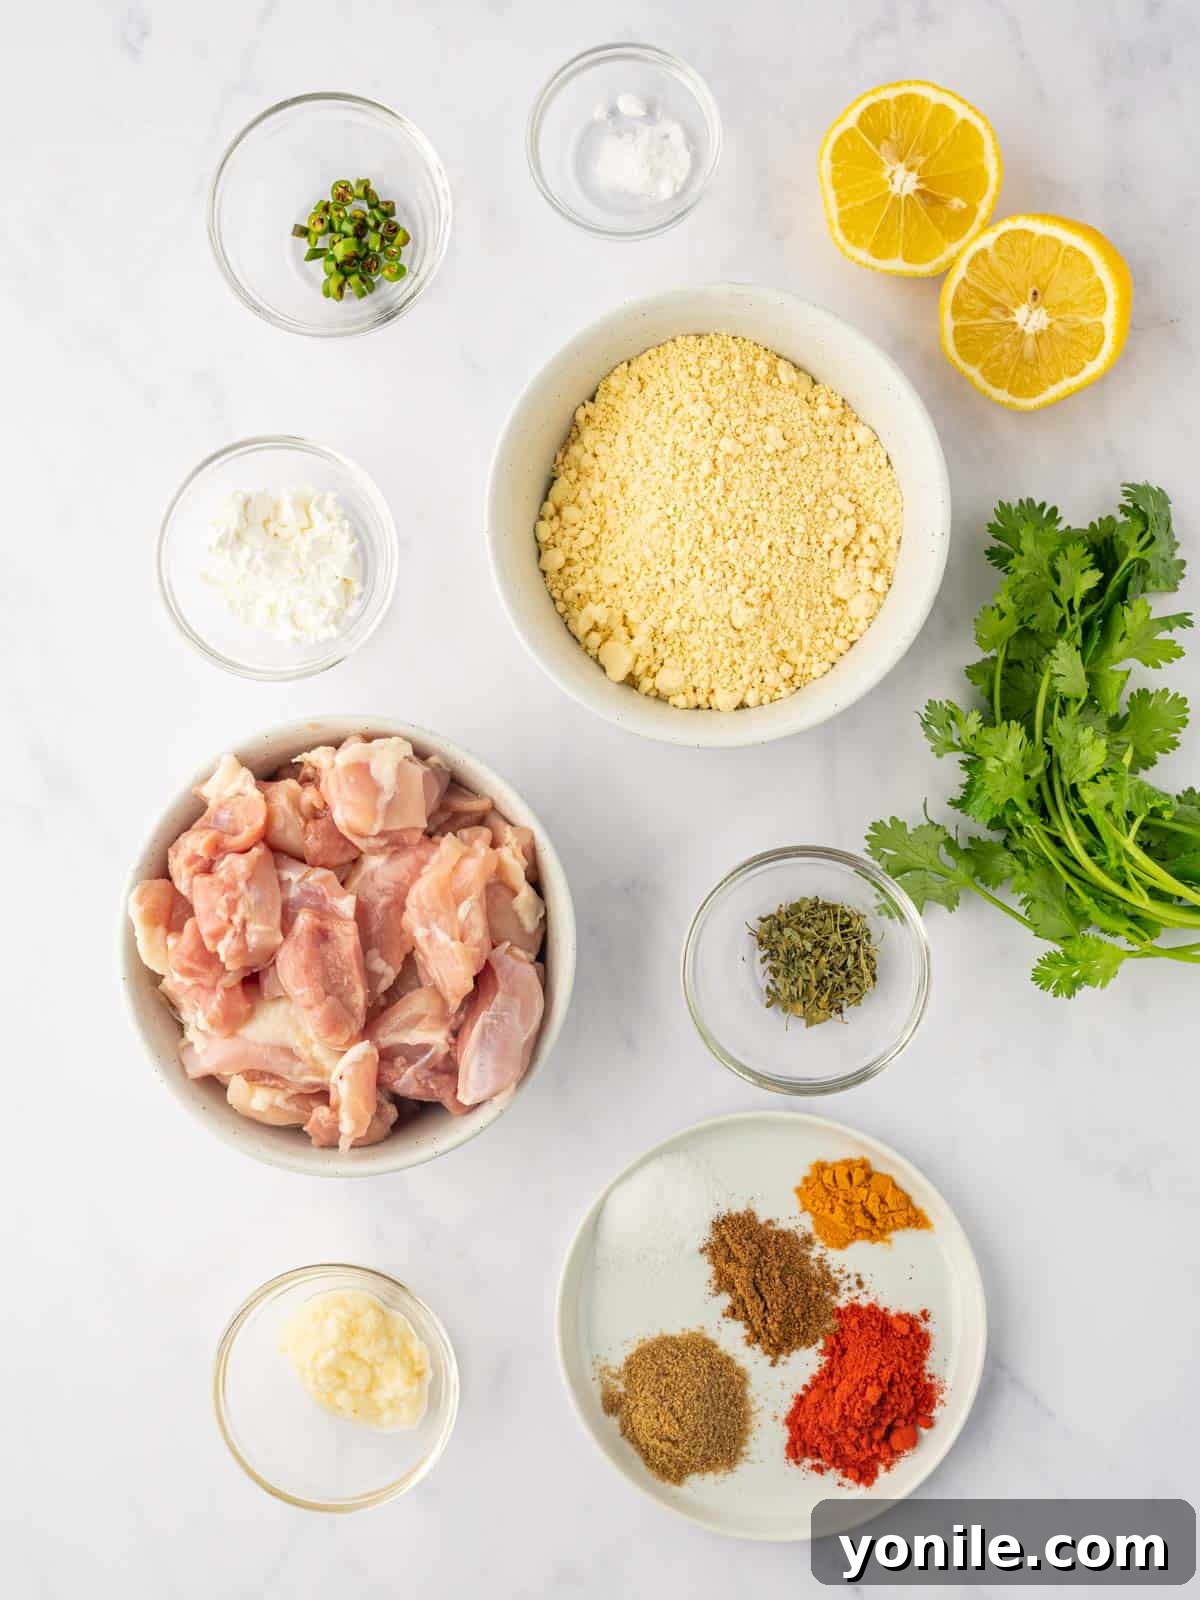
Crafting the perfect Chicken Pakora relies on a thoughtful selection of ingredients, each playing a crucial role in the final flavor and texture:
- Chicken Thighs: We highly recommend using boneless, skinless chicken thighs. The dark meat in thighs contains more fat, which contributes significantly to a more tender, succulent, and flavorful result when fried. Cut into bite-sized pieces, they cook quickly and absorb the marinade beautifully.
- The Flavor-Packed Marinade: This is where the soul of the dish resides! Our robust marinade features a dynamic blend of lemon juice for a tangy zest, fresh ginger and garlic paste for aromatic depth, finely chopped green chili for fresh heat, red chili powder for vibrant color and warmth, earthy ground cumin, aromatic dried fenugreek leaves (kasuri methi) for a unique, slightly bitter fragrance, essential salt to enhance all flavors, rich garam masala for its signature Indian spice blend, and finally, bright turmeric powder for its color and mild flavor. Together, these spices create a complex and utterly addictive South Asian flavor profile.
- The Crispy Batter Components: The secret to that irresistible crispy coating lies in a well-balanced batter. We combine protein-rich gram flour (besan), which forms the foundation of the pakora, with a touch of cornstarch to add extra crispness and a lighter texture. A pinch of baking soda is crucial for creating a slightly fluffy and airy batter, reacting with the acidic lemon juice in the marinade to produce tiny bubbles that lift the coating. These dry ingredients are mixed directly onto the marinated chicken, and then a little water is added gradually to form a thick, clinging batter.
- Oil for Deep Frying: Choose your favorite neutral-flavored oil suitable for deep frying, such as vegetable oil, canola oil, or peanut oil. Ensure you use enough oil to fully submerge the chicken pieces, allowing them to cook evenly and achieve that perfect golden crisp.
- Fresh Garnishes: A squeeze of fresh lemon juice and a sprinkle of freshly chopped cilantro are not merely decorative. They provide a bright, fresh counterpoint to the rich, spicy fried chicken, lifting the flavors and adding an essential aromatic finish.
Step-By-Step Guide: Crafting Your Perfect Chicken Pakora
Follow these simple steps to create exquisite Chicken Pakora:
Step 1: Prepare Your Workspace and Ingredients.
Begin by gathering all your necessary equipment, including mixing bowls, a deep frying pan or wok, and measuring spoons. Carefully chop your green chilies and other ingredients as needed, then set them aside, ready for use. This mise en place ensures a smooth cooking process.
Step 2: Marinate the Chicken for Flavor Infusion.
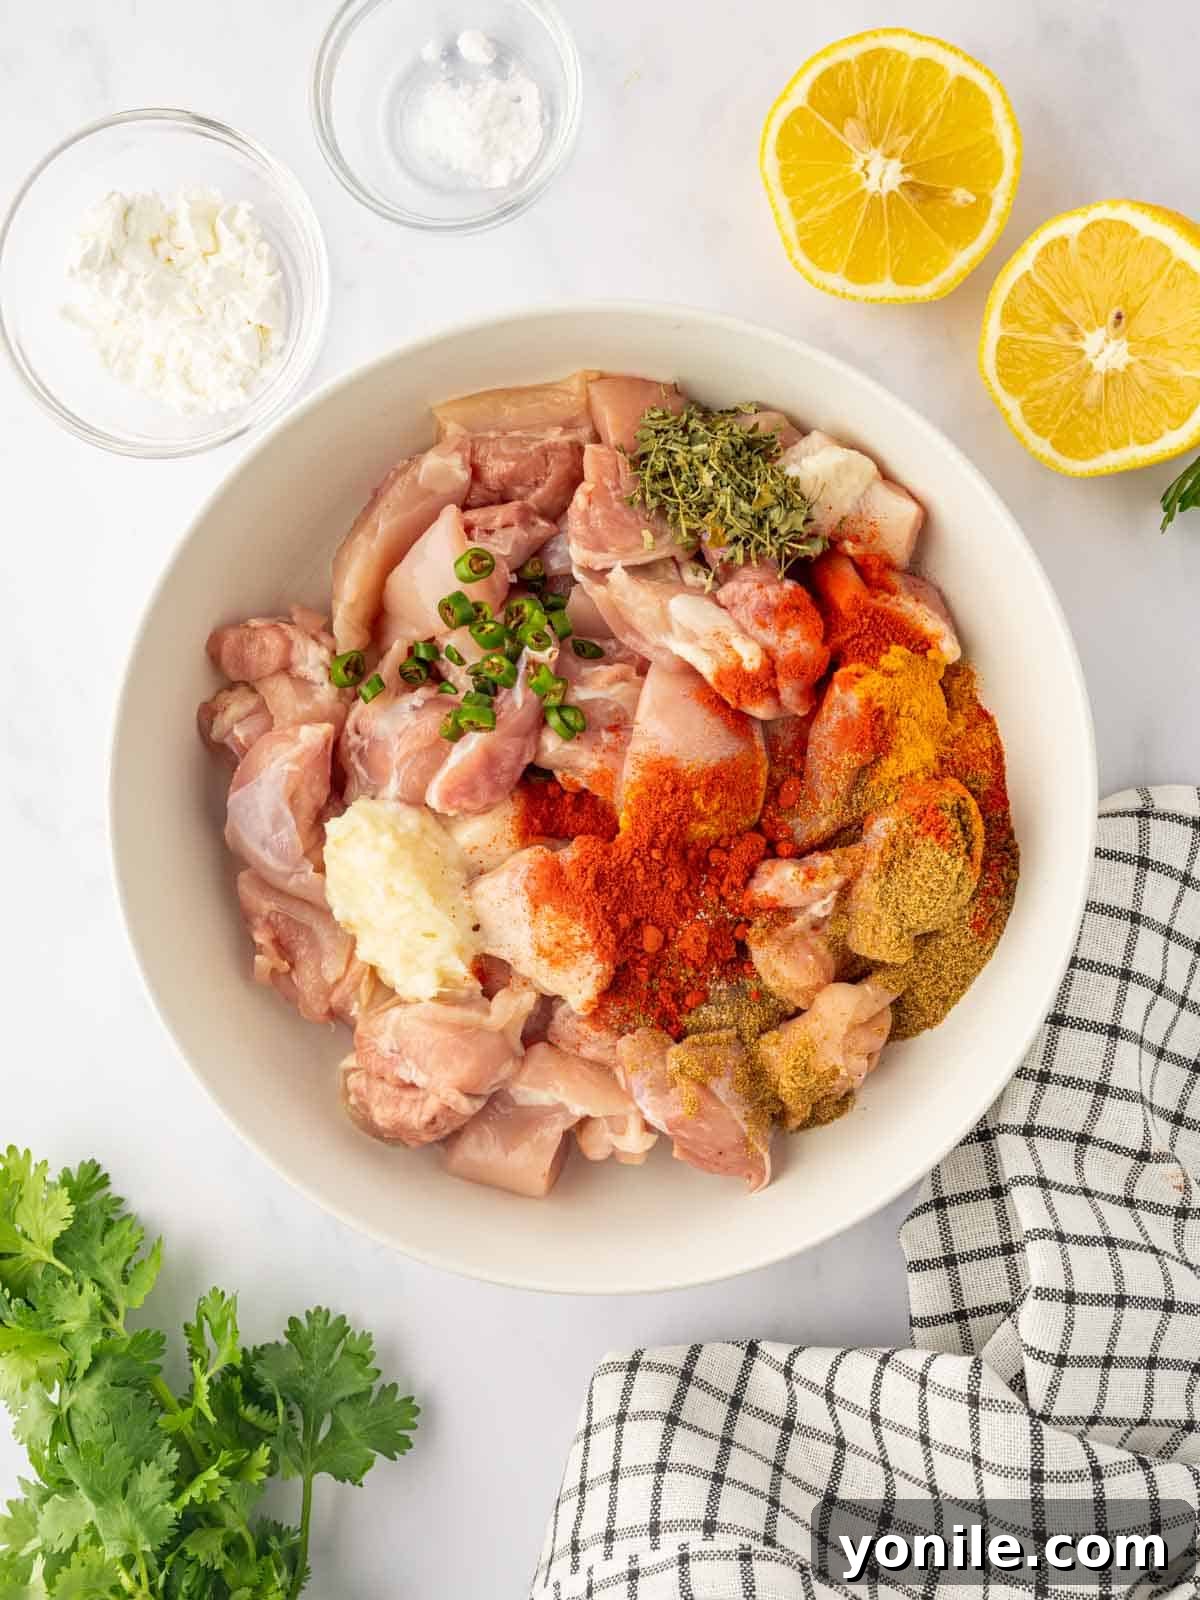
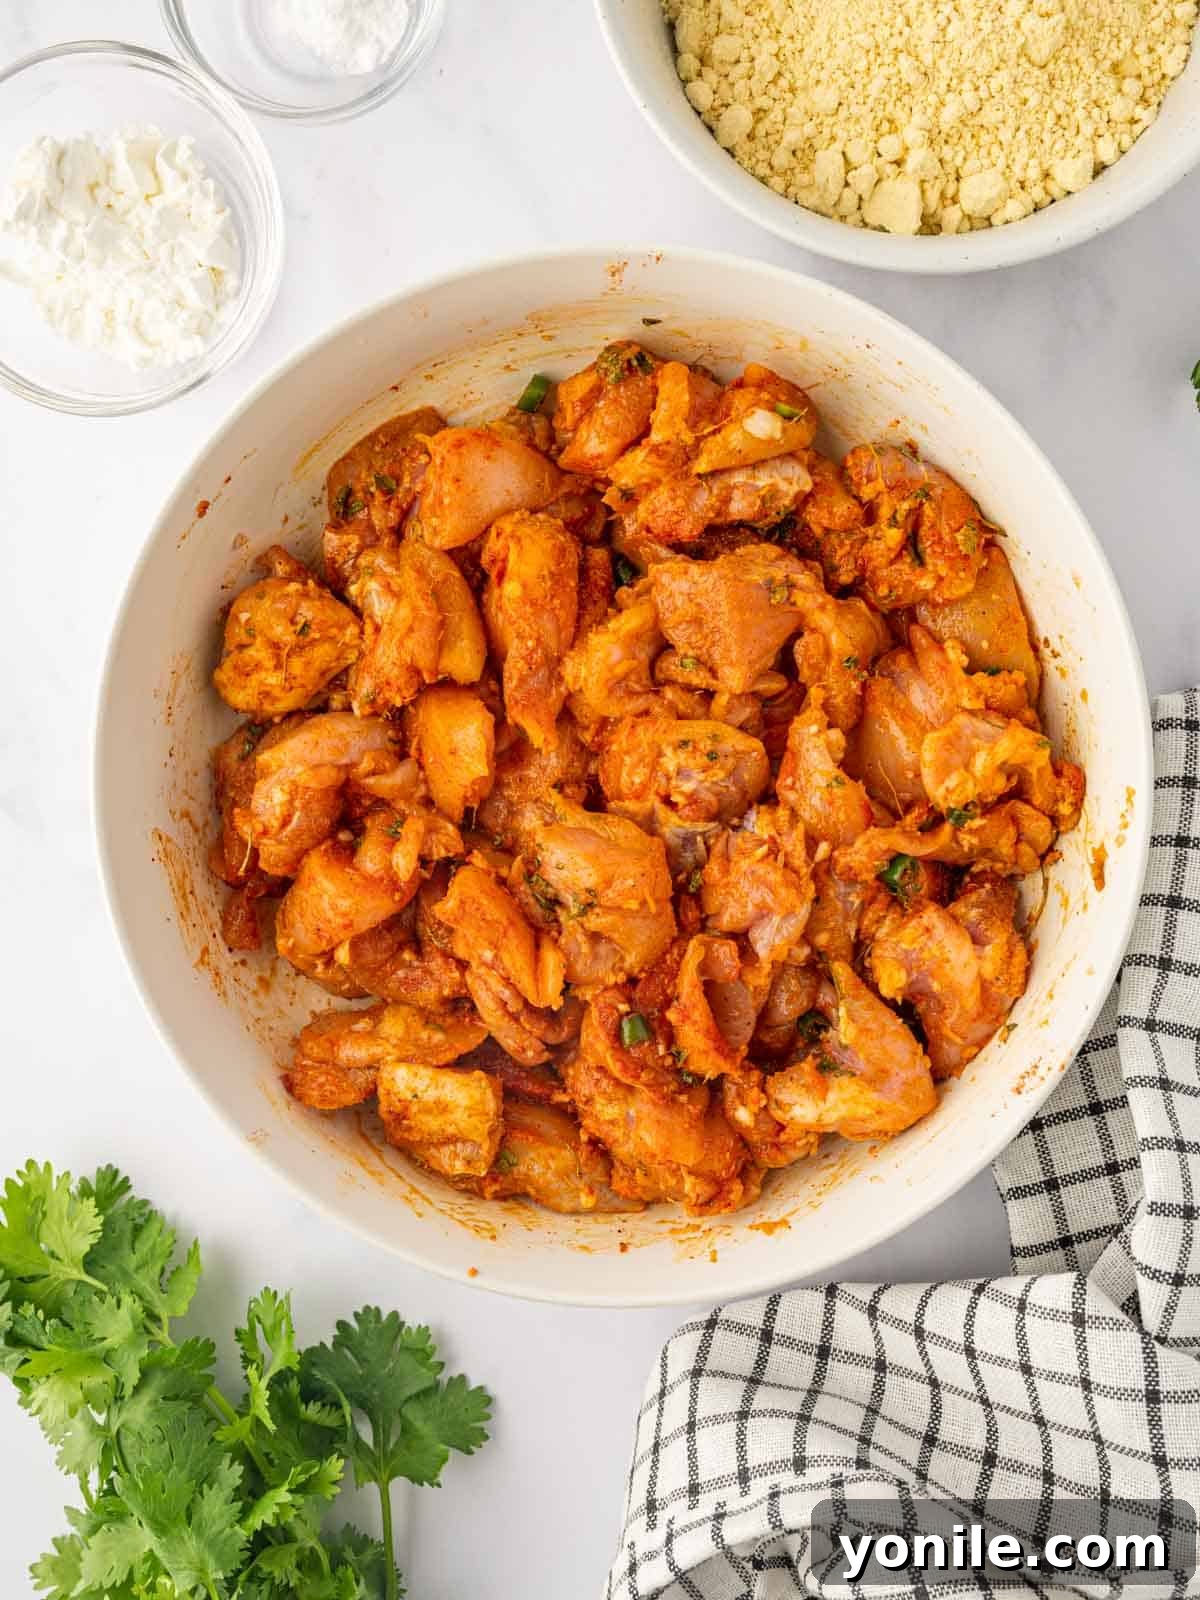
In a spacious mixing bowl, place your bite-sized chicken thigh pieces. Add the lemon juice, ginger and garlic paste, finely chopped green chili, red chili powder, ground cumin, dried fenugreek leaves, salt, garam masala, and turmeric powder. Using your hands or a spoon, thoroughly toss the chicken pieces with the spice mixture, ensuring every piece is evenly coated. Allow the chicken to marinate for at least 15 minutes to allow the flavors to penetrate the meat. For an even more intense flavor, you can extend the marination time to 30 minutes or even longer in the refrigerator.
Step 3: Prepare the Crispy Batter Coating.
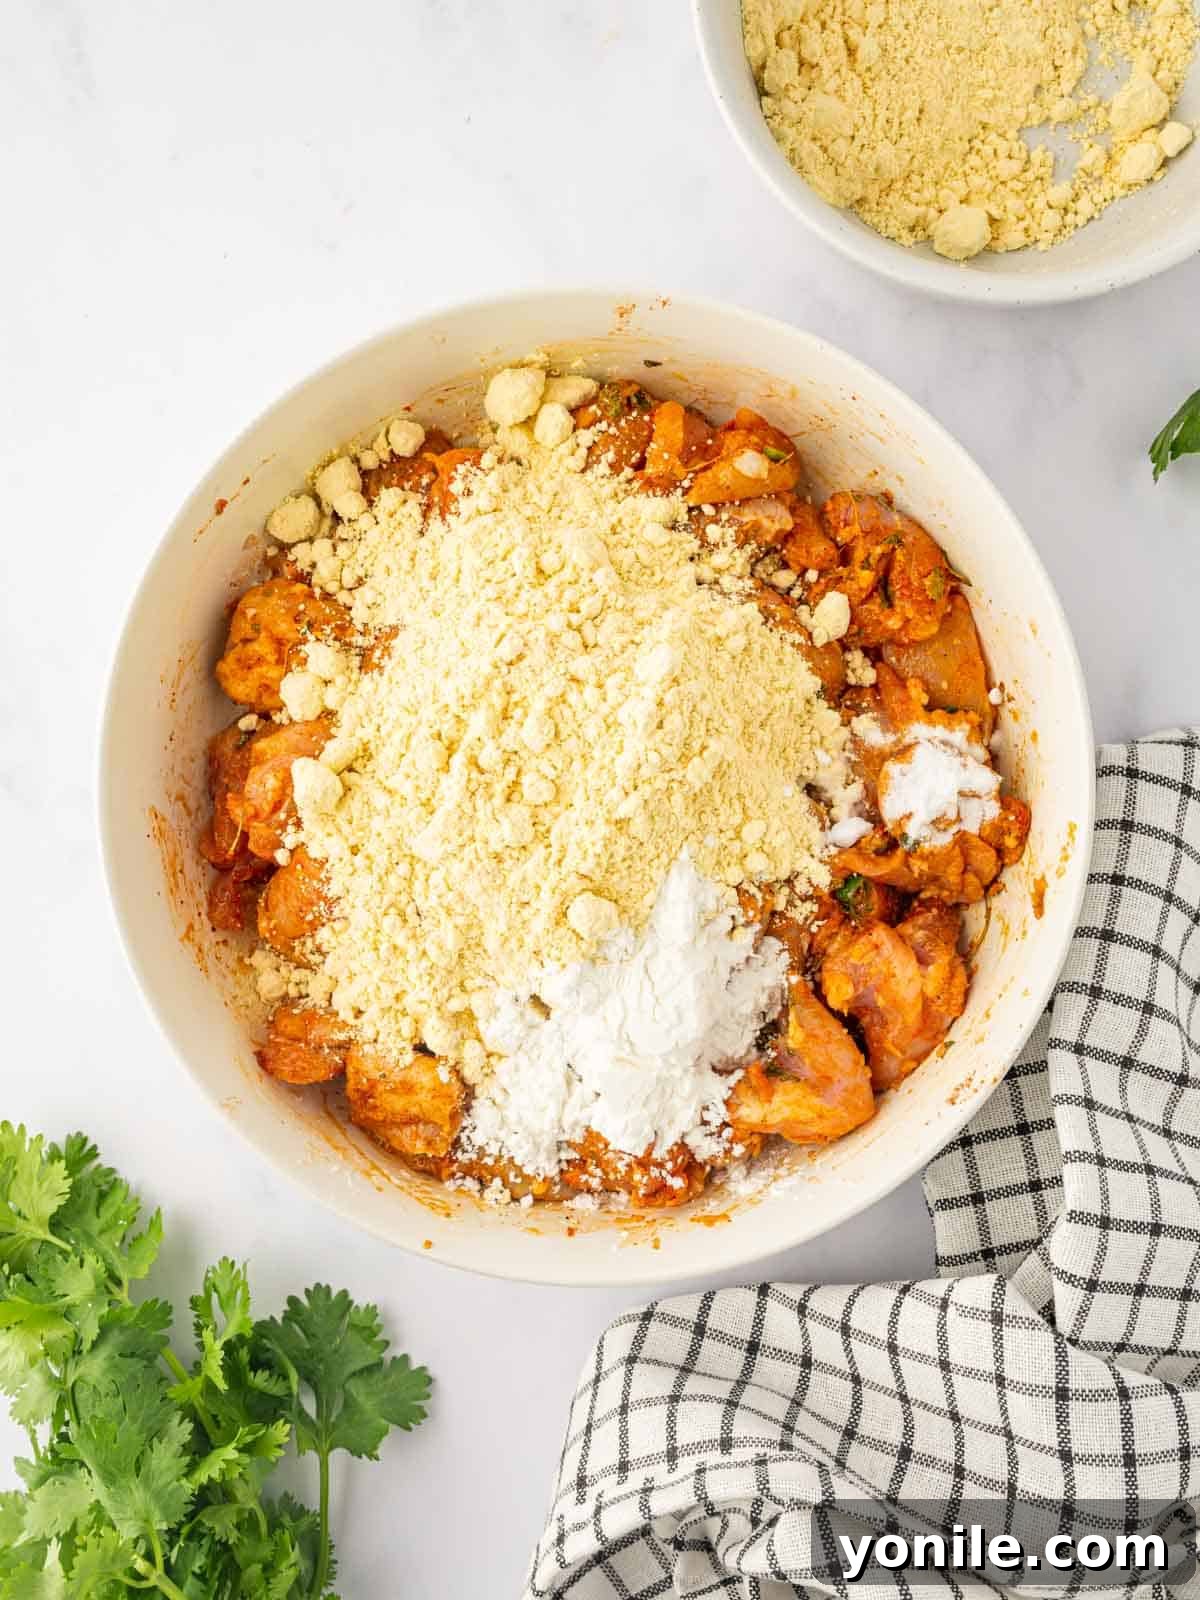
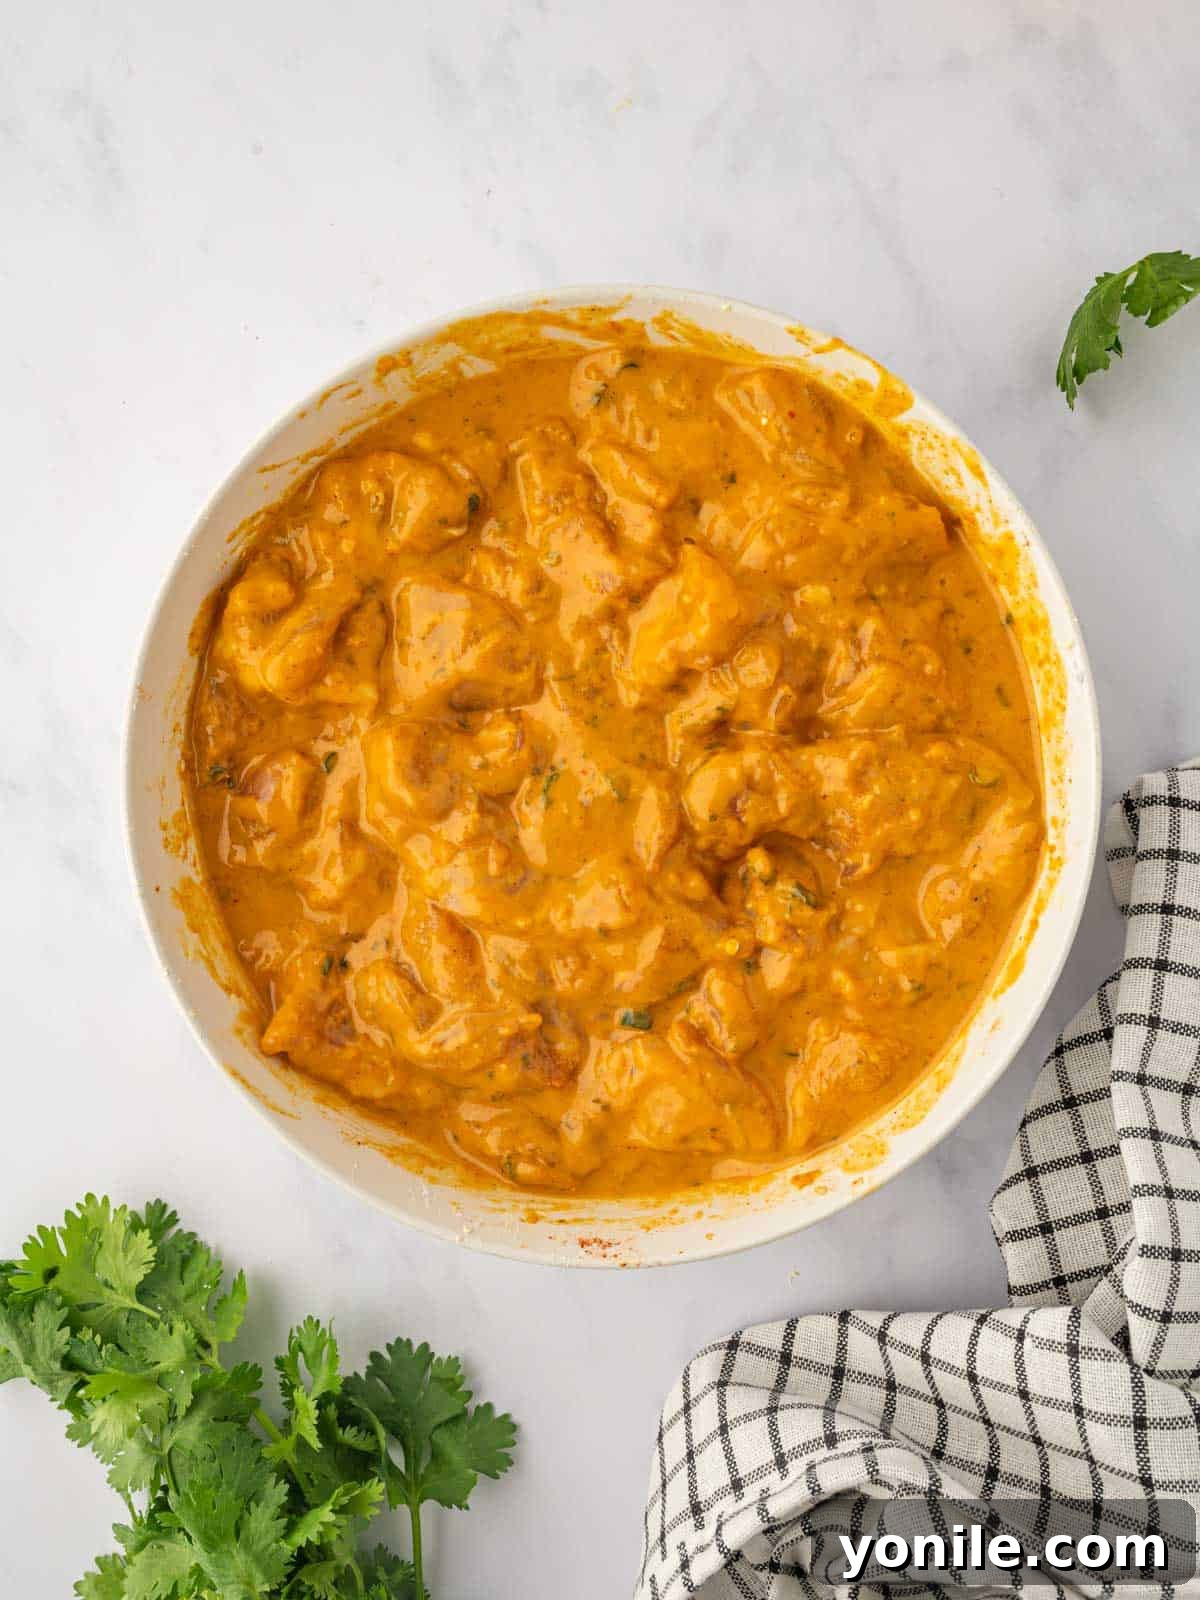
To the marinated chicken, directly add the gram flour, cornstarch, and baking soda. Toss again to coat the chicken with these dry ingredients. Now, begin to sprinkle water over the chicken, a little bit at a time, mixing continuously. Continue adding water spoonful by spoonful until a thick, cohesive batter forms that evenly coats the chicken pieces. The batter should be thick enough to cling to the chicken without being too runny.
Step 4: Deep Fry the Chicken in Batches.
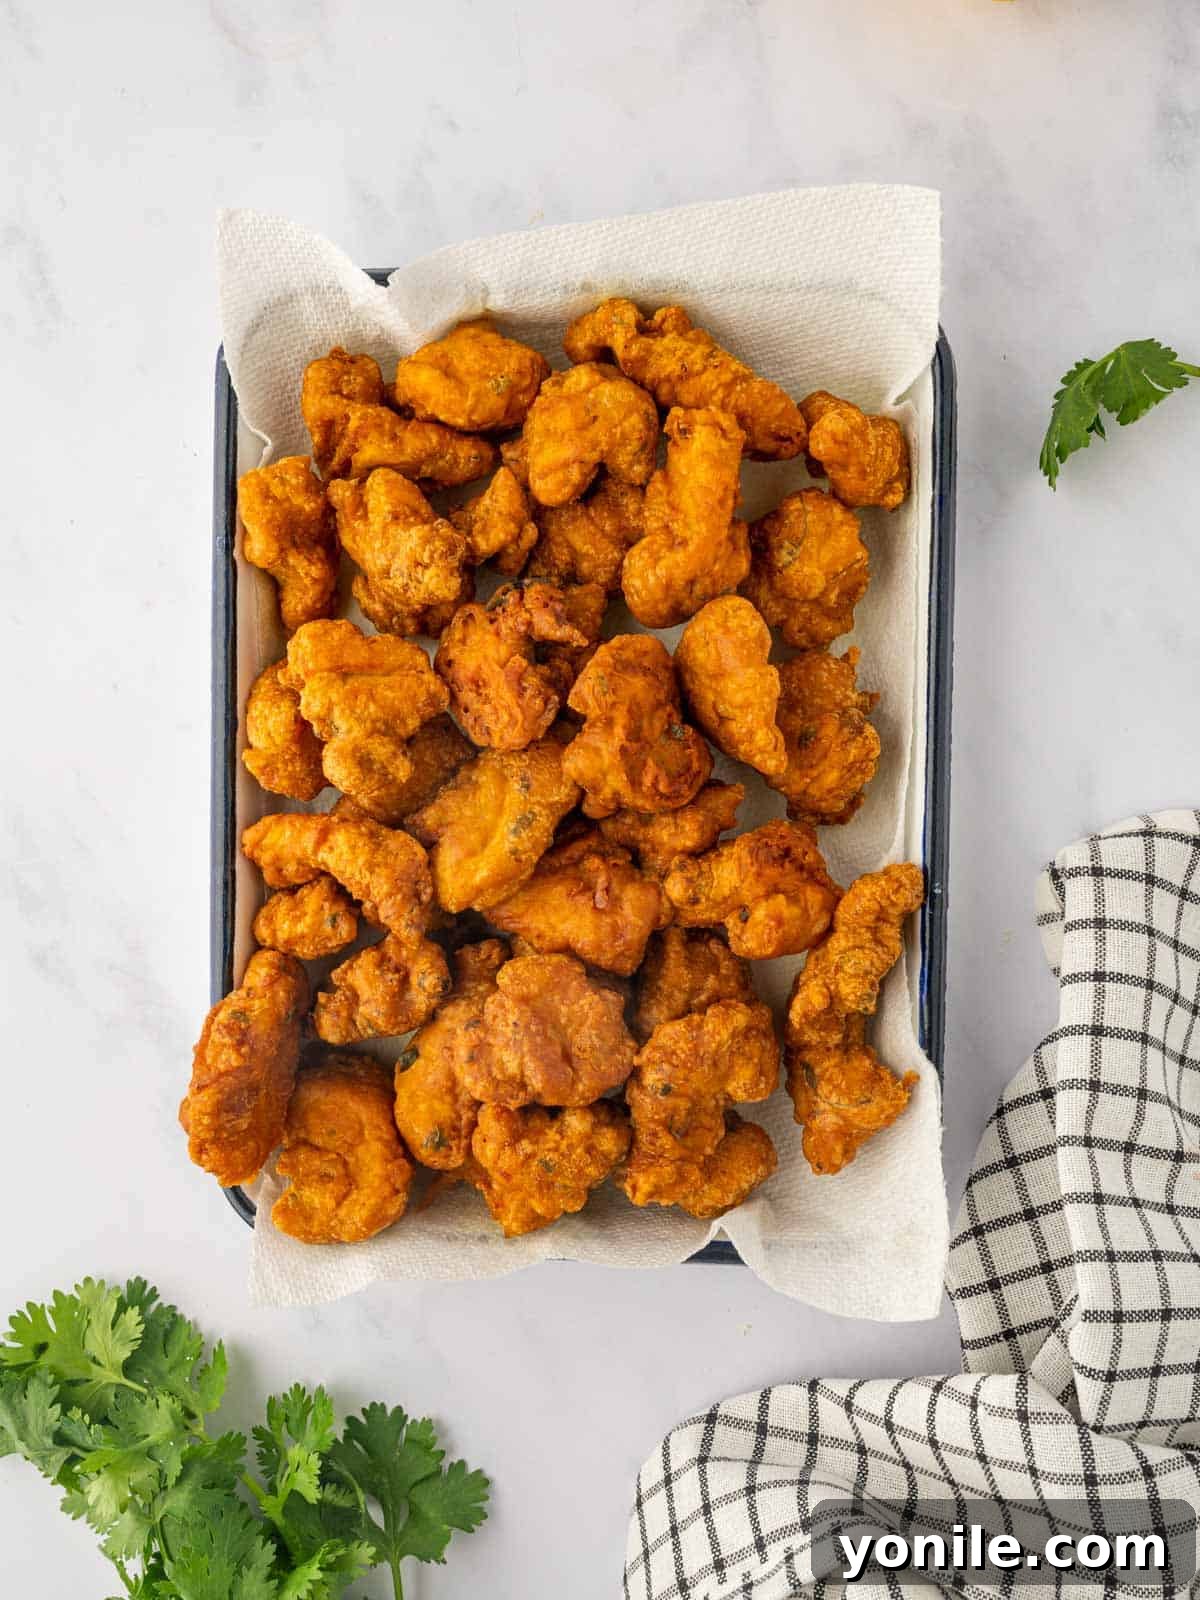
While you’re preparing the batter, heat your chosen oil for deep frying in a wok or a heavy-bottomed pan over medium heat. It’s crucial to ensure the oil reaches the correct temperature, ideally between 350-375°F (175-190°C), for optimal crispness. Once the oil is hot, carefully add the chicken pieces, ensuring not to overcrowd the pan. Fry them for about 4-5 minutes, turning occasionally, until they achieve a beautiful golden-brown color and are wonderfully crispy on the outside, and cooked through on the inside. Remove the fried pakoras with a slotted spoon and place them on a paper towel-lined plate to drain excess oil. Repeat this process with the remaining chicken, frying in batches to maintain the oil temperature and ensure consistent results.
Step 5: Garnish and Serve Immediately.
Transfer the freshly fried, crispy Chicken Pakoras to a clean serving platter. Generously garnish them with freshly chopped cilantro for a burst of color and herbaceous freshness. Serve the pakoras immediately with lemon wedges on the side, allowing guests to squeeze fresh lemon juice over their portions. Offer a variety of your favorite dips and chutneys to complement the spicy fried chicken.
Expert Tips for Unbeatable Chicken Pakora
To ensure your Chicken Pakora turns out perfect every time, keep these expert tips in mind:
- Extended Marination for Deeper Flavor: While 15 minutes is the minimum, if time permits, allow the chicken to marinate for a full 30 minutes, or even up to 2 hours in the refrigerator. The longer marination period allows the spices to deeply infuse into the chicken, resulting in a much richer and more profound flavor.
- Baking Soda vs. Baking Powder: Be precise with your leavening agent! This recipe calls for baking soda, not baking powder. Baking soda is essential here because it reacts with the acidity of the lemon juice in the marinade, creating carbon dioxide bubbles that give the batter a slight lift and a delightfully airy, crispy texture.
- Maintain Consistent Oil Temperature: This is arguably the most critical tip for perfectly crispy, non-greasy pakoras. Aim to keep your oil temperature consistently between 350-375°F (175-190°C). Investing in a kitchen thermometer is highly recommended. If the oil is too cool, the pakoras will absorb too much oil and become greasy. If it’s too hot, the exterior will burn before the chicken cooks through.
- Don’t Overcrowd the Pan: Frying in small batches is essential. Overcrowding the pan will drastically lower the oil temperature, leading to soggy pakoras. Give each piece enough space to fry evenly and crisp up beautifully.
- Proper Draining for Crispness: After frying, always transfer the chicken pakora to a plate lined with paper towels. This crucial step helps absorb any excess oil, ensuring the pakoras remain deliciously crispy rather than oily.
- Taste and Adjust Spices: Before adding the chicken, you can make a tiny test batch of the marinade and batter (without chicken) and fry a small amount to taste. This allows you to adjust the salt or chili levels to your preference.
Delightful Serving Suggestions for Chicken Pakora
Chicken Pakora is fantastic on its own, but it truly shines when paired with complementary sides and sauces. Here are some ideas to complete your meal:
- Classic Indian Pairings: Serve this vibrant Indian dish perfectly with fluffy white rice to balance the flavors. A cooling mint chutney or a creamy yogurt sauce (raita) is a must-have to temper the heat and add a refreshing element.
- Bread Companions: A side of simple, warm Naan Bread or a flaky paratha is excellent for scooping up any fallen crispy bits and soaking up the spices.
- Fresh Salads: A cool, crisp green salad or a traditional Indian kachumber salad (cucumber, tomato, onion with lemon and cilantro) offers a refreshing contrast to the richness of the fried chicken.
- Tangy Chutneys: Beyond mint chutney, consider serving with tamarind chutney for a sweet and sour kick, or even a spicy garlic chutney for those who crave extra heat.
Storing and Reheating Your Chicken Pakora
While best enjoyed fresh, you can certainly store and reheat Chicken Pakora to savor its deliciousness later:
- Storing: Allow the pakoras to cool completely to room temperature before transferring them to an airtight container. Store in the refrigerator for 1-2 days. Keeping them in an airtight container prevents them from drying out, though they will lose some crispness.
- To Reheat for Best Crispness: The key to bringing back the crispness is avoiding the microwave, which will make them soggy. Instead, use either an oven or a skillet.
- Oven Method: Preheat your oven to 350°F (175°C). Spread the pakoras in a single layer on a baking sheet. Reheat for 10-12 minutes, or until heated through and crispy.
- Skillet Method: Heat a small amount of oil in a skillet over medium heat. Add the chicken pakoras and reheat, flipping them frequently to ensure even heating and re-crisping. This method is great for smaller batches.
- Freezing: Chicken Pakora can also be frozen for longer storage. After frying, allow them to cool completely. Arrange the pakoras in a single layer on a baking sheet and freeze for 1-2 hours until they are individually solid. This prevents them from sticking together. Once frozen, transfer them to freezer-safe bags or airtight containers. They can be stored in the freezer for 1-2 months. When ready to eat, you can reheat them directly from frozen in the oven or air fryer until crispy and hot.
Exploring Alternative Cooking Methods
While deep frying delivers the most traditional and crispy results, you can explore other cooking methods for different textures and nutritional profiles:
- Air Fryer: For a healthier option with significantly less oil, the air fryer is an excellent choice. Lightly spray the battered chicken pakoras with a little oil. Air fry them at 375°F (190°C) for 10-15 minutes, making sure to flip them halfway through to ensure even cooking and a consistent crispy texture on all sides. The result is satisfyingly crunchy with a lighter feel.
- Baking: Baking is another fantastic way to reduce the oil content. Preheat your oven to 375°F (190°C). Arrange the battered chicken pieces on a lightly oiled baking sheet, ensuring they are not touching. Bake for 15-20 minutes, flipping them halfway, until they are golden brown and cooked through. While not as intensely crispy as deep-fried, they offer a pleasant crunch.
- Grilling: For a truly unique twist and a smoky flavor, consider grilling. Instead of a thick batter, you might opt for a thinner coating or just a direct marinade. Thread the marinated chicken pieces onto skewers and grill them over medium-high heat, basting occasionally with a little oil or extra marinade to prevent drying and add moisture. This method yields a wonderful char and distinct flavor.
Frequently Asked Questions About Chicken Pakora
What is gram flour?
Gram flour, also widely known as besan or chickpea flour, is a finely milled flour made from ground chickpeas. It is a fundamental ingredient in a myriad of South Asian and Mediterranean cuisines, prized for its distinct flavor and its ability to create crispy textures in fried foods.
What’s the key to achieving truly crispy chicken pakora?
The secret to perfectly crispy chicken pakora lies in a few critical factors: maintaining a consistent oil temperature (ideally 350-375°F or 175-190°C), using a well-balanced batter with the right liquid-to-flour ratio, and frying the chicken in small batches to prevent the oil temperature from dropping.
How can I prevent the batter from becoming too thick or too thin?
The ideal batter consistency is crucial. To prevent it from becoming too thick, add water very gradually, mixing well after each small addition, until you achieve a smooth, pourable consistency that still thickly coats the chicken. If it becomes too thin, you can add a little more gram flour or cornstarch, a teaspoon at a time, until the desired thickness is reached.
Can I use other cuts of chicken besides thighs?
Yes, boneless chicken breasts can certainly be used as an alternative to chicken thighs. However, chicken breast is leaner and tends to dry out and overcook more quickly. If using breast meat, watch it closely and remove the pakoras from the oil as soon as the chicken is cooked through and the exterior is golden and crispy.
More Irresistible Chicken Recipes to Explore
If you’ve enjoyed making Chicken Pakora, here are more fantastic chicken recipes from my collection that you might love:
- Tandoori Chicken Skewers
- Easy Chicken Biryani
- Chicken Manchurian
- Thai Chicken Meatballs
- Healthy Chicken Tikka Masala
- Paneer Pasanda (a delicious vegetarian option!)
This Chicken Pakora recipe truly offers a delightful combination of culinary simplicity and bold, exotic flavors! It’s a truly delectable Indian appetizer featuring succulent, bite-sized chicken pieces perfectly coated in a richly spiced batter, then deep-fried to an exquisite golden perfection. Its irresistibly crispy exterior, coupled with a wonderfully flavorful and juicy interior, firmly establishes it as a perennially popular and utterly irresistible dish that will impress everyone.
If you try this mouthwatering recipe or any of my other culinary creations, please consider leaving a star rating in the comment section below. Your feedback is greatly appreciated! Also, be sure to follow Cookin’ With Mima on Facebook | Instagram | Pinterest for all my latest social posts, delicious recipes, and culinary inspiration.
Chicken Pakora Recipe
By: Mariam Ezzeddine
Chicken Pakora is a mouthwatering Indian dish featuring bite-sized pieces of chicken marinated in a spiced batter and deep-fried to a golden crisp.
Prep Time: 15 minutes
Cook Time: 15 minutes
Total Time: 30 minutes
Servings: 4 Servings

Ingredients
- 1 ½ lb chicken thighs, cut into bite-size pieces
- 1 tablespoon lemon juice
- 1 tablespoon ginger and garlic paste
- 1 teaspoon green chili, finely chopped
- ½ tablespoon red chili powder
- 1 teaspoon ground cumin
- ¾ teaspoon dried fenugreek leaves
- ¾ teaspoon salt
- ½ teaspoon garam masala
- ¼ teaspoon turmeric powder
- 1 cup gram flour
- 2 tablespoons cornstarch
- ¼ teaspoon baking soda
- ½ cup water
- Oil, to deep fry
- Chopped cilantro, to garnish
- Lemon wedges, to serve
Instructions
- In a wide bowl, place the chicken pieces. Add the lemon juice, ginger and garlic paste, green chili, red chili powder, cumin, fenugreek leaves, salt, garam masala, and turmeric powder. Toss the chicken pieces well with the spices and allow them to marinate for at least 15 minutes.
- Add the gram flour, cornstarch, and baking soda to the chicken and toss it. Sprinkle water little by little until it forms a thick batter.
- Meanwhile, heat oil for deep frying in a wok. Once the oil is heated, add the chicken pieces and fry them for 4-5 minutes until they are golden and crispy.
- Repeat the same with the remaining chicken pieces and fry them in batches.
- Transfer the crispy chicken pakoras to a serving plate and garnish them with freshly chopped cilantro.
- Serve the chicken pakoras with lemon wedges on the side along with any dips.
Notes
- If you have time, let the chicken marinate for a total of 30 minutes. The flavor will soak deep into the meat.
- Don’t confuse baking SODA with baking POWDER. Baking soda is used to give the batter a little fluffiness. It reacts with the acidic lemon juice and produces bubbles to lift the batter.
- Maintain a consistent oil temperature around 350-375 degrees Fahrenheit (175-190° degrees Celsius). Use a thermometer to ensure proper frying and avoid a greasy result.
- Storing: Allow it to cool completely before storing in an airtight container in the refrigerator. Use within 1-2 days for the best texture.
Nutrition
Calories: 514kcal | Carbohydrates: 23g | Protein: 35g | Fat: 31g | Saturated Fat: 8g | Polyunsaturated Fat: 7g | Monounsaturated Fat: 12g | Trans Fat: 0.1g | Cholesterol: 167mg | Sodium: 684mg | Potassium: 638mg | Fiber: 4g | Sugar: 4g | Vitamin A: 448IU | Vitamin C: 2mg | Calcium: 37mg | Iron: 3mg