
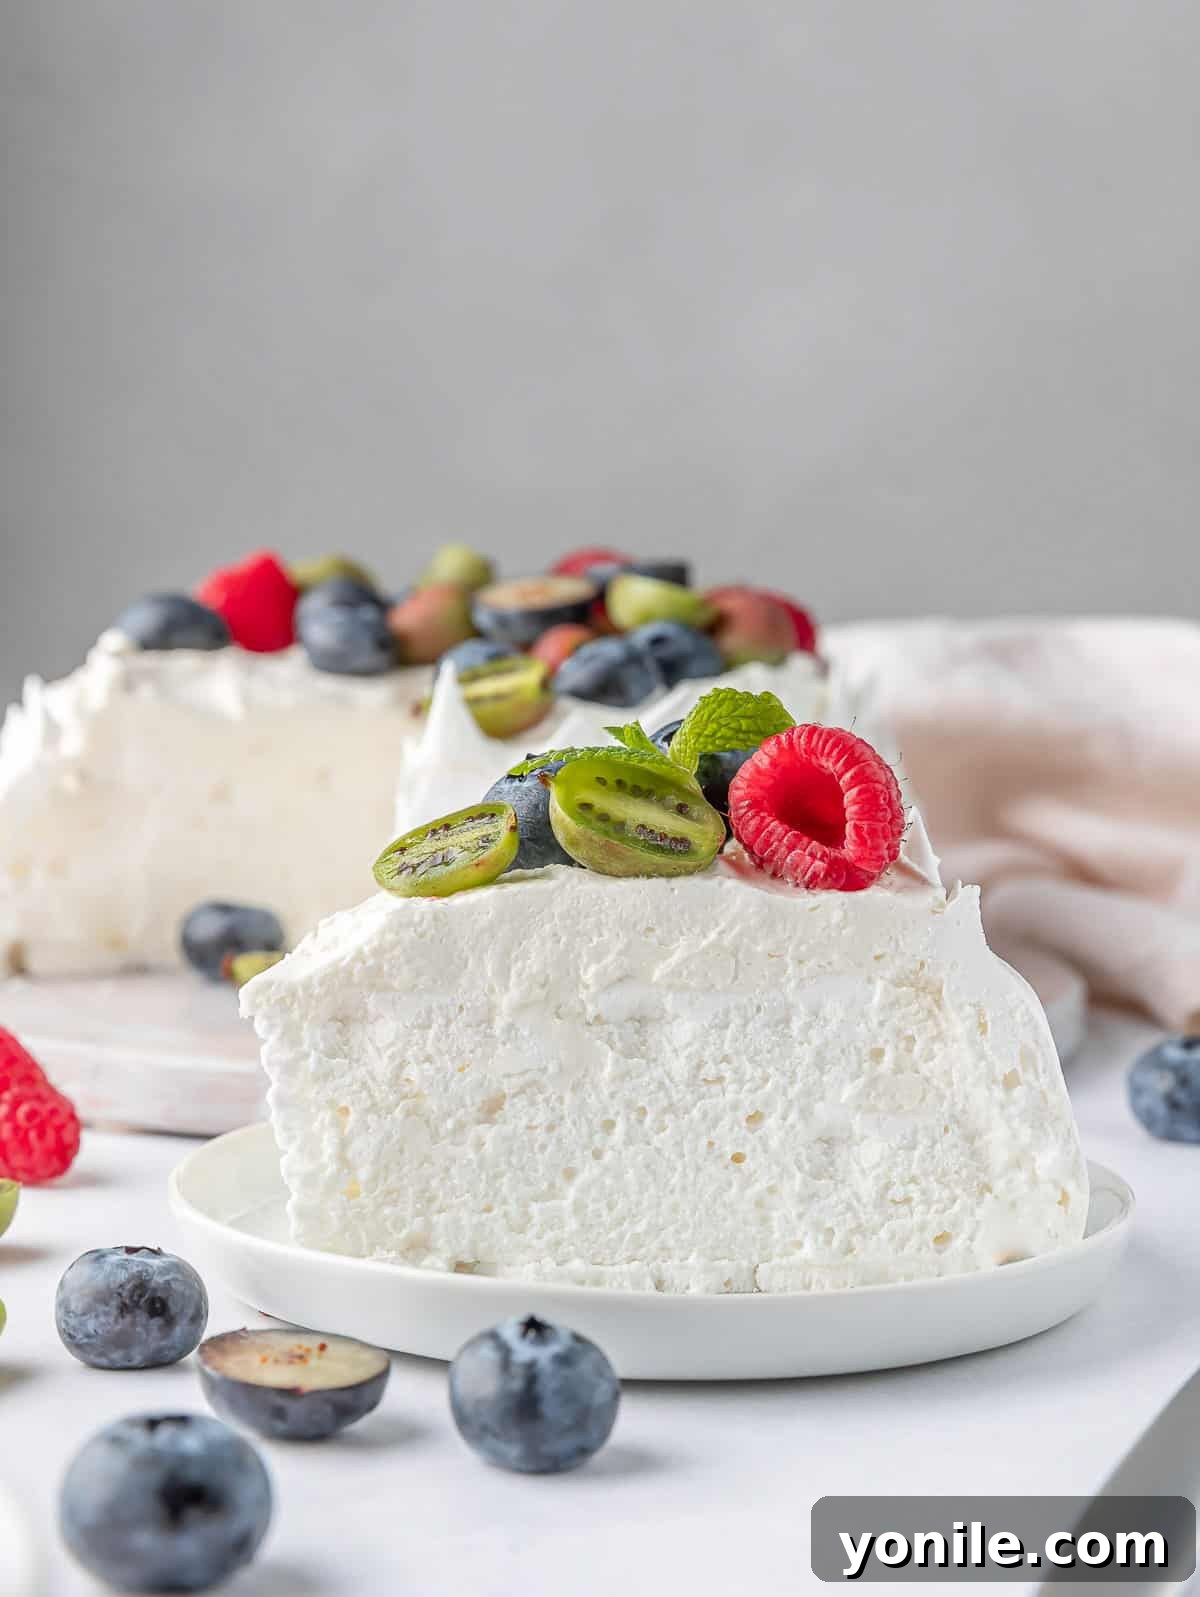
Welcome to the enchanting world of homemade desserts, where elegance meets rustic charm in our spectacular Berry Pavlova Cake. This classic recipe promises a dessert that’s not just visually stunning but also offers an unforgettable textural experience. Imagine a delicate, crispy meringue shell giving way to a soft, marshmallow-like interior, all crowned with luscious whipped cream and vibrant fresh berries. It’s a true showstopper, guaranteed to impress your guests, whether it’s a festive holiday gathering, a special celebration, or simply a treat for a delightful weekend afternoon.
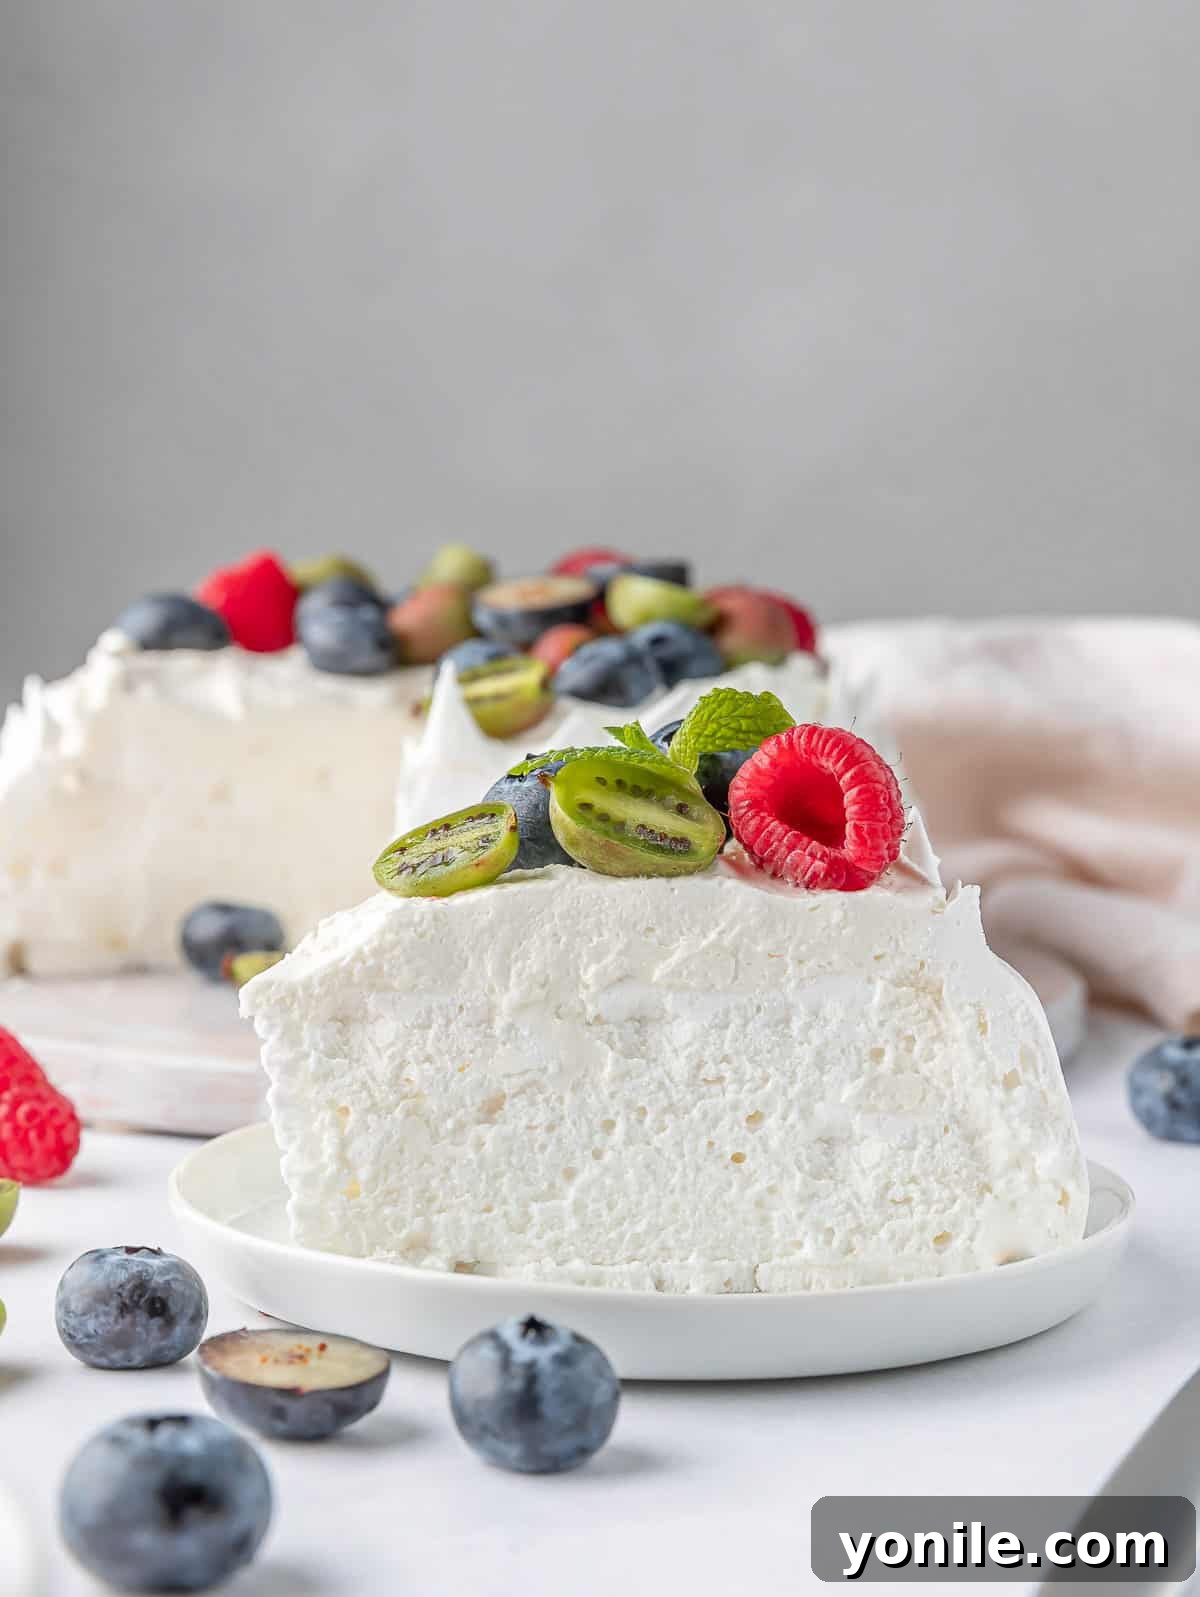
The beauty of this Pavlova isn’t just in its appearance; it’s surprisingly simple to make, relying on a short list of pantry staples and mostly hands-off cooking time. Don’t let the delicate nature of meringue intimidate you; with our comprehensive tips and tricks, you’ll master this elegant dessert in no time, creating a dessert that feels as light and airy as the legendary ballerina it’s named after.
For those seeking other festive delights perfect for special occasions, consider exploring my Pumpkin Cake Roll or Pumpkin Pie Cheesecake Bars. These delightful treats are especially perfect during the autumn and winter seasons, bringing the comforting flavors of pumpkin to your Thanksgiving or Christmas table.
What is Pavlova? Understanding This Iconic Dessert
Pavlova is a magnificent meringue-based dessert, celebrated for its striking contrast of textures and its refreshing toppings. It’s famously named after the legendary Russian ballerina Anna Pavlova, whose performances were renowned for their lightness and grace, qualities perfectly embodied by this ethereal dessert. Characterized by a crisp outer crust and a wonderfully soft, marshmallow-like center, Pavlova is traditionally adorned with a generous dollop of whipped cream and a medley of fresh fruits, especially berries.
While often associated with its Russian namesake, the true culinary origins of Pavlova are a subject of friendly rivalry between Australia and New Zealand. Both nations proudly claim the dessert as an integral part of their national cuisine, frequently serving it during significant celebrations and holiday meals. Its simple yet impressive recipe has made it a beloved staple, perfect for adding a touch of sophistication to any gathering.
Why You’ll Adore This Easy Berry Pavlova Recipe
This Berry Pavlova isn’t just another dessert; it’s an experience waiting to happen. Here’s why this recipe will become a cherished favorite in your kitchen:
- An Unforgettable Showstopper: From the moment it graces your table, this Pavlova commands attention. Its towering meringue structure, pristine white appearance, and vibrant fruit toppings create a truly stunning visual, making it an instant conversation starter and a dessert that everyone will remember.
- Utilizes Everyday Pantry Staples: You’ll be delighted to find that the core ingredients for this magnificent dessert are likely already in your kitchen. The star ingredient, egg whites, is something many of us have on hand. If you frequently bake or cook, you can easily separate egg yolks for another recipe (like an omelet or custard) and save the whites specifically for this Pavlova. It’s an economical and practical way to create something extraordinary.
- The Perfect Holiday and Celebration Treat: If you’ve ever dreamt of crafting a Pavlova, there’s no better time than the holiday season or any special occasion. Its festive appearance, light texture, and ability to be customized with seasonal fruits make it an ideal dessert for Christmas, New Year’s, birthdays, or any gathering where you want to serve something truly special and delicious.
Essential Ingredients for a Perfect Pavlova
Crafting the perfect Pavlova meringue requires just a few key ingredients. Quality and temperature are crucial for achieving that signature crisp exterior and soft interior.
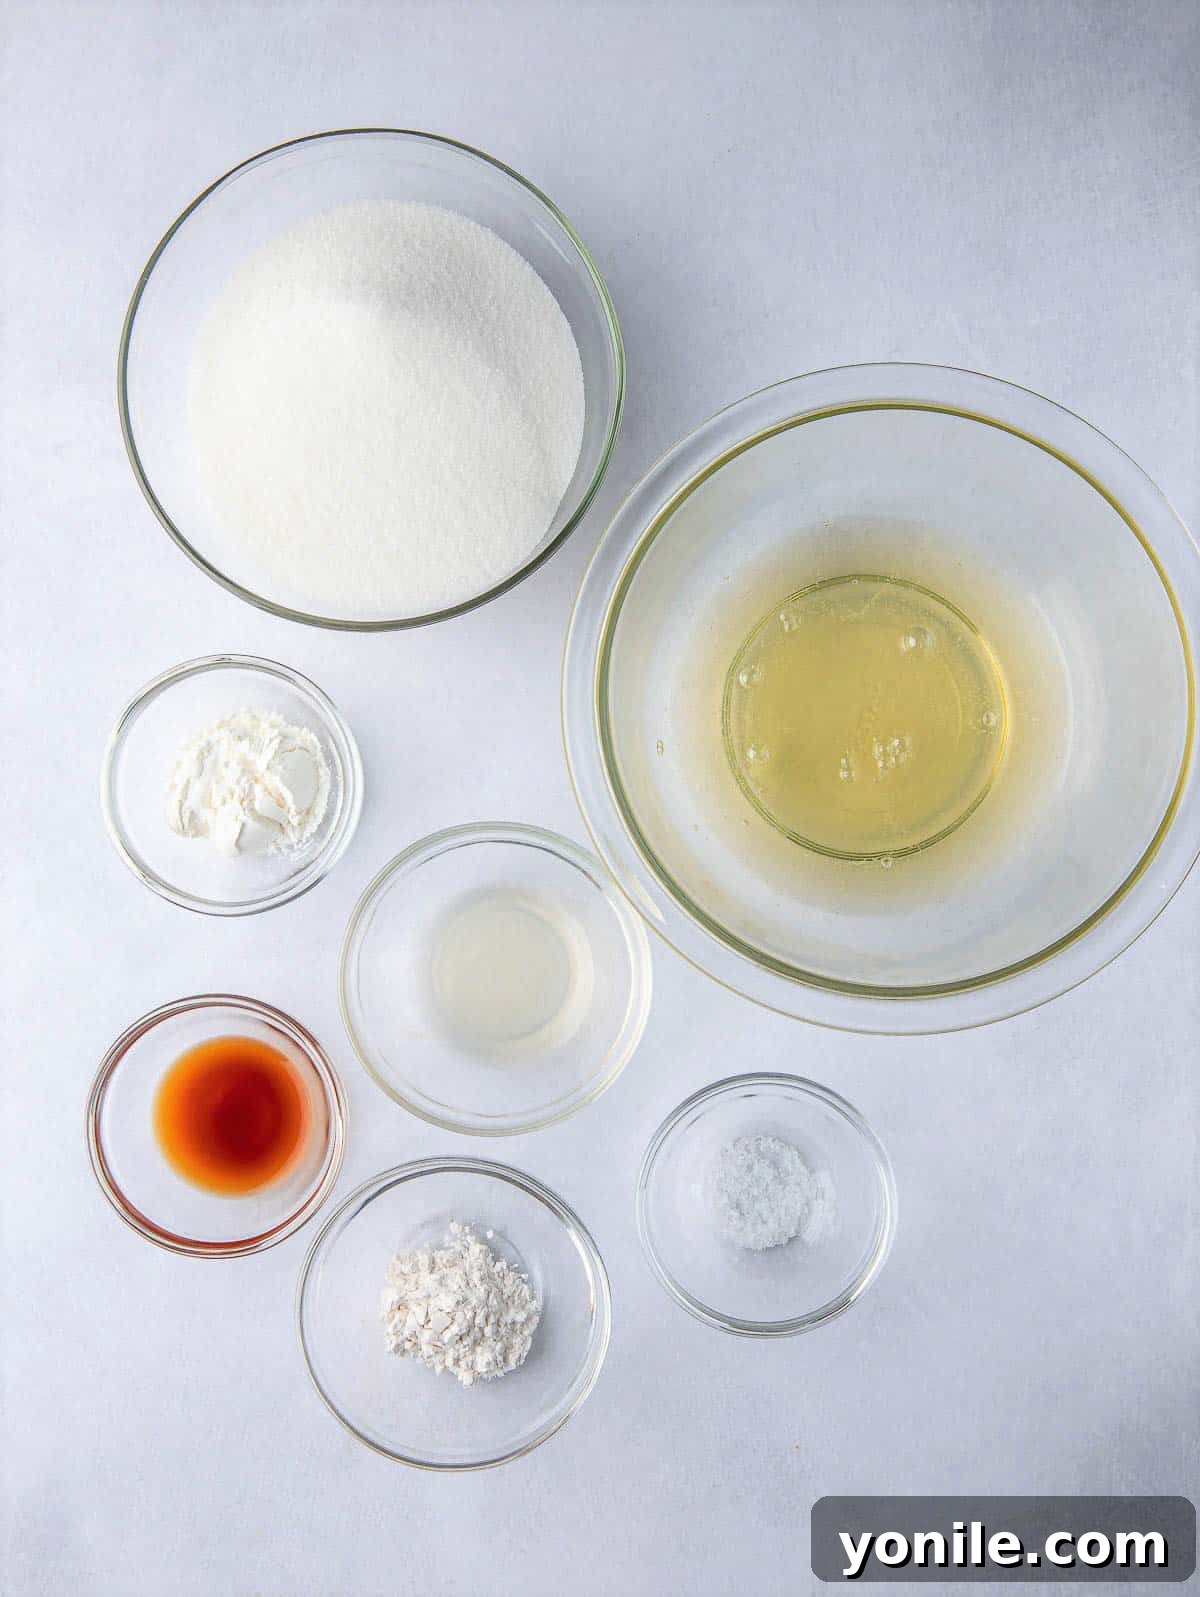
- Egg Whites: These are the foundation of your meringue. For optimal volume and stability, ensure your egg whites are at room temperature before whipping. This allows them to whip up more quickly and achieve a greater volume.
- Caster Sugar (Superfine Sugar): This finely granulated sugar dissolves more readily into the egg whites than regular granulated sugar, contributing to a smoother, more stable meringue. If you don’t have caster sugar, you can process regular granulated sugar in a food processor for a few seconds to achieve a similar fine consistency, or simply substitute with powdered sugar as indicated in the recipe.
- Cream of Tartar: A critical ingredient for stabilizing the meringue. Cream of tartar, an acidic salt, helps create a stronger protein structure in the egg whites, resulting in a more robust and higher-rising meringue that holds its shape beautifully.
- Vanilla Extract: Adds a lovely aromatic depth to the Pavlova. Be mindful of the quantity, as too much vanilla can impart a slight off-white color to your pristine meringue.
- Lemon Juice: Freshly squeezed lemon juice acts as another stabilizing agent, similar to cream of tartar. Its acidity helps strengthen the egg white proteins, contributing to a crispier crust. Always opt for fresh lemon juice over bottled for the best flavor and results.
- Corn Starch: This is the secret ingredient for achieving Pavlova’s iconic soft, marshmallow-like interior. Corn starch helps to create that desired chewy, tender texture within the crisp shell, preventing it from being entirely dry and brittle.
- A Pinch of Salt: A small amount of salt enhances the flavor of the meringue and helps the egg whites whip up more effectively.
Irresistible Pavlova Cake Topping Ingredients
Once your elegant meringue base is baked to perfection, it’s time to adorn it with a topping that’s equally delightful. The combination of creamy whipped cream and fresh fruit is what truly elevates a Pavlova.
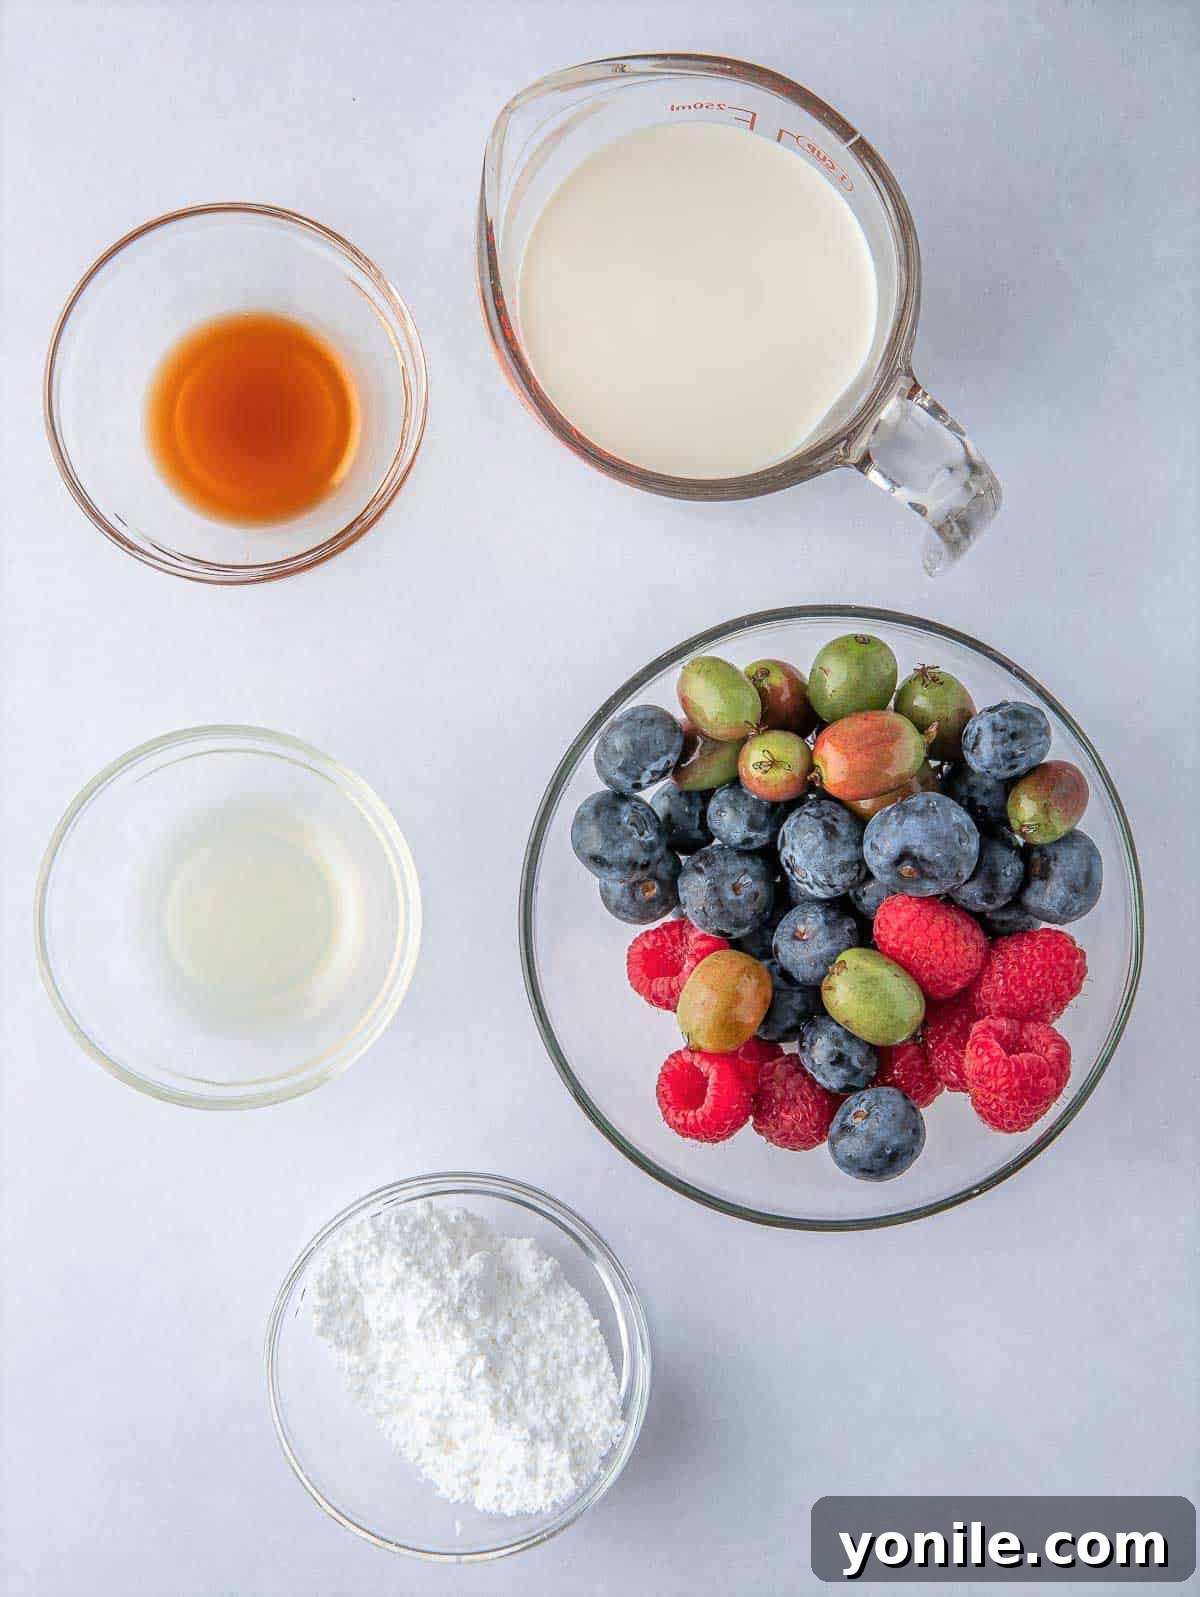
- Homemade Whipped Cream: For the ultimate fresh and airy topping, you’ll need high-quality heavy whipping cream, powdered sugar (for sweetness and smooth texture), a touch of lemon juice (to cut the richness and add brightness), and vanilla extract (for classic flavor). Whipping your own cream ensures a light, fluffy, and perfectly sweet accompaniment.
- Fresh Berries and Fruits: These provide vibrant color, natural sweetness, and a tangy counterpoint to the rich meringue and cream. A mix of seasonal berries like strawberries, blueberries, raspberries, and blackberries is always a classic choice. Other fruits such as sliced kiwi, mango, peaches, nectarines, or even passion fruit can also be fantastic additions, allowing for endless customization based on your preference and the season.
How to Master the Art of Making a Berry Pavlova
Creating a beautiful Pavlova might seem intimidating, but by following these detailed steps, you’ll achieve perfection every time. Precision and patience are your best friends in meringue making!
- Prepare Your Workspace and Equipment: Begin by preheating your oven to 250°F (120°C). This low, steady temperature is crucial for drying out the meringue slowly and evenly. On a piece of parchment paper, trace a 7-inch circle using a pencil. Flip the parchment paper so the traced side faces down, ensuring no pencil marks transfer to your meringue, then place it on a baking sheet. Next, meticulously clean your mixing bowl and whisk: dip a paper towel in a small amount of white vinegar and wipe the inside of the bowl and the whisk thoroughly. This removes any traces of grease, which can prevent the egg whites from whipping properly. Finish by wiping them completely dry with another clean paper towel.
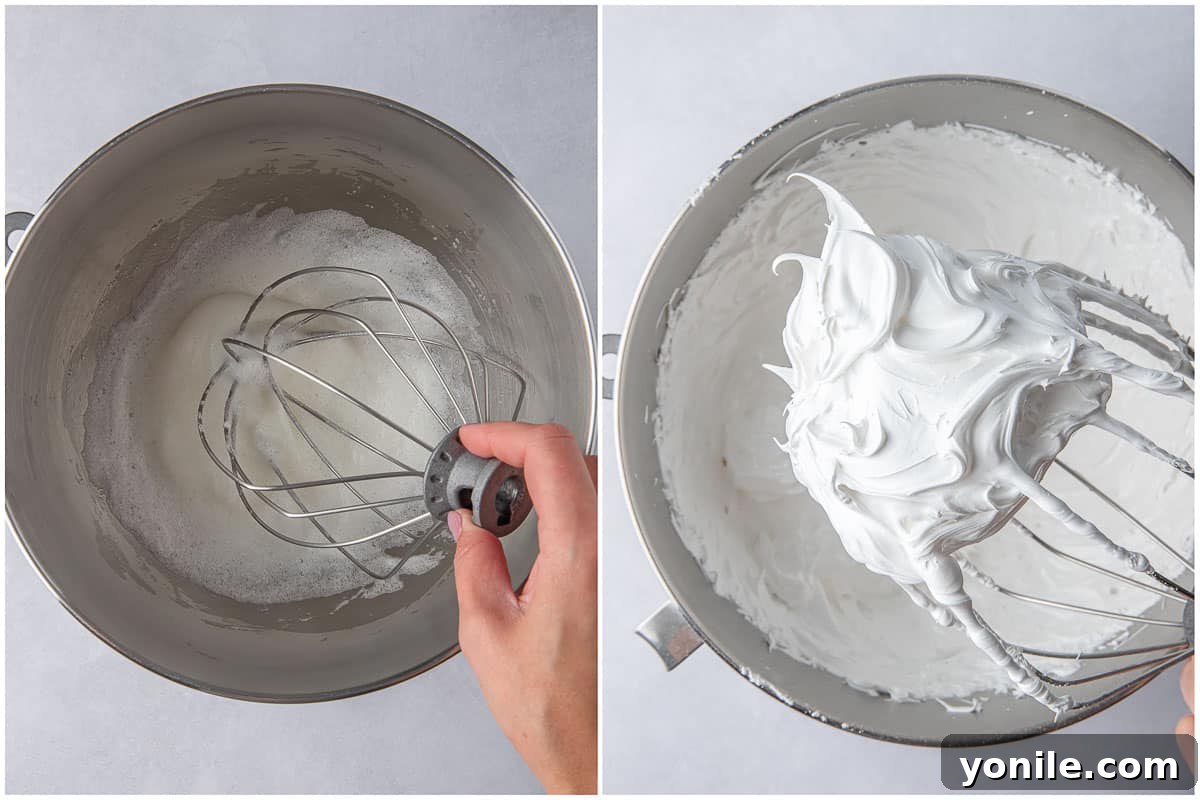
- Whip the Egg Whites to Frothy Perfection: Carefully transfer your room-temperature egg whites and a pinch of salt into the impeccably clean mixing bowl. Begin whisking on medium speed. Continue until the egg whites become frothy, resembling soft, bubbly foam. It’s important to check the bottom of the bowl to ensure all the liquid egg white has been incorporated and is frothy. They will turn opaque and white, developing soft peaks that hold their shape minimally and leave faint whisk marks. At this point, add the cream of tartar and continue whisking to fully incorporate it.
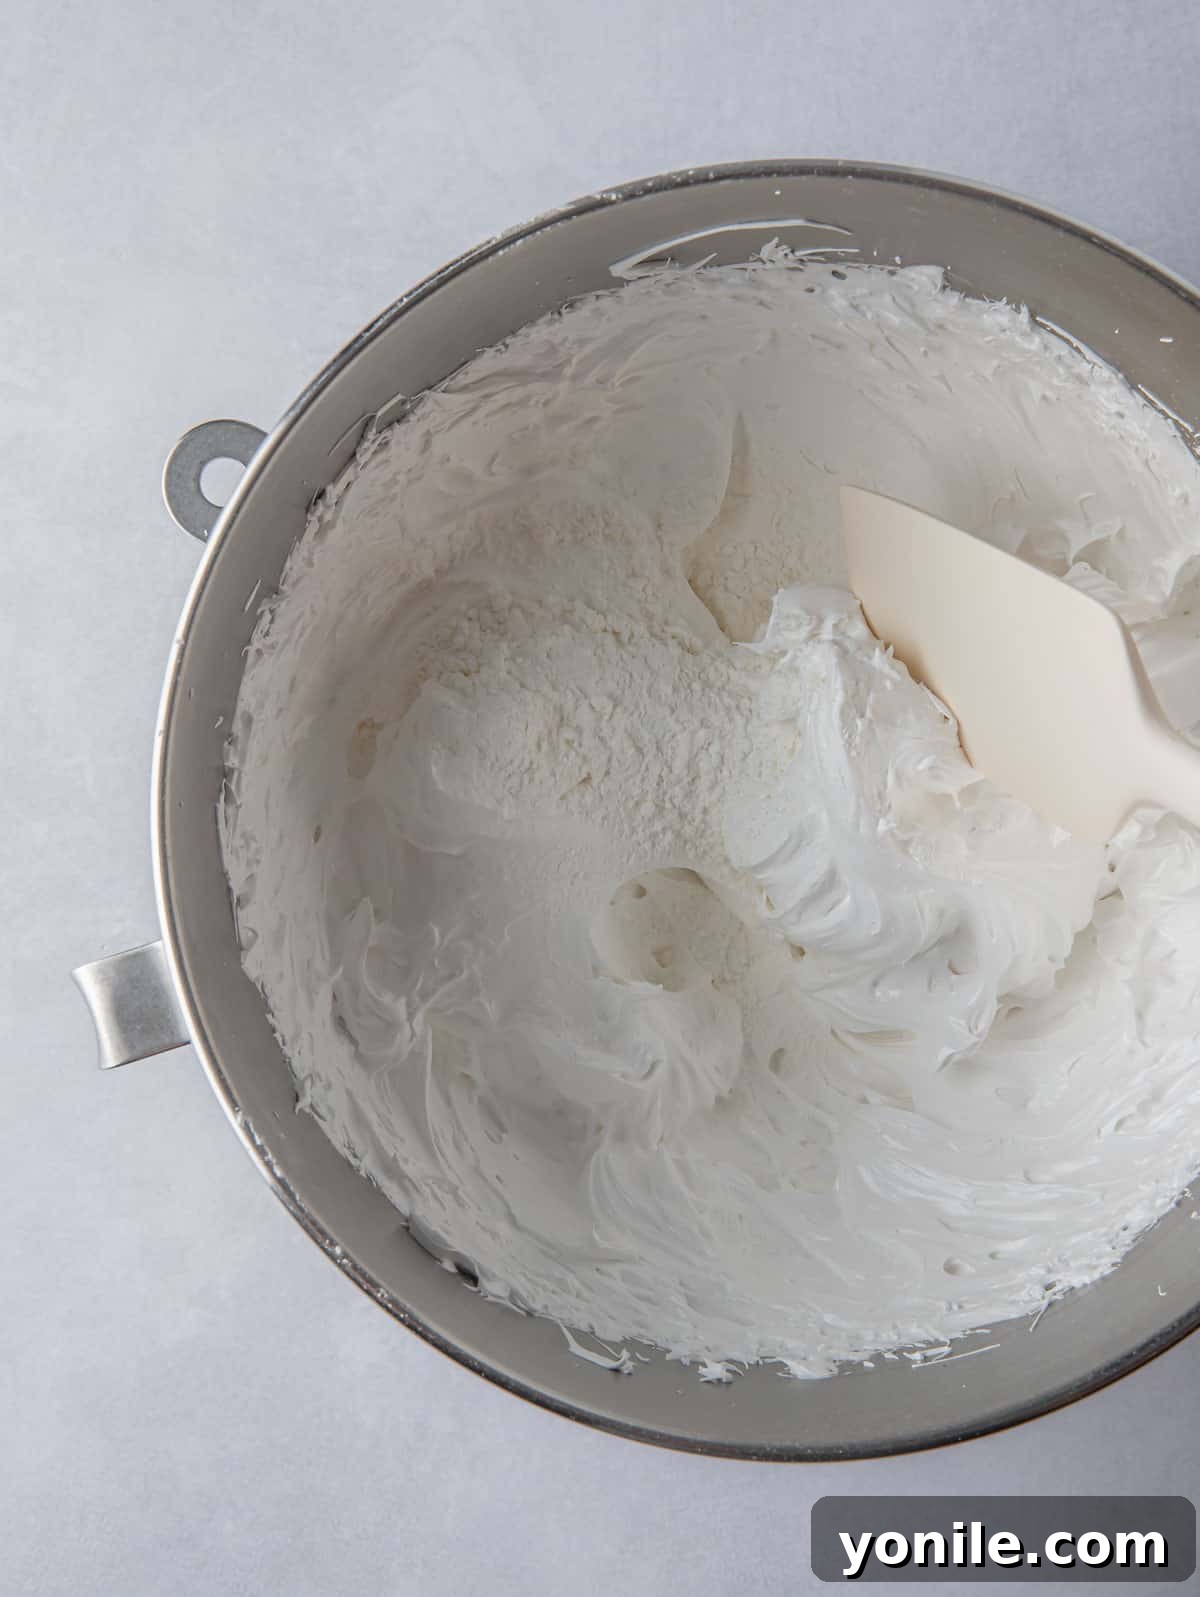
- Create the Silky, Glossy Meringue: Increase the mixer speed to medium-high. Now, begin adding the caster sugar, one teaspoon at a time, allowing approximately 5-10 seconds between additions. This slow, gradual process is crucial; it gives the sugar ample time to dissolve into the egg whites, preventing the meringue from deflating and ensuring a smooth, stable structure. Once all the sugar has been added, continue whisking until it is completely dissolved. To test, rub a small amount of meringue between your fingers – you shouldn’t feel any sugar granules. The mixture should be stiff, glossy, and hold firm peaks. Finally, gently fold in the lemon juice, vanilla extract, and corn starch using a spatula until just incorporated. Be careful not to overmix at this stage.
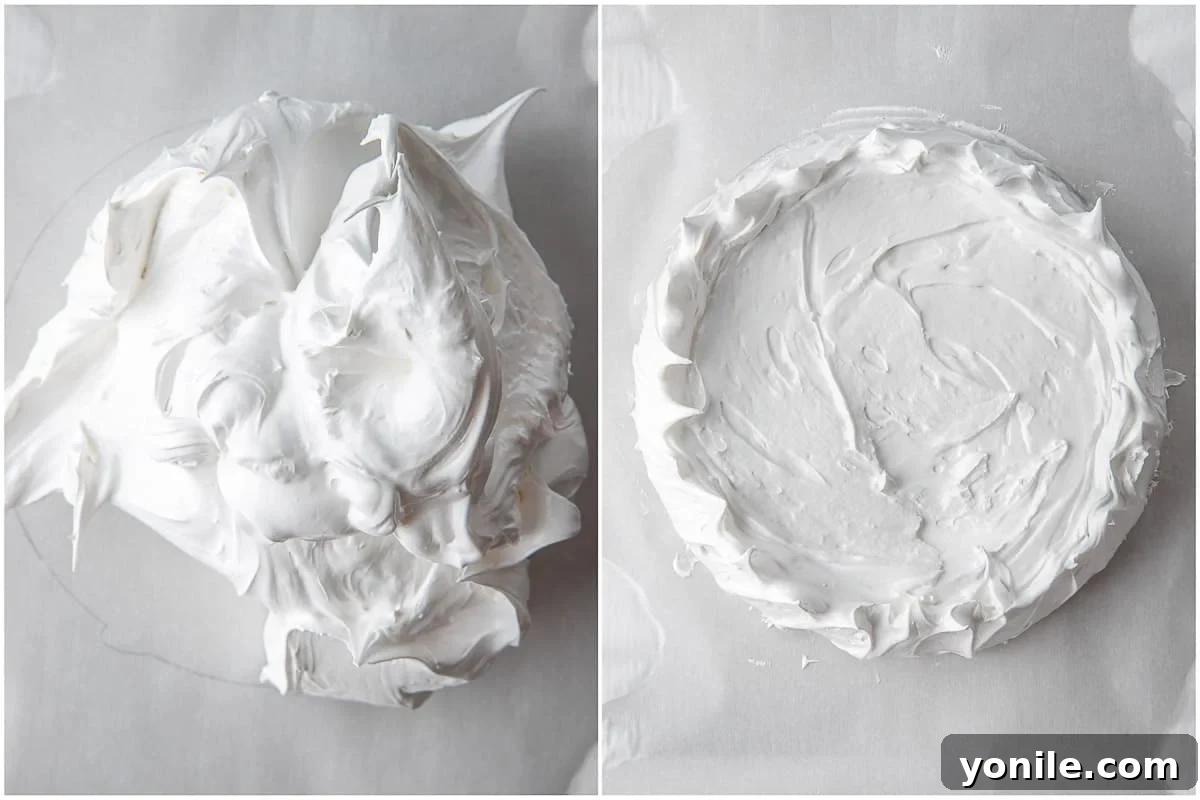
- Shape and Bake Your Pavlova Base: Spoon the prepared meringue onto the parchment-lined baking tray, centering it over your traced 7-inch circle. Use an offset spatula or the back of a spoon to gently spread the meringue evenly within the circle, creating a consistent layer. For an extra touch of rustic elegance, you can use the spatula to create decorative ridges or peaks around the sides. Place the Pavlova into the preheated oven for 10 minutes. Position it on the middle rack or wherever your oven provides the most even heat. After 10 minutes, without opening the oven door, reduce the temperature to 200°F (95°C) and continue baking for 2 hours.
- Cool Slowly for the Perfect Texture: Once the 2 hours of baking are complete, turn off the oven. Crucially, leave the Pavlova inside the oven with the door closed. Allow it to cool down slowly and completely within the oven. This gradual cooling process is essential for preventing cracks and ensuring the meringue dries out thoroughly, maintaining its crispness. This can take several hours, or you can even leave it in the oven overnight.
- Prepare the Dreamy Whipped Cream: Once your Pavlova base is completely cool, it’s time to prepare the luxurious topping. In the bowl of a stand mixer fitted with a whisk attachment (or using a hand mixer), pour the cold heavy cream. Whip on medium-high speed until soft peaks begin to form. Gradually add the powdered sugar and continue whipping until the cream is thick, fluffy, and holds firm peaks. Be careful not to over-whip, as it can turn grainy. Finally, whisk in the lemon juice and vanilla extract until just combined.
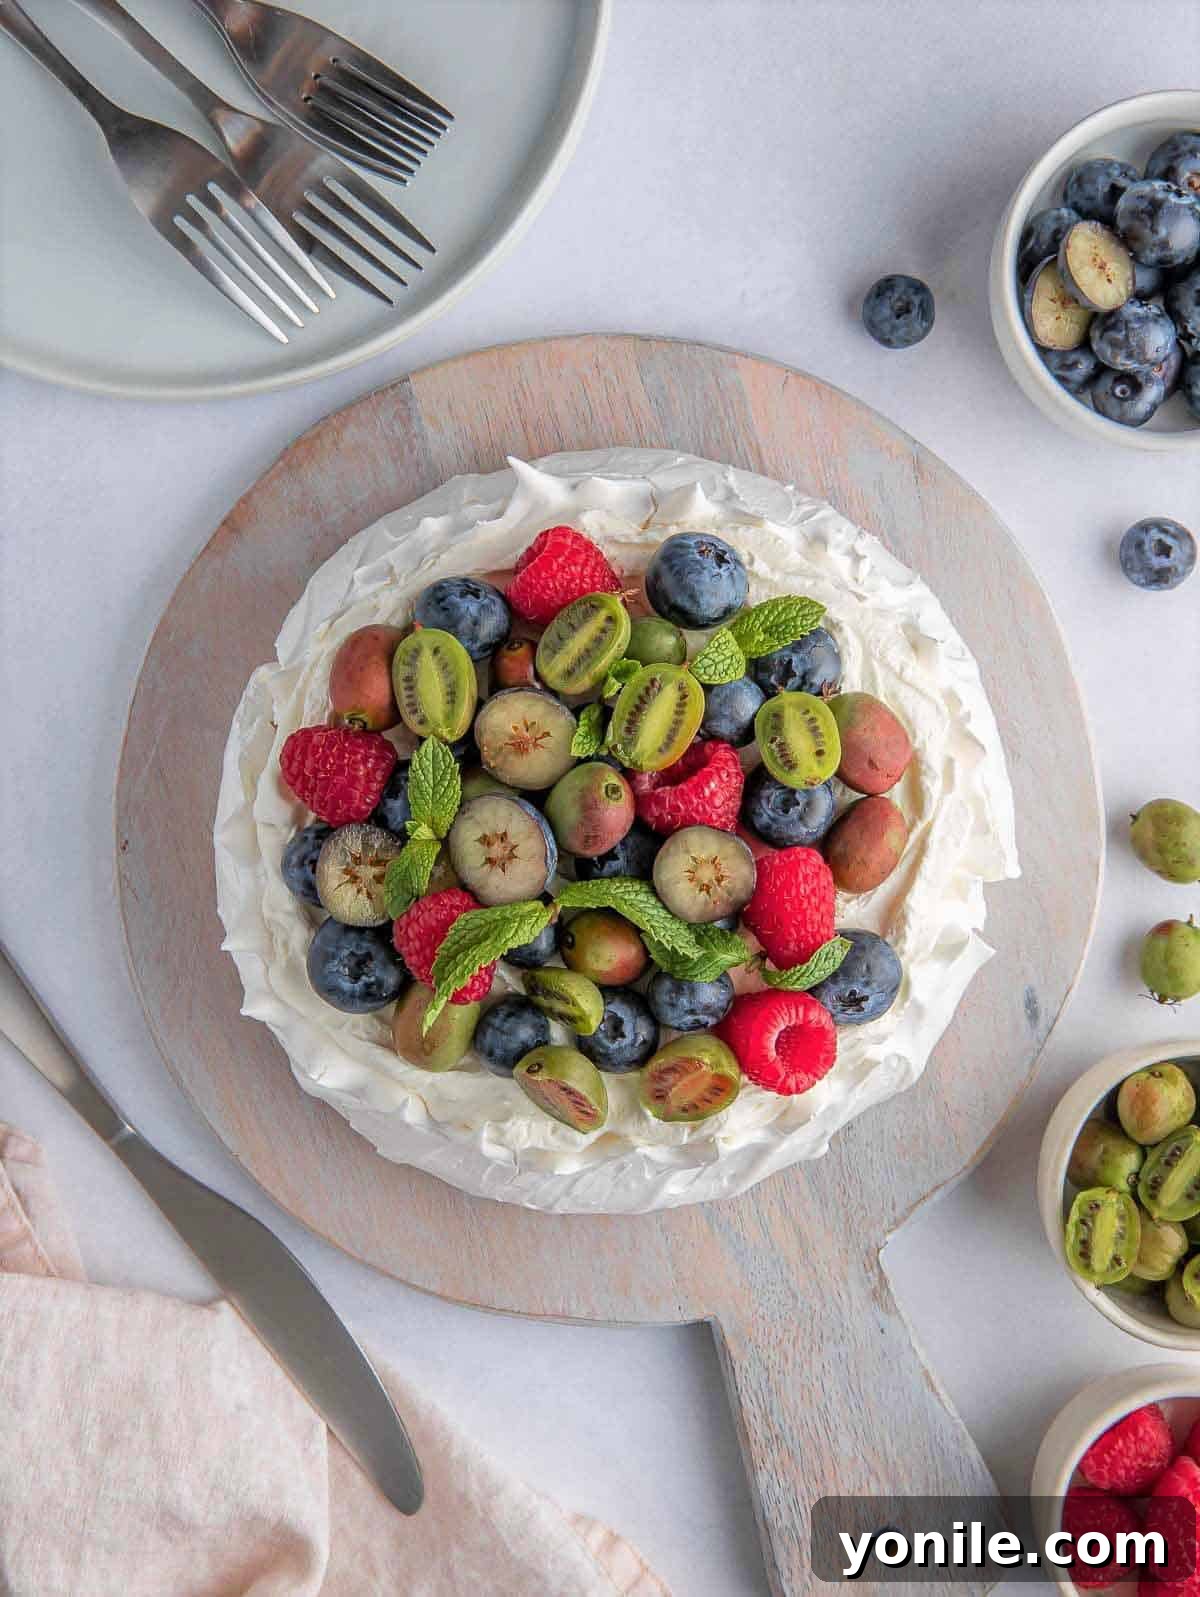
- Garnish and Serve Immediately: Gently transfer the freshly whipped cream onto the cooled Pavlova meringue base. Artfully arrange your chosen fresh berries and fruits on top of the cream. The combination of colors and textures will be simply stunning. Serve your Berry Pavlova Cake immediately after garnishing.
Expert Tips for Crafting the Best Pavlova Cake
Achieving Pavlova perfection is within your reach! Follow these expert tips for a flawless and utterly delicious dessert:
- Patience During Cooling is Key: After baking, allow your Pavlova to rest in the warm, turned-off oven for at least 30 minutes, or ideally, several hours/overnight. This slow cooling process is vital for the meringue to dry out completely and prevent cracking.
- Preheat Oven Thoroughly: Always ensure your oven is fully preheated to the specified temperature before placing the meringue inside. A consistent temperature from the start helps the meringue set properly. Avoid letting the unbaked meringue sit out for too long, as it can start to melt and lose its shape.
- Freshness is Paramount: Pavlova is best enjoyed the day it’s made. The meringue’s crispness will diminish over time, especially once topped with cream and fruit. While leftovers can be refrigerated, they will likely soften and become soggy.
- Room Temperature Egg Whites are a Must: Egg whites whip up to their maximum volume and stability when they are at room temperature. However, separating eggs is much easier when they are cold. Plan ahead: separate your eggs while cold, then let the egg whites sit on the counter for 30-60 minutes to reach room temperature before you begin.
- Zero Egg Yolk Contamination: Even a tiny speck of egg yolk (which contains fat) can prevent egg whites from whipping into stiff peaks. Be extremely careful when separating eggs to ensure no yolk mixes with the whites.
- Measure Egg Whites Accurately: For consistent results, I highly recommend using a kitchen scale to measure your egg whites by weight (e.g., 140g for 4 large egg whites). Egg sizes can vary, making cup measurements less precise.
- Impeccably Clean and Dry Equipment: This is a non-negotiable step for successful meringue. Any residual grease or moisture in your mixing bowl or on your whisk will prevent the egg whites from foaming properly. Stainless steel or glass bowls are preferred over plastic, as plastic can retain a greasy film from previous uses, even after washing. Wipe everything down with vinegar and then dry completely.
Frequently Asked Questions About Pavlova
Meringue making can be a bit finicky, and undissolved sugar is a common frustration. If you add the sugar too quickly, it might not fully dissolve. If your meringue still achieves stiff and glossy peaks despite some undissolved sugar, you can proceed with baking, but the final texture might not be as smooth as desired. To prevent this, always add sugar very slowly, one teaspoon at a time, allowing several seconds between additions. A great alternative is to use powdered sugar (confectioners’ sugar) instead of caster sugar; it dissolves much more easily. If using powdered sugar, add it in 2-3 additions, then whip the meringue on medium-high for about 7-10 minutes to ensure stiff peaks before incorporating lemon juice, vanilla, and cornstarch.
If you notice liquid seeping from your Pavlova, it typically indicates that the sugar did not completely dissolve in the meringue mixture. This means the sugar couldn’t fully integrate into the egg white structure. Another cause can be overwhipping the egg whites; their delicate structure can break down, making them unable to hold onto the air and sugar, which then seeps out. High humidity can also contribute to weeping, as sugar is hygroscopic and will absorb moisture from the environment.
A collapsed or cracked Pavlova usually means the meringue’s center has shrunk away from its outer shell. This can occur if the egg whites were overwhipped, leading to a fragile structure that can’t support itself. More commonly, it happens if the Pavlova is baked in an oven that’s too hot or if it cools down too rapidly. The sudden temperature change can cause the meringue to contract quickly. To avoid this, always cool your Pavlova slowly inside the oven after baking, ideally overnight, with the heat turned off.
For a pristine white Pavlova, oven temperature is key. If the oven is too hot during baking, the sugar in the meringue can caramelize, resulting in an off-white or yellowish tint. Additionally, using too much vanilla extract can also impart a subtle color to the Pavlova, so measure it precisely.
A soft and sticky Pavlova often stems from the same issues that cause weeping – typically, undissolved sugar or a meringue that hasn’t fully dried out during the baking and cooling process. When the Pavlova weeps, it can reabsorb that liquid, leading to a sticky texture. Follow the tips for dissolving sugar properly and ensuring slow, complete cooling in the oven to prevent this.
The baked Pavlova base (without toppings) can be stored in an airtight container at room temperature for up to two days. If properly stored, it will maintain its crispness and flavor. However, once you add the whipped cream and fresh fruit, Pavlova is best consumed immediately on the same day for optimal texture and freshness. Leftovers with toppings will become soft and soggy quickly.
The most classic and beautiful way to decorate a Pavlova is with fresh fruits. A vibrant mix of berries like strawberries, raspberries, and blueberries is always a winner. You can also incorporate other colorful fruits such as sliced kiwi, mangoes, peaches, nectarines, or apricots for a tropical twist. For an added visual contrast and aromatic touch, consider scattering a few fresh mint leaves over the top.
After baking and ensuring your Pavlova base is completely dry and cooled, store it immediately in an airtight container. This protects it from humidity and helps maintain its crisp texture until you are ready to add the fresh toppings. Do not refrigerate the plain meringue base, as the moisture can make it sticky.
Absolutely! The meringue base of the Pavlova can be prepared a day or two in advance. Just ensure it’s completely dry and cooled before storing it in an airtight container at room temperature. The key is to only add the whipped cream and fresh fruit toppings just before you plan to serve it to preserve the meringue’s wonderful crispness.
More Delicious Holiday-Friendly Desserts to Enjoy
If you’re looking for more delectable desserts to grace your holiday table or any special occasion, here are some other fantastic recipes you might love:
- Decadent Chocolate Chip Cheesecake
- Rich Double Chocolate Cheesecake
- Classic Best New York Style Cheesecake
- Sweet & Tangy Raspberry Cheesecake Bars
- Moist Banana Walnut Cake
I genuinely hope you find immense joy in all the recipes I share, and especially with this exquisite Berry Pavlova Cake. I encourage you to try it, savor every bite, rate it, and share this delightful creation with your cherished friends and family!
If you make this recipe and love it, please take a moment to leave a star rating and a comment below. Don’t forget to use my hashtag to share your delicious recreations with me on Instagram! You can also follow Cookin’ With Mima on FACEBOOK |INSTAGRAM |PINTEREST for all my latest recipes and culinary adventures.
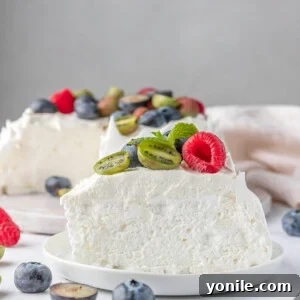
Berry Pavlova Cake
By: Mariam Ezzeddine
This classic berry pavlova recipe is a beautiful yet rustic looking dessert that is perfect for the holidays. The elegant dessert is crispy on the outside with a soft marshmallow texture inside! It’s sure to impress your guests.
5 hours
2 hours 10 minutes
7 hours 10 minutes
8 servings
Ingredients
For the Pavlova Meringue
- 4 large egg whites (about 140 g), at room temperature
- 250 grams caster sugar (can be substituted with 250 grams of powdered sugar)
- 1 tsp cream of tartar
- ½ tsp vanilla extract
- 1 tsp lemon juice
- 2 Tbsp corn starch
- Pinch of salt
For the Whipped Cream Topping
- ¾ cup heavy whipping cream, cold
- 2 Tbsp powdered sugar, scooped and then sifted
- 1 tsp lemon juice
- 1 tsp vanilla extract
- 1 cup fresh berries/fruits, washed and cut
Instructions
- Preheat oven to 250°F (120°C).
- With a pencil, trace a 7-inch circle on a piece of parchment paper. Flip the traced side down and place the parchment paper on a baking sheet.
- Dip a paper towel in a little bit of white vinegar and thoroughly wipe the inside of your mixing bowl and whisk. Wipe clean with another piece of dry paper towel to remove any grease.
- In the cleaned bowl, transfer room-temperature egg whites and a pinch of salt. Whisk on medium speed until the egg whites become frothy and turn white, forming soft whisk marks. Ensure there is no liquid egg white remaining at the bottom of the bowl.
- Add the cream of tartar and whisk to incorporate it fully.
- Increase the mixer speed to medium-high and gradually add the sugar, one teaspoon at a time, allowing 5-10 second intervals between additions. This ensures the sugar dissolves properly and prevents the meringue from deflating.
- Once all the sugar is added, continue whisking until it is completely dissolved. To check, rub a small amount of meringue between your fingers; no sugar granules should be felt. The mixture should be stiff and glossy, holding firm peaks. (Refer to notes for powdered sugar version instructions).
- Gently fold in the lemon juice, vanilla extract, and cornstarch with a spatula until just incorporated.
- Spoon the meringue onto the prepared baking tray, filling the traced circle. Use a palette knife or the back of a spoon to even out the layer of meringue.
- For an aesthetic touch, use a spatula to gently drag upwards from the bottom of the meringue, creating decorative lines or peaks around the edge.
- Place the Pavlova into the oven for 10 minutes. Ensure it is on the middle rack or in the position where your oven has the most even heat distribution.
- After ten minutes, without opening the oven door, reduce the temperature to 200°F (95°C).
- Bake for an additional 2 hours.
- Without opening the oven, turn off the heat. Allow the meringue to cool down completely inside the oven. This process typically takes about 3 hours, or you can leave the Pavlova in the oven overnight to cool gradually.
- Once the Pavlova has fully cooled, prepare the whipped cream topping.
- In a stand mixer bowl, place cold heavy cream and whip until soft peaks form. Add the sifted powdered sugar and continue whipping until the cream is thick and holds firm peaks. Be careful not to overwhip. Whisk in the lemon juice and vanilla until combined.
- Carefully transfer the whipped cream on top of your cooled Pavlova cake.
- Garnish generously with your selection of fresh berries and fruits.
- Serve immediately. Remember, Pavlova Cake is best enjoyed the same day it is made. Leftovers, if refrigerated, will likely become soft and soggy.
Notes
- For the crispiest exterior, allow the Pavlova to rest in the warm, turned-off oven for at least 30 minutes (or even overnight) before removing it.
- Always preheat your oven fully. Placing meringue into a cold or insufficiently heated oven can affect its structure and lead to melting.
- Pavlova is best consumed the day it’s assembled. While the base can be stored, toppings will cause it to soften.
- Egg whites separate more easily when cold, but whip better at room temperature. Separate them cold, then let them warm up before whisking.
- Ensure absolutely no egg yolk is present in the egg whites, as fat inhibits proper whipping.
- For accurate measurements and consistent results, weigh your egg whites using a kitchen scale.
- Use a spotless and dry stainless steel or glass mixing bowl and whisk. Plastic bowls can retain grease, preventing egg whites from whipping.
Nutrition
Calories: 235kcal | Carbohydrates: 39g | Protein: 2g | Fat: 8g | Saturated Fat: 5g | Polyunsaturated Fat: 1g | Monounsaturated Fat: 2g | Cholesterol: 31mg | Sodium: 37mg | Potassium: 119mg | Fiber: 1g | Sugar: 35g | Vitamin A: 337IU | Vitamin C: 1mg | Calcium: 18mg | Iron: 1mg