
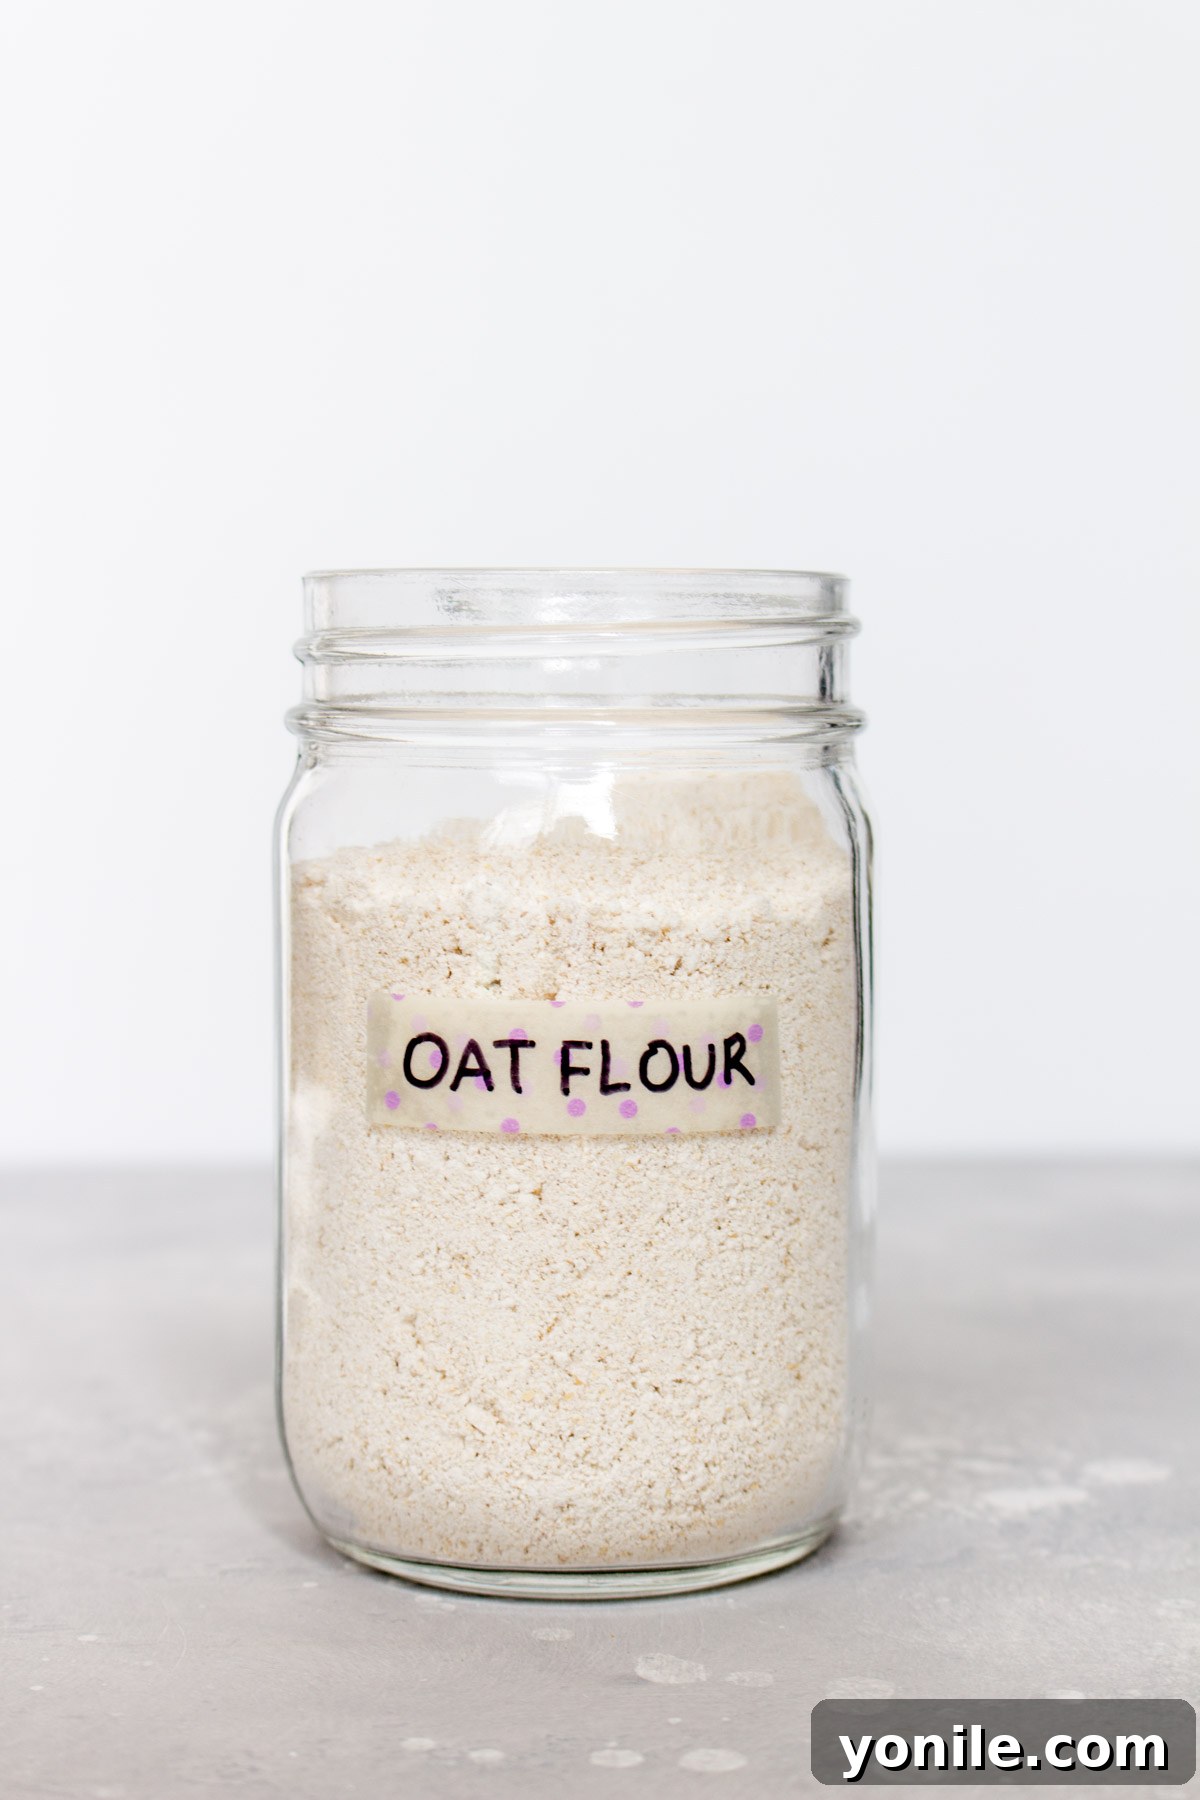
Unlock the secret to healthier, more versatile baking right in your own kitchen by mastering the art of making **homemade oat flour**. This simple yet incredibly rewarding process not only saves you precious time and money spent at the grocery store but also guarantees a fresh, whole-grain ingredient for all your culinary adventures. Whether you’re aiming for gluten-free baking, looking to boost the nutritional profile of your meals, or simply love the subtle, nutty flavor of oats, grinding your own oat flour is a game-changer. Dive into this comprehensive guide to discover everything you need to know about transforming humble oats into a versatile flour.
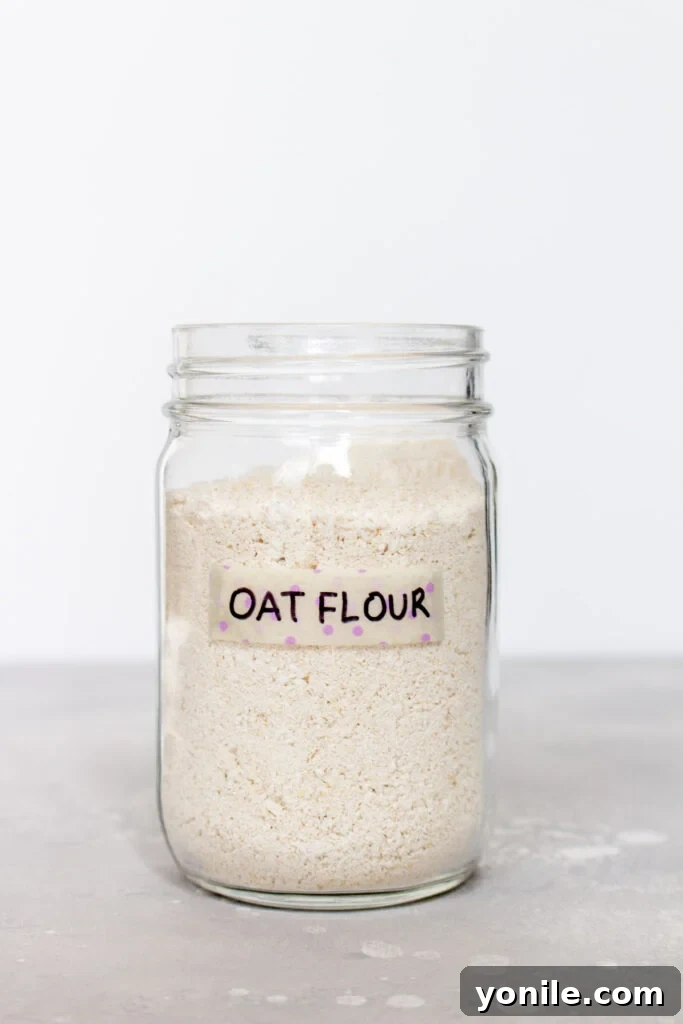
What Exactly is Oat Flour?
At its core, oat flour is a whole grain flour derived by finely grinding oats. It’s an incredibly straightforward ingredient, requiring nothing more than oats themselves to produce. Unlike many refined flours, oat flour retains the oat’s bran, germ, and endosperm, making it a nutrient-dense choice for baking and cooking. Its fine, powdery texture and subtle, sweet, nutty flavor make it an excellent alternative to traditional wheat flour in numerous recipes. It imparts a delicate chewiness and moistness to baked goods, setting it apart from other grain flours.
Beyond its culinary appeal, oat flour offers a host of health benefits. Rich in soluble fiber, particularly beta-glucan, it can help regulate blood sugar levels, lower cholesterol, and promote digestive health. It’s also a good source of protein, iron, and various B vitamins, making it a truly wholesome addition to your diet. For those looking to incorporate more whole grains into their lifestyle or seeking a naturally gluten-free option, oat flour stands out as an outstanding choice. And if you have an abundance of oats, why not try your hand at making homemade oat milk too?
Is Oat Flour Naturally Gluten-Free? Understanding the Nuance
Oats are inherently gluten-free, meaning they do not naturally contain the protein complex found in wheat, barley, and rye. This makes oat flour a fantastic option for individuals with gluten sensitivities or celiac disease. However, there’s an important distinction to make: while oats themselves are gluten-free, they are often processed in facilities that also handle gluten-containing grains. This can lead to cross-contamination, where trace amounts of wheat or other gluten sources come into contact with the oats.
If you or someone you’re baking for has celiac disease or a severe gluten intolerance, it is crucial to opt for “certified gluten-free” oats. These oats are specifically grown, harvested, and processed in dedicated gluten-free environments to prevent any cross-contamination, ensuring they meet strict gluten-free standards. Always check the packaging for a “certified gluten-free” label to guarantee the purity of your oat flour for dietary restrictions.
Choosing the Right Oats for Your Homemade Flour
The beauty of making oat flour at home is its flexibility. You can successfully make oat flour from various types of oats, including old-fashioned rolled oats, quick oats, and even steel-cut oats. Each type, however, offers slightly different characteristics in terms of yield, processing time, and final texture:
- Old-Fashioned Rolled Oats: These are the most commonly recommended oats for making flour. They provide a good balance of texture and yield, grinding down into a fine, consistent flour relatively easily. Their moderate size means they don’t take too long to process.
- Quick Oats: Quick oats are pre-steamed, rolled thinner, and cut into smaller pieces, which means they grind into flour very quickly. While convenient, they tend to yield slightly less flour by volume compared to rolled oats and might produce a flour with a slightly finer, almost powdery consistency due to their initial processing.
- Steel-Cut Oats: These are whole oat groats that have been cut into two or three pieces, rather than rolled. Steel-cut oats are denser and harder, meaning they will require a longer grinding time and a more powerful blender to achieve a fine flour. However, they typically yield the most flour by weight and produce a very robust, earthy-flavored flour.
Ultimately, the best type of oat is the one you have readily available. While rolled oats are often preferred for their ease and balanced results, feel free to experiment with any type to discover your personal preference. Ensure your oats are plain and unflavored for the best neutral-tasting flour.
Essential Tools and Ingredients for Crafting Homemade Oat Flour
Making your own oat flour is a remarkably simple process that requires minimal specialized equipment. Here’s what you’ll need to get started:
The Star Ingredient: Oats
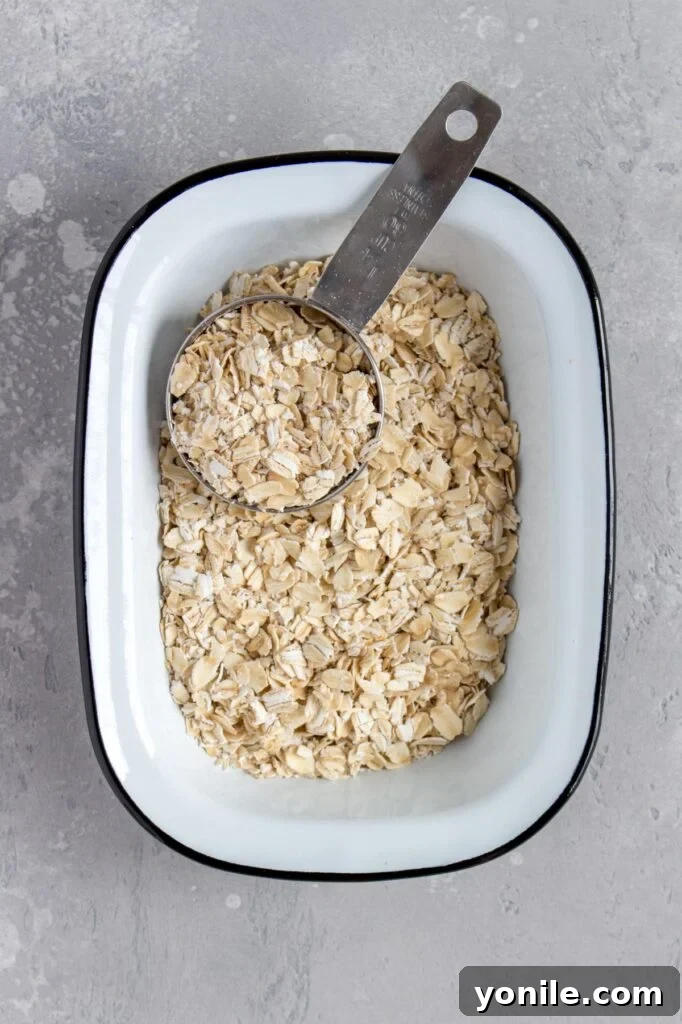
- Oats: The only ingredient! As discussed, rolled oats (old-fashioned) are often the preferred choice for their balanced performance, yielding a consistently fine flour. However, quick oats or steel-cut oats work perfectly fine. Aim for plain, unsweetened oats. The quantity you use will depend on how much flour you need; a good starting point is 1 cup of oats to yield roughly 1 cup of oat flour, though this can vary slightly by oat type and desired fineness.
The Essential Equipment
- High-Powered Blender or Food Processor: This is the most crucial piece of equipment. A high-speed blender, such as a Vitamix or Blendtec, will process oats into a fine flour in a matter of seconds. A standard blender or a food processor with a strong motor can also do the job, though it might take a bit longer and require more scraping down of the sides to ensure even grinding.
- Airtight Container: Once your oat flour is made, you’ll need a way to store it to maintain its freshness. Glass mason jars, reusable plastic containers, or even heavy-duty Ziploc bags are excellent options. The key is to ensure the container is airtight to prevent moisture absorption and keep out any contaminants.
- Fine Mesh Sieve (Optional but Recommended): For the smoothest, most uniform oat flour, especially if you plan to use it in delicate baked goods, a fine mesh sieve can be incredibly helpful. It allows you to separate any larger, unground oat pieces, which can then be returned to the blender for further processing.
Step-by-Step: Crafting Your Own Homemade Oat Flour
Creating your own oat flour is surprisingly quick and easy. Follow these steps for perfect results every time:
- Step 1: Prepare Your Oats and Blender. Ensure your blender jar is completely dry. Any moisture can cause the oats to clump together during grinding, resulting in an uneven flour. Measure out the desired amount of oats and add them to your blender. For optimal results, avoid overfilling the blender; fill it no more than halfway to allow for efficient circulation and even grinding.
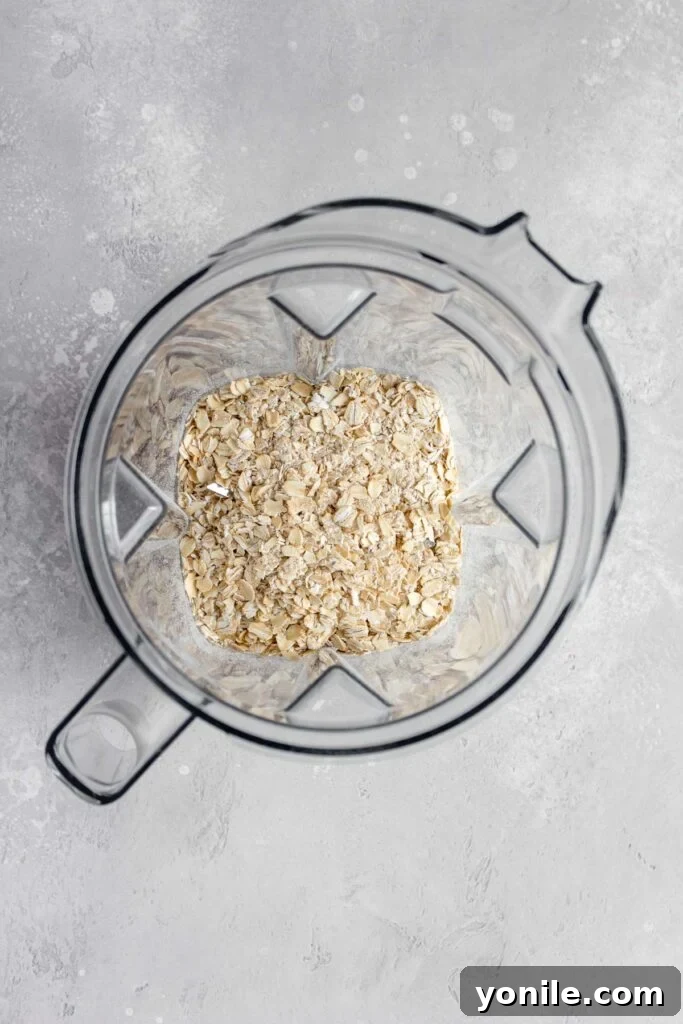
- Step 2: Blend the Oats into Fine Flour. Secure the lid on your blender and start blending on a high setting. The time required will vary depending on your blender’s power and the type of oats used. For most high-powered blenders, it will take about 20 seconds to 1 minute to transform the oats into a fine, consistent flour. If using a less powerful blender or food processor, you might need to blend for a bit longer, stopping periodically to shake the container or scrape down the sides with a dry spatula to ensure all oats are processed evenly.
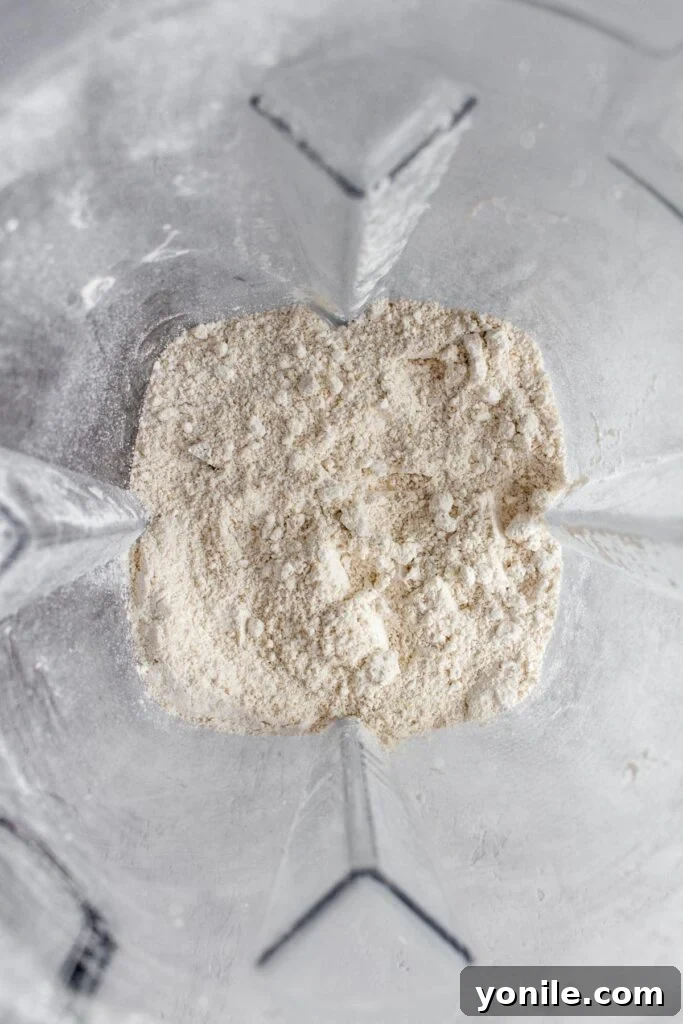
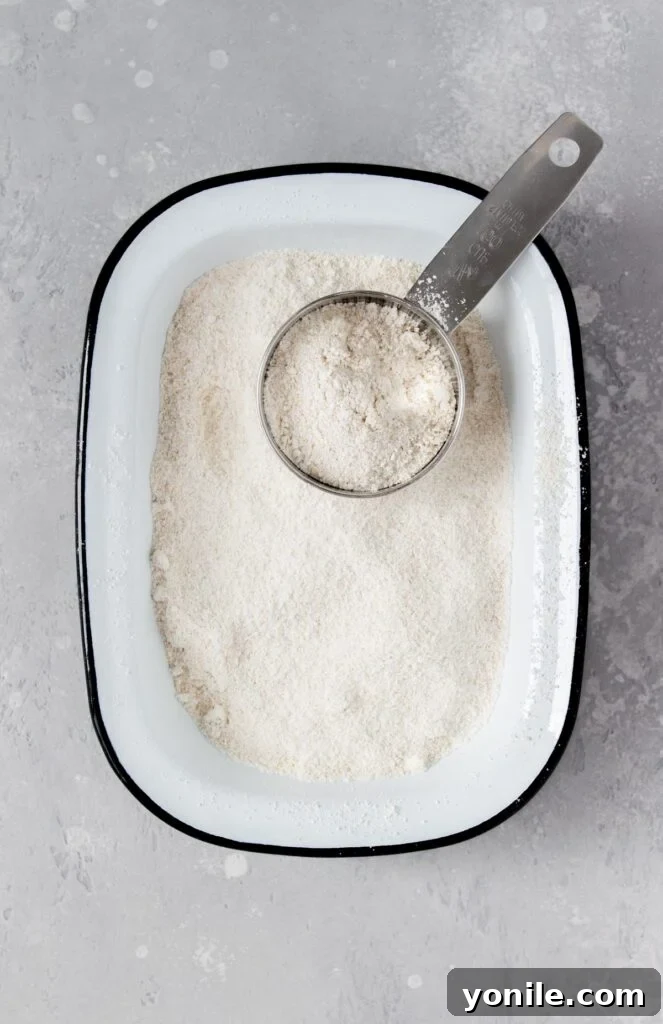
- Step 3: Check Consistency and Store. Once blended, open the lid and check the consistency of your oat flour. It should be fine and powdery, similar to regular wheat flour, with no large oat pieces remaining. If desired, you can sift the flour through a fine-mesh sieve to catch any larger bits, re-blending them if necessary. Transfer the freshly ground oat flour to an airtight container. For optimal freshness and to prolong its shelf life, it is highly recommended to store your homemade oat flour in the refrigerator.
Storing Your Homemade Oat Flour for Maximum Freshness
Proper storage is key to extending the shelf life and preserving the quality of your homemade oat flour. Due to the natural oils present in oats (which are retained in whole-grain oat flour), it can go rancid quicker than highly processed all-purpose flour. Here’s how to store it effectively:
- Refrigerator: This is the best place to store oat flour for everyday use. In an airtight container, homemade oat flour can last for up to 3 months in the refrigerator. The cool temperatures significantly slow down the oxidation of the natural oils, keeping your flour fresh.
- Freezer: For maximized freshness and longer-term storage, the freezer is your best bet. Stored in an airtight container or freezer-safe bag, oat flour can remain fresh for 6 months to a year. When you need to use it, simply take out the required amount and let it come to room temperature before incorporating it into your recipe.
- Pantry: While possible, storing oat flour in the pantry is the least recommended method for prolonged periods. If stored in a cool, dark, and airtight spot in the pantry, it will typically stay fresh for about 1 month. Beyond that, the risk of it becoming rancid increases. Always check for any off-smells (a bitter or chemical scent) before using pantry-stored oat flour.
Regardless of the storage location, always use an airtight container to protect the flour from moisture, air, and pantry pests. Label your container with the date of grinding to easily track its freshness.
Expert Tips for Achieving Perfect Homemade Oat Flour Every Time
While making oat flour is straightforward, a few key tips can elevate your results and ensure a smooth process:
- Invest in a High-Speed Blender: For the quickest and finest flour, a high-speed blender (like a Vitamix or similar powerful model) is invaluable. It can grind oats into a uniform flour in under a minute, minimizing the risk of overheating the oats or creating an inconsistent texture.
- Keep Your Blender Dry: This cannot be stressed enough. Any residual moisture in the blender jar will cause the oats to stick together and create clumps, preventing them from turning into a smooth flour. Ensure the blender is thoroughly dry before adding oats.
- Don’t Overfill: For the most uniform grinding, avoid filling your blender more than halfway. This allows the oats to circulate properly and ensures every piece comes into contact with the blades, leading to a consistently fine flour. Grinding in smaller batches, if necessary, is better than overloading the blender.
- Pulse and Blend: Start with a few short pulses to break down larger oat pieces, then switch to a continuous high setting. This technique helps achieve a more even grind and prevents the oats from just spinning around without getting properly processed.
- Avoid Over-Processing: Blend just until a fine flour consistency is reached. Over-processing can generate heat, which can start to release the oils in the oats, potentially leading to a slightly gummy texture or even pre-heating the flour, which isn’t ideal for storage.
- Sift for Finer Results: If you desire a super-fine flour for delicate recipes like macarons or light cakes, pass your homemade oat flour through a fine-mesh sieve. Any larger pieces caught in the sieve can be re-blended or used for recipes where a coarser texture is acceptable, such as muffins or bread.
Making Oat Flour Without a Blender: Alternative Methods
No blender? No problem! While a high-speed blender is the most efficient tool, you can still make oat flour using alternative kitchen equipment, especially in a pinch:
- Spice Grinder or Coffee Grinder: These smaller appliances are excellent for grinding small quantities of oats into flour. They are designed for fine grinding, making them quite effective. The process will be similar to using a blender, but you’ll likely need to work in much smaller batches and clean the grinder thoroughly afterward to avoid any flavor transfer if you use it for spices or coffee.
- Food Processor: A food processor, particularly a powerful one, can also grind oats into flour. It may take a bit longer than a high-speed blender, and you might need to stop and scrape down the sides more frequently to ensure all oats are evenly processed. Aim for short bursts to avoid overheating the motor.
- Mortar and Pestle (with patience): For a truly traditional and labor-intensive method, a mortar and pestle can be used. This will require significant effort and time, especially to achieve a very fine flour. It’s best suited for very small quantities or if you enjoy the meditative aspect of manual food preparation. You will definitely want to sift the flour extensively after this method.
Regardless of the method used, if you’re not using a powerful blender, it’s highly advisable to sift your homemade oat flour through a fine mesh sieve before use. This ensures a consistent texture and removes any larger, stubborn oat pieces that might have been missed during grinding, leading to better baking results.
Baking with Homemade Oat Flour: Substitution Guidelines and Recipe Ideas
Oat flour is a fantastic ingredient that can add a wholesome, tender texture and nutty flavor to a wide array of recipes. However, when substituting it for other flours, especially all-purpose wheat flour, it’s important to understand its unique properties:
- Substitute by Weight, Not Volume: This is a critical tip. Oat flour is lighter and less dense than all-purpose wheat flour. Therefore, substituting cup-for-cup by volume will often result in too much oat flour, leading to dense or dry baked goods. For best results, substitute by weight. A general guideline is to use about 10-15% more oat flour by weight than the all-purpose flour called for in the recipe (e.g., if a recipe calls for 100g of all-purpose flour, start with 110-115g of oat flour). Alternatively, some bakers recommend substituting oat flour for up to 25-50% of the wheat flour in a recipe without major adjustments, and gradually increasing from there.
- Increased Liquid Absorption: Oat flour tends to absorb more liquid than wheat flour. You might find that you need to add a little extra liquid to your batter or dough when using oat flour to achieve the desired consistency. Add it gradually until the mixture looks right.
- Different Texture: Baked goods made with 100% oat flour can be more delicate and crumbly than those made with wheat flour. For recipes that require a strong gluten structure (like yeasted breads), you might want to combine oat flour with another gluten-free flour blend or a small amount of wheat flour if gluten is not an issue. For many quick breads, muffins, cookies, and pancakes, oat flour works wonderfully on its own or as a primary flour.
Popular Recipes for Oat Flour:
- Pancakes and Waffles: Oat flour creates incredibly light, fluffy, and nutritious pancakes and waffles.
- Muffins and Quick Breads: It adds a wonderful tender crumb and earthy flavor to blueberry muffins, banana bread, and other quick bread recipes.
- Cookies: Oat flour makes soft, chewy cookies with a delightful texture.
- Crumbles and Crisps: It’s perfect for creating wholesome, flavorful toppings for fruit crumbles and crisps.
- Thickeners: Use it as a gluten-free thickener for soups, stews, and gravies.
Experimentation is key when baking with oat flour. Start with recipes specifically designed for it, or gradually introduce it into your favorite recipes, making small adjustments to liquid content as needed.
The Nutritional Powerhouse: Health Benefits of Oat Flour
Beyond its versatility in the kitchen, homemade oat flour brings a bounty of health benefits to your table, making it a highly desirable choice for health-conscious individuals:
- Rich in Dietary Fiber: Oat flour is an excellent source of dietary fiber, particularly soluble fiber known as beta-glucan. Beta-glucan is renowned for its ability to lower LDL (bad) cholesterol levels, support heart health, and help stabilize blood sugar levels by slowing down glucose absorption. The fiber content also promotes healthy digestion and can contribute to a feeling of fullness, aiding in weight management.
- Packed with Essential Nutrients: As a whole grain, oat flour retains all the nutritional components of the oat groat. It’s a good source of several important vitamins and minerals, including manganese, phosphorus, magnesium, copper, iron, zinc, and B vitamins (folate, B1, B5). These nutrients play crucial roles in energy metabolism, bone health, immune function, and overall well-being.
- High in Antioxidants: Oats contain unique antioxidants called avenanthramides, which are not found in other grains. These compounds have anti-inflammatory and anti-itch properties and can help protect against heart disease by preventing LDL cholesterol oxidation.
- Good Source of Plant-Based Protein: Oat flour offers a respectable amount of protein, making it a valuable ingredient for vegetarians, vegans, or anyone looking to increase their plant-based protein intake. Protein is essential for muscle repair, enzyme function, and hormone production.
- Sustained Energy Release: The complex carbohydrates and fiber in oat flour provide a steady release of energy, helping to prevent sharp spikes and drops in blood sugar. This makes it an ideal flour for breakfast items that keep you feeling energized throughout the morning.
By choosing homemade oat flour, you’re not just enhancing your baked goods with a delicious ingredient; you’re also infusing them with significant nutritional value that supports a healthy lifestyle.
How to Make Oat Flour
By: Mariam Ezzeddine
With how simple it is to make oat flour at home, you’re going to be saving the time spent going to the store and the money by making your own! Here’s how you can make flour from oats!
2 minutes
1 minute
3 minutes
1 cup
Equipment
- Blender (high-powered recommended)
- Airtight Container
- (Optional) Fine-mesh sieve
Ingredients
- 1 cup rolled oats (or quick oats/steel-cut oats)
Instructions
- Ensure your blender jar is completely dry. Add the oats to your blender, filling it no more than halfway for best results.
- Blend on high speed until the oats are transformed into a fine, powdery flour. This typically takes 20 seconds to 1 minute, depending on your blender. Pause and scrape down the sides if necessary to ensure an even grind.
- Once the desired fine consistency is achieved, transfer the homemade oat flour to an airtight container. Store in the refrigerator for up to 3 months or in the freezer for longer freshness.
Nutrition (per 1 cup of oat flour, approximate)
- Calories: 307 kcal
- Carbohydrates: 55g
- Protein: 11g
- Fat: 5g
- Saturated Fat: 1g
- Polyunsaturated Fat: 2g
- Monounsaturated Fat: 2g
- Sodium: 5mg
- Potassium: 294mg
- Fiber: 8g
- Sugar: 1g
- Calcium: 42mg
- Iron: 3mg
Making your own oat flour is an easy and impactful step towards healthier and more conscious cooking. With its natural goodness and versatility, it’s a staple you’ll be glad to have in your pantry. Start grinding today and elevate your baking to a new, wholesome level!