
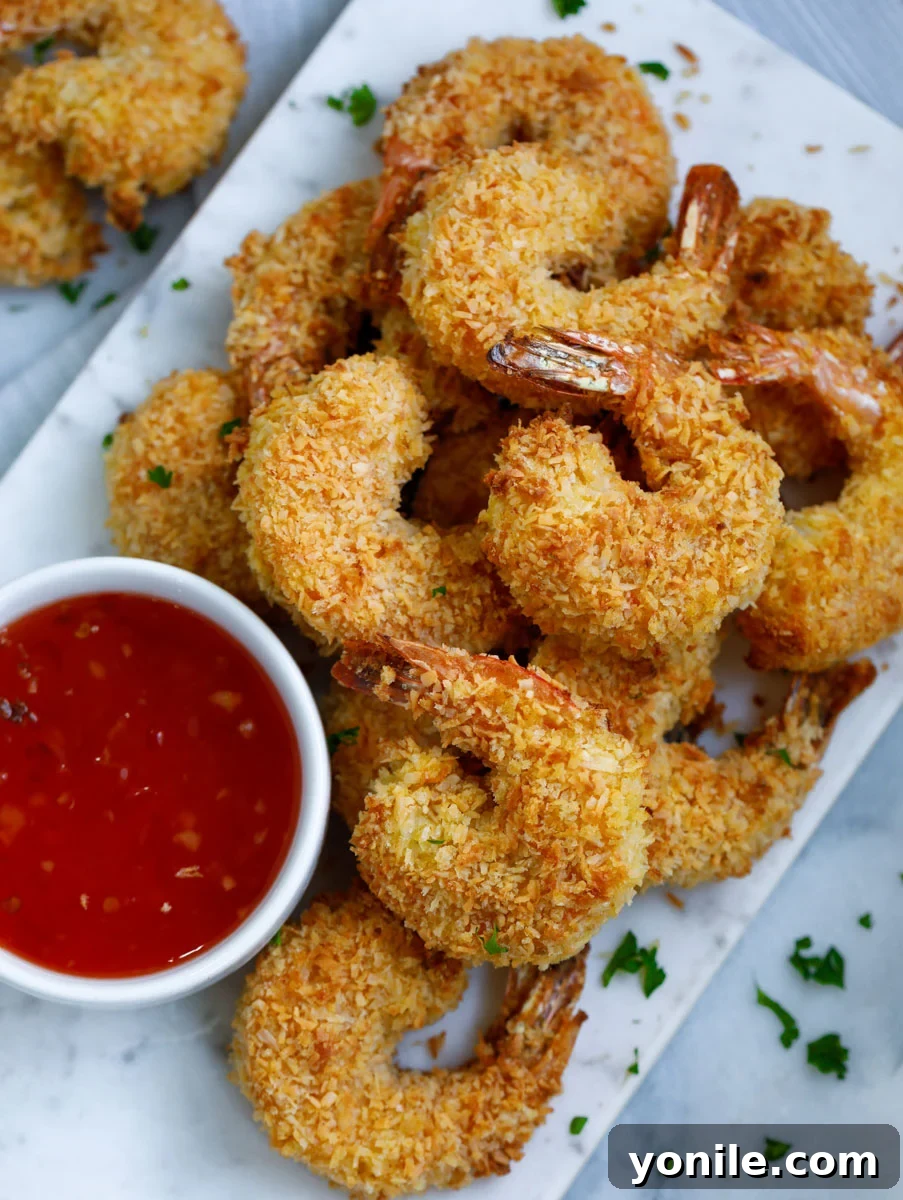
Baked Coconut Shrimp: Your Ultimate Guide to a Crispy & Flavorful Appetizer
Craving that irresistible crunch and sweet, succulent flavor of coconut shrimp but want a healthier, easier alternative to deep frying? Look no further! This Baked Coconut Shrimp recipe delivers all the crispy goodness and tropical taste you adore, made simply in your oven. Fresh, plump shrimp are perfectly coated in a delightful mix of shredded coconut and golden panko breadcrumbs, then baked to golden perfection. The result? A wonderfully crispy exterior that gives way to tender, juicy shrimp inside, all without the mess and added fat of traditional frying. It’s an effortlessly delicious appetizer or light meal that’s guaranteed to impress.
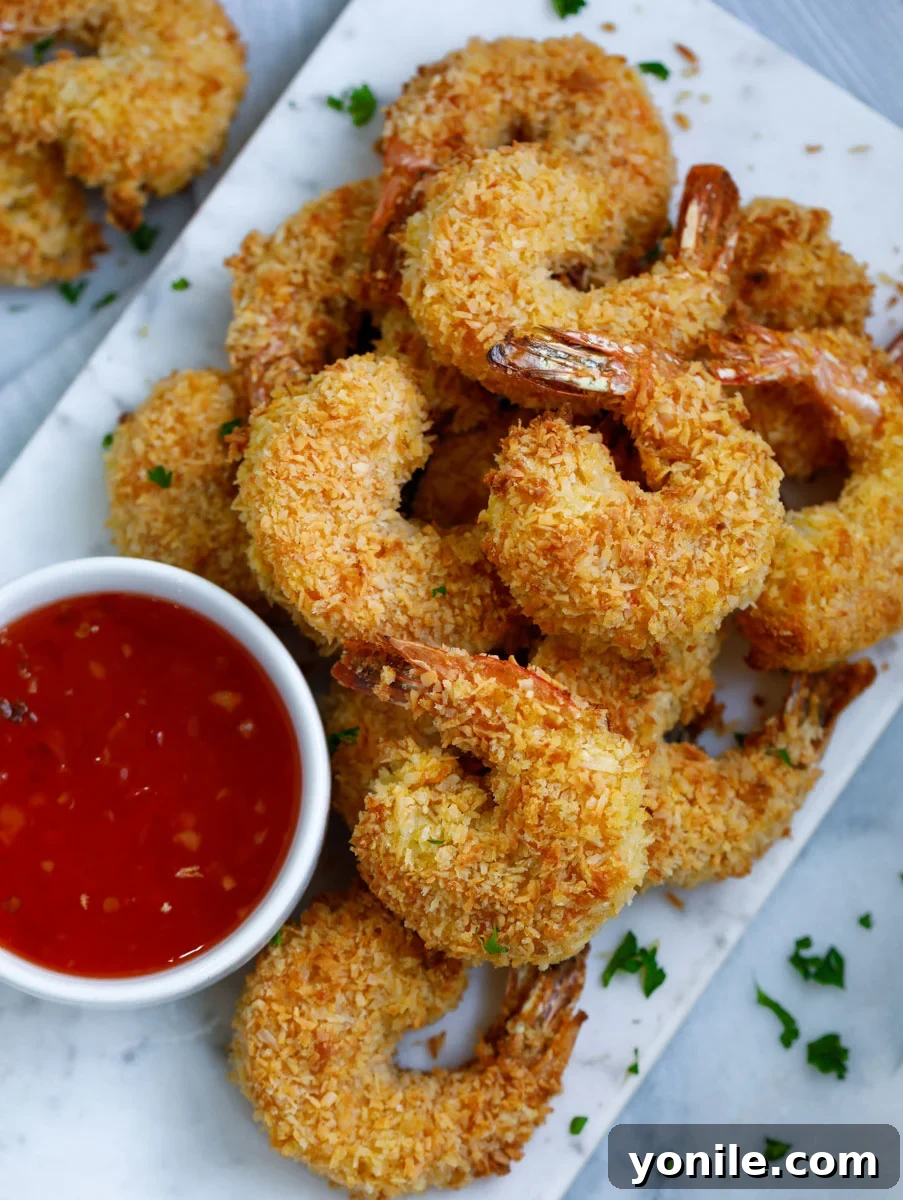
As a passionate home cook, I’ve always had a soft spot for coconut shrimp when dining out. The unique combination of savory shrimp with a sweet, tropical crust is simply divine. It was only natural that I dedicated myself to perfecting an at-home version that captures that same incredible flavor and texture. This recipe achieves just that, creating shrimp that are unbelievably juicy, beautifully crunchy, and infused with that lovely hint of sweetness from the coconut that makes this dish so special. It’s a real crowd-pleaser, perfect for any occasion.
Why This Oven-Baked Coconut Shrimp is a Must-Try!
When it comes to preparing delicious seafood, convenience and health are often key considerations. This baked coconut shrimp recipe excels on all fronts, offering several compelling reasons to make it your new go-to appetizer:
- Oven-Baked Perfection: Forget the splatters, excessive oil, and intricate cleanup associated with deep-frying. By opting for the oven, we achieve remarkably crispy shrimp that taste just as decadent as their fried counterparts, but with significantly less fat and effort. This method ensures even cooking and a beautiful golden-brown crust every time, transforming a typically indulgent dish into a smarter choice.
- Perfectly Juicy & Tender: Overcooked shrimp can quickly become rubbery and unappetizing. This recipe’s precise baking time ensures your shrimp remain incredibly juicy and tender on the inside, offering a delightful contrast to their crunchy coating. Each bite is a testament to perfectly cooked seafood, making for a truly enjoyable culinary experience.
- Effortlessly Easy & Entertainer-Friendly: With straightforward steps and common ingredients, this recipe is incredibly easy to follow, even for novice cooks. The simple dredging process and hands-off baking mean you can effortlessly prepare a large batch, making it an ideal choice for entertaining guests. Spend less time in the kitchen and more time enjoying your company with these stress-free, delicious shrimp.
- Versatile Serving Options: While absolutely fantastic on their own with a dipping sauce, these coconut shrimp are also incredibly versatile. They can be served as a sophisticated appetizer for gatherings or transformed into a light, satisfying main course. For a more substantial feast, pair them with complementary sides like my Spicy Baked Zucchini Fries and Crispy Baked Potato Skins for a truly memorable meal.
Essential Ingredients for the Best Baked Coconut Shrimp
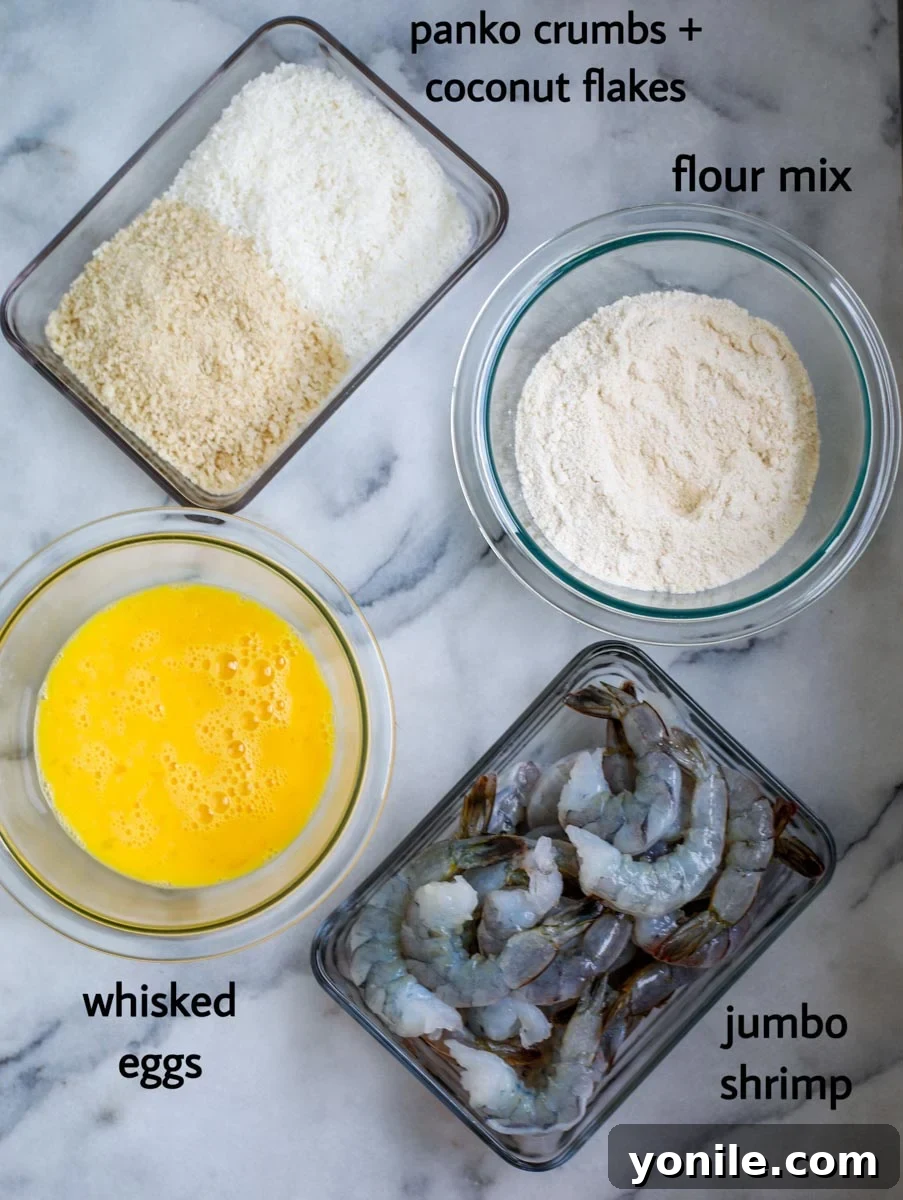
Creating these delectable shrimp requires a handful of simple, readily available ingredients. The key lies in their quality and preparation:
- Jumbo Shrimp: Opt for raw, peeled, and deveined jumbo shrimp. Patting them thoroughly dry is crucial for the breading to adhere properly. Whether fresh or frozen, ensure they are fully thawed if using frozen.
- Coconut Oil Spray: A light mist of coconut oil spray helps achieve that beautiful golden crispiness in the oven without soaking the shrimp in oil. It also adds a subtle hint of coconut flavor.
- Large Eggs: Whisked eggs act as the binding agent, helping the flour and panko-coconut mixture stick to the shrimp.
- Panko Crumbs: These Japanese-style breadcrumbs are coarser and lighter than regular breadcrumbs, resulting in an incredibly airy and crispy texture when baked. They are indispensable for achieving that signature crunch.
- Shredded Coconut Flakes: Dry, unsweetened or lightly sweetened shredded coconut flakes are vital for the tropical flavor and added texture. Ensure they are dry, not fresh, for the best coating.
- All-Purpose Flour: The initial coating of flour provides a dry surface for the egg to cling to, ensuring a consistent and even layer of breading.
- Seasoning Blend: A simple yet effective blend of onion powder, garlic powder, paprika, black pepper, and salt elevates the flavor of the flour mixture, adding depth and a savory balance to the sweetness of the coconut.
How to Make Perfect Baked Coconut Shrimp: Step-by-Step
Achieving perfectly crispy and flavorful baked coconut shrimp is simpler than you might think. Follow these detailed steps for a flawless result:
- Prepare Your Oven: Begin by preheating your oven to a robust 425 degrees F (220 degrees C). This high temperature is key to ensuring the shrimp cook quickly and achieve maximum crispness without becoming dry.
- Set Up Your Dredging Station: Arrange four separate, shallow bowls or dishes for your breading station. In the first bowl, place the well-patted dry shrimp. In the second bowl, combine the panko crumbs and shredded coconut flakes, mixing them thoroughly. In the third bowl, whisk your large eggs until they are well combined. Finally, in the fourth bowl, whisk together the flour, onion powder, garlic powder, paprika, black pepper, and salt. This organized setup will make the breading process smooth and efficient.
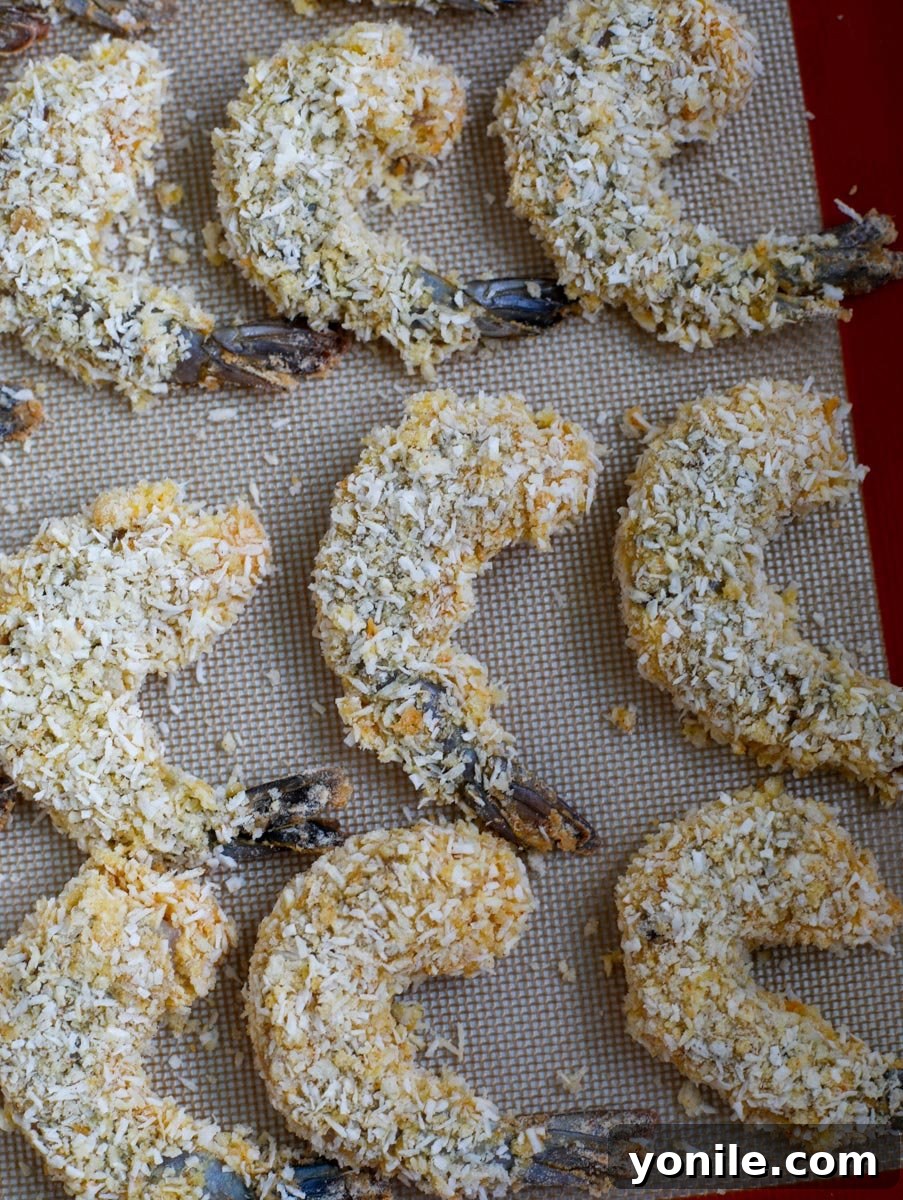
- Coat the Shrimp: Take one shrimp at a time. First, dip it into the seasoned flour mixture, ensuring it’s lightly coated on all sides. Gently shake off any excess flour. Next, transfer the flour-coated shrimp into the whisked eggs, letting any extra egg drip off. Finally, thoroughly coat the shrimp in the panko and coconut mixture, pressing gently to ensure the crumbs adhere well.
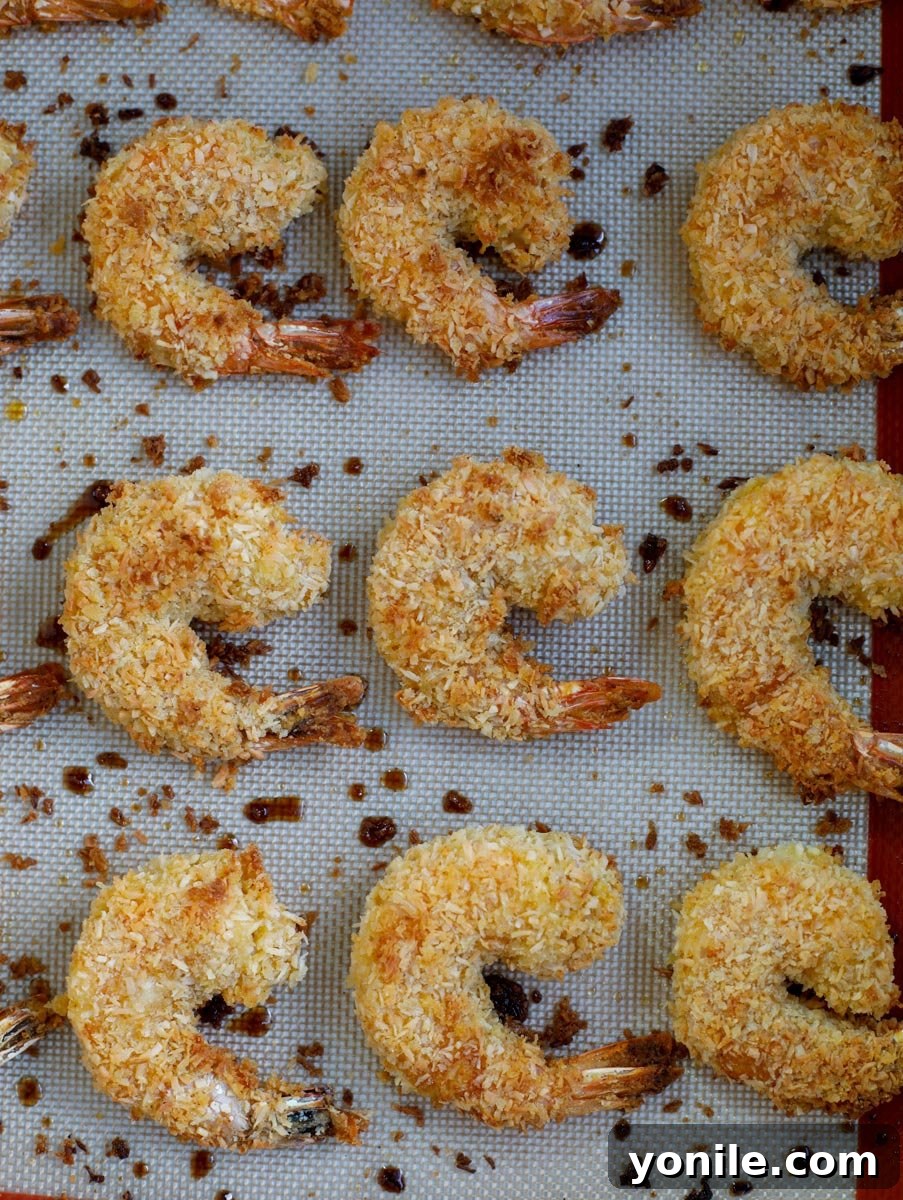
- Prepare the Baking Sheet: Line a large baking sheet with parchment paper, non-stick foil, or a silicone baking mat. This crucial step prevents the shrimp from sticking to the pan and ensures easy cleanup. Arrange the coated shrimp on the prepared baking sheet in a single layer, making sure they are spaced at least 1 inch apart to allow for even cooking and optimal crisping. Overcrowding can lead to steaming, which will prevent them from getting crispy.
- Oil and Bake: Generously spray both sides of the coated shrimp with coconut oil spray. This not only enhances the flavor but also aids in achieving that beautiful golden-brown, crispy crust. Transfer the baking sheet to your preheated oven and bake for exactly 10 minutes. Resist the urge to open the oven door during this time.
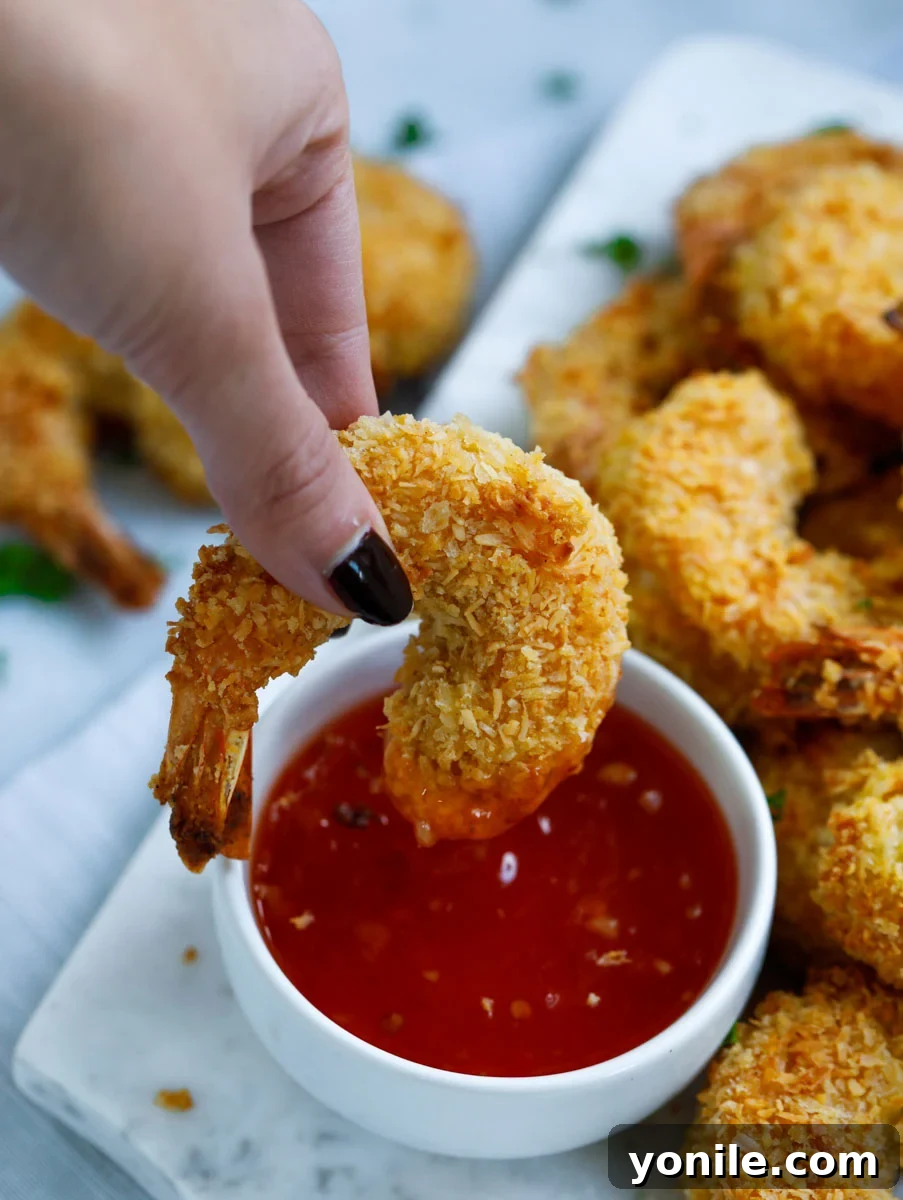
- Serve Immediately: Once baked, carefully remove the shrimp from the oven. Transfer them to a serving dish and serve them hot and fresh with your favorite dipping sauce. The best flavor and texture are experienced straight out of the oven!
Pro Tips for Irresistible Baked Coconut Shrimp
Elevate your baked coconut shrimp from great to unforgettable with these expert tips and notes:
- Mind the Cooking Time: Shrimp cook very quickly. They only require about 10 minutes in a hot oven. Cooking them for too long will result in a rubbery, unpleasant texture. Keep a close eye on them; they should be opaque and pink when done.
- Explore Dipping Sauce Pairings: While sweet chili sauce is a classic and highly recommended accompaniment, don’t limit yourself! Experiment with different dips to find your perfect match. Spicy mayo, a tangy lime aioli, a fresh mango salsa, or even a simple Sriracha-ranch blend can all complement the sweet and savory notes of the shrimp beautifully.
- Crucial Baking Sheet Prep: Always line your baking sheet with parchment paper or use a high-quality non-stick baking mat. This is absolutely essential to prevent the delicate breading from sticking to the pan, ensuring each shrimp comes off cleanly and retains its crispy coating.
- To Tail or Not to Tail?: I personally prefer to keep the tails on the shrimp. It offers a convenient handle for dipping and eating, enhancing the appetizer experience. However, if you or your guests prefer to remove them for easier consumption, feel free to do so before breading.
- Avoid Overcrowding: When arranging shrimp on the baking sheet, ensure there’s at least an inch of space between each piece. Overcrowding the pan can lead to trapped steam, which prevents the breading from crisping up properly. If necessary, bake in two batches.
Frequently Asked Questions About Baked Coconut Shrimp
Can I use frozen shrimp for this recipe?
Absolutely! While fresh shrimp are always wonderful, frozen shrimp are a perfectly acceptable and convenient alternative. Just be sure to thaw them completely before you begin the breading process. You can do this by placing them in the refrigerator overnight or by submerging the sealed package in cold water for about 30 minutes to an hour. Regardless of whether you use fresh or frozen, always ensure the shrimp are peeled and deveined, and most importantly, patted thoroughly dry before breading to help the coating adhere.
Can I prepare these coconut shrimp ahead of time?
For the absolute best texture, baked coconut shrimp are ideal when served immediately, fresh out of the oven. However, you can certainly prep them a few hours in advance. After breading the shrimp, arrange them on your prepared baking sheet, cover them loosely with plastic wrap, and store them in the refrigerator. When you’re ready to serve, simply pop them into the preheated oven and bake as directed. This makes entertaining much easier!
What’s the best technique for dredging without making a mess?
Dredging can indeed get a little messy, with flour and breadcrumbs sticking to your hands. To minimize this and streamline the process, try the “one hand wet, one hand dry” method. Use one hand (your “dry” hand) to move the shrimp from the flour to the egg. Then, use your other hand (your “wet” hand) to transfer the shrimp from the egg to the panko mixture and press the coating on. This keeps one hand relatively clean and prevents clumps of breading from forming. Alternatively, you can use a couple of forks or tongs for a completely hands-free approach.
How do I store and reheat leftover baked coconut shrimp?
If you happen to have any leftovers, allow them to cool completely before storing them in an airtight container in the refrigerator for up to 2-3 days. To reheat and restore their crispness, it’s best to avoid the microwave. Instead, preheat your oven or an air fryer to 350°F (175°C) and reheat for 5-7 minutes, or until thoroughly warmed through and crispy again. This method will help revive their delicious texture.
Can I make this recipe gluten-free?
Yes, you can adapt this recipe to be gluten-free! Simply substitute the all-purpose flour with a gluten-free all-purpose flour blend and use gluten-free panko breadcrumbs. Ensure any seasoning blends you use are also certified gluten-free. The shredded coconut and eggs are naturally gluten-free.
Make it a Meal: Serving Suggestions
These baked coconut shrimp are incredibly versatile and can be enjoyed in various ways:
- Classic Appetizer: Serve them hot with an array of dipping sauces for a festive party starter. Sweet chili, mango salsa, pineapple-habanero dip, or a creamy lime aioli are all fantastic choices.
- Light Lunch or Dinner: Pair a generous serving of shrimp with a fresh green salad tossed in a light vinaigrette for a satisfying and healthy meal.
- Tropical Bowl: Create a vibrant bowl with coconut rice, black beans, a sprinkle of fresh cilantro, and a squeeze of lime juice, topped with these crispy shrimp.
- Shrimp Tacos: Shred the crispy shrimp and tuck them into warm tortillas with slaw, a drizzle of spicy crema, and a squeeze of lime for a unique taco night.
More Delicious Shrimp Recipes to Explore
If you’re a fan of shrimp, you’ll love exploring these other fantastic recipes:
- Shrimp Fajita Pasta Salad
- Creamy Cajun Shrimp Pasta
- Shrimp Salad
- Shrimp Taco Meal Prep
- Teriyaki Shrimp
I genuinely hope you enjoy this delightful and easy recipe for Baked Coconut Shrimp as much as I do. It’s a testament to how simple ingredients and a clever cooking method can create something truly special. I encourage you to try it, savor every crispy, juicy bite, and perhaps even rate it and share your culinary success with friends and family!
Don’t forget to connect with me on INSTAGRAM to share your delicious recreations and for more recipe inspiration. Until our next culinary adventure. XoXo…
Crunchy Baked Coconut Shrimp
By: Mariam Ezzeddine
This Baked Coconut Shrimp is such a delicious and easy appetizer! Fresh shrimp are coated in a coconut and panko breadcrumbs and are baked in the oven so that they get wonderfully crispy without the need for deep frying.
Prep Time: 15 minutes | Cook Time: 10 minutes | Total Time: 25 minutes | Servings: 8 servings
Ingredients
- Main Ingredients:
- 2 lbs jumbo shrimps, raw, peeled, and patted dry
- 1 coconut oil spray
- 3 large eggs, whisked
- Panko Mix:
- 1 cup panko crumbs
- 2/3 cup shredded coconut flakes, dry
- Flour Mix:
- 1 cup all-purpose flour
- 1 tsp onion powder
- 1 tsp garlic powder
- 1 tsp paprika
- 1/2 tsp black pepper
- 1 tsp salt
Instructions
- Preheat the oven to 425 degrees F (220°C).
- Prepare your dredging station: Set out four bowls. In the first, place the raw shrimp. In the second, combine the panko crumbs and shredded coconut. In the third, place the whisked eggs. In the fourth, mix the flour with onion powder, garlic powder, paprika, black pepper, and salt.
- Dredge the shrimp one at a time: first dip into the flour mixture (shake off excess), then into the whisked eggs (let excess drip off), and finally coat thoroughly in the panko-coconut mix (pressing gently to adhere).
- Line a baking sheet with parchment paper or a non-stick baking mat. Place the coated shrimp on the sheet pan, ensuring they are at least 1 inch apart to promote crispness.
- Generously spray both sides of the shrimp pieces with coconut oil spray.
- Bake in the preheated 425 degree F oven for 10 minutes, or until golden brown and cooked through.
- Remove from the oven, transfer to a serving dish, and serve immediately with sweet chili sauce or your preferred dip.
Notes
- Avoid Overcooking: Shrimp cook very quickly. Baking for just 10 minutes at 425°F is typically sufficient. Overcooking will lead to tough, rubbery shrimp.
- Dipping Sauce Variety: While sweet chili sauce is a classic pairing, feel free to experiment with other dips like spicy mayo, mango salsa, or a garlic-lime aioli.
- Prevent Sticking: Always line your baking sheet with parchment paper or use a silicone baking mat to prevent the breading from sticking to the tray.
- Tails On or Off: Keeping the tails on provides a convenient handle for eating, especially as an appetizer. However, you can remove them if preferred.
- Dry Shrimp is Key: Ensure your shrimp are thoroughly patted dry before breading. Moisture will prevent the coating from sticking properly and result in less crispy shrimp.
Nutrition
Approximate nutritional values per serving (based on 8 servings):
- Calories: 278 kcal
- Carbohydrates: 20g
- Protein: 29g
- Fat: 9g
- Saturated Fat: 5g
- Cholesterol: 347mg
- Sodium: 1254mg
- Potassium: 198mg
- Fiber: 2g
- Sugar: 1g
- Vitamin A: 231 IU
- Vitamin C: 5mg
- Calcium: 192mg
- Iron: 4mg