
Irresistible Magic Bars with Coconut: Your New Favorite Easy Dessert
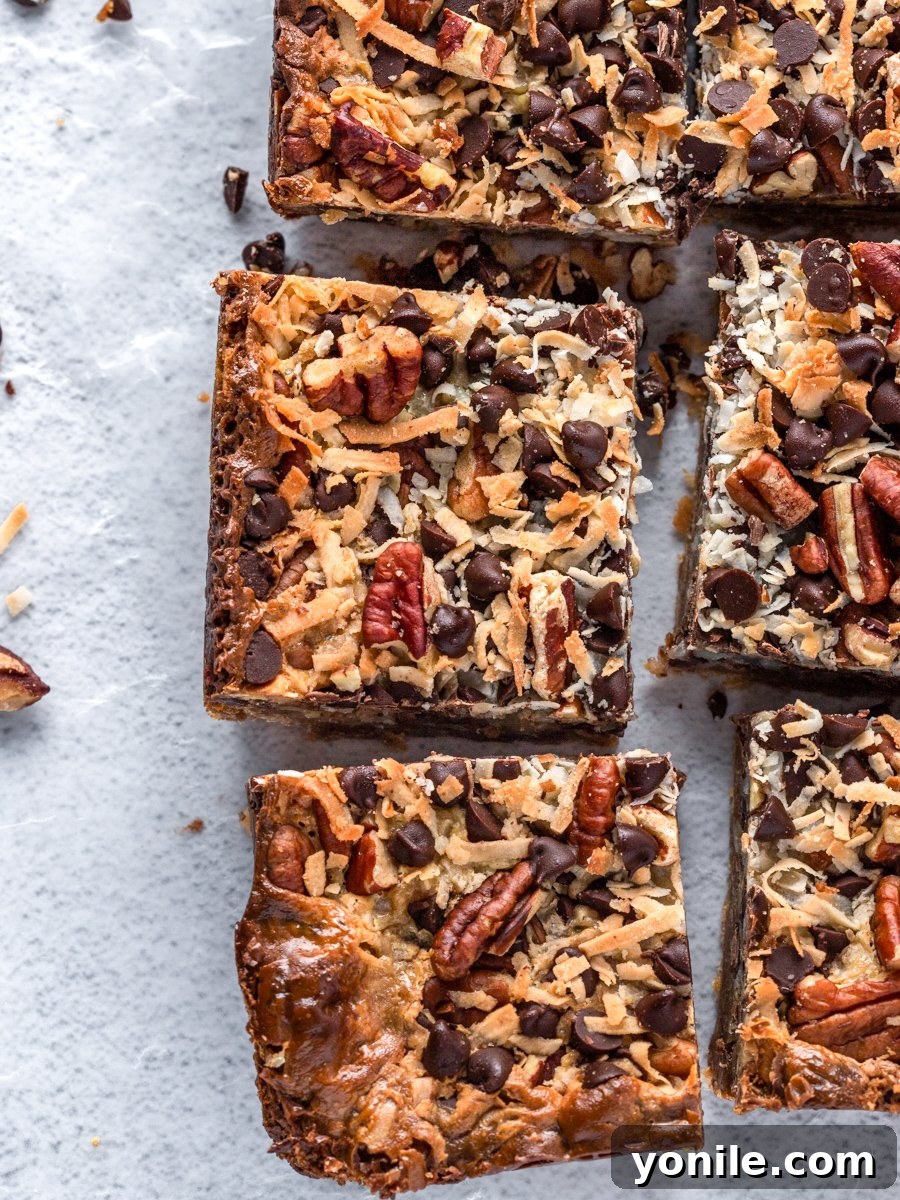
Prepare yourself for a truly enchanting dessert experience with these incredible Magic Bars. Made with only seven staple ingredients, these delightful treats are arguably the easiest and most satisfying bars you’ll ever bake! Often referred to as Hello Dolly Bars or Seven Layer Bars, these ooey-gooey confections masterfully blend the tropical sweetness of shredded coconut with the rich indulgence of chocolate chips and the nutty crunch of pecans, all harmoniously held together by a perfectly golden-brown graham cracker crust. Each bite delivers a symphony of textures and flavors that will undoubtedly earn them a permanent spot in your recipe collection.
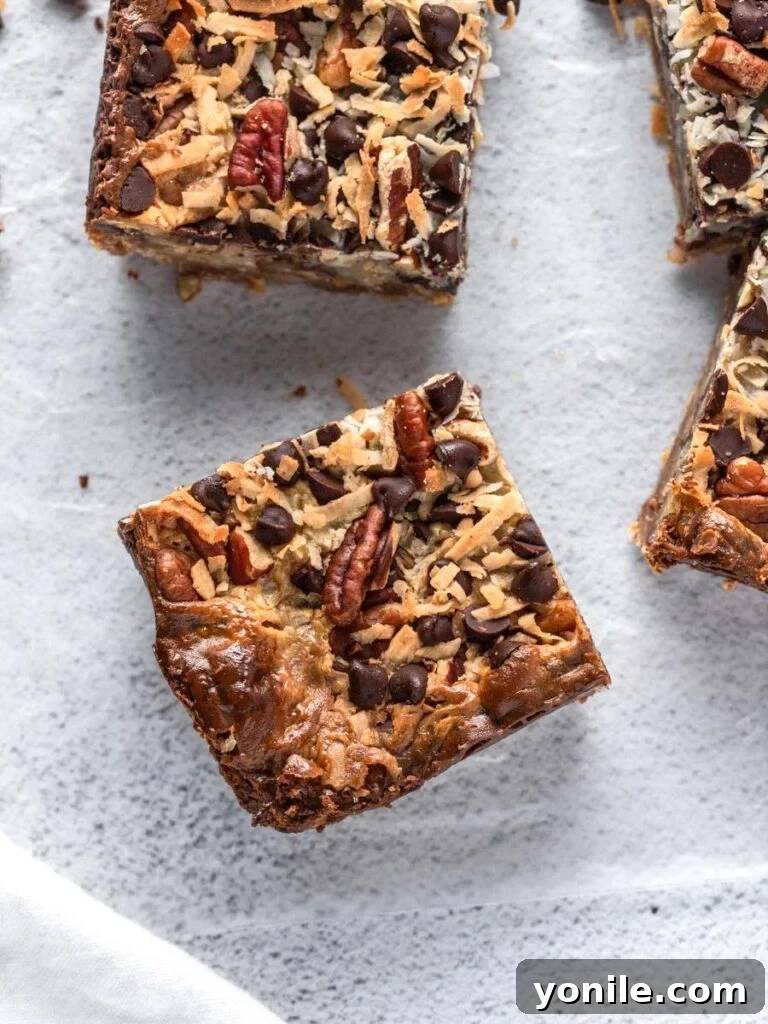
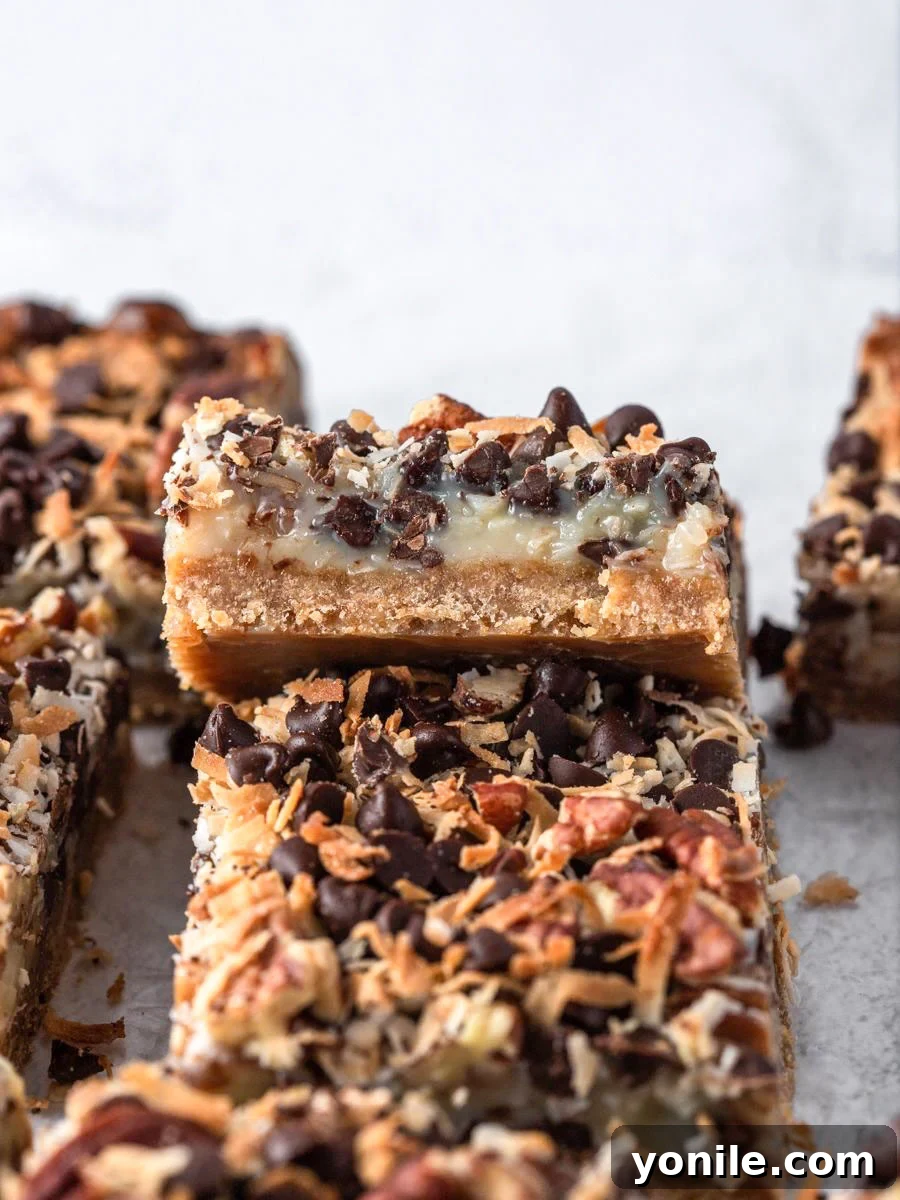
At first glance, you might wonder how such a simple combination of ingredients can produce such extraordinary results. The secret to these amazing bars lies in one magical component: sweetened condensed milk. While it begins as a pourable liquid, the condensed milk transforms during baking, caramelizing into a luscious, sticky “glue” that binds the crunchy graham cracker base with the irresistible layers of toppings. This unique transformation is precisely why these coconut magic bars are so aptly named—they truly are amazing, requiring no fancy equipment or advanced baking skills. Just a mixing bowl, a spatula, and a baking pan are all you need to create these crowd-pleasing treats.
For those who adore the sweet, tropical flavor of coconut, these bars are an absolute dream come true. If you’re a fan of coconut-infused desserts, you might also enjoy exploring recipes like our delightful Basbousa Cake with Coconut, which offers another fantastic way to incorporate this beloved ingredient into your baking repertoire.
Why You’ll Fall in Love with This Coconut Magic Bar Recipe
These coconut magic bars aren’t just a dessert; they’re an experience waiting to happen. Here’s why this recipe will quickly become a cherished favorite in your kitchen:
- Effortlessly Simple Ingredients: This magic bar recipe truly lives up to its name by requiring only seven basic ingredients. Chances are, many of these pantry staples are already in your cupboard! If not, they are incredibly easy to source from any local grocery store, making this a convenient option for impromptu baking sessions. You won’t need to hunt for exotic or expensive items to create this masterpiece.
- Unbelievably Easy to Prepare: Say goodbye to complicated baking techniques and specialized equipment. These magic bars are a dream for novice bakers and a lifesaver for seasoned cooks needing a quick, impressive dessert. There’s no fancy mixing, no proofing, and minimal cleanup. Simply layer the ingredients in a pan, bake, and cool. It’s an ideal recipe for getting kids involved in the kitchen, offering a fun and rewarding baking project that yields delicious results every time.
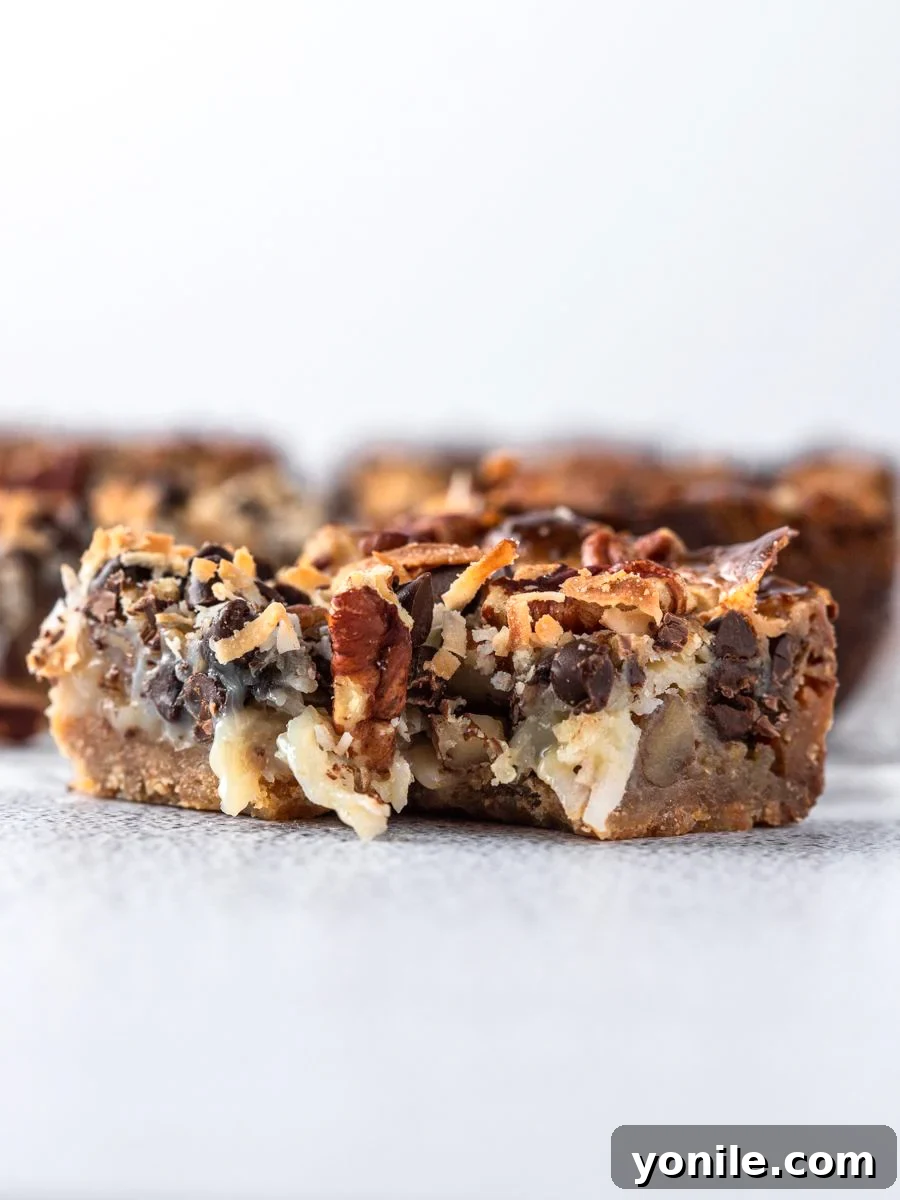
- An Exquisite Blend of Flavors and Textures: Prepare your taste buds for an unforgettable journey. These coconut magic bars hit every possible note: they’re wonderfully sweet, deliciously chewy, delightfully nutty from the pecans, rich and satisfyingly chocolatey, imbued with a luscious caramel-like depth from the condensed milk, and topped with a satisfying crunch. The harmonious contrast between the crisp graham cracker crust, the soft, gooey center, and the varied toppings creates a truly sensational dessert that caters to all cravings.
Essential Ingredients for Perfect Coconut Magic Bars
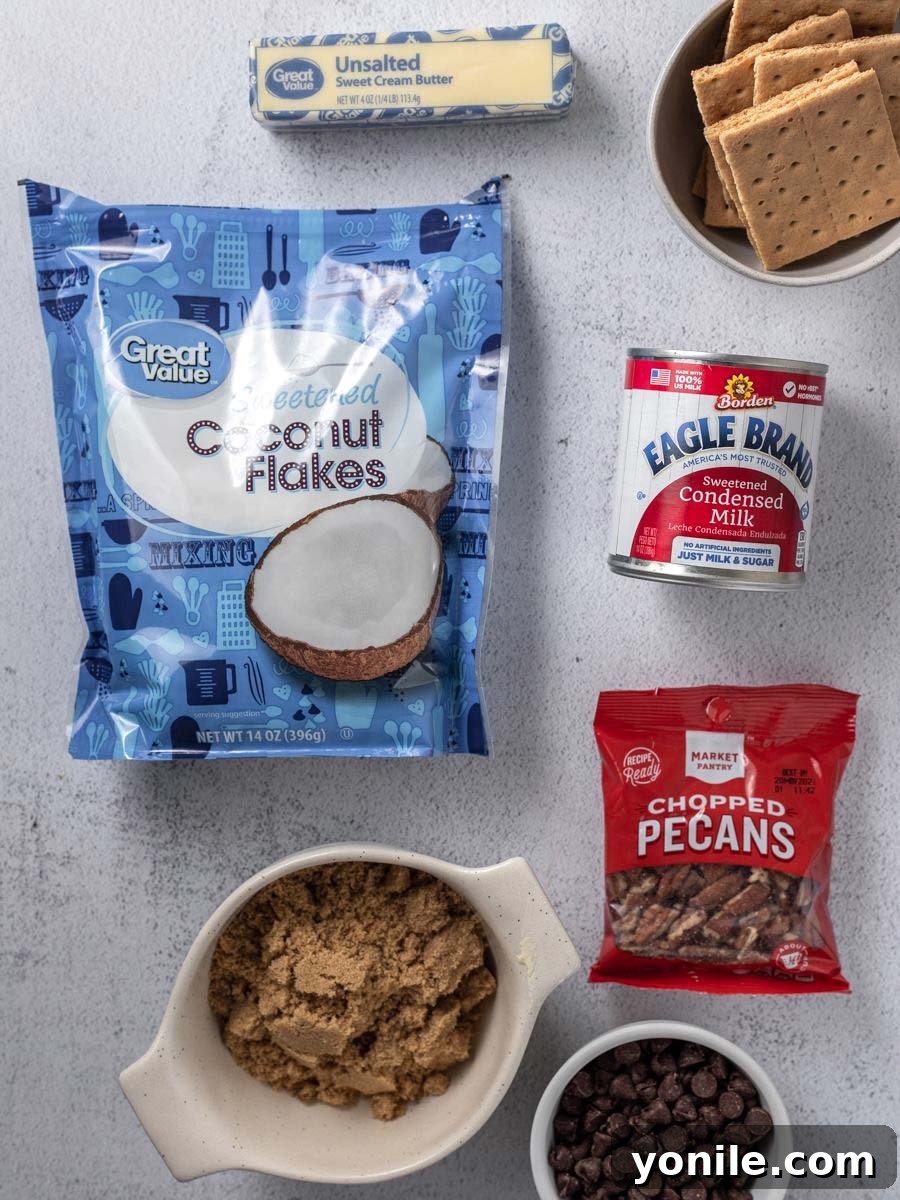
Crafting these heavenly bars starts with selecting the right components. Here’s a detailed look at the seven ingredients that make these magic bars truly special:
- Unsalted Butter: Essential for the rich, buttery flavor in the crust. Using unsalted butter allows you to control the overall saltiness of your bars, ensuring a perfectly balanced sweetness. Make sure it’s melted for easy incorporation into the graham cracker crumbs.
- Brown Sugar: Adds a subtle molasses flavor and a wonderfully soft, moist texture to the graham cracker crust. Its slight caramel notes also complement the condensed milk beautifully.
- Graham Crackers: The foundation of our magic bars! These provide the perfect crispy, slightly sweet base. Finely crushing them ensures an even, cohesive crust.
- Sweetened Condensed Milk: This is the “magic” ingredient! It not only sweetens the bars but also creates that signature gooey, caramel-like layer that binds all the toppings together. Important: Double-check that you are using sweetened condensed milk and not evaporated milk. While they look similar in cans, their compositions and roles in baking are entirely different; evaporated milk will not yield the same results.
- Chocolate Chips: A classic inclusion for a reason, providing pockets of melted, decadent chocolate throughout the bars. You can use semi-sweet, milk chocolate, or even dark chocolate chips depending on your preference.
- Pecans: Contribute a wonderful buttery crunch and earthy flavor that balances the sweetness. Chopped pecans ensure they are evenly distributed and easy to bite into.
- Sweetened Shredded Coconut: The star of these “coconut” magic bars! It offers a delightful chewiness and distinct tropical flavor that makes these bars so addictive. Ensure it’s sweetened for that extra layer of indulgence.
Crafting the Best Coconut Magic Bars: A Step-by-Step Guide
Follow these straightforward steps to create perfect, irresistible magic bars every time:
Step 1: Prepare Your Oven and Baking Pan – Begin by preheating your oven to 350°F (175°C). This ensures your oven is at the correct temperature for even baking. Next, take a 9×9 inch (23×23 cm) square baking pan and lightly spray it with nonstick cooking spray. For effortless removal of the cooled bars, line the pan with two strips of parchment paper, creating a cross shape across the bottom. Allow a slight overhang on all sides; these “handles” will be crucial later for lifting the entire slab of bars out of the pan.
Step 2: Create the Perfect Graham Cracker Crust – In a medium-sized mixing bowl, combine the melted unsalted butter, brown sugar, and your finely crushed graham crackers. Stir these ingredients together until the mixture is uniformly moistened and resembles wet sand. Once combined, gently but firmly press this mixture into the bottom of your prepared pan. Ensure it’s an even layer, as this forms the sturdy and delicious base of your magic bars.
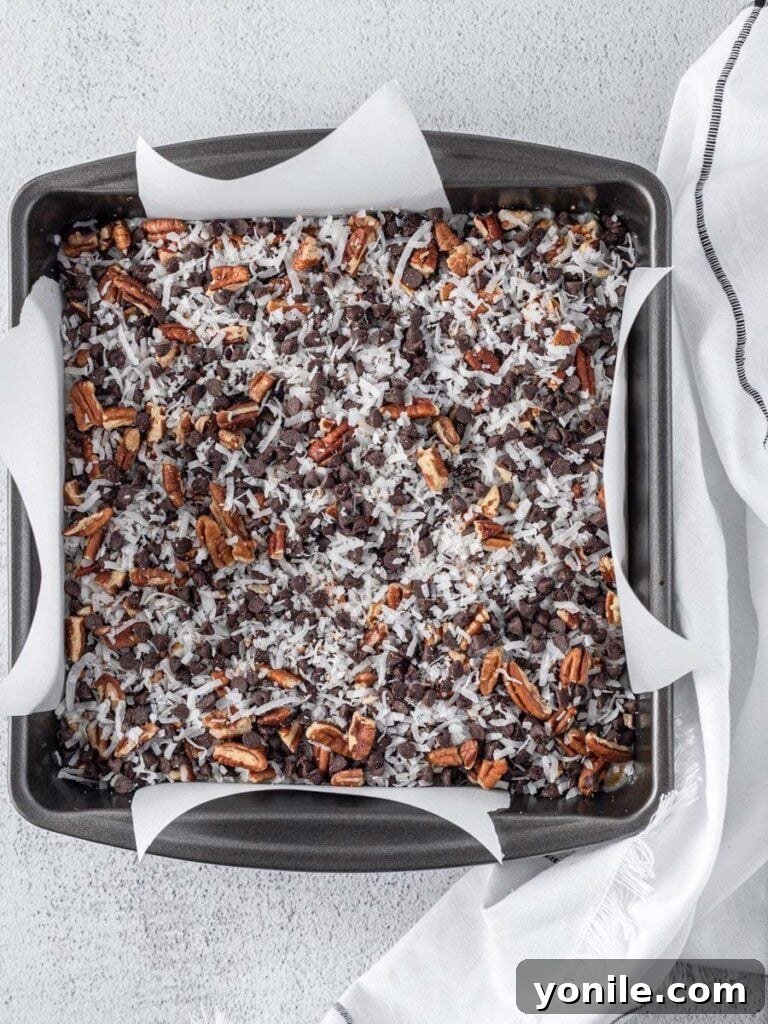
Step 3: Pour the Sweetened Condensed Milk – Carefully and evenly pour the entire can of sweetened condensed milk over the pressed graham cracker crust. This liquid will spread and seep into the crust, creating that iconic gooey caramel layer once baked. Try to cover the entire surface of the crust.
Step 4: Combine and Sprinkle the Toppings – In a separate small bowl, combine the chocolate chips, chopped pecans, and sweetened shredded coconut. Toss them gently until they are well mixed. Then, take this enticing mixture and sprinkle it evenly over the layer of sweetened condensed milk in the pan. Distribute the toppings from edge to edge to ensure every bar gets a good amount of each delicious component.
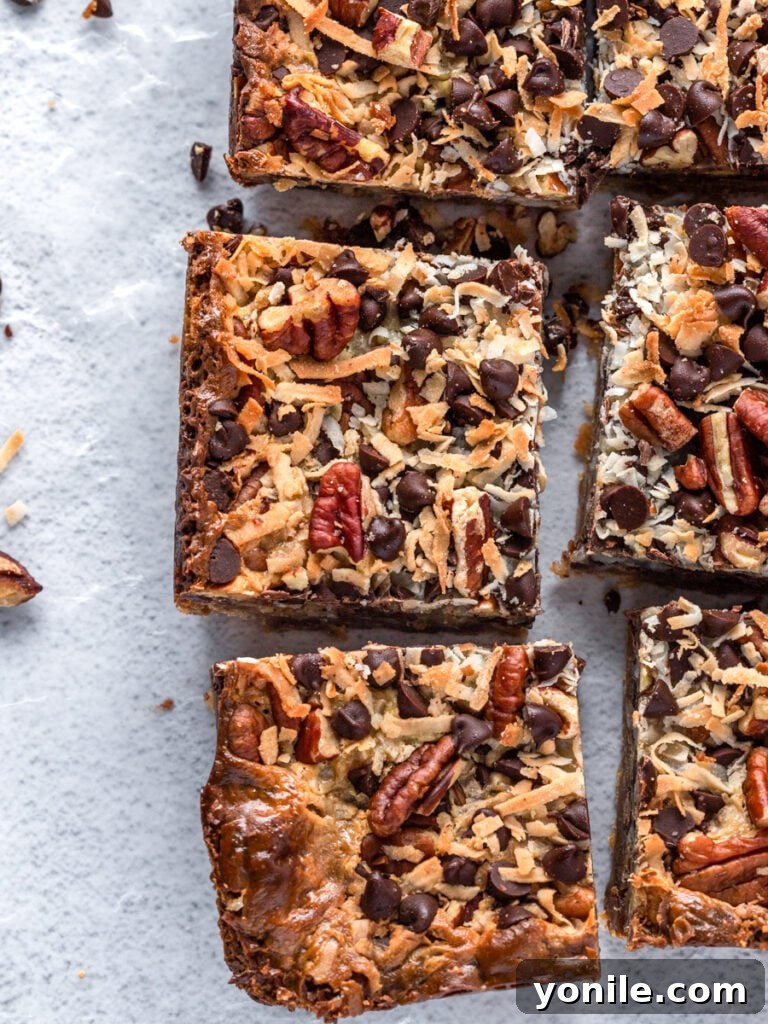
Step 5: Bake to Golden Perfection – Carefully place your pan on the center rack of your preheated oven. Bake for approximately 20-25 minutes, or until the edges are golden brown and the coconut topping has taken on a lovely toasted, golden hue. The sweetened condensed milk should be bubbling slightly and appear set. Keep an eye on the coconut to prevent over-browning.
Step 6: Cool and Serve – Once baked, remove the magic bars from the oven. This is a crucial step for achieving clean slices: allow the bars to cool completely in the pan on a wire rack. This cooling period allows the condensed milk to set properly, making the bars firm enough to handle and cut. Attempting to cut them while warm will result in a sticky, messy situation. Once fully cooled, use the parchment paper overhang to gently lift the entire slab of magic bars out of the pan. Place them on a cutting board and slice into individual bars of your desired size.
Exciting Recipe Variations for Your Magic Bars
One of the best things about magic bars is their incredible versatility. Feel free to experiment with these variations to customize them to your taste or what you have on hand:
- Chocolate Chips: While semi-sweet chocolate chips are classic, don’t hesitate to swap them for any type of chip you adore! Consider white chocolate chips for a creamier sweetness, caramel chips for an extra layer of gooey indulgence, butterscotch chips for a distinct, rich flavor, or dark chocolate chips for a more intense cocoa punch. You could even mix and match a couple of different types for a complex flavor profile.
- Nut Substitutions: If pecans aren’t your preferred nut or if you simply don’t have them, walnuts are an excellent substitute, offering a similar crunch and earthy flavor. Almonds, cashews, or even macadamia nuts, roughly chopped, would also work beautifully, adding their unique textures and flavors to the mix.
- Add Dried Fruit: For a burst of fruity flavor and an added chewiness, consider sprinkling in some dried fruit. Small pieces of dried cranberries, chopped dried apricots, golden raisins, or even candied orange peel can elevate these bars with a touch of tartness or citrus.
- Creative Crust Options: Elevate your crust beyond traditional graham crackers! For a gourmet twist, try using finely crushed Biscoff cookies (speculoos cookies) for a spiced, caramelized base. Oreo cookies (without the cream filling, just the dark cookie crumbs) create a striking visual and chocolatey foundation. Chocolate wafers or even shortbread cookies can also be crumbled and used, as long as they provide a firm, crumbly texture when mixed with butter and sugar.
- Add a Swirl: For an extra layer of flavor and visual appeal, consider drizzling a small amount of peanut butter, Nutella, or even caramel sauce over the sweetened condensed milk before sprinkling the toppings. Use a skewer or knife to gently swirl it into the milk.
- Holiday Themed Bars: Adapt your magic bars for different holidays! Use red and green M&M’s for Christmas, pastel candies for Easter, or even candy corn for Halloween.
Storing Your Delicious Coconut Magic Bars
Proper storage ensures your magic bars remain fresh, chewy, and delicious for days. Here’s how to keep them at their best:
- At Room Temperature: For short-term enjoyment, store your magic bars in an airtight container at room temperature. They will remain wonderfully fresh and chewy for 3 to 5 days. This is perfect for everyday snacking or if you plan to share them soon after baking.
- In the Refrigerator: If you prefer a firmer bar or need to extend their shelf life, place them in an airtight container or wrap them tightly in plastic wrap before refrigerating. Coconut magic bars can be stored in the fridge for up to a week. Chilling them also makes them easier to cut into perfectly clean squares.
- In the Freezer: Magic bars freeze exceptionally well, making them an excellent make-ahead dessert! To freeze, ensure the bars are completely cooled. Wrap individual bars or small batches tightly in plastic wrap, then place them in a freezer-safe airtight container or heavy-duty freezer bag. They can be frozen for up to 3 months. To prevent freezer burn, ensure no air pockets remain in the wrapping. Thaw frozen bars in the refrigerator overnight or at room temperature for a couple of hours before serving.
Frequently Asked Questions About Magic Bars
What is the origin of Magic Bars?
Magic Bars, also widely known as Hello Dolly Bars or Seven Layer Bars, gained popularity in the 1960s. Their exact origin is somewhat debated, but they are often attributed to a recipe printed on the labels of Eagle Brand Sweetened Condensed Milk cans. The simple, layered structure and the “magical” transformation of condensed milk into a caramel-like binder quickly made them a household favorite for their ease of preparation and delicious results.
Can I use pre-crushed graham crackers?
Absolutely, yes! Using pre-crushed graham cracker crumbs is a fantastic time-saving shortcut. Many grocery stores sell them in boxes or bags, ready for use. If you’re crushing your own, you can easily do so by placing whole graham crackers in a zip-top bag and crushing them with a rolling pin, or by pulsing them in a food processor until fine crumbs are formed. Just ensure the texture is consistently fine to create a stable crust.
Do I have to line my pan with parchment paper?
While not strictly mandatory, lining your pan with parchment paper, especially in a cross shape with an overhang, is highly recommended. This clever technique acts as a sling, allowing you to easily lift the entire slab of baked and cooled magic bars out of the pan. This makes slicing them much simpler and results in cleaner, more professional-looking bars. Without it, you might find it challenging to remove the sticky, gooey bars cleanly, risking breakage.
How do I get clean slices?
Achieving perfectly clean slices for these chewy and gooey bars requires patience and a little trick. Do not attempt to cut them immediately after removing them from the oven, as they will be too soft and sticky. The key is to allow your bars to cool completely at room temperature, then place them in the refrigerator for at least 30 minutes (or even an hour) before slicing. Chilling firms up the condensed milk layer, making the bars much easier to cut cleanly. Use a sharp, hot knife (run it under hot water and wipe it dry between cuts) for the best results.
Can I make these dairy-free or gluten-free?
Yes, with a few substitutions! To make them dairy-free, use a plant-based butter substitute, a dairy-free sweetened condensed milk alternative (coconut-based versions are widely available), and dairy-free chocolate chips. For gluten-free magic bars, simply swap the traditional graham crackers for gluten-free graham crackers or a suitable gluten-free cookie crumb (like gluten-free shortbread). Always check all other ingredient labels to ensure they are certified gluten-free or dairy-free as needed.
If you’re looking to expand your dessert repertoire further, be sure to try our delightful Almond Joy Ice Cream and the refreshing Strawberry Cheesecake Ice Cream. Each offers a unique and satisfying treat!
I genuinely hope you enjoy all the recipes I share with you, and this delicious Magic Bar with Coconut recipe is no exception. It’s a truly rewarding baking experience that results in an unforgettable dessert. I encourage you to try it, savor every bite, rate it, and share this delightful creation with your friends and family!
If you try this recipe and love it as much as I do, please use my hashtag to share your creation with me on INSTAGRAM for a chance to be featured in my story! Also, be sure to follow Cookin’ With Mima on FACEBOOK | INSTAGRAM | PINTEREST for all of my latest social posts, kitchen tips, and delicious new recipes. Happy baking!
Print Recipe
Magic Bars with Coconut
Crafted from just seven ingredients, these magic bars are the simplest desserts to make! It features an irresistible mix of shredded coconut, chocolate chips, and pecans, all bound together by a crispy graham cracker crust.
Ingredients
- 1 stick unsalted butter, melted
- ¼ cup brown sugar
- 12 graham crackers, finely crushed
- 1 can sweetened condensed milk (ensure it is sweetened, not evaporated)
- 1 cup chocolate chips
- 1 cup pecans, chopped
- 1 cup sweetened shredded coconut
Instructions
- Preheat your oven to 350°F (175°C). Spray a 9×9 inch pan with nonstick spray. Line the pan with two strips of parchment paper in a cross shape, leaving some overhang on the sides for easy removal later.
- In a small bowl, combine the melted butter, brown sugar, and finely crushed graham crackers. Press this mixture firmly and evenly into the bottom of the prepared pan to form the crust.
- Pour the sweetened condensed milk evenly over the graham cracker crust.
- In another small bowl, combine the chocolate chips, chopped pecans, and sweetened shredded coconut. Sprinkle this mixture evenly over the sweetened condensed milk layer, ensuring all areas are covered.
- Place the pan on the center rack of the preheated oven. Bake for 20-25 minutes, or until the edges are golden brown and the coconut topping is nicely toasted.
- Remove the magic bars from the oven and allow them to cool completely in the pan on a wire rack. For best results and clean slices, chill the bars in the refrigerator for at least 30-60 minutes before using the parchment paper overhang to lift them out and slice into squares.
Notes
- Chocolate chips can be swapped for white chocolate, caramel, butterscotch, or dark chocolate chips.
- No pecans? Walnuts, almonds, or any other chopped nuts work well as a substitute.
- Feel free to add dried fruits like cranberries or chopped apricots for extra flavor and texture.
- For an exciting crust, consider using crushed Biscoff cookies, Oreo cookies (without filling), or chocolate wafers instead of graham crackers.
Nutrition Information
Calories: 560kcal |
Carbohydrates: 63g |
Protein: 6g |
Fat: 33g |
Saturated Fat: 17g |
Polyunsaturated Fat: 3g |
Monounsaturated Fat: 9g |
Trans Fat: 0.4g |
Cholesterol: 42mg |
Sodium: 208mg |
Potassium: 343mg |
Fiber: 2g |
Sugar: 50g |
Vitamin A: 437IU |
Vitamin C: 1mg |
Calcium: 171mg |
Iron: 1mg