
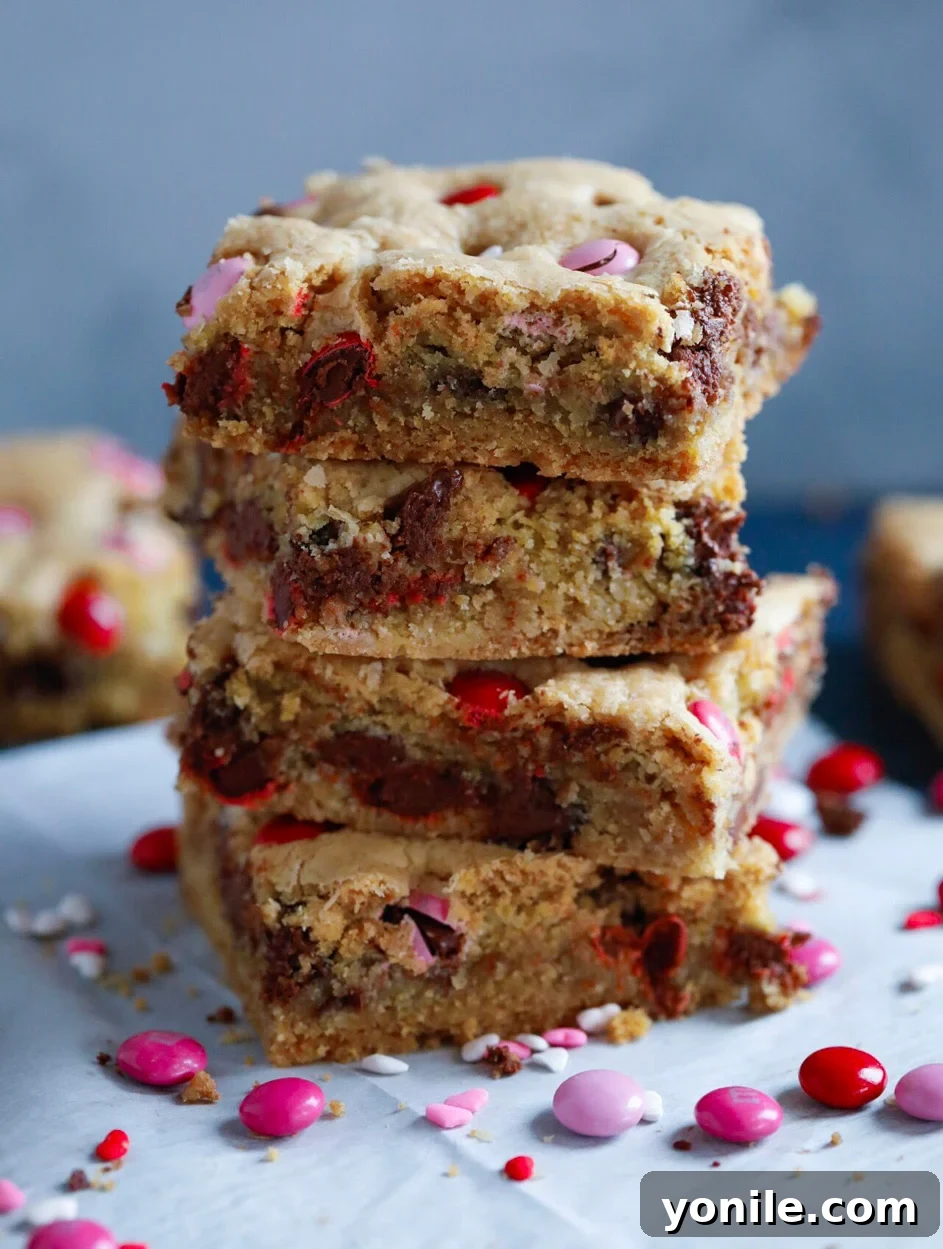
Irresistible Valentine’s M&M Chocolate Chip Cookie Bars: The Ultimate Sweet Treat
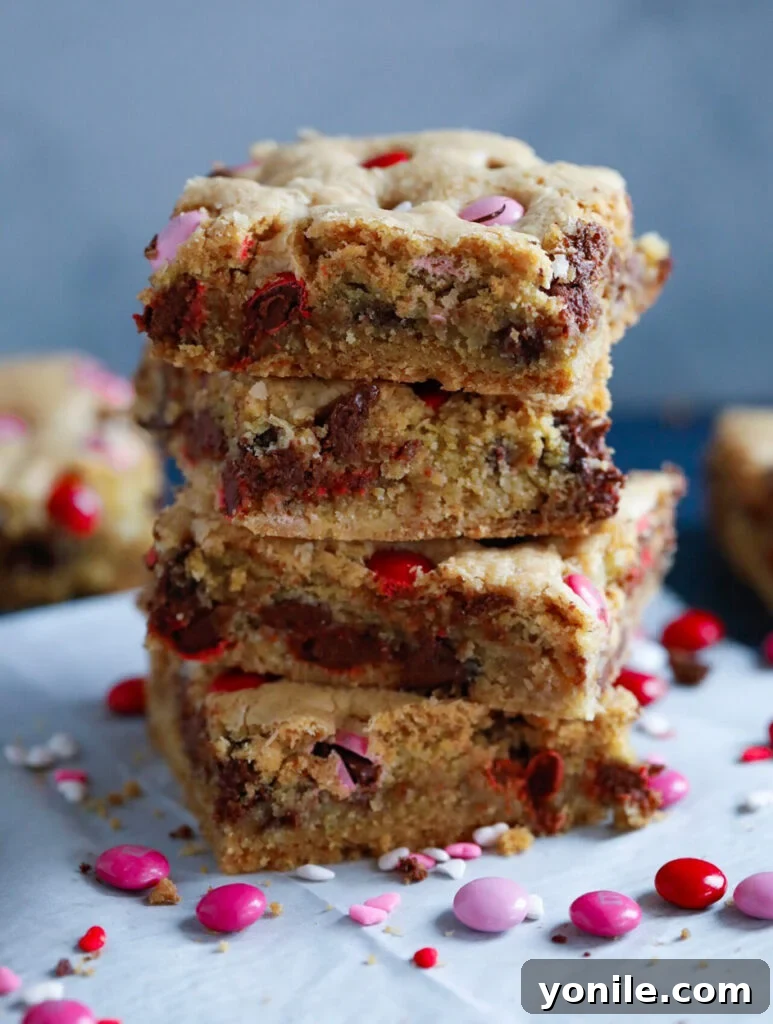
There’s something truly magical about homemade treats, especially when they’re crafted with love for a special occasion like Valentine’s Day. Forget the store-bought chocolates; these Valentine’s M&M Chocolate Chip Cookie Bars are here to steal the show! I recently whipped up a batch of these delectable cookie bars, and they were an instant hit with everyone, especially the kids. Who can resist the classic comfort of chocolate chip cookies elevated with colorful, festive M&M’s?
These cookie bars aren’t just a dessert; they’re an experience. They embody the warmth of home baking, the joy of sharing, and the simple pleasure of a perfectly chewy, chocolatey bite. Whether you’re looking for a delightful treat for your little ones or a thoughtful gesture for your loved ones, these bars are guaranteed to bring smiles and satisfy any sweet tooth. They’re incredibly easy to make, making them ideal for bakers of all skill levels, and the vibrant red, pink, and white M&M’s add that irresistible Valentine’s touch.
Why These Chocolate Chip Cookie Bars Are a Valentine’s Day Must-Make
Valentine’s Day is synonymous with sweetness, and what could be sweeter than a batch of homemade cookie bars? Unlike traditional cookies that require scooping individual portions, these bars are baked in a single pan, making the process much quicker and less fuss. This means more time enjoying the delicious results and less time in the kitchen!
- Effortless Elegance: They look impressive with their colorful M&M topping, yet require minimal effort.
- Crowd-Pleaser: A universal favorite, combining the beloved chocolate chip cookie with fun, festive candies.
- Perfect for Sharing: Easy to cut into squares, they’re ideal for parties, school treats, or gifting to friends and family.
- Kid-Friendly: The M&M’s add a playful element that children adore, making them a fantastic baking project to do together.
- Versatile: While perfect for Valentine’s, simply swap the M&M colors, and these bars are ready for any holiday or occasion!
Beyond their festive appeal, these cookie bars boast an incredibly soft, chewy texture with wonderfully melty chocolate chips in every bite. They strike that perfect balance between a soft-baked cookie and a dense, fudgy brownie, creating a dessert that’s truly special. Let’s dive into how you can create your own batch of these delightful treats!
Crafting Your Valentine’s M&M Chocolate Chip Cookie Bars: A Step-by-Step Guide
Making these cookie bars is a straightforward process that yields incredibly rewarding results. The key is to pay attention to a few simple techniques that ensure perfect texture and flavor. Here’s how we bring these delicious bars to life:
1. Preparing Your Ingredients: The Foundation of Flavor
Success in baking often starts with preparation. For this recipe, it’s crucial to have your butter at room temperature. I typically take the butter out of the refrigerator about 30 minutes to an hour before I plan to start baking. Softened butter creams better with sugar, incorporating more air into the mixture, which results in a lighter, more tender cookie bar. If you forget to set it out, a quick trick is to cut it into smaller pieces and let it sit for a shorter time, or gently microwave it for a few seconds (be careful not to melt it completely!).
2. Creaming Butter and Sugar: The Art of Aeration
Once your butter is perfectly soft, combine it with both the cane sugar and light brown sugar in a large mixing bowl. Using an electric mixer (trust me, it makes a huge difference and saves your arms!), whip these ingredients together thoroughly. You’re looking for a light, fluffy, and creamy texture. This process usually takes about 2-3 minutes. The brown sugar adds moisture and chewiness, while the cane sugar contributes to a crispier edge and overall sweetness. Don’t rush this step, as it’s vital for the final texture of your bars.
3. Incorporating Wet Ingredients: Adding Richness
Next, add your eggs and vanilla extract to the creamed butter and sugar mixture. Continue mixing with your electric mixer for another 2-3 minutes until the mixture becomes pale yellow and fluffy. The eggs bind the ingredients and add structure, while vanilla extract enhances all the other flavors, giving your cookie bars that comforting, classic aroma and taste. Ensure everything is well combined before moving on.
4. Combining Dry Ingredients: Building the Dough
In a separate bowl, whisk together your all-purpose flour, baking powder, baking soda, and salt. This ensures that the leavening agents and salt are evenly distributed throughout the flour, preventing any pockets of unmixed ingredients in your final product. Gradually add the dry ingredients to your wet mixture. Mix on the lowest speed just until a cookie dough consistency is formed. Be careful not to overmix, as overmixing can develop the gluten in the flour too much, leading to tough, dense bars instead of soft and chewy ones.
5. Folding in the Fun: M&M’s and Chocolate Chips
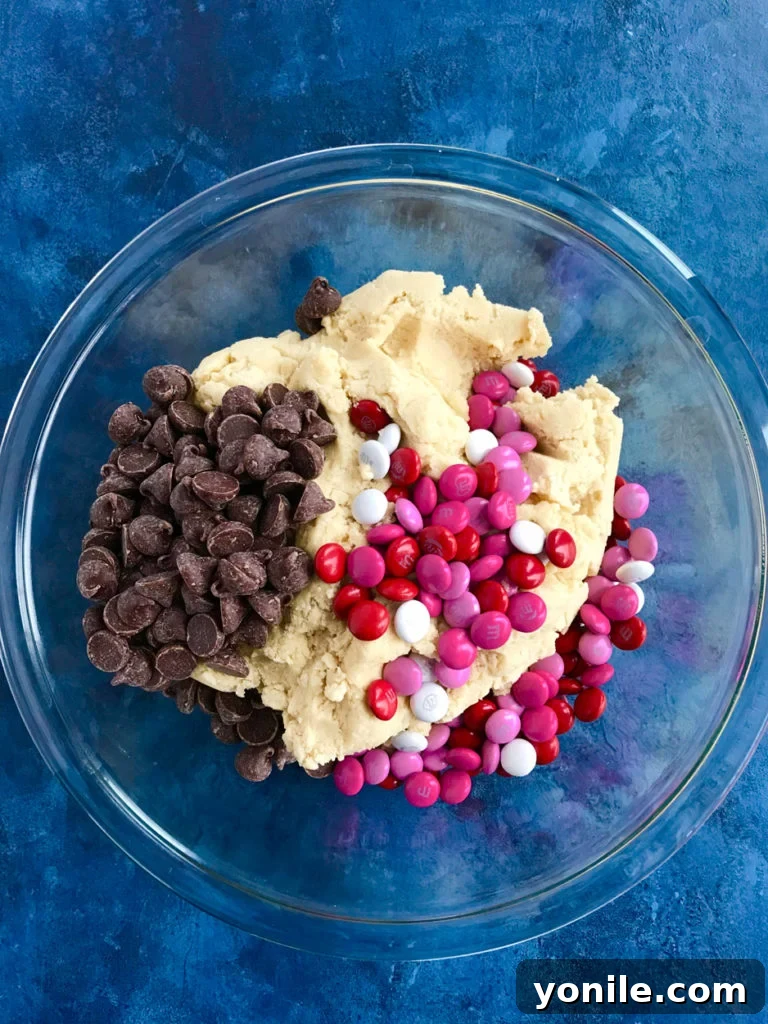
Now for the best part – adding the chocolate chips and M&M’s! For this recipe, I love using large chocolate chips because they provide bigger, more satisfying pockets of melted chocolate when the bars are warm. Gently fold in 1 cup of chocolate chips and ½ cup of your Valentine’s M&M chocolates. Stir on the lowest speed of your mixer, or even better, fold them in by hand with a spatula. This gentle approach prevents the M&M’s from crushing and ensures they are evenly distributed throughout the dough. It’s a moment of pure anticipation as you see the dough transform into a vibrant, tempting mixture!
A little personal confession here: I find it incredibly hard to resist sugary treats, especially when baking! These cookie bars are my weakness. While I strive for a balanced diet, life’s too short not to enjoy a piece of perfectly baked, warm dessert. The joy of biting into a warm cookie bar with gooey, melted large chocolate chips is simply unparalleled. It’s these small indulgences that make life extra sweet!
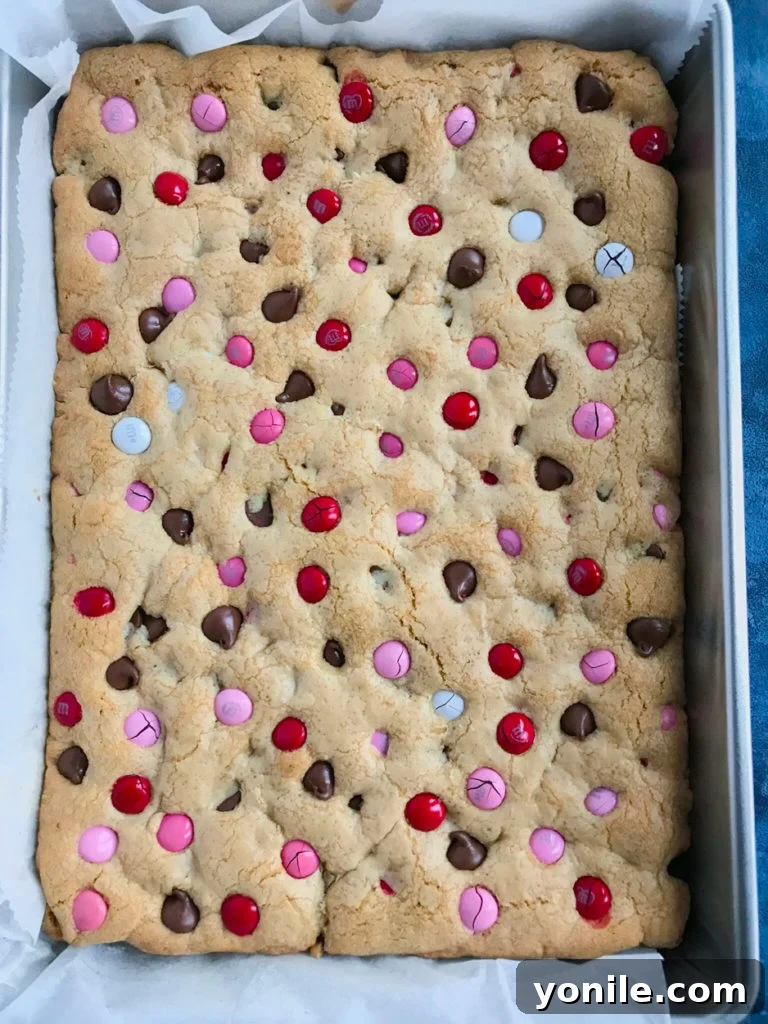
6. Preparing to Bake: Pan Selection and Topping
The thickness of your cookie bars largely depends on the baking pan you choose. For a perfect balance of soft and chewy, I highly recommend a 9 x 13-inch sheet pan. A smaller pan, like a 9×9 inch, would result in very thick bars (around 2 inches!), which can be delicious but might require longer baking times and result in a cake-like texture. For my preferred thickness and a good batch size, the 9×13 pan is ideal.
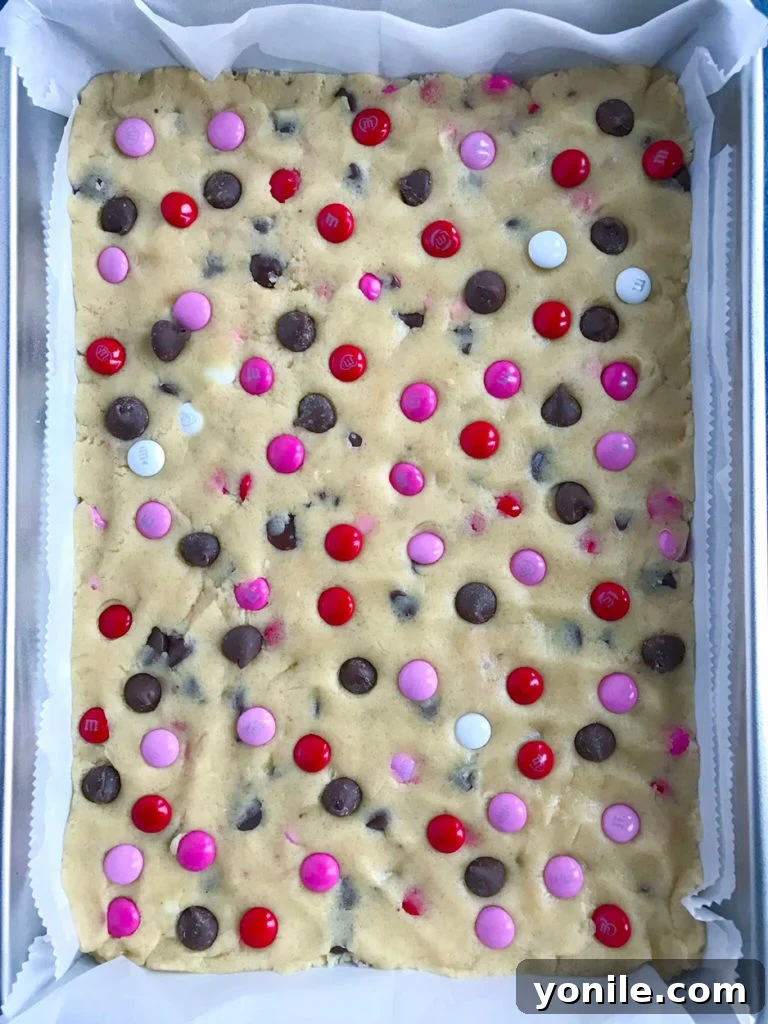
To prepare your pan, lightly spray it with cooking spray and then line it with parchment paper, leaving an overhang on the sides. This “sling” makes it incredibly easy to lift the entire slab of cookie bars out of the pan once baked and cooled. Press the cookie dough evenly into the prepared pan with your palms or a spatula, ensuring it’s spread out from edge to edge. Finally, sprinkle the remaining ½ cup of M&M’s and ½ cup of chocolate chips over the top. This not only adds more flavor but also creates a beautiful, colorful presentation.
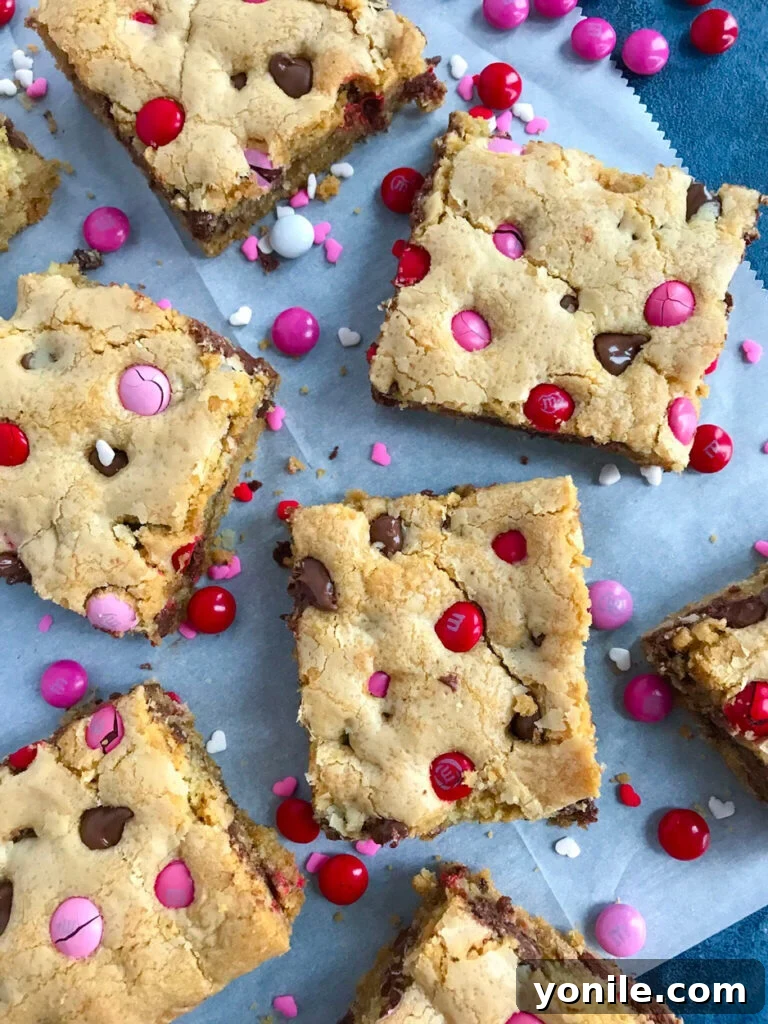
7. Baking and Cooling: The Final Touches
Preheat your oven to 350°F (175°C). Bake the cookie bars for approximately 25-30 minutes. You want the edges to be lightly golden and the center to appear mostly set but still slightly soft. Overbaking can lead to dry, hard bars, so keep an eye on them! Every oven is different, so adjust baking time as needed.
Once baked, remove the pan from the oven. This next step is crucial for perfect bars: cover the pan with a clean kitchen towel and let them cool for at least 20-30 minutes. This allows the residual heat to finish cooking the bars, and more importantly, it helps them set, making them much easier to cut into neat, perfect squares. If you, like me, can’t wait for them to cool completely, feel free to dig right in while they’re still warm – the soft, melted chocolate chips are divine!
These cookie bars are designed to be on the semi-soft, wonderfully chewy side. To maintain their freshness and prevent them from drying out, store them in an airtight container at room temperature for up to 3-4 days. For longer storage, they can be frozen for up to 2-3 months.
Tips for Perfect Cookie Bars Every Time
- Don’t Overmix: As mentioned, overmixing develops gluten, leading to tougher cookie bars. Mix just until ingredients are combined.
- Room Temperature Ingredients: Ensures a smooth, emulsified batter and consistent texture.
- Use a Light-Colored Pan: Darker pans can cause the edges to brown too quickly.
- Parchment Paper is Your Friend: Makes for easy removal and cleanup.
- Cool Completely for Clean Cuts: Patience is a virtue here! If you want perfectly shaped bars, resist the urge to cut them hot.
- Customize Your Mix-ins: While M&M’s and chocolate chips are a classic, feel free to experiment with white chocolate chips, nuts, or other candies.
I genuinely hope you enjoy making and devouring these delightful Valentine’s M&M Chocolate Chip Cookie Bars as much as my family and I do. They are more than just a recipe; they are a celebration of joy, sharing, and the simple pleasures of life. Don’t forget to share your delicious creations and tag me—I’d love to see your renditions! XoXo…
OTHER RECIPES YOU MAY LIKE:
Almond Joy Cheesecake Bars
Brown Butter M&M Blondies
Triple Chocolate Avocado Brownies
Valentine’s M&M Chocolate Chip Cookie Bars
Mariam Ezzeddine
Ingredients
- 1 cup butter, at room temperature
- 1 cup cane sugar
- 1 cup light brown sugar
- 3 cups all-purpose flour
- 2 whole eggs
- 1 tbsp. vanilla extract
- 1 tsp baking powder
- ½ tsp baking soda
- ½ tsp salt
- 1 ½ cup large chocolate chips, save ½ cup for topping
- 1 cup M&M Chocolate, I used the Valentine’s pack, save ½ cup for topping
Instructions
-
In a large bowl, using an electric mixer, whip the softened butter and both sugars together until light, fluffy, and creamy (about 2-3 minutes).
-
Add the eggs and vanilla extract. Continue mixing for another 2-3 minutes until well combined and fluffy.
-
In a separate bowl, whisk together the flour, baking powder, baking soda, and salt. Gradually add these dry ingredients to the wet mixture, mixing on the lowest speed until just combined and a thick cookie dough forms. Be careful not to overmix.
-
Fold in 1 cup of chocolate chips and ½ cup of the M&M chocolates. Stir gently on the lowest speed for about 30 seconds, or by hand with a spatula, to incorporate them without crushing.
-
Preheat your oven to 350°F (175°C). Lightly spray a 9 x 13-inch sheet pan and line it with parchment paper, leaving an overhang on the sides for easy removal.
-
Press the cookie dough evenly into the prepared pan, spreading it flat with your palms or a spatula. Top the dough with the remaining ½ cup of M&M’s and ½ cup of chocolate chips.
-
Bake for 25-30 minutes, or until the edges are lightly golden and the center is mostly set.
-
Remove from the oven, cover with a kitchen towel, and let cool in the pan for 20-30 minutes before lifting out and cutting into bars. For perfectly neat squares, allow them to cool completely.