
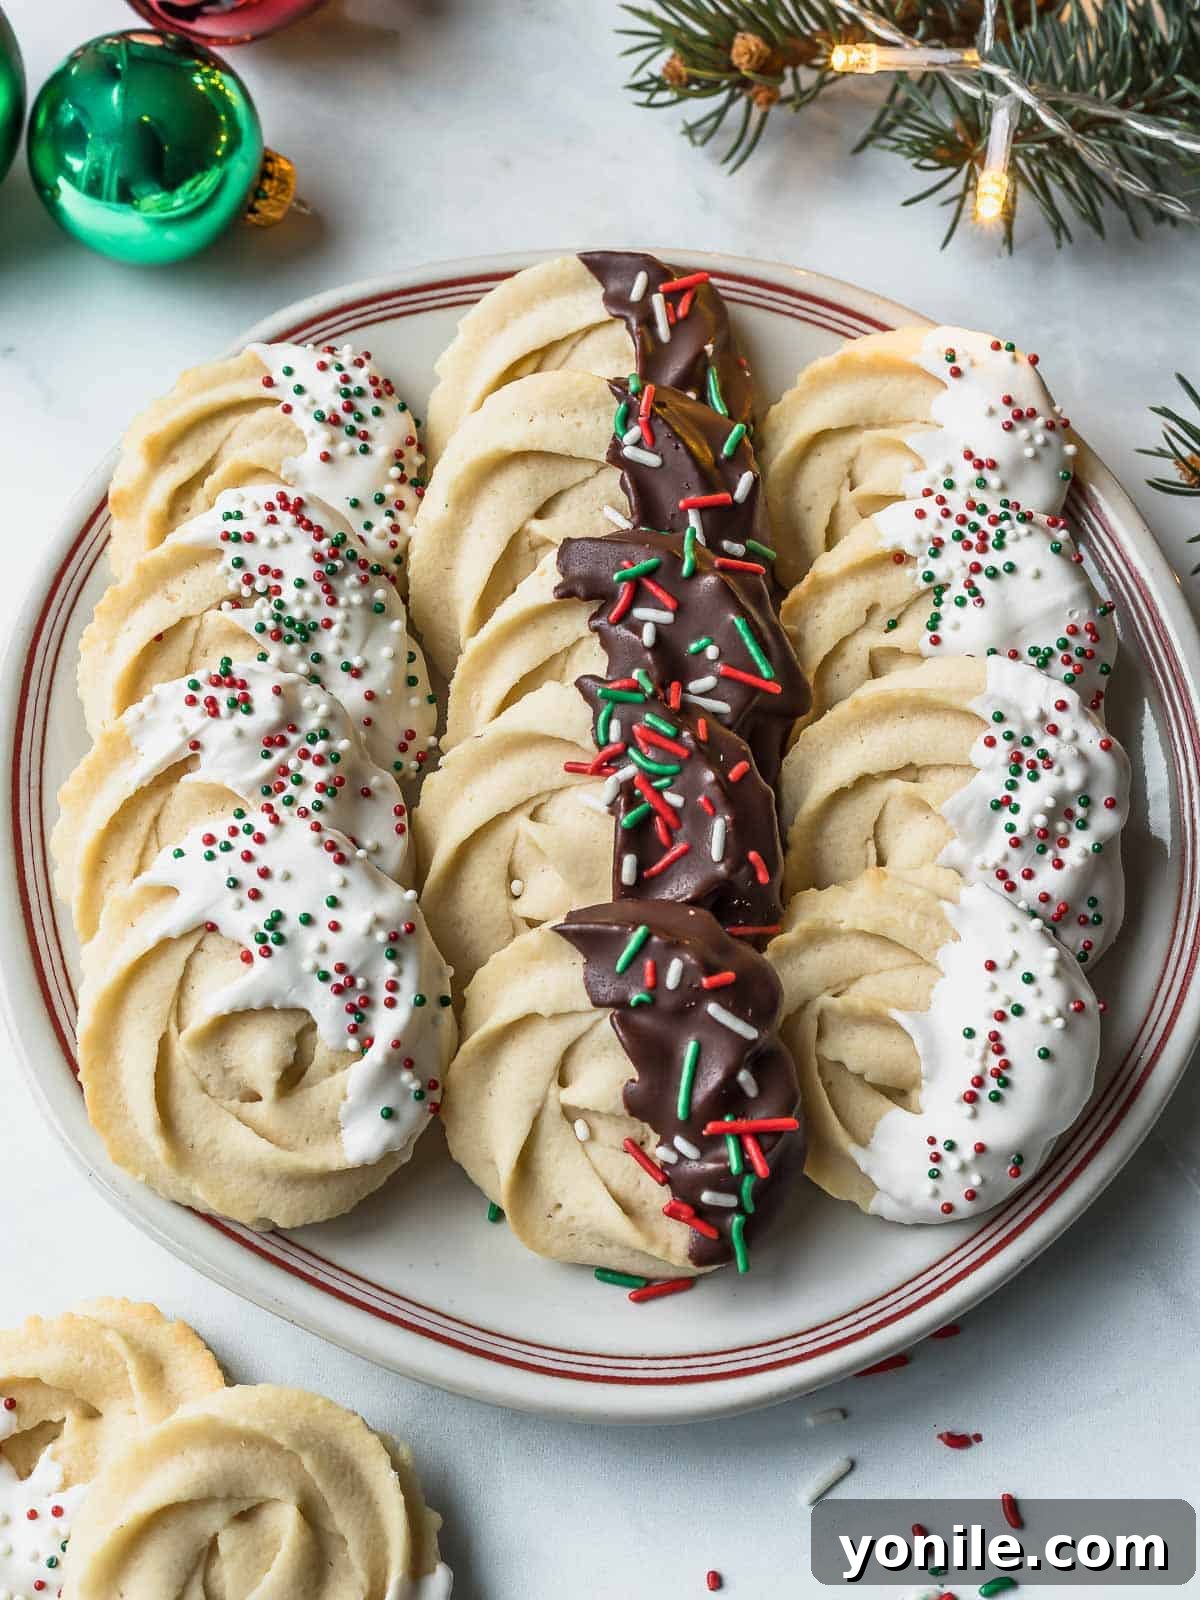
There’s an undeniable magic to Danish Butter Cookies – those iconic, golden-hued delights that crumble delicately and melt on your tongue. For many, they evoke cherished childhood memories, often associated with the familiar blue tin that would appear during festive seasons. This comprehensive guide will walk you through crafting your own batch of these irresistible cookies, elevating them to a new level with optional chocolate dipping and colorful sprinkles, perfect for any holiday celebration or simply to brighten an ordinary day.
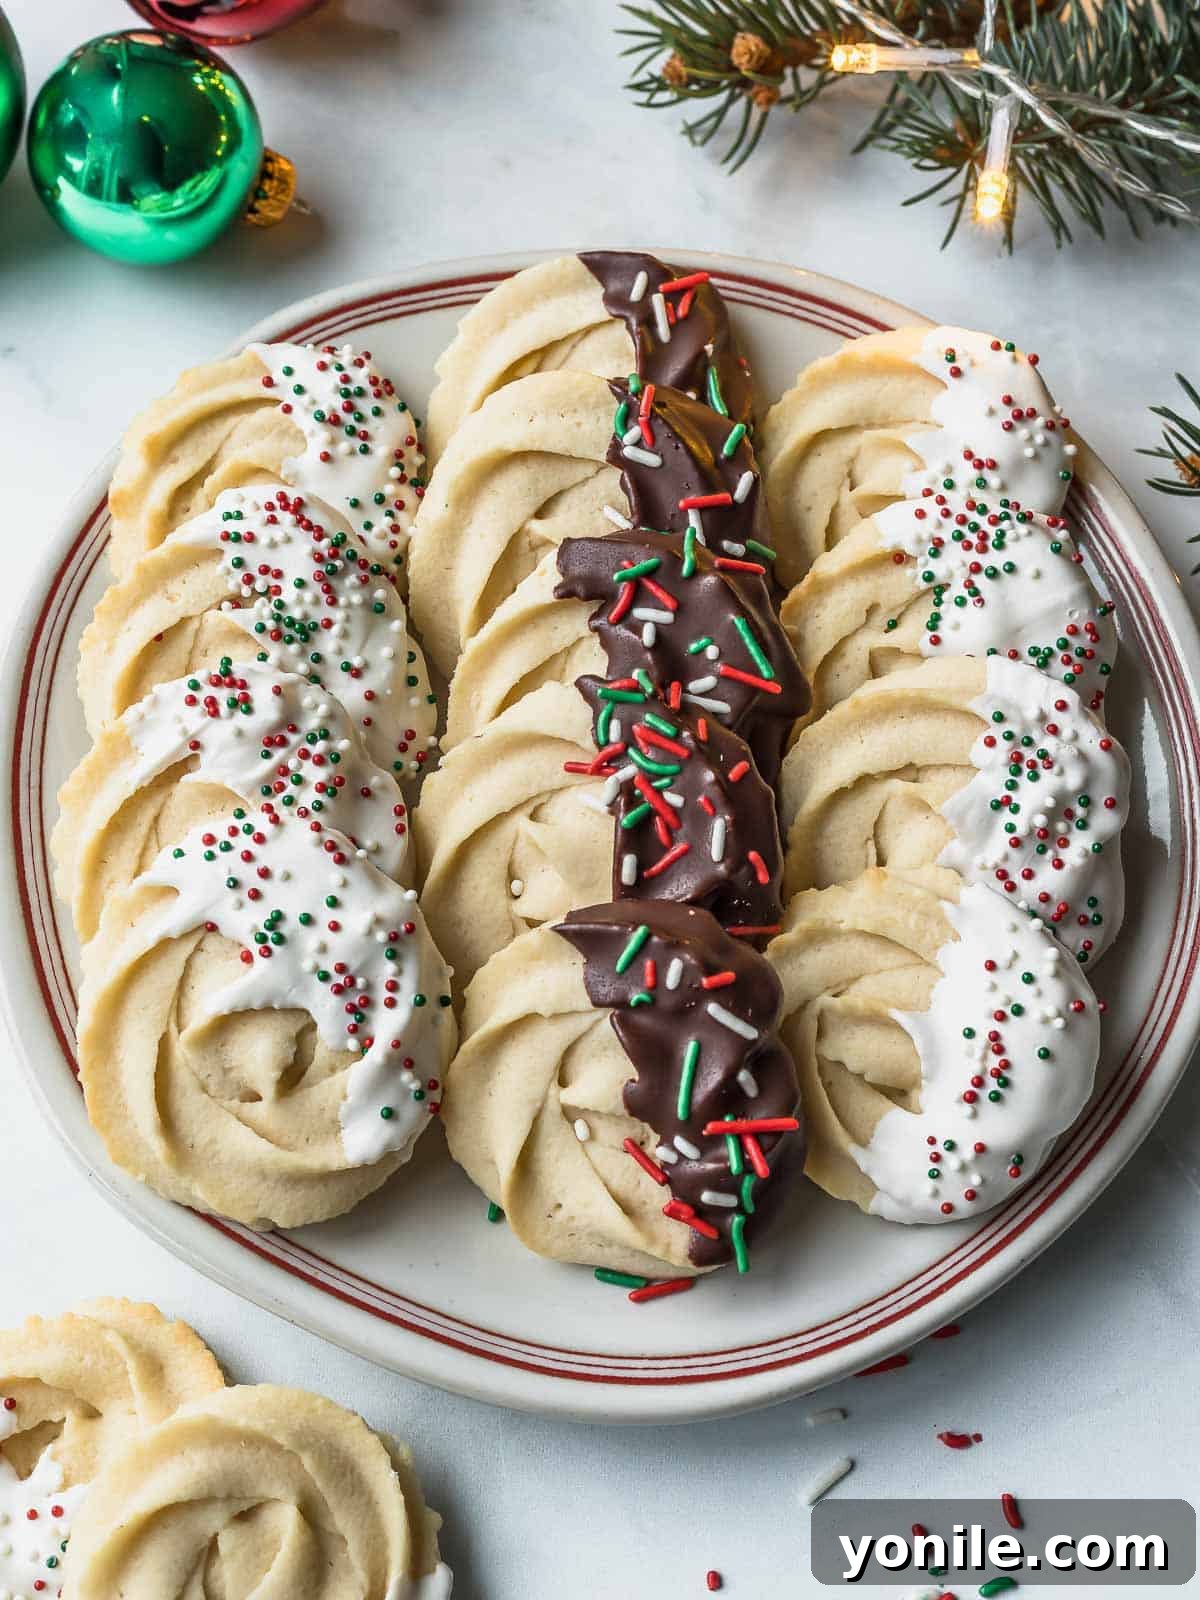
Forget the store-bought versions; homemade Danish Butter Cookies offer a freshness and richness that simply can’t be replicated. They are a testament to simple, quality ingredients coming together to create something truly extraordinary. Whether you’re baking for Christmas, a special occasion, or just because, this recipe ensures a batch of buttery, perfectly sweet, and profoundly satisfying cookies.
Craving more delightful cookie recipes to fill your cookie jar or impress your guests? Be sure to explore other favorites like my Raspberry Jam Thumbprint Cookies, Cranberry Orange Shortbread Cookies, Gingerbread Christmas Tree Cookies, and Apple Pie Cinnamon Oatmeal Cookies.
What Are Danish Butter Cookies? Understanding This Classic Treat
Danish Butter Cookies are a globally beloved confection, instantly recognizable by their distinct shapes and, often, their iconic blue tin packaging – hence the affectionate nickname, “Blue Tin Cookies.” While sometimes simply called Butter Cookies or Royal Butter Cookies, they all refer to the same crumbly, rich, and utterly melt-in-your-mouth pastry. These exquisite treats originated from the small villages of Denmark, where their rich butter content became their defining characteristic. Traditionally, they hold a special place in holiday celebrations, particularly Christmas, across North America and beyond, becoming a staple on dessert tables and a thoughtful gift.
What makes these cookies so special lies in their simplicity and the quality of their core ingredients. Primarily butter, sugar, flour, and a hint of vanilla, they are crafted to achieve a delicate balance of sweetness and a rich, creamy flavor. Their signature texture is a result of a high butter-to-flour ratio, which gives them their characteristic crumbly, tender, and melt-in-the-mouth quality. The traditional variations in shape – often piped rosettes, rings, and pretzels – add to their charm and visual appeal.
Why You’ll Love This Danish Butter Cookie Recipe
This homemade Danish Butter Cookies recipe isn’t just another cookie recipe; it’s an invitation to experience baking joy and pure deliciousness. Here’s why these traditional Danish biscuits stand out:
- Unrivaled Buttery & Melt-in-Your-Mouth Texture: Each bite of these homemade butter cookies is a testament to perfection. They possess a tender, crumbly texture that truly melts away, leaving a lingering, rich buttery taste that is profoundly satisfying. It’s the kind of cookie that makes you close your eyes and savor the moment.
- Next-Level Chocolate Dipping: While Danish Butter Cookies are undeniably fantastic on their own, dipping them in luxurious melted white or milk chocolate transforms them into an even more indulgent treat. The smooth, sweet chocolate coating adds an extra layer of flavor and a beautiful visual appeal, especially when adorned with colorful sprinkles. This optional step makes them perfect for holiday platters or special occasions.
- Surprisingly Simple & Quick: Despite their sophisticated appearance and gourmet taste, this is an incredibly easy holiday cookie recipe. Requiring just a handful of staple ingredients – typically six main ones – and minimal prep time, these scrumptious cookies can go from your pantry to the table in approximately 35 minutes. This makes them an ideal choice for busy bakers who don’t want to compromise on quality or flavor.
- Customizable & Versatile: This recipe provides a fantastic base for creativity. Whether you stick to the classic plain cookie, add various extracts for different flavor profiles, or go all out with decorative toppings, these cookies are incredibly versatile. They can be dressed up for formal gatherings or kept simple for everyday enjoyment.

Essential Ingredients for Perfect Danish Butter Cookies
Creating these delightful Danish butter cookies requires just a few basic ingredients. The key to their signature flavor and texture lies in the quality of these components and how they are handled. Here’s a breakdown of what you’ll need:
- Unsalted Butter: This is the star ingredient! It’s crucial for the rich flavor and the tender, melt-in-your-mouth texture. Always use unsalted butter to control the overall saltiness of your cookies. Ensure it’s at **room temperature** – soft enough to easily indent with your finger but not melted. This allows it to cream properly with the sugar, incorporating air for a lighter cookie.
- Confectioner’s Sugar (Powdered Sugar): Unlike granulated sugar, confectioner’s sugar contributes to the incredibly smooth, tender, and delicate texture of these cookies. It dissolves more readily into the butter, resulting in a finer crumb. Make sure to **sift it well** before use to prevent any clumps from forming in your dough, which could lead to an uneven texture.
- Pure Vanilla Extract: A touch of pure vanilla extract enhances all the other flavors, adding a warm, aromatic depth to the cookies. For an extra layer of sophistication, you can experiment with a few drops of almond extract, which complements the buttery notes beautifully, or even a mix of both.
- Milk: A small amount of whole fat milk is used to slightly thin out the cookie dough, achieving the perfect consistency for piping. Whole fat milk is preferred for its richness, which contributes to the overall flavor and tenderness of the cookie. Ensure it’s also at room temperature to avoid shocking the butter mixture.
- All-Purpose Flour: The structural backbone of your cookies. When making Danish butter cookies, it’s vital to **sift the all-purpose flour well** before incorporating it into the wet ingredients. Sifting aerates the flour and removes any lumps, ensuring a uniformly smooth dough that holds its shape beautifully when piped and baked. Over-mixing the flour can develop gluten, leading to tougher cookies, so mix until just combined.
- Salt: A pinch of salt is essential to balance the sweetness and enhance all the other flavors in the cookie. It brings out the richness of the butter and prevents the cookies from tasting overly sweet or bland.
- Chocolate and Sprinkles (Optional but Recommended!): To elevate these classic cookies, consider dipping them! You can use white, milk, or dark chocolate, depending on your preference. High-quality melting chocolate or chocolate chips work best. For a truly festive touch, immediately after dipping, adorn them with colorful sprinkles, shredded coconut, or finely chopped nuts. The choice of sprinkles can be adapted to any season or occasion.

Step-by-Step Guide: How to Make Homemade Danish Butter Cookies
Crafting these exquisite cookies at home is a rewarding process. Follow these detailed steps to achieve perfect, bakery-quality Danish Butter Cookies:
- Step 1: Prepare Your Dry Ingredients. In a medium-sized bowl, whisk together the sifted all-purpose flour and salt until thoroughly combined. Set this mixture aside. This ensures the salt is evenly distributed throughout the flour.
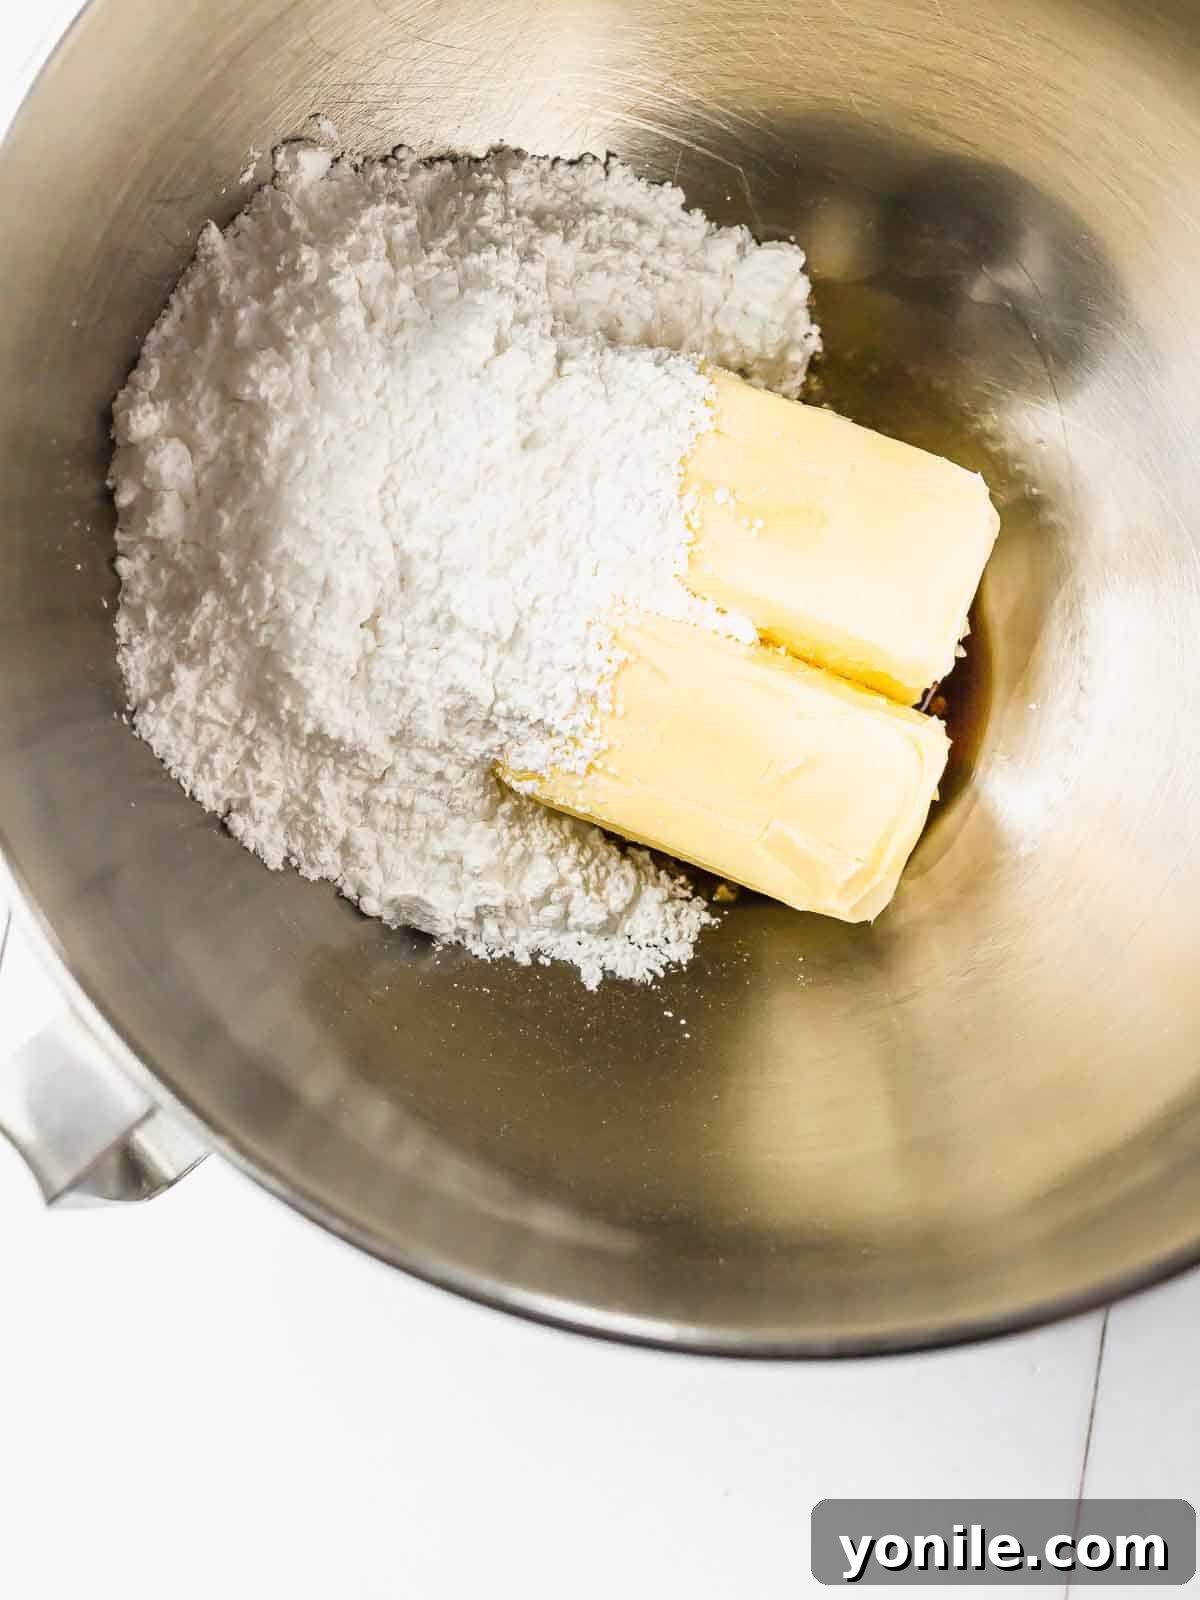
- Step 2: Cream Butter and Sugar. In the bowl of an electric stand mixer fitted with the paddle attachment, combine the room-temperature unsalted butter, sifted confectioner’s sugar, and pure vanilla extract. Beat on medium-high speed for about 3-5 minutes, or until the mixture becomes wonderfully light, fluffy, and pale in color. This creaming process incorporates air, which is crucial for the cookies’ delicate texture.
- Step 3: Add Milk. With the mixer on low speed, gradually add the room-temperature milk to the butter mixture. Mix until just incorporated. Be careful not to overmix at this stage.
- Step 4: Incorporate Dry Ingredients. Gradually add the flour and salt mixture to the wet ingredients in 2-3 additions. Mix on low speed after each addition until the flour is just combined and the dough comes together. The dough should be soft, pliable, and clumpy but not overly sticky. Overmixing the flour will develop gluten, leading to tough cookies, so mix until just combined.
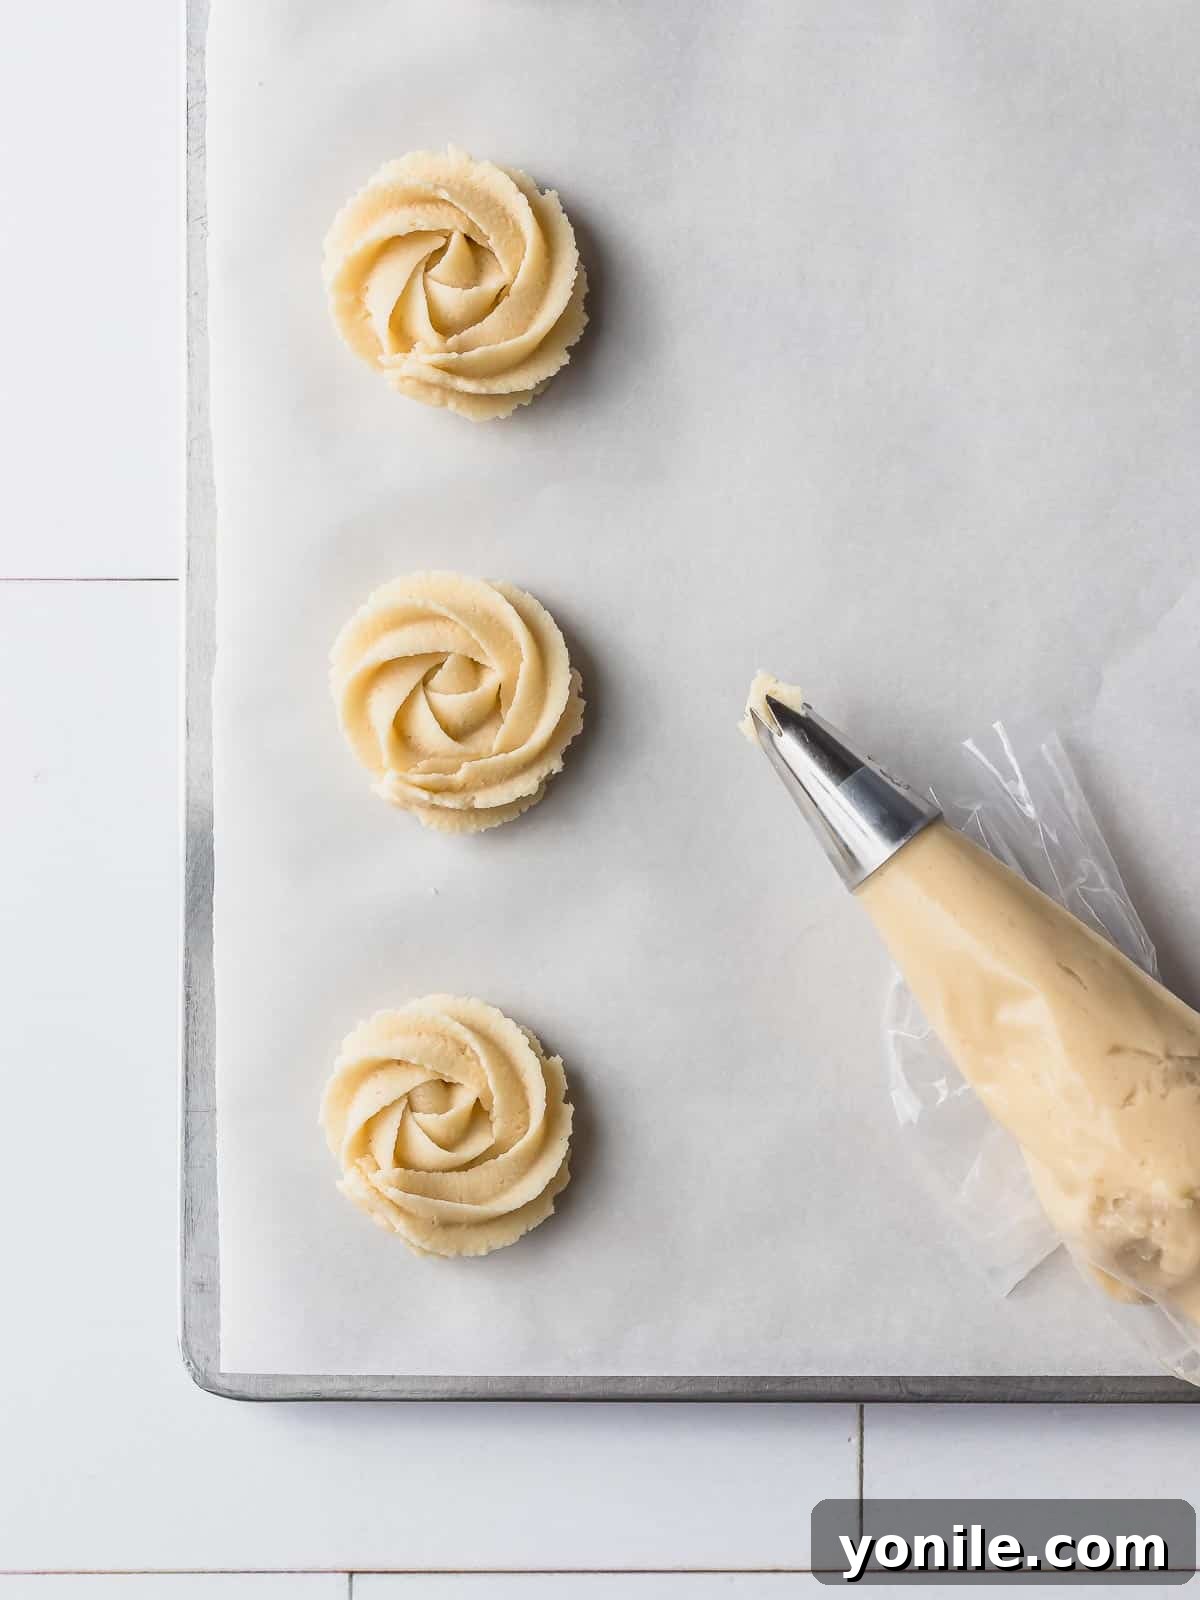
- Step 5: Prepare for Piping. Transfer the soft cookie dough into a sturdy pastry bag fitted with a Wilton 1M open star tip (or your preferred piping tip for decorative shapes). It’s helpful to fill the bag only about two-thirds full to make piping easier.
- Step 6: Pipe the Cookies. Pipe your desired shapes – classic rosettes, S-shapes, or rings – onto a cookie baking sheet lined with parchment paper. Leave about an inch of space between each cookie to allow for slight spreading.
- Step 7: Chill the Dough (Highly Recommended). For best results and to ensure the cookies retain their beautiful piped shapes without spreading excessively during baking, **refrigerate the piped dough on the baking sheet for at least 30 minutes** before baking. This step is crucial, especially if your kitchen is warm.
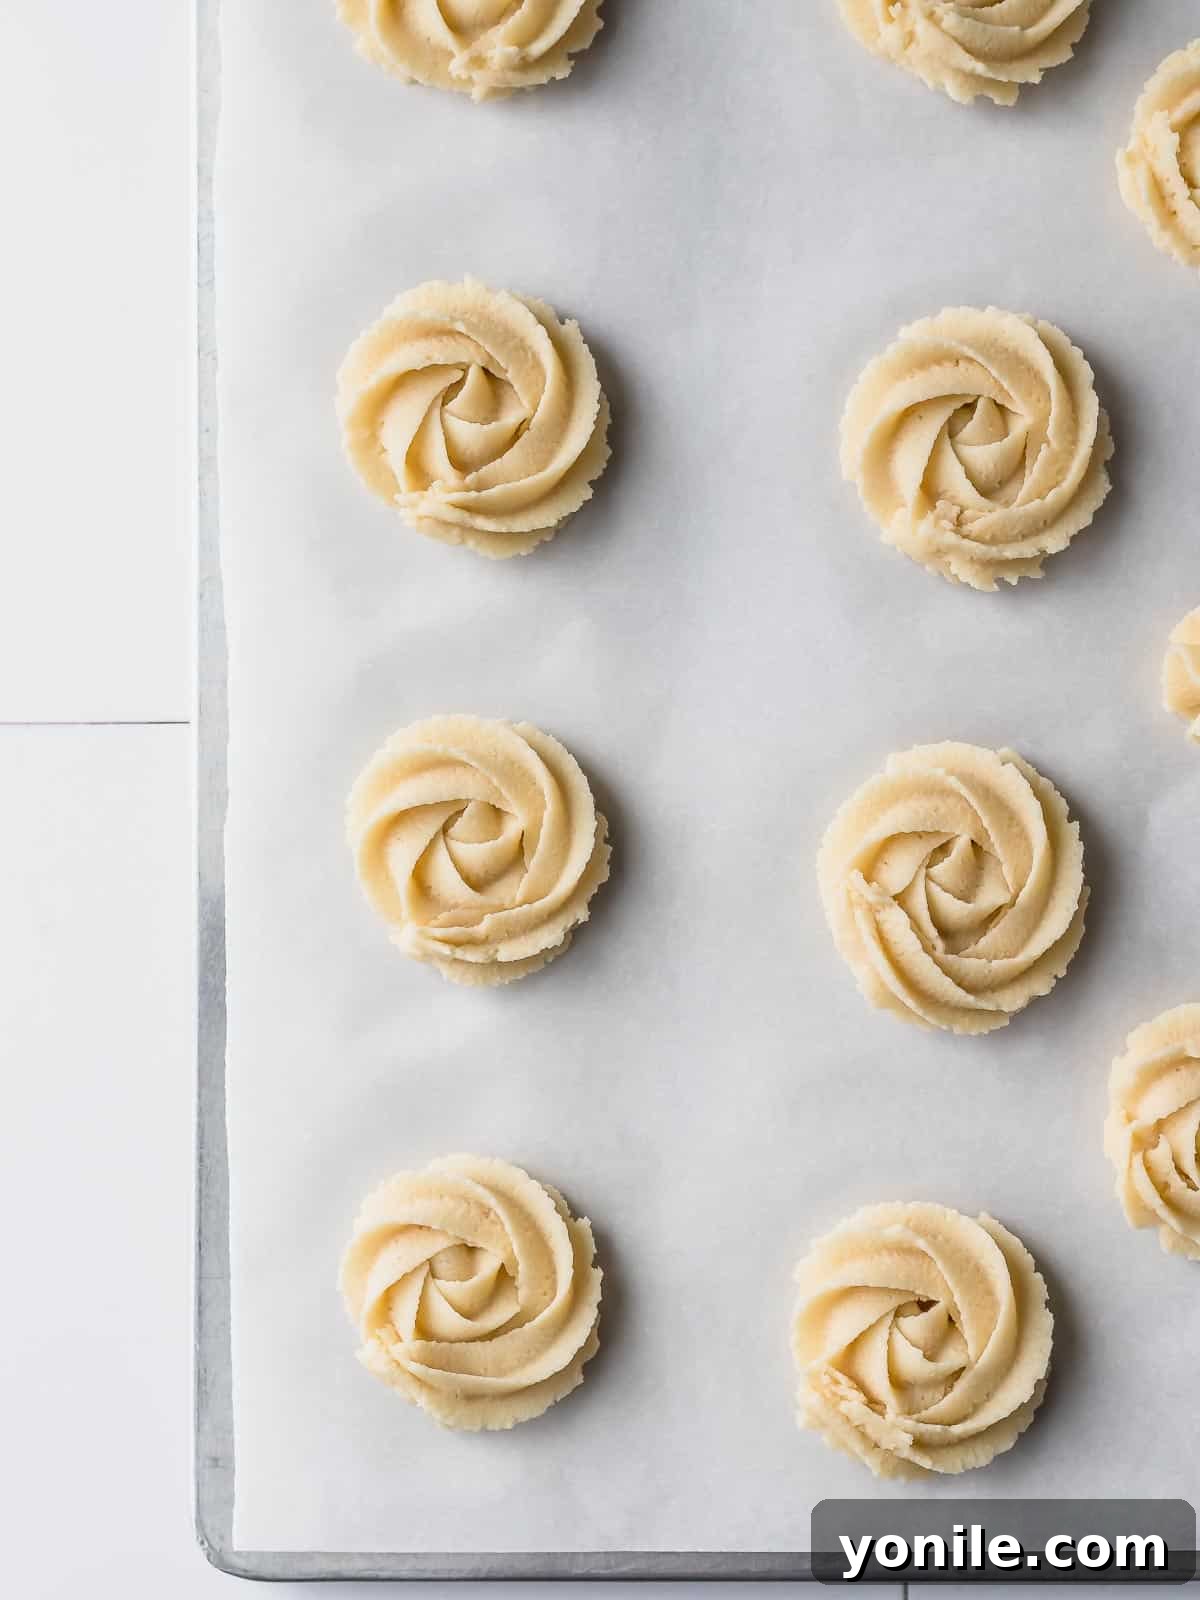
- Step 8: Bake to Golden Perfection. Preheat your oven to 350°F (175°C). Bake the chilled cookies for 13-15 minutes, or until the edges are lightly golden brown and the peaks are just starting to show a hint of color. Avoid overbaking, as this can make the cookies dry.
- Step 9: Cool. Allow the cookies to cool on the baking sheet for a few minutes before transferring them to a wire rack to cool completely. They are delicate when warm.
- Step 10: Optional Chocolate Dip. Once fully cooled, you can proceed with dipping them in melted chocolate and sprinkles for an extra festive touch (see “How to Elegantly Dip Danish Butter Cookies in Chocolate” below for detailed instructions).
- Serve and Enjoy! These cookies are best enjoyed fresh, but they also store well, making them perfect for planning ahead.
Expert Tips for Baking the Best Danish Butter Cookies at Home
Achieving bakery-quality Danish Butter Cookies is easy with a few insider tips. These pointers will help ensure your cookies are perfectly shaped, wonderfully tender, and bursting with flavor:
- Preheat Your Oven Thoroughly: Always start with a fully preheated oven. An accurately heated oven ensures even baking and prevents the cookies from spreading too quickly before they set.
- Don’t Skip Chilling the Dough: This is arguably the most critical tip for perfectly piped cookies. Refrigerating the piped dough for at least 30 minutes (or even longer, up to an hour) before baking significantly prevents spreading. This allows the butter to firm up, helping the cookies retain their intricate piped shapes during baking.
- Room Temperature Ingredients are Key: Ensure your butter, milk, and any other dairy ingredients are at room temperature. This allows them to emulsify properly, creating a smooth, homogenous dough texture. Cold ingredients will not cream effectively with sugar, resulting in a dense, less tender cookie.
- Master the Art of Piping: To achieve that amazing swirl or rosette look, piping is essential. Use a sturdy pastry bag and a large open star tip, like a Wilton 1M. If you’re new to piping, practice a few shapes on parchment paper before using your cookie sheet.
- Test Your Dough Consistency: When filling your pastry bag, start with a small amount of dough. Pipe a test cookie onto a separate piece of parchment. This allows you to determine if the dough is creamy enough to pipe smoothly. If it’s too stiff, a tiny splash more room-temperature milk can help. If it’s too soft, chill the dough for a bit longer.
- Always Use Parchment Paper: Line your cookie baking sheets with parchment paper for easy removal and effortless cleanup. It also helps prevent the bottoms of the cookies from browning too quickly.
- Watch for Doneness: Danish Butter Cookies should be lightly golden brown around the edges, with the peaks just barely starting to color. Avoid overbaking, as this can lead to dry, hard cookies. They will continue to set as they cool.
- Customize Your Dipping Chocolate: Feel free to use your favorite chocolate for dipping – white, milk, or dark chocolate all work beautifully. For extra flair, consider using colored candy melts for themed occasions.
- Cool Completely Before Dipping or Storing: Allow the cookies to cool completely on a wire rack before dipping them in chocolate or storing them. Warm cookies will melt chocolate or create condensation in an airtight container, leading to soggy cookies.
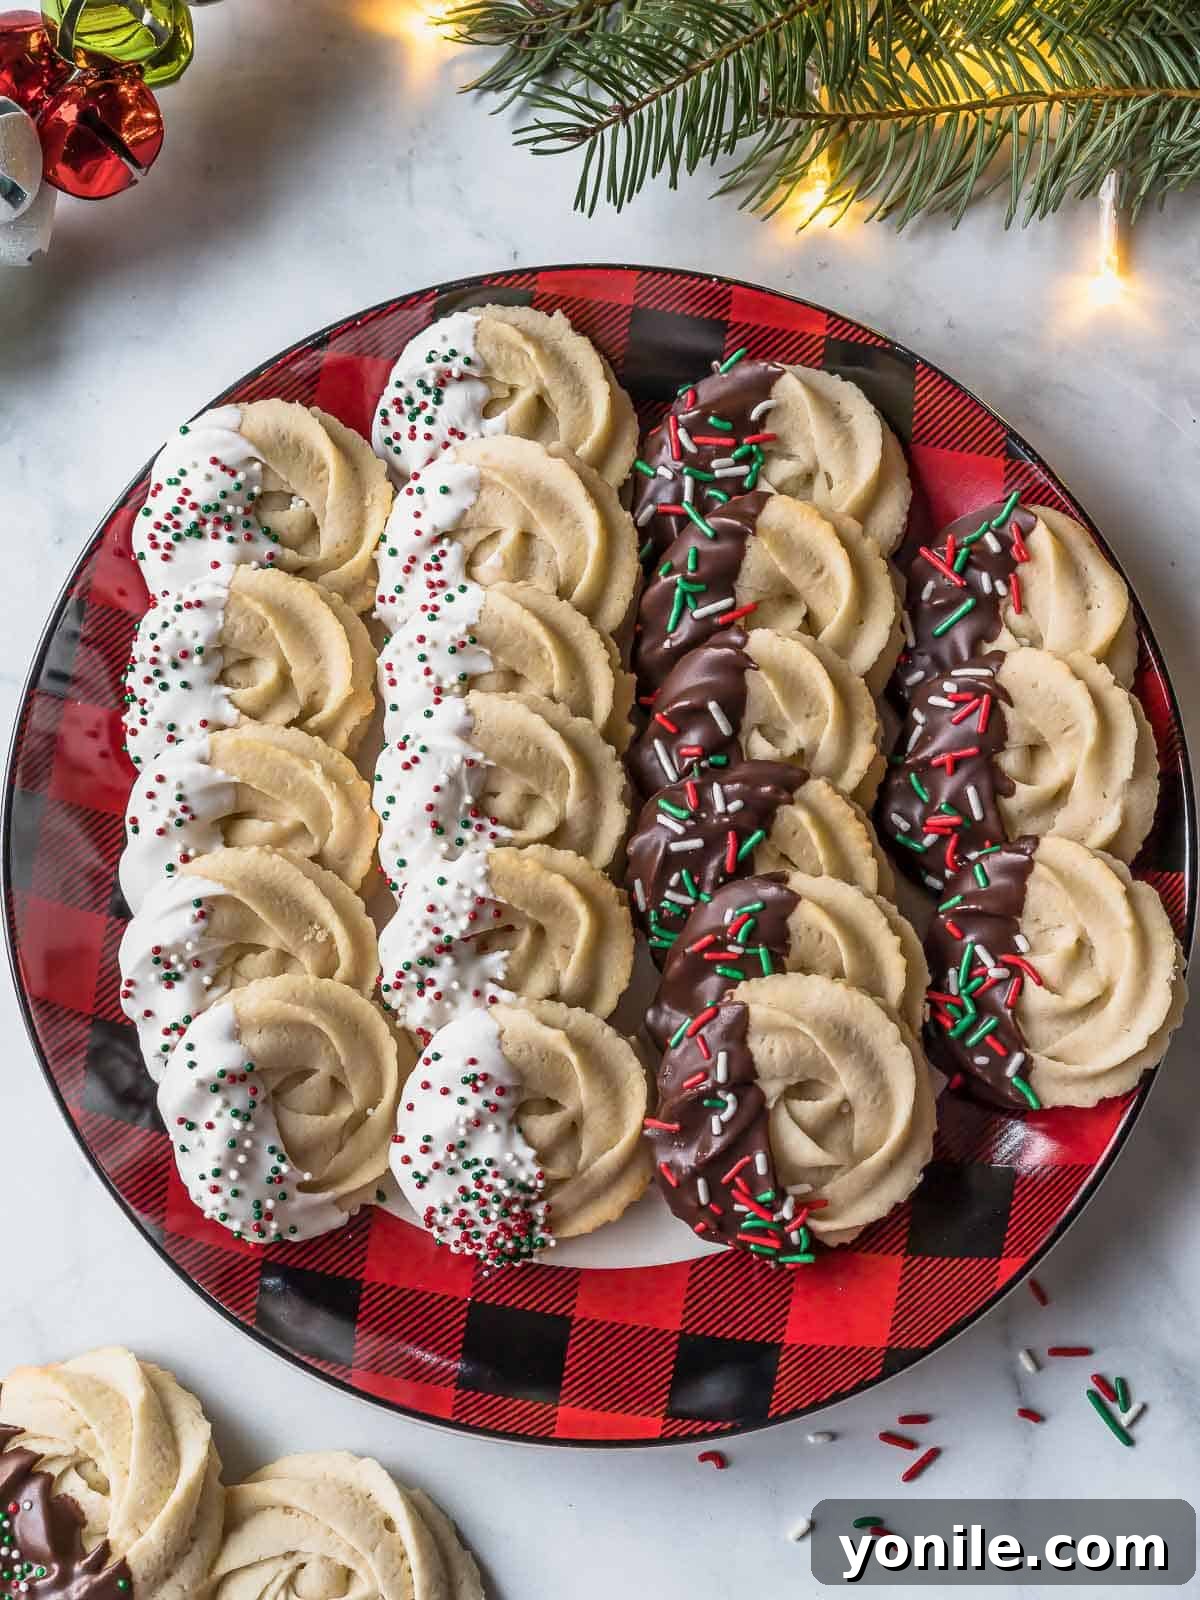
How to Elegantly Dip Danish Butter Cookies in Chocolate
While these Danish Butter Cookies are delightful on their own, a luscious chocolate dip transforms them into an even more festive and decadent treat. Here’s how to achieve that perfect chocolate coating:
- Melt the Chocolate: Break your chosen chocolate (white, milk, or dark) into small pieces or use chocolate chips. Place them in a microwave-safe bowl. Heat in the microwave in 30-second increments, stirring thoroughly after each interval, until the chocolate is smooth and fully melted. Alternatively, you can use a double boiler method for a more controlled melt.
- Adjust Consistency (Optional): If your melted chocolate appears too thick for dipping, you can add a tiny bit (about ½ to 1 teaspoon) of neutral-flavored vegetable oil, coconut oil, or even a dab of shortening. Stir well until it reaches your desired silky, dippable consistency.
- Dip the Cookies: Once the cookies are completely cooled, take one and gently dip one side (half or fully) into the melted chocolate. Allow any excess chocolate to drip off.
- Add Sprinkles Immediately: While the chocolate is still wet, immediately sprinkle with your desired toppings – holiday sprinkles, finely chopped nuts, or sea salt. The chocolate sets quickly, so work efficiently.
- Set the Chocolate: Place the chocolate-dipped cookies onto a sheet of parchment paper or a silicone baking mat. Transfer the tray to the refrigerator for 10-15 minutes, or until the chocolate has completely set and hardened.
- Bring to Room Temperature: Once the chocolate is set, remove the cookies from the fridge and allow them to come to room temperature before serving. This ensures the chocolate isn’t too hard and the cookie retains its best texture.
Frequently Asked Questions About Danish Butter Cookies
How do I properly store Danish butter cookies?
These cookies can be stored in an airtight container at room temperature for up to 1 week. For longer preservation, they can be frozen for up to 3 months. Ensure they are completely cooled before storing to prevent condensation and maintain crispness.
Are Danish butter cookies the same as shortbread cookies?
Danish butter cookies are quite similar to shortbread, but there are distinct differences. The primary variation lies in a slightly higher sugar content in butter cookies, contributing to their delicate crumb. Additionally, the texture differs; shortbread cookie dough is typically more firm and is often rolled out and cut into shapes, whereas Danish butter cookie dough is softer and designed to be piped.
Can I make Danish butter cookies in advance?
Absolutely! Both the unbaked, piped or shaped dough and the baked cookies can be prepared in advance. You can freeze the piped dough overnight or for up to 1 month before baking. To do this, freeze the piped cookies on a parchment-lined sheet pan until solid, then transfer them to an airtight freezer-safe container or bag. When you’re ready to bake, thaw them on a parchment-lined sheet pan, ensuring space between each cookie, and bake as directed. Baked cookies can also be frozen.
Can you freeze Danish cookies?
Yes, you can freeze baked Danish cookies. Once a batch is baked and completely cooled, arrange them in a single layer in an airtight freezer-safe container with parchment paper between layers, and freeze for up to 3 months. You can also freeze the uncooked dough; refer to the previous question for freezing tips for unbaked dough.
Why did my Danish butter cookies spread too much?
Several factors can cause cookies to spread excessively: butter that is too warm, overmixing the dough (which develops gluten and makes it softer), or not chilling the piped dough before baking. Ensure your butter is at room temperature but still firm, avoid overmixing, and always chill your piped cookies for at least 30 minutes.
What kind of piping tip should I use for Danish butter cookies?
For the classic rosettes and swirls, a large open star tip, such as a Wilton 1M, is highly recommended. This tip creates beautiful, defined ridges that hold their shape well during baking.
Creative Variations for Your Homemade Danish Butter Cookies
One of the best things about homemade Danish Butter Cookies is how wonderfully versatile they are. Beyond the classic chocolate dip, here are some ideas to add your personal touch and flair:
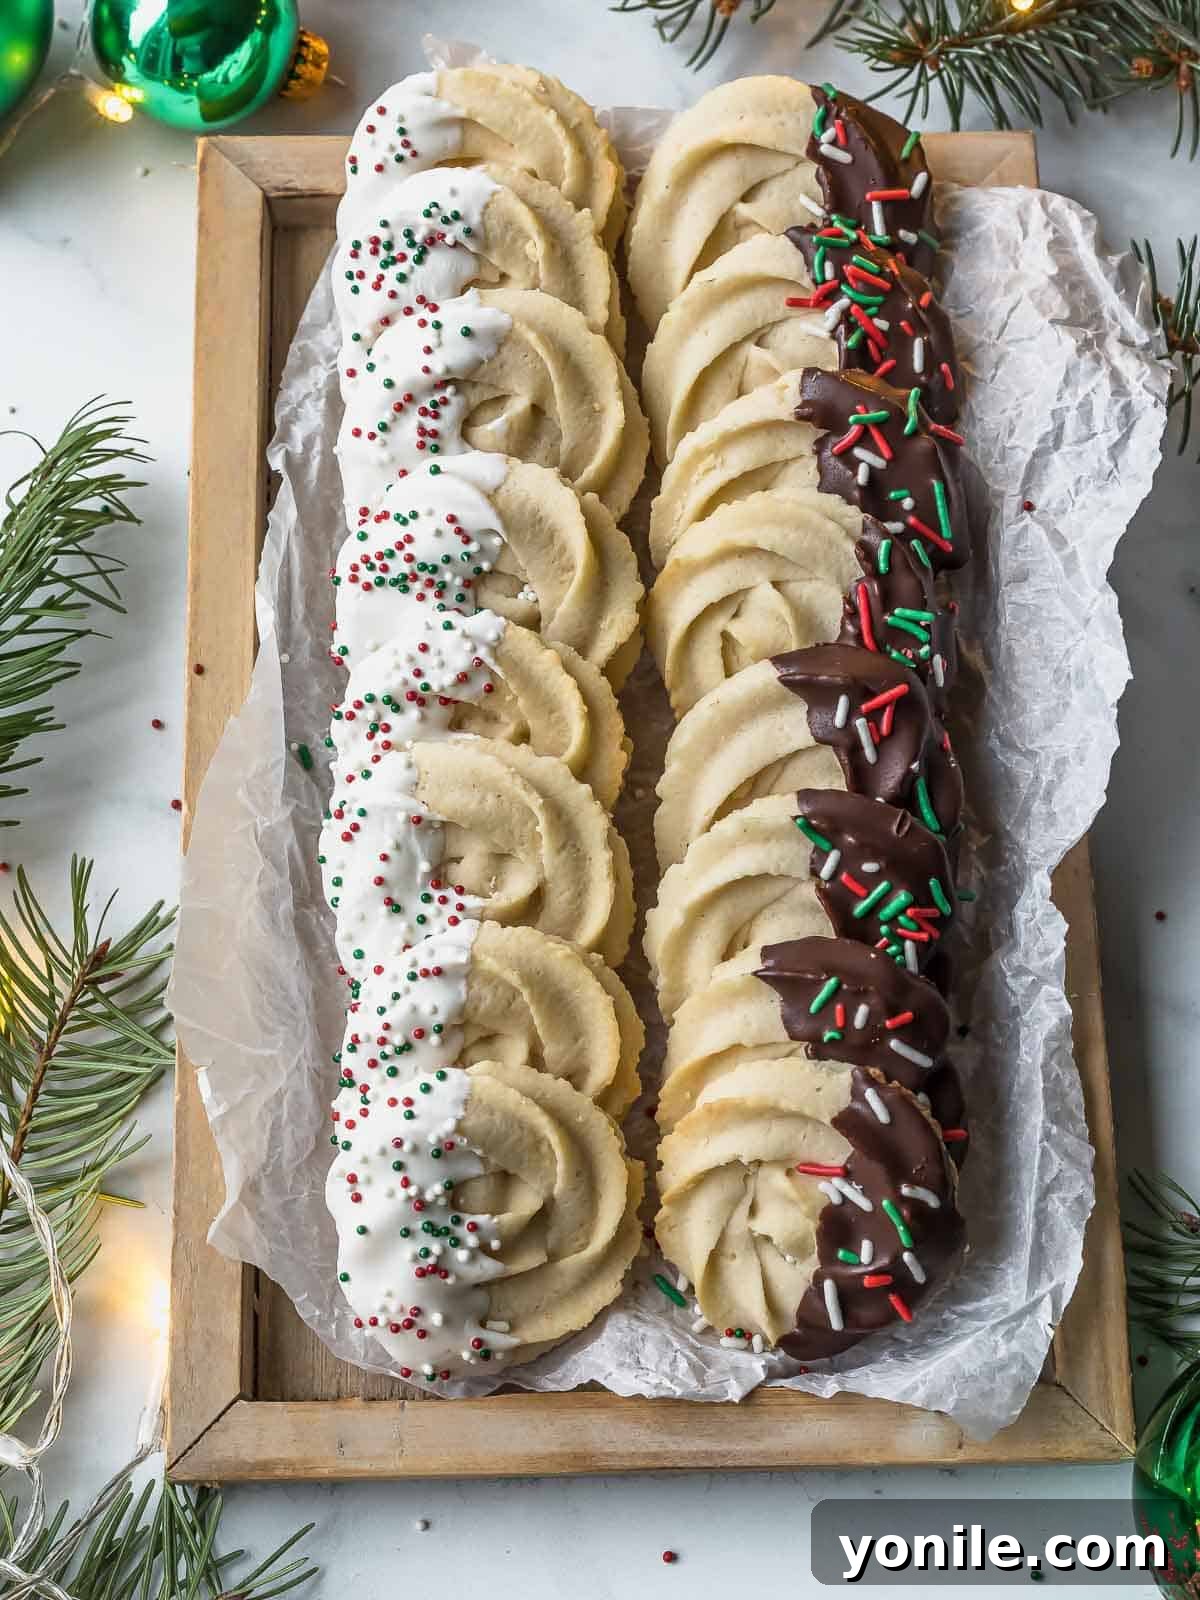
- Diverse Chocolate Dips: As mentioned, play with different types of chocolate – rich dark chocolate, creamy milk chocolate, or sweet white chocolate. For a truly festive presentation, after dipping, roll the chocolate-covered side into a bowl of colorful holiday sprinkles, shimmering edible glitter, or small edible pearls.
- Fruity Accents: For a pop of vibrant color and a burst of tart-sweet flavor, gently press a maraschino cherry (patted dry) onto the center of a piped cookie before baking. You could also add a dollop of your favorite fruit jam or curd in the center of ring-shaped cookies.
- Nutty & Tropical Toppings: After dipping in chocolate, sprinkle on some finely chopped toasted almonds, pecans, walnuts, or pistachios for added texture and a nutty flavor profile. Alternatively, toasted coconut flakes can give your cookies a tropical twist, especially with white chocolate.
- Citrus Zest Infusion: Add a teaspoon or two of finely grated orange or lemon zest to the cookie dough along with the vanilla extract. The citrus notes will provide a bright contrast to the rich butter flavor.
- Spice it Up: For a warming, cozy flavor, consider adding a pinch of ground cardamom, cinnamon, or even a tiny amount of nutmeg to your dry ingredients. These spices are common in Danish baking and can give your butter cookies a unique twist.
- Salted Caramel Drizzle: Instead of dipping, drizzle cooled cookies with a homemade or store-bought salted caramel sauce for a sophisticated and irresistible treat. A sprinkle of flaky sea salt on top would complete this.
Other Irresistible Holiday Desserts to Try
If you’ve enjoyed baking these Danish Butter Cookies, you might be looking for more sweet inspirations for the festive season or any special occasion. Here are some other delectable holiday dessert recipes to add to your repertoire:
- Orange Holiday Fruit Cake: A vibrant and flavorful fruit cake, perfect for a traditional Christmas spread.
- Easy Pain Aux Raisins: Delightful swirled pastries with plump raisins, a French classic made simple.
- Magic Bars with Coconut: Layers of deliciousness, these bars are a quick and satisfying treat, combining rich flavors and textures.
- Easy Pumpkin Bread: A moist and spiced pumpkin bread, ideal for autumn gatherings or a comforting breakfast.
I genuinely hope you cherish every moment spent baking and savoring this Danish Butter Cookies recipe, along with all the other delightful recipes I share. Please consider trying it, indulging in its buttery goodness, rating it, and sharing it with your loved ones! Your feedback and shares mean the world.
Should you try this recipe and find joy in it, I invite you to share your creations with me on INSTAGRAM using my hashtag for a chance to be featured on my story! Additionally, follow Cookin’ With Mima on FACEBOOK | INSTAGRAM | PINTEREST to stay updated on all my latest social posts, recipes, and culinary adventures.
Traditional Danish Butter Cookies
By: Mariam Ezzeddine
Buttery, crumbly, perfectly sweet, and melt-in-the-mouth – this Danish Butter Cookies recipe has it all! Easy to make and incredibly delicious.
Prep Time: 20 minutes
Cook Time: 15 minutes
Total Time: 35 minutes
Servings: 30 cookies
Ingredients
- 1 cup unsalted butter, soft, room temperature
- 1 cup confectioner’s sugar, sifted
- 2 tsp. pure vanilla extract
- 2 tbsps. milk (whole fat preferred), room temperature
- 2 cups all-purpose flour, sifted
- ½ tsp. salt
- Optional: Chocolate (white, milk, or dark) and sprinkles for dipping and decoration
Instructions
- Preheat your oven to 350°F (175°C). Line two large baking sheets with parchment paper.
- In a medium bowl, whisk together the sifted all-purpose flour and salt. Set aside.
- In the bowl of an electric stand mixer, cream together the room-temperature unsalted butter, sifted confectioner’s sugar, and pure vanilla extract using the paddle attachment. Beat on medium-high speed for 3-5 minutes until the mixture is light and fluffy.
- Add the room-temperature milk and mix on low speed until just incorporated.
- Gradually add the flour mixture in 2-3 parts, mixing thoroughly on low speed after each addition until just combined and the dough clumps together. Be careful not to overmix.
- Transfer the dough into a sturdy pastry bag fitted with a Wilton 1M open star tip.
- Pipe rosettes, S-shapes, or rings onto the prepared baking sheets, leaving about 1 inch of space between each cookie.
- Optional but Recommended: Refrigerate the piped dough on the baking sheets for 30 minutes to prevent spreading during baking and help the cookies retain their shape.
- Bake for 13-15 minutes, or until the edges are lightly golden brown.
- Remove from the oven and let the cookies cool on the baking sheet for a few minutes before transferring them to a wire rack to cool completely.
- For Chocolate Dipping (Optional): Once cookies are completely cool, melt your chosen chocolate in 30-second increments in the microwave, stirring after each, until smooth. If too thick, add a tiny bit of vegetable oil. Dip cooled cookies into the melted chocolate and immediately add sprinkles if desired. Place on parchment paper and refrigerate for 10-15 minutes until chocolate sets. Let them come to room temperature before serving.
- Store baked cookies in an airtight container at room temperature for up to a week.
Notes
- Always start with a fully preheated oven for even baking.
- Chilling the piped dough for at least 30 minutes before baking is highly recommended to maintain intricate shapes and prevent spreading.
- Ensure all ingredients, especially butter and milk, are at room temperature for optimal dough consistency.
- A Wilton 1M tip is ideal for achieving classic swirled piped shapes.
- When piping, test a small amount of dough first to ensure it’s the right consistency.
- Line baking sheets with parchment paper for easy release and cleanup.
- Cookies are done when edges are lightly golden; avoid overbaking.
- Experiment with white, milk, or dark chocolate for dipping, and various sprinkles for decoration.
- Allow cookies to cool completely before dipping in chocolate or storing.
Nutrition Information (Approximate per cookie)
Calories: 102kcal
Carbohydrates: 10g
Protein: 1g
Fat: 6g
Saturated Fat: 4g
Cholesterol: 16mg
Sodium: 33mg
Potassium: 12mg
Fiber: 1g
Sugar: 4g
Vitamin A: 189IU
Calcium: 4mg
Iron: 1mg