
Mastering Corn on the Cob: 6 Delicious Ways to Cook Perfect Sweet Corn Every Time
There’s nothing quite like the taste of fresh, sweet corn on the cob during peak season. It’s a versatile vegetable that complements almost any meal, from a casual backyard BBQ to a sophisticated dinner. However, achieving that perfectly tender, juicy bite can sometimes feel like a culinary challenge, especially if you’re new to cooking corn. Overcooked corn quickly turns mushy and loses its vibrant sweetness, while undercooked corn remains tough and starchy.
Fear not, corn lovers! This comprehensive guide will walk you through six foolproof methods to cook corn, ensuring impeccable tenderness and flavor every single time. Whether you’re short on time, craving a smoky char, or prefer a classic approach, we have a method that’s perfect for you. We’ll also cover essential tips on selecting the freshest ears, efficient shucking techniques, proper storage, and exciting ways to serve your delicious creation.

Selecting the Freshest Corn at the Store
The journey to perfectly cooked corn begins with choosing the best cobs. Freshness is paramount for achieving that sweet, tender texture. Here’s what to look for when you’re at the grocery store or farmer’s market:
- Feel for Firmness: Gently squeeze the corn on the cob. It should feel firm and plump along its entire length. Avoid any cobs with soft spots, which indicate spoilage or drying out.
- Examine the Husk: The husk of fresh corn should be tightly wrapped around the cob, vibrant green in color, and slightly damp. A dry, pale, or loose husk suggests the corn has been sitting for a while and might not be as fresh or sweet.
- Check for Damage: Steer clear of corn cobs with husks that have brown holes or signs of insect damage. These can indicate worms or other issues that compromise the quality of the kernels inside.
- Inspect the Silk (Tassel): The silk strands protruding from the top of the husk should be light brown or golden, feel slightly sticky, and smell sweet. Black or slimy silk usually means the corn is past its prime.
Effortless Corn Shucking: Preparing Your Cobs
Before you can enjoy your delicious corn, you’ll need to remove the husk and silk. Shucking corn can be a messy task, but with the right technique, it becomes much easier. The goal is to get rid of all the fibrous strands without losing too many kernels.
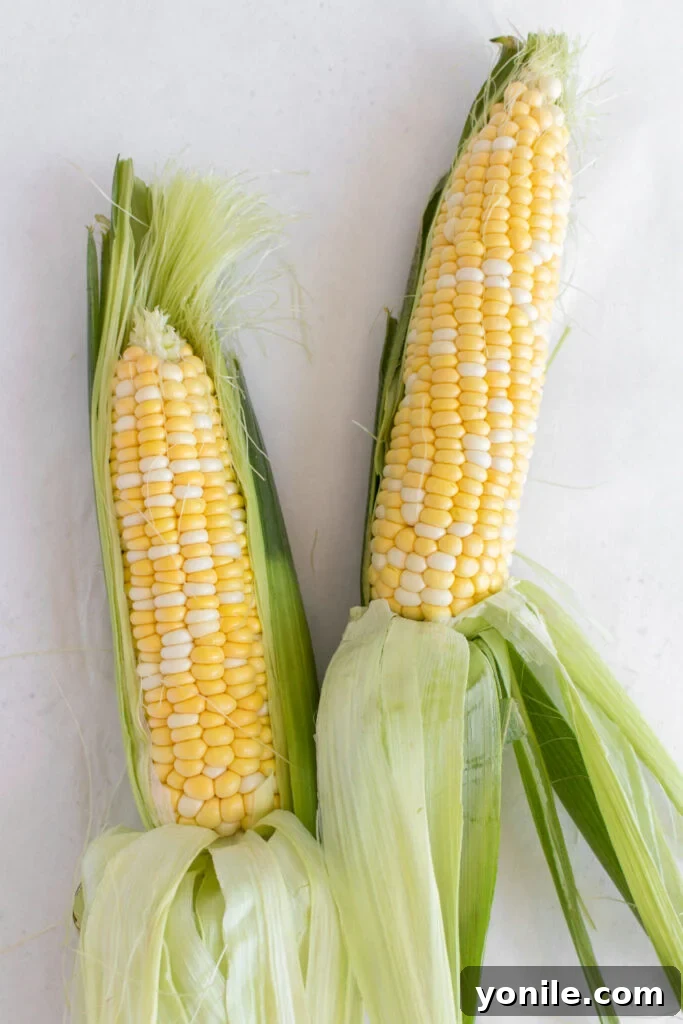
Here’s the simplest and most effective method:
- Peel from the Top: Hold the corn cob firmly at the base. Grab the green husk leaves from the top (the tassel end) and tear them downwards, peeling them away from the cob.
- Like Peeling a Banana: Continue peeling the husk all the way down towards the stem end. Once all the husk leaves are pulled back, you can snap off the stem and the attached husks with a quick twist.
- Remove the Silk: The trickiest part is often removing the stubborn silk strands. A dry paper towel or a clean kitchen brush can help wipe away most of the silk. For really clingy bits, gently rub the cob with your hands under running water or use a soft toothbrush to scrub them off.
- Quick Microwave Trick (Optional): For even easier shucking, you can microwave the corn in its husk for 2-4 minutes. This steams the corn slightly, making the husk and silk slide off effortlessly from the stem end. Just cut off the stem end, hold the top, and squeeze!
Once your corn is shucked and cleaned, it’s ready for cooking!
Six Essential Methods to Cook Corn on the Cob
Now for the main event: cooking! Each method offers a unique flavor profile and texture, catering to different preferences and occasions. Remember, all instructions below assume you are starting with shucked corn.
1. Classic Boiled Corn: Simple & Sweet
Boiling is the most traditional way to cook corn, delivering a consistently tender and juicy result that highlights the corn’s natural sweetness. It’s an excellent choice for a quick, no-fuss side dish.
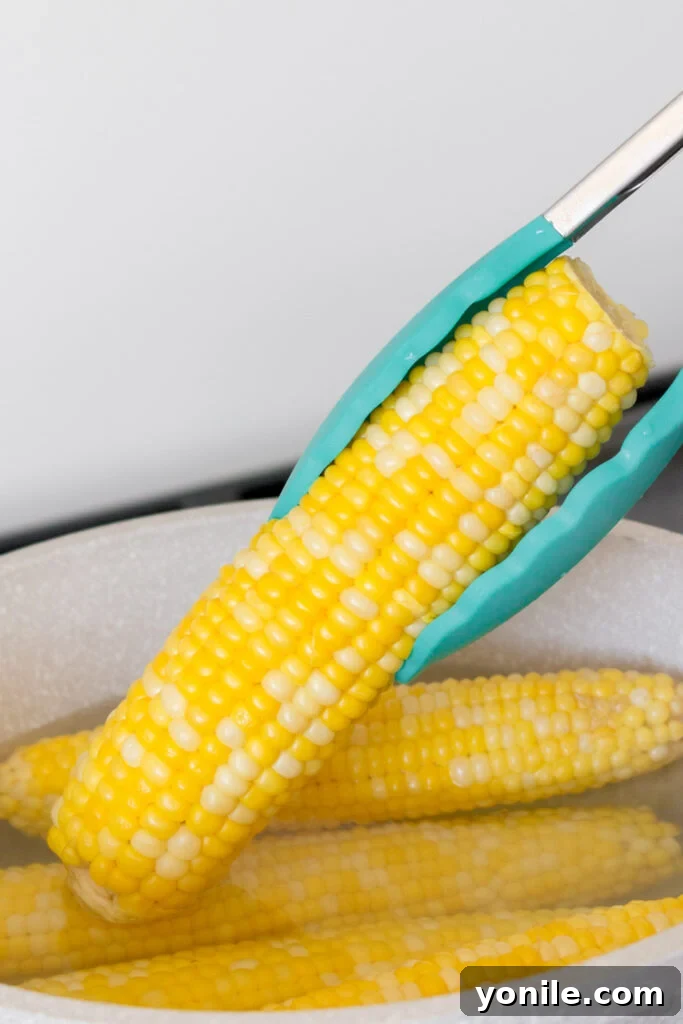
- Bring Water to a Rolling Boil: Fill a large pot with enough water to fully submerge your corn. Bring it to a rapid boil over high heat.
- Add Corn and Cover: Carefully place the shucked corn cobs into the boiling water. Make sure they are completely covered. Put the lid back on the pot to help the water return to a boil quickly.
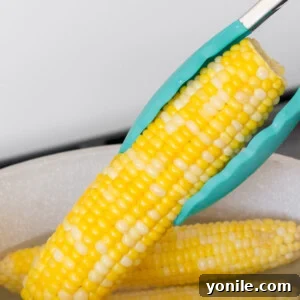
- Cook Until Tender: Once the water has returned to a boil, cook the corn for 5-7 minutes. The exact time depends on the size and freshness of the corn. You’ll know it’s done when the kernels are plump, bright yellow, and tender when pierced with a fork.
- Serve Warm: Remove the corn with tongs and serve immediately with your favorite toppings like butter, salt, and pepper.
Tip: Avoid adding salt to the boiling water, as it can sometimes toughen the corn kernels. Season after cooking.
2. Instant Pot Corn: Quick & Convenient
For those short on time but unwilling to compromise on taste, the Instant Pot is a game-changer. This pressure cooking method cooks corn perfectly in just minutes, making it ideal for busy weeknights.
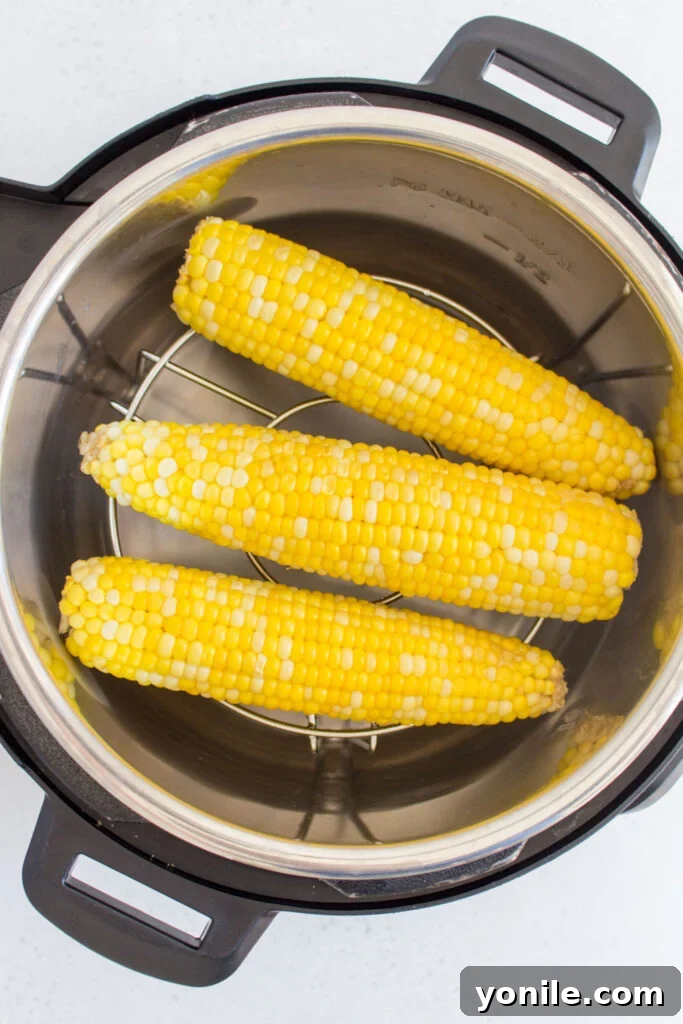
- Add Water and Trivet: Pour 1 cup of water into the bottom of your Instant Pot. Place the trivet (the metal rack that usually comes with the pot) inside.
- Arrange the Corn: Place the shucked corn cobs on top of the trivet. You can stack them if necessary, but try to keep them as spread out as possible for even cooking.
- Pressure Cook: Secure the lid and set the Instant Pot to “High Pressure” for 2 minutes.
- Quick Release: Once the cooking cycle is complete, perform a quick release of the pressure. Be cautious of the steam.
- Serve: Carefully remove the corn and enjoy!
3. Grilled Corn: Smoky Char & Flavor
Grilling corn adds an incredible smoky flavor and beautiful charred marks that are hard to beat, especially during summer gatherings. It’s a fantastic way to bring out the natural sweetness with an added layer of complexity.
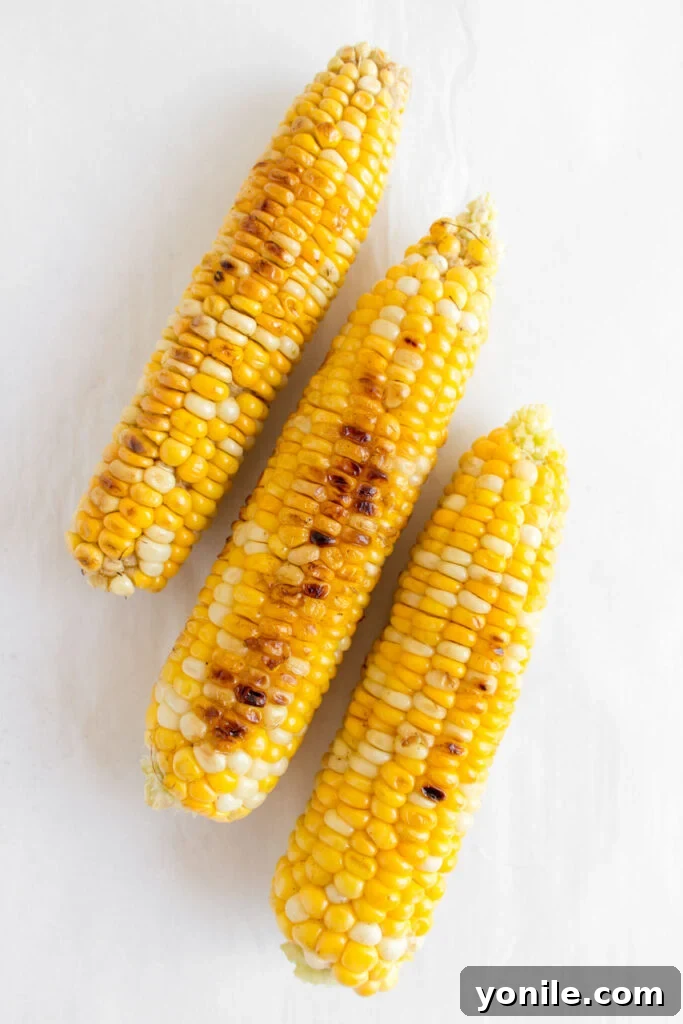
- Preheat the Grill: Preheat your grill to medium-high heat.
- Prepare the Corn: You can grill corn either shucked directly on the grates or in its husk (optional, soak husks in water for 15-20 minutes first). For shucked corn, brush each cob lightly with olive oil or melted butter to prevent sticking and help with browning.
- Grill to Perfection: Place the corn directly on the hot grill grates. Cook for 8 to 12 minutes, turning the cobs every 2-3 minutes to achieve an even char on all sides. The more often you flip, the less char you’ll get, resulting in more uniformly cooked kernels. Look for tender kernels and slight browning or charring.
- Season and Serve: Remove from the grill and immediately rub with butter, a sprinkle of salt, and your favorite spices.
Tip: Grilling in the husk adds a layer of protection and steams the corn while infusing a smoky flavor. Once grilled, the husks and silk peel off easily.
4. Microwave Corn: The Fastest Solution
When time is of the essence, the microwave can deliver perfectly tender corn on the cob in just a few minutes. This method is surprisingly effective at steaming the corn, locking in moisture and sweetness.
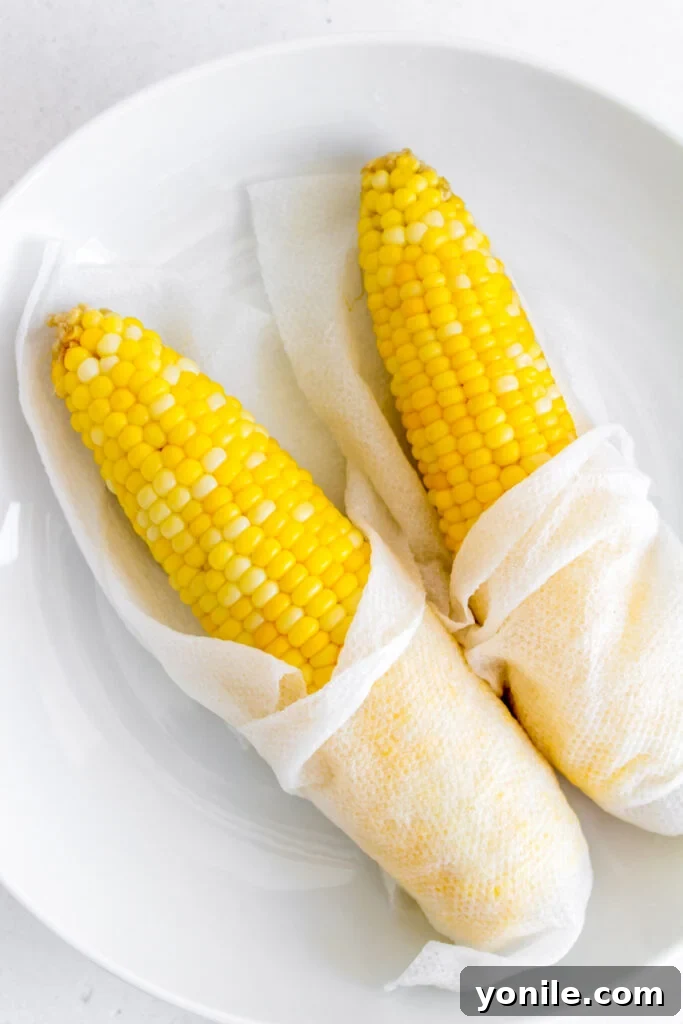
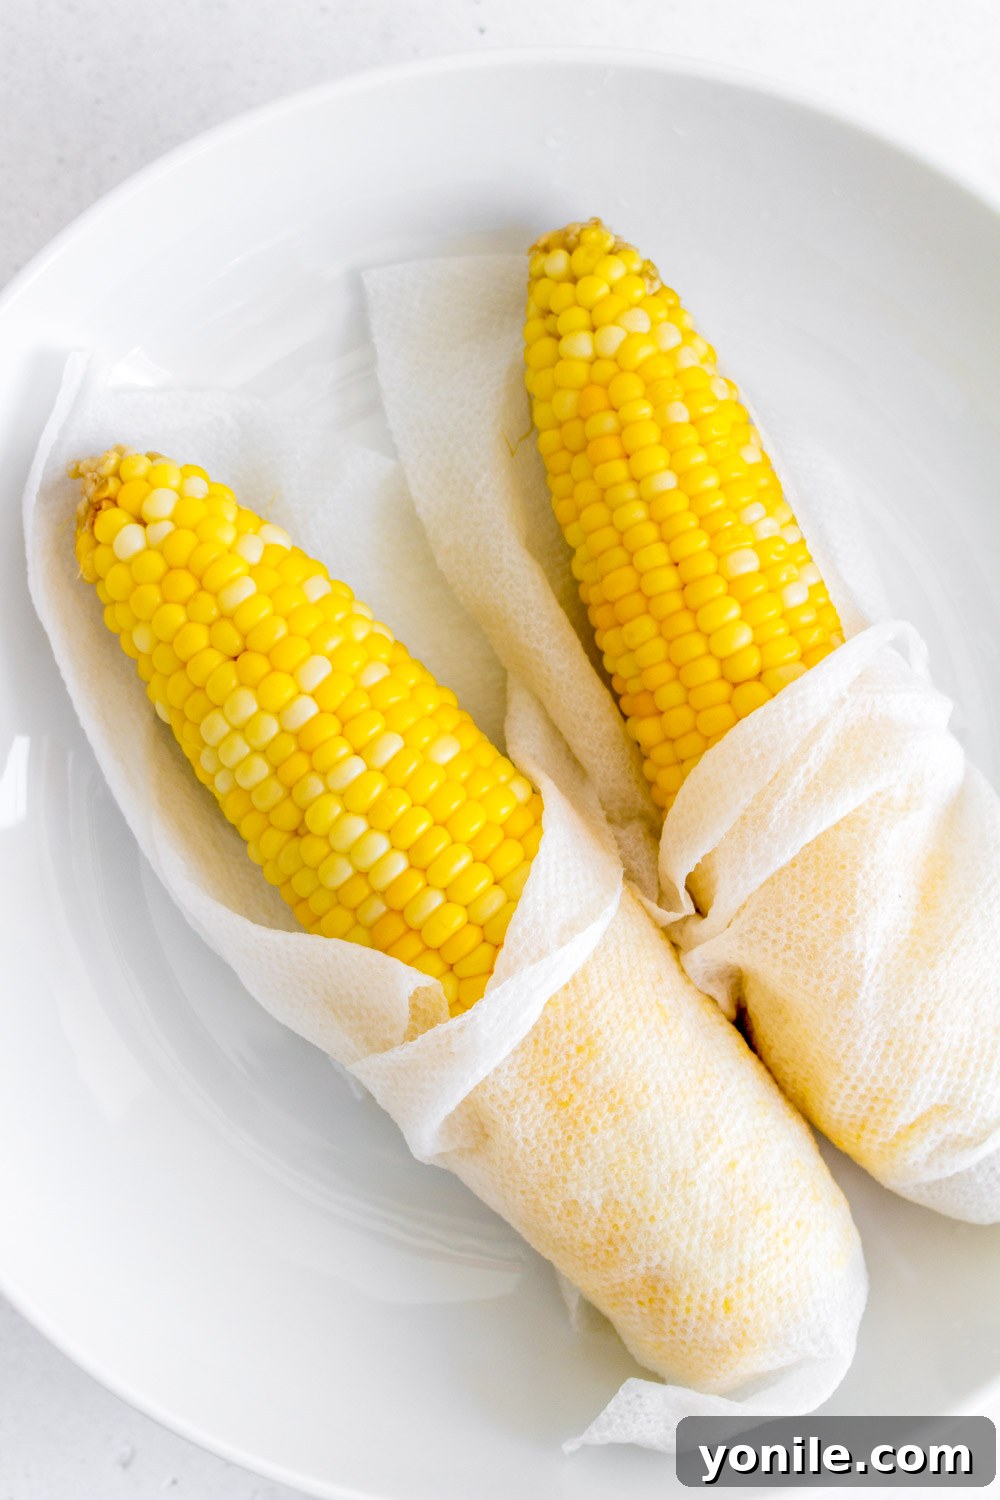
- Wrap in a Wet Paper Towel: Take one shucked corn cob and wrap it completely in a damp (not dripping wet) paper towel.
- Place in Dish and Cover: Place the wrapped corn in a large microwave-safe dish with a lid. If cooking multiple cobs, ensure they don’t overlap too much.
- Microwave: Place the lid on the dish and microwave on high for 3-5 minutes for one cob. If cooking more than one, add 1-2 minutes per additional cob.
- Check for Doneness: The corn is ready when the kernels are tender and hot throughout.
- Serve: Carefully unwrap (it will be hot!) and serve with your desired toppings.
5. Oven Roasted Corn: Hands-Off Perfection
Roasting corn in the oven is a fantastic hands-off method that results in tender, slightly caramelized kernels. Wrapping the corn in foil creates a steaming environment that keeps it moist and flavorful, with an option for a slight browning at the end.
- Preheat Oven: Preheat your oven to 375°F (190°C).
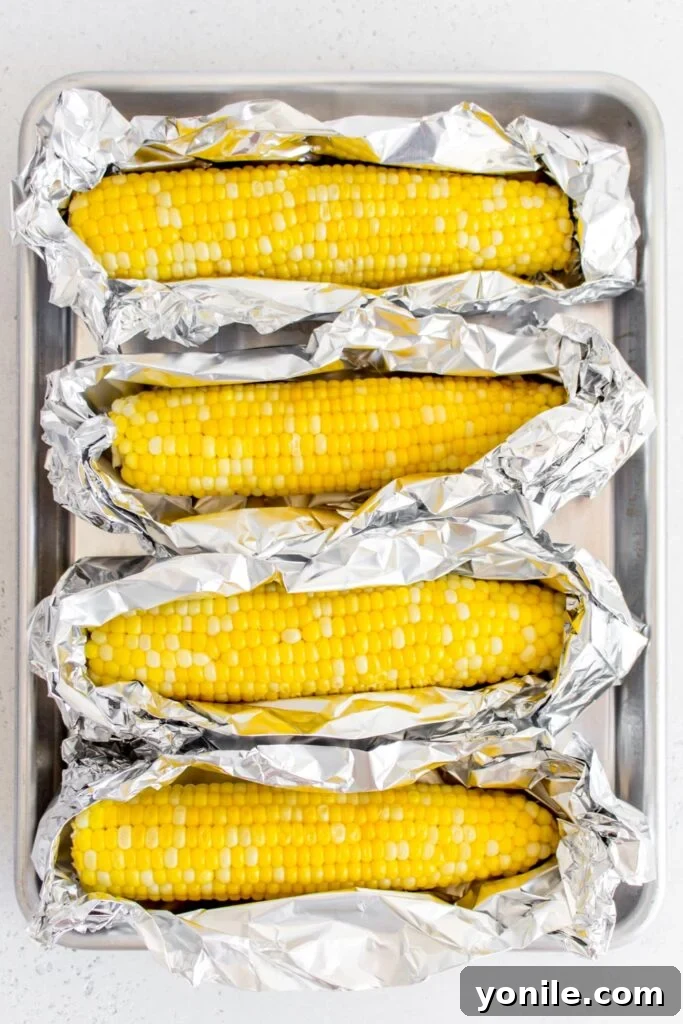
- Prepare Foil Packets: Place each shucked ear of corn on a piece of aluminum foil. You can add a pat of butter, a sprinkle of salt, and any desired seasonings (like garlic powder or paprika) on top of the corn.
- Wrap Tightly: Tightly wrap each ear of corn in the aluminum foil, creating a sealed packet. This will trap the steam and moisture.
- Bake: Place the foil-wrapped corn directly on the oven rack. Bake for 30 minutes, or until the kernels are tender when tested.
- Optional Broil for Browning: For a slightly browned or lightly charred finish, carefully open the foil packets and place the corn under the broiler for 1-2 minutes, watching carefully to prevent burning.
- Serve: Remove from the oven, unwrap, and serve hot.
6. Steamed Corn: Preserving Natural Flavor
Steaming is an excellent method for cooking corn as it gently cooks the kernels, preserving their vibrant color, crisp-tender texture, and delicate sweetness. It’s a healthy and simple approach.
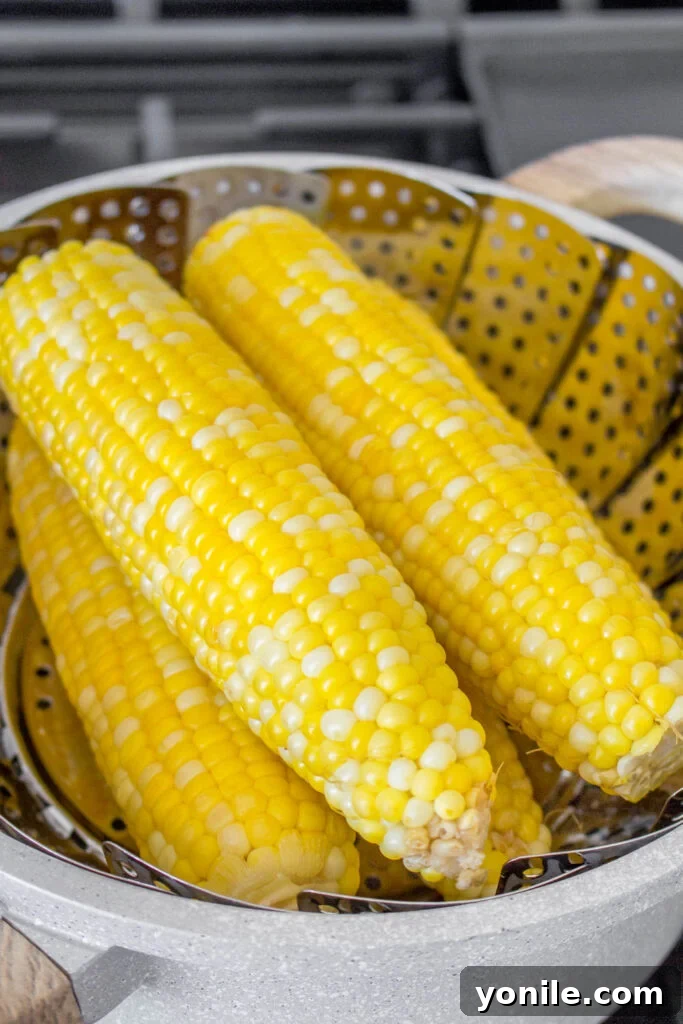
- Prepare Steamer: In a saucepan or pot, add about 1½ cups of water. Place a steamer insert (ensuring it’s not submerged in the water) into the pot. Bring the water to a boil over medium-high heat.
- Add Corn and Steam: Once the water is boiling and producing steam, carefully place the shucked corn cobs into the steamer basket.
- Cover and Cook: Place the lid tightly on the pot and steam for 5-6 minutes. The corn is ready when the kernels are bright yellow and tender.
- Serve: Remove the steamed corn and serve immediately with butter and seasonings.
Ensuring Perfect Doneness: How to Tell When Corn is Ready
Regardless of the cooking method you choose, knowing how to tell when your corn on the cob is perfectly done is key to avoiding both tough, starchy kernels and mushy, overcooked ones. Here are the tell-tale signs:
- Vibrant Color: Cooked corn kernels will appear brighter and more intensely yellow compared to their raw state.
- Plump Kernels: The kernels will swell and look noticeably plumper.
- Tender Texture: The most reliable test is to gently pierce a kernel with the tip of a knife or a fork. It should feel tender and yield easily, but still have a slight bite, not mushy.
- Sweet Taste: Perfectly cooked corn will taste sweet and juicy, without any raw, starchy flavor.
Always aim for tender-crispness; corn cooks quickly, and a minute too long can change its texture dramatically.
Storing Fresh & Cooked Corn for Lasting Flavor
Proper storage helps maintain the freshness, sweetness, and texture of your corn, whether it’s raw or cooked.
Storing Uncooked Corn
The moment corn is picked, its sugar content begins to convert into starch, which means it starts losing its sweetness. To slow this process down:
- Keep the Husk On: Store corn on the cob in its husk. The husk acts as a natural protective layer, retaining moisture and freshness.
- Refrigerate in a Plastic Bag: Place the husked cobs in a plastic bag (or even better, a paper bag inside a plastic bag) to help retain moisture. Store them in the crisper drawer of your refrigerator.
- Use Quickly: For optimal sweetness and tenderness, try to use fresh corn within 1-3 days of purchase. The longer it sits, the starchier it will become.
Storing Cooked Corn
If you have leftover cooked corn, proper storage will keep it delicious for future enjoyment:
- Cool Completely: Allow the cooked corn to cool down to room temperature before storing. This prevents condensation and inhibits bacterial growth.
- Airtight Storage: Once cool, wrap the cobs tightly in plastic wrap or aluminum foil, or place them in an airtight container.
- Refrigerate: Store the wrapped or contained corn in the refrigerator for up to 3-5 days.
Freezing Corn: Enjoy Sweetness Year-Round
Freezing is an excellent way to preserve the summer sweetness of corn for months, allowing you to enjoy it long after corn season has ended. You can freeze whole cobs or just the kernels.
- Blanching (Recommended for Whole Cobs): For best results and to preserve color and texture, blanch whole cobs. Bring a large pot of water to a boil. Drop shucked corn cobs into the boiling water for 2-3 minutes. Immediately transfer to an ice bath for 2-3 minutes to stop the cooking process.
- Dry Thoroughly: Pat the blanched cobs very dry with a clean towel.
- Freeze Whole Cobs: For whole cobs, wrap each blanched and dried cob tightly in plastic wrap, then again in aluminum foil. Place them in a freezer-safe bag or container.
- Freeze Kernels: If you prefer to freeze just the kernels, after blanching and drying, use a sharp knife to carefully cut the kernels off the cob. Spread the kernels in a single layer on a baking sheet lined with parchment paper. Freeze for 1-2 hours until solid. This prevents them from clumping together.
- Transfer to Airtight Bags: Once frozen, transfer the individual kernels into freezer-friendly airtight plastic bags (like Ziploc bags) or containers, removing as much air as possible.
- Storage Duration: Frozen corn can be stored in the freezer for up to 6-8 months for optimal quality, though it can remain safe to eat for up to 12 months.
- Thawing/Reheating: Thaw frozen kernels by rinsing under cold water or adding directly to recipes. Whole cobs can be steamed, boiled, or grilled from frozen, adding a few extra minutes to the cooking time.
Frequently Asked Questions About Cooking Corn
Should I Add Salt to the Water When Boiling?
It’s a common practice to salt water when boiling vegetables, but with corn, it’s generally best to skip it! Adding salt to the boiling water can actually toughen the corn kernels, making them less tender and sweet. For perfectly tender corn, boil it in unsalted water. You can always add salt, butter, and other seasonings generously after the corn is cooked and ready to serve.
Cooking Corn for a Crowd?
If you’re preparing a large batch of corn on the cob for a party or family gathering, keeping it warm and ready to serve is crucial. Here are some tips:
- Use a Slow Cooker: After boiling or steaming, place the cooked corn cobs into a slow cooker set to the “Warm” setting. You can add a small amount of water or butter to the bottom to keep it moist.
- Oven Method: Place cooked corn in a large baking dish, cover it tightly with aluminum foil, and keep it in a warm oven (around 200°F / 95°C) until ready to serve.
- Insulated Cooler: For outdoor events, a clean, insulated cooler can double as a warming box. Line it with aluminum foil, place the hot corn inside, and close the lid. The residual heat will keep the corn warm for a surprisingly long time.
Elevate Your Corn: Creative Topping & Serving Ideas
While a simple pat of butter and a sprinkle of salt is always a classic, don’t be afraid to experiment with exciting toppings to transform your corn on the cob into an unforgettable culinary experience. Here are some fun and flavorful ideas:
- Mexican Street Corn (Elote-Inspired): A creamy, tangy, and spicy delight. Slather your corn with a mixture of mayonnaise and lime juice, then roll it in crumbled cotija cheese, chili powder, and fresh cilantro.
- Lime-Coconut Crema: For a tropical twist, mix coconut milk (or cream) with fresh lime juice, a touch of honey, and a pinch of salt. Drizzle over warm corn.
- Sweet Honey Butter: Whisk together softened butter with a tablespoon of honey for a simple yet irresistible sweet and savory spread.
- Umami Miso Butter: Combine softened butter with a teaspoon of white miso paste for a rich, savory, and deeply flavorful topping.
- Herb-Infused Butter: Mix softened butter with finely chopped fresh herbs like parsley, chives, basil, or dill. Garlic powder can also be a great addition.
- Spicy Chipotle-Mayo with Lime: Blend mayonnaise with a bit of adobo sauce from a can of chipotle peppers (or finely chopped chipotle) and a squeeze of fresh lime juice for a smoky, spicy kick.
Corn on the cob makes a fantastic side dish for grilled meats, poultry, seafood, or vegetarian mains. It’s perfect alongside BBQ ribs, grilled chicken, fish tacos, or a hearty summer salad.
We hope this detailed guide empowers you to cook perfect, tender, and delicious corn on the cob every single time, no matter which method you choose. Experiment with different techniques and toppings to discover your new favorite way to enjoy this seasonal delight. Happy cooking!
If you try any of these methods or create your own delightful corn dishes, please share your experiences! We love hearing from you.
How to Cook Corn – 6 Ways!
By: Mariam Ezzeddine
Wondering how to cook corn? Here are 6 different methods to cook corn so that they come out perfectly tender every time!
- Prep Time: 5 minutes
- Cook Time: 30 minutes
- Total Time: 35 minutes
- Servings: 4 servings
Ingredients
- 4 whole corn on the cob, husks removed
- Butter, if grilling or oven roasting
Instructions
- How to Boil Corn: Bring a large pot of water to a boil and add in the corn and cover so it returns to a boil. Cook for 5-7 minutes or until the corn kernels are tender.
- How to Cook Corn in the Instant Pot: Add 1 cup water into the Instant Pot and place in the trivet. Place the corn on top of the trivet, stacking them if needed and cook on High Pressure for 2 minutes. Quick release when done.
- How to Grill Corn: Brush olive oil and/or butter onto the corn. Place corn on a hot grill and cook for 8 to 12 minutes, flipping the corn every couple of minutes to get your desired level of char on each side of the corn. The more you flip, the less charred the corn is.
- How to Microwave Corn: Wrap corn in a wet paper towel and place the corn in a large microwaveable dish with a lid. Place the lid on and microwave for 3-5 minutes or until the corn kernels are tender.
- How to Oven Roast Corn: Preheat the oven to 375F. Place each ear of corn on a piece of tin foil with some butter on top and tightly wrap it up. Bake the corn in the oven for 30 minutes or until the kernels are tender. Optional: open the tin foil and broil the corn for 1-2 minutes if you’d like to brown it a bit.
- How to Steam Corn: In a saucepan or pot with a steamer insert, bring up to 1½ cups of water to a boil. Add in the corn, place the lid on top, and steam for 5-6 minutes.
Nutrition Facts (per serving)
- Calories: 77kcal
- Carbohydrates: 17g
- Protein: 3g
- Fat: 1g
- Saturated Fat: 0.3g
- Polyunsaturated Fat: 0.4g
- Monounsaturated Fat: 0.4g
- Trans Fat: 0.01g
- Sodium: 14mg
- Potassium: 243mg
- Fiber: 2g
- Sugar: 6g
- Vitamin A: 168IU
- Vitamin C: 6mg
- Calcium: 2mg
- Iron: 0.5mg