
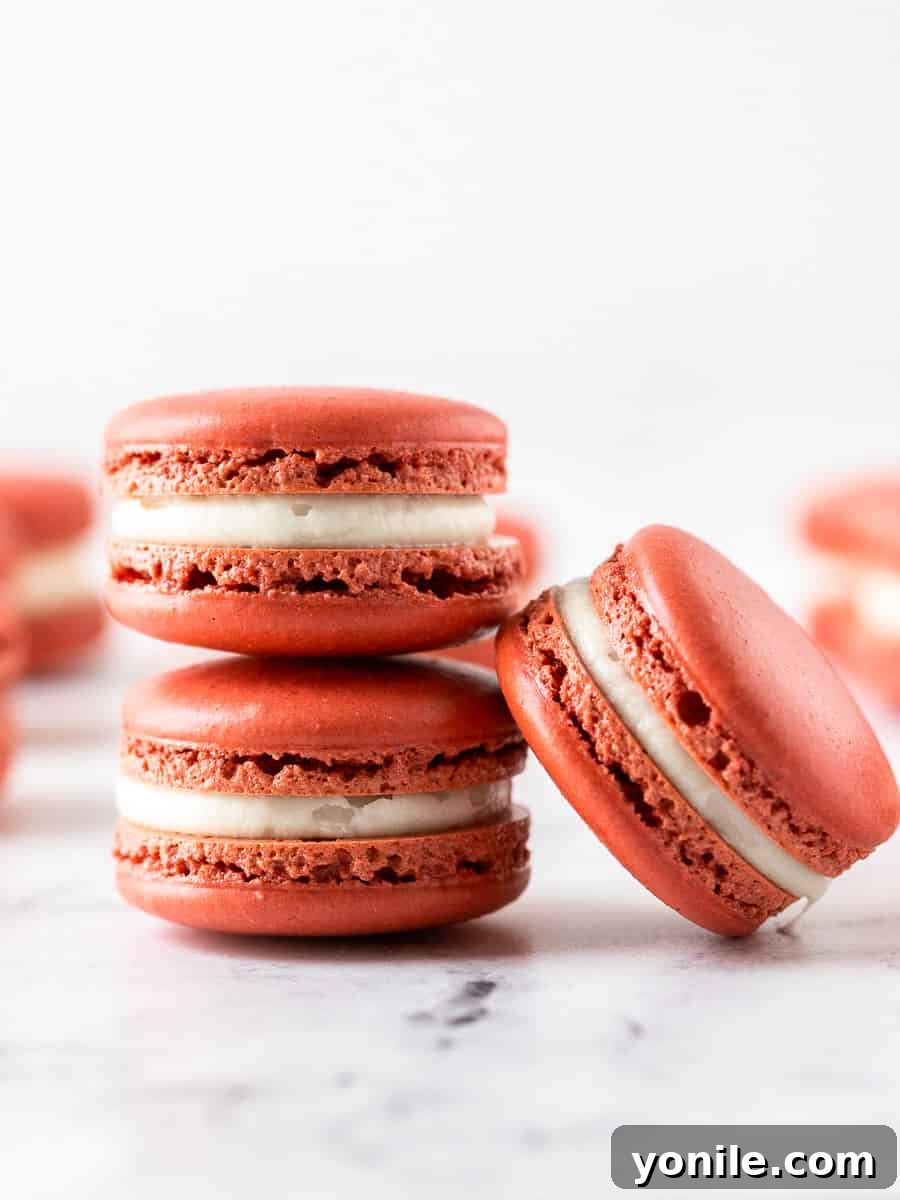
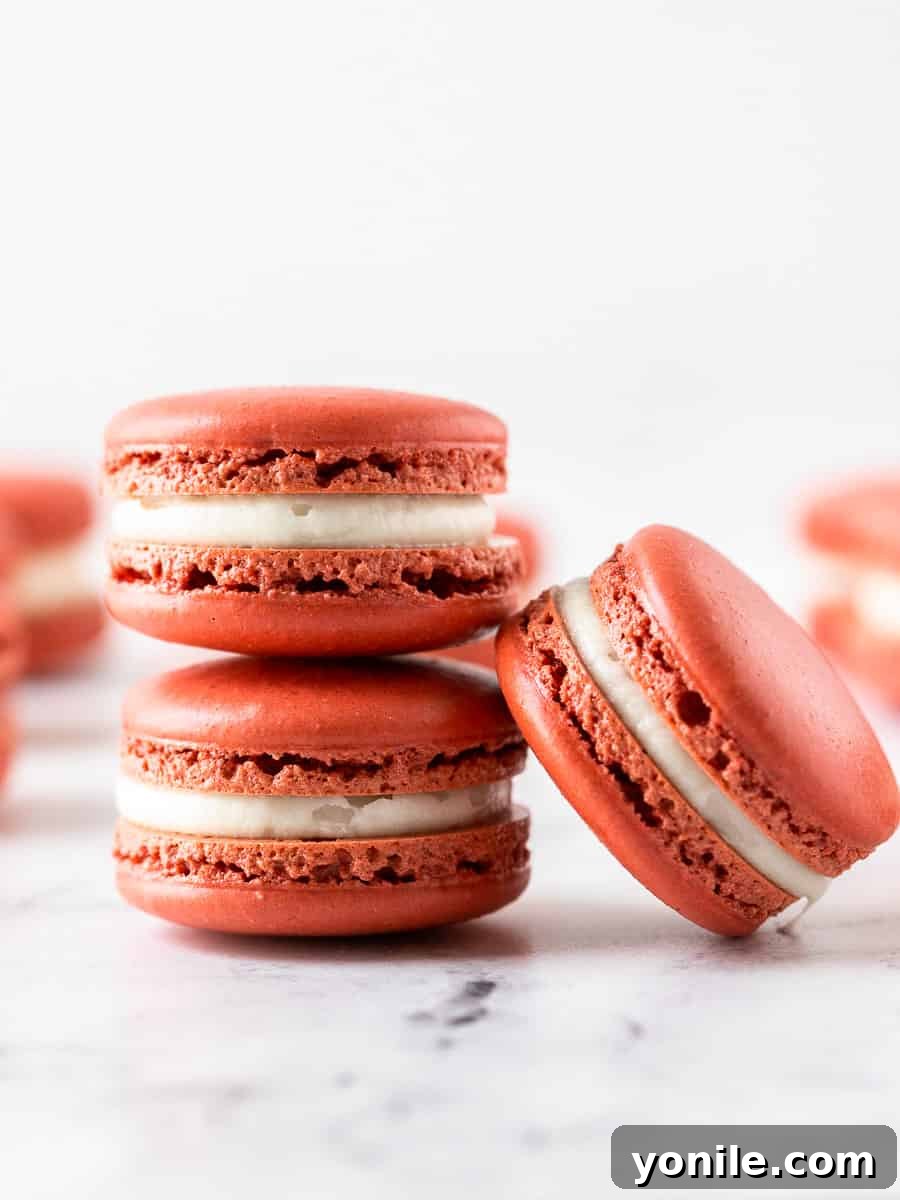
Prepare to enchant your taste buds and impress every guest with these exquisite Red Velvet French Macarons. These aren’t just any macarons; they’re a delightful homage to the classic red velvet cake, perfectly captured in a delicate, crisp shell with a lusciously tangy cream cheese filling. Forget store-bought treats; this recipe empowers you to create professionally stunning and undeniably delicious macarons right in your own kitchen.
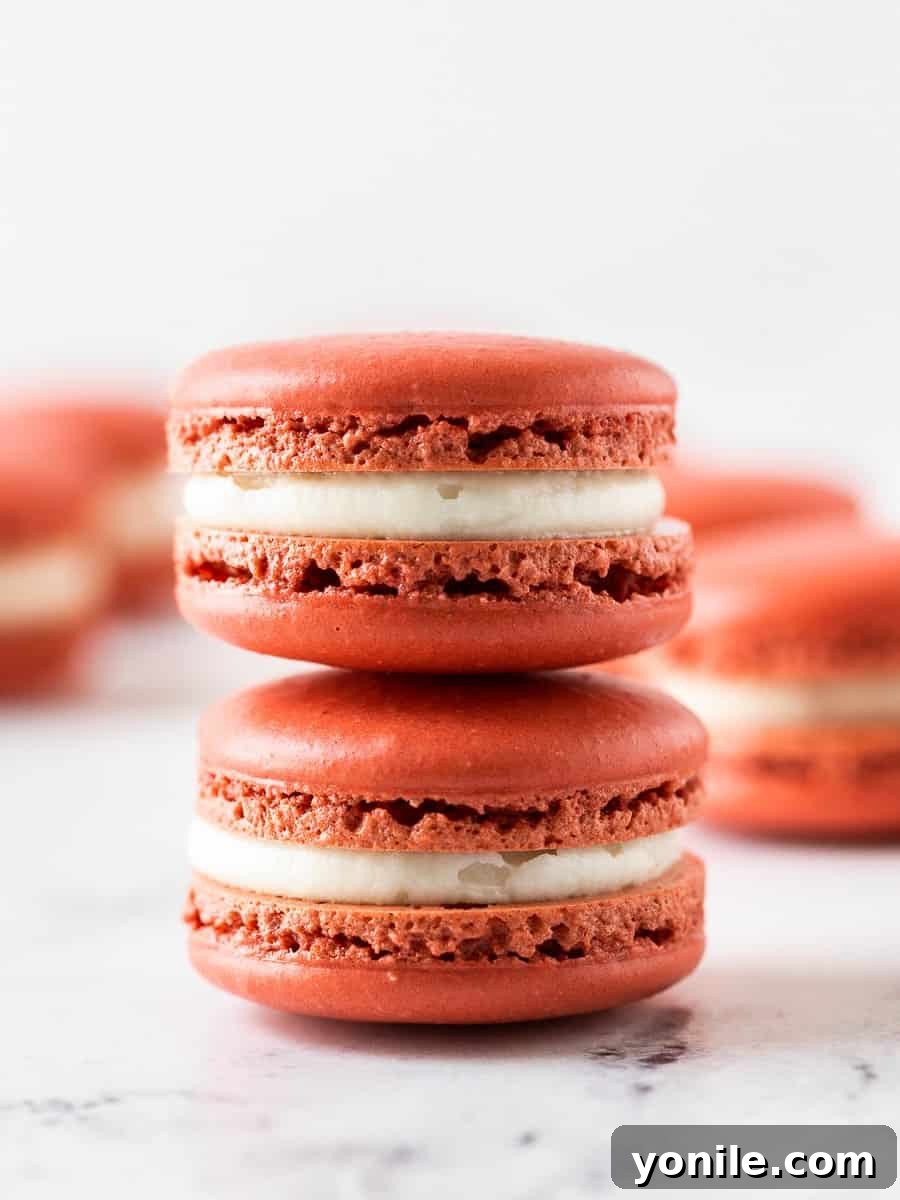
Each bite of these red velvet macarons offers a symphony of textures and flavors. The shells are engineered for that satisfying initial crunch, giving way to a wonderfully soft and chewy interior. The subtle cocoa notes of the red shell pair exquisitely with the iconic cream cheese frosting, creating a harmonious blend that is both sophisticated and comforting. While the art of macaron making might seem intimidating at first, this comprehensive guide will demystify the process, making homemade macarons a joyous and achievable baking endeavor you’ll want to revisit time and again. Once you master these, you’ll be creating bakery-quality confections that taste infinitely better than anything you could buy!
If you find yourself captivated by the delicate charm of macarons, there’s a whole world of flavors waiting to be explored. After mastering the red velvet, you might enjoy venturing into other delightful varieties. Explore my Lemon Macarons for a burst of citrusy freshness or dive into the sweet allure of Strawberry Macarons. Each recipe is crafted to be approachable, ensuring flavorful success with every batch.
Why You’ll Love This Easy Red Velvet Macaron Recipe
Making macarons at home is a rewarding experience, and this Red Velvet Macaron recipe offers numerous reasons why it will become your new favorite:
- Cost-Effective Indulgence: Forget the hefty price tag of artisanal macarons from bakeries. This recipe uses readily available ingredients, allowing you to create a generous batch of gourmet treats without breaking the bank. It’s a truly budget-friendly way to enjoy luxury.
- Irresistibly Delicious: The magic of these macarons lies in their authentic red velvet flavor. The delicate cocoa-infused shells are perfectly complemented by a rich, tangy cream cheese filling, delivering the true essence of a classic red velvet cake in a bite-sized form. The balance of sweetness and tang makes them utterly addictive.
- Freezer-Friendly Convenience: Life gets busy, but that doesn’t mean you can’t enjoy homemade delights. The macaron shells can be baked ahead of time and frozen, making future assembly a breeze. This is perfect for meal prepping desserts or preparing for special occasions without last-minute stress.
- Impressive Presentation: These vibrant red macarons are visually stunning. Their elegant appearance, complete with delicate “feet,” makes them ideal for gifting, party favors, or simply elevating your dessert spread. You’ll undoubtedly wow your friends and family with your culinary skills.
- Achievable for Home Bakers: While macarons have a reputation for being challenging, this recipe is designed with clarity and simplicity in mind. With detailed instructions and helpful tips, even novice bakers can achieve beautiful, delicious results. It’s an excellent recipe to build your confidence in baking delicate confections.
- Customizable Color: You have full control over the intensity of the red hue. Adjusting the amount of red food coloring allows you to achieve anything from a subtle pink to a deep, dramatic red, perfect for various occasions and preferences.
Essential Red Velvet Macaron Ingredients
Crafting perfect red velvet macarons starts with selecting the right ingredients. Each component plays a vital role in achieving their signature texture, flavor, and vibrant color.
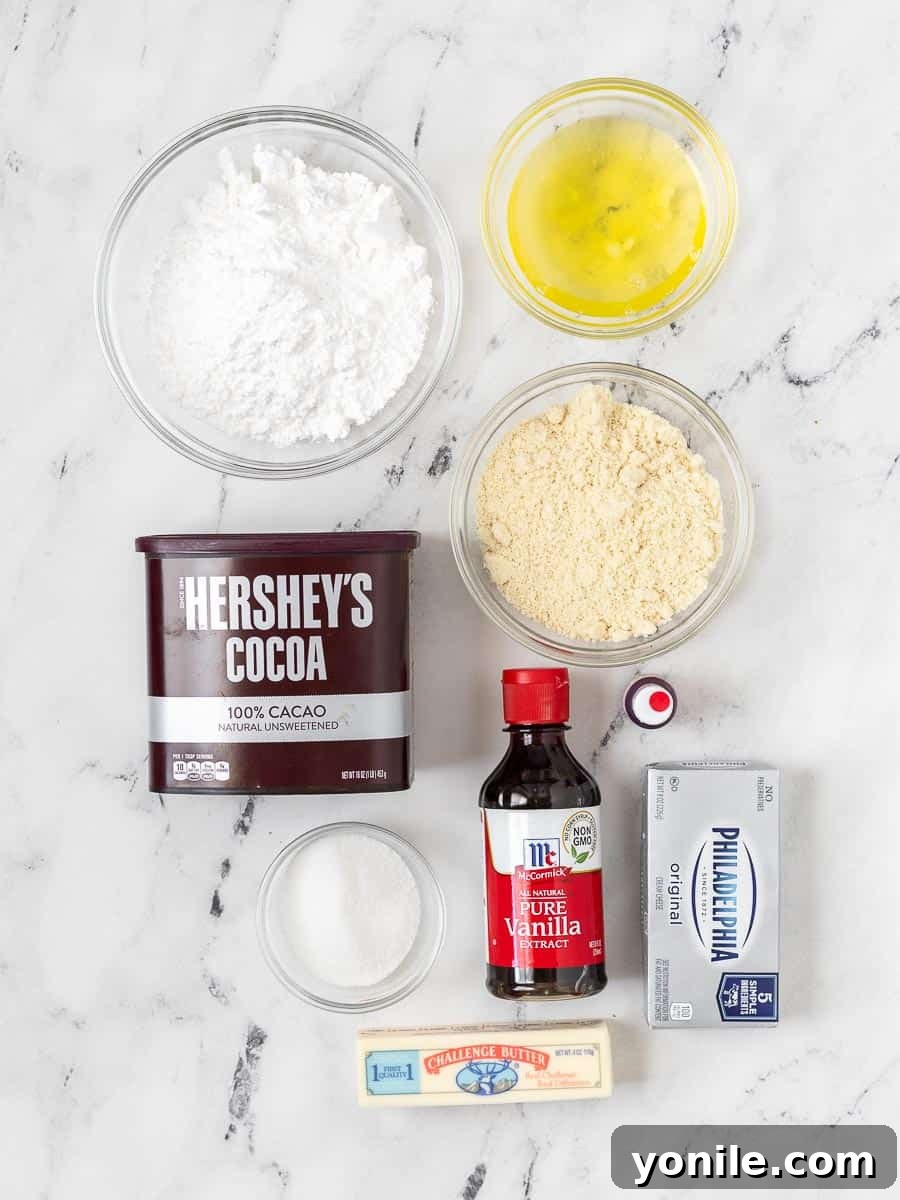
For the French Macaron Shells:
- Powdered Sugar (Confectioners’ Sugar): Crucial for the macaron’s smooth texture, powdered sugar dissolves seamlessly into the batter, preventing grittiness. Ensure it’s finely sifted.
- Almond Flour: The star ingredient that gives macarons their unique structure and delicate almond flavor. Use finely ground, blanched almond flour, not almond meal, which contains skins and is too coarse. Precision is key here; weigh it for best results.
- Cocoa Powder: Essential for the traditional red velvet flavor and color. Use a high-quality unsweetened cocoa powder, preferably Dutch-processed, as it offers a smoother flavor and darker base to enhance the red food coloring.
- Egg Whites: The foundation of your meringue, providing structure and lift. It’s critical that your egg whites are at room temperature, as this allows them to whip up to their maximum volume. Absolutely no trace of yolk should be present, as fat can inhibit the meringue from forming.
- Granulated Sugar (Fine): Used to stabilize the egg white meringue. Fine granulated sugar is preferred as it dissolves more easily, contributing to a smooth, stable meringue.
- Red Food Gel Coloring: For that iconic red velvet hue! Gel coloring is recommended over liquid coloring because it provides intense color without adding excess moisture, which can compromise the macaron batter’s consistency. You can adjust the amount to achieve your desired shade of red.
For the Cream Cheese Filling:
- Cream Cheese: Softened to room temperature for a smooth, lump-free filling. Full-fat cream cheese works best for richness and stability.
- Unsalted Butter: Also softened to room temperature. Using unsalted butter allows you to control the overall saltiness of your filling and ensures a rich, creamy consistency.
- Pure Vanilla Extract: A key flavor enhancer, complementing the red velvet profile. Use pure vanilla extract for the best, most authentic flavor.
- Powdered Sugar (Confectioners’ Sugar): Sweetens and thickens the filling, providing a smooth and silky texture that pipes beautifully.
How to Make Perfect Red Velvet Macarons
Making macarons is a delightful process that, while requiring attention to detail, is incredibly rewarding. Follow these steps carefully for success.
How to Make Red Velvet Macaron Shells
- Prepare Your Baking Surface: Line several baking sheets with silicone baking mats (highly recommended for even baking and easy release) or parchment paper. If using parchment paper, you might want to print or draw macaron templates (approx. 1.5 inches in diameter) underneath to guide your piping for uniform size.
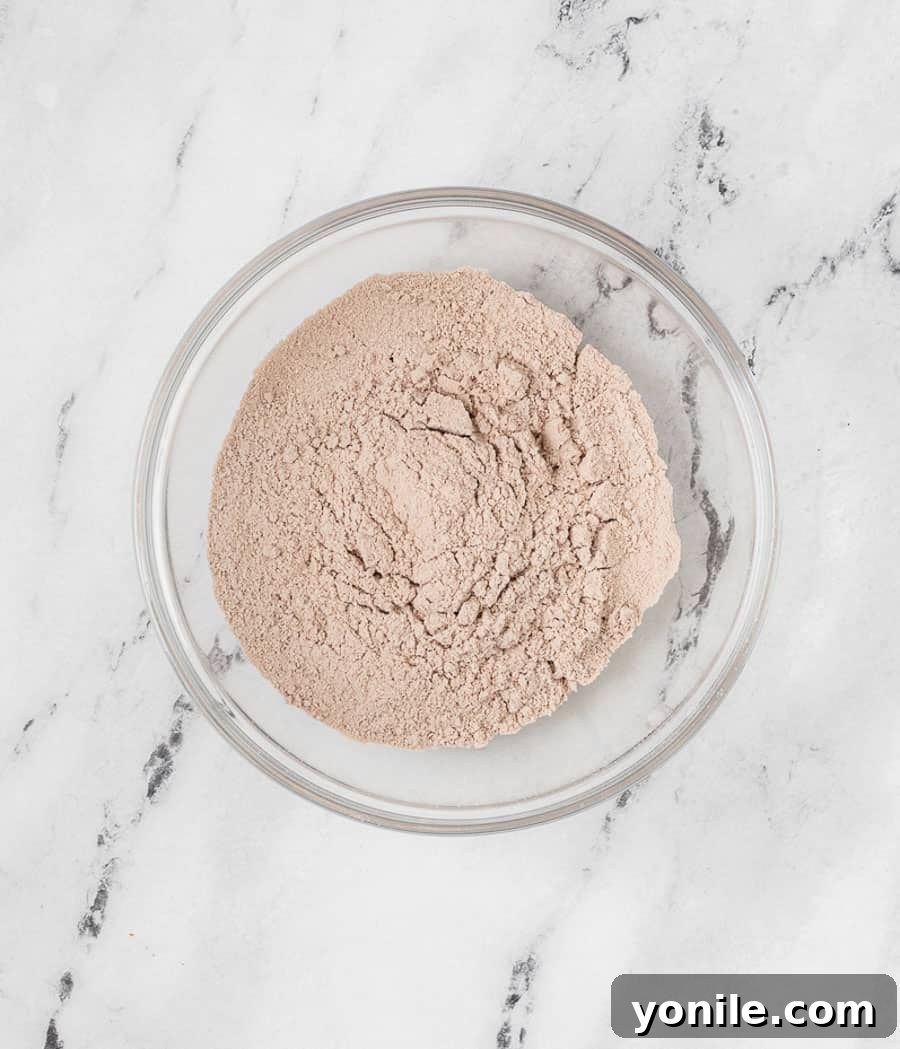
- Combine and Sift Dry Ingredients: In a food processor, pulse together the powdered sugar, almond flour, and cocoa powder until finely combined and any small lumps are gone. This ensures an ultra-smooth batter. Then, sift this mixture into a large, clean bowl. Sifting is a crucial step to eliminate any remaining lumps and guarantee smooth macaron shells. Set this bowl aside.
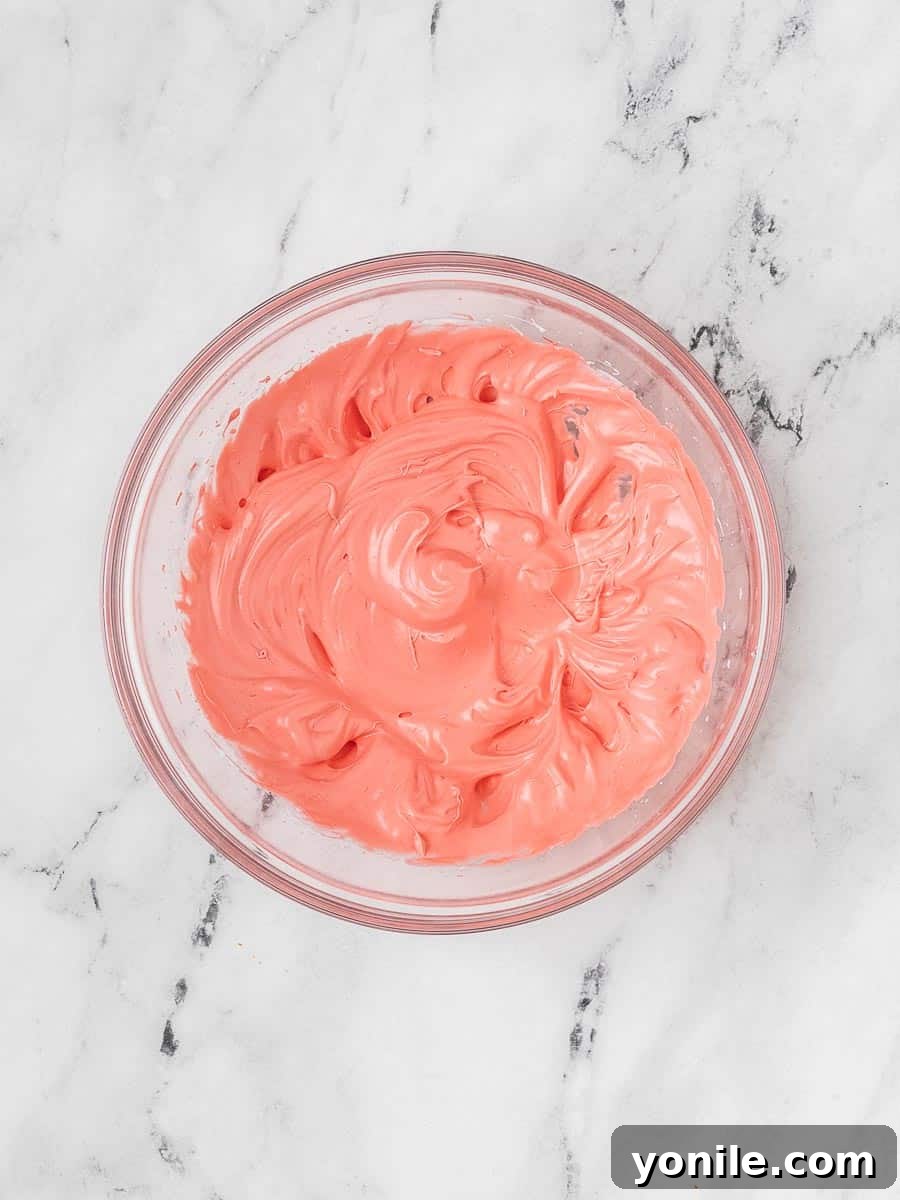
- Craft the Meringue: In a separate, impeccably clean, medium-sized bowl (preferably glass or metal, as plastic can retain grease), begin beating the room-temperature egg whites on low speed. Once they become foamy, gradually add the granulated sugar, increasing the mixer speed to medium-high. Continue beating until the mixture forms stiff, glossy peaks. At this point, carefully add your red food gel coloring. Beat until the color is evenly distributed and the meringue holds firm, upright peaks when the whisk is lifted.
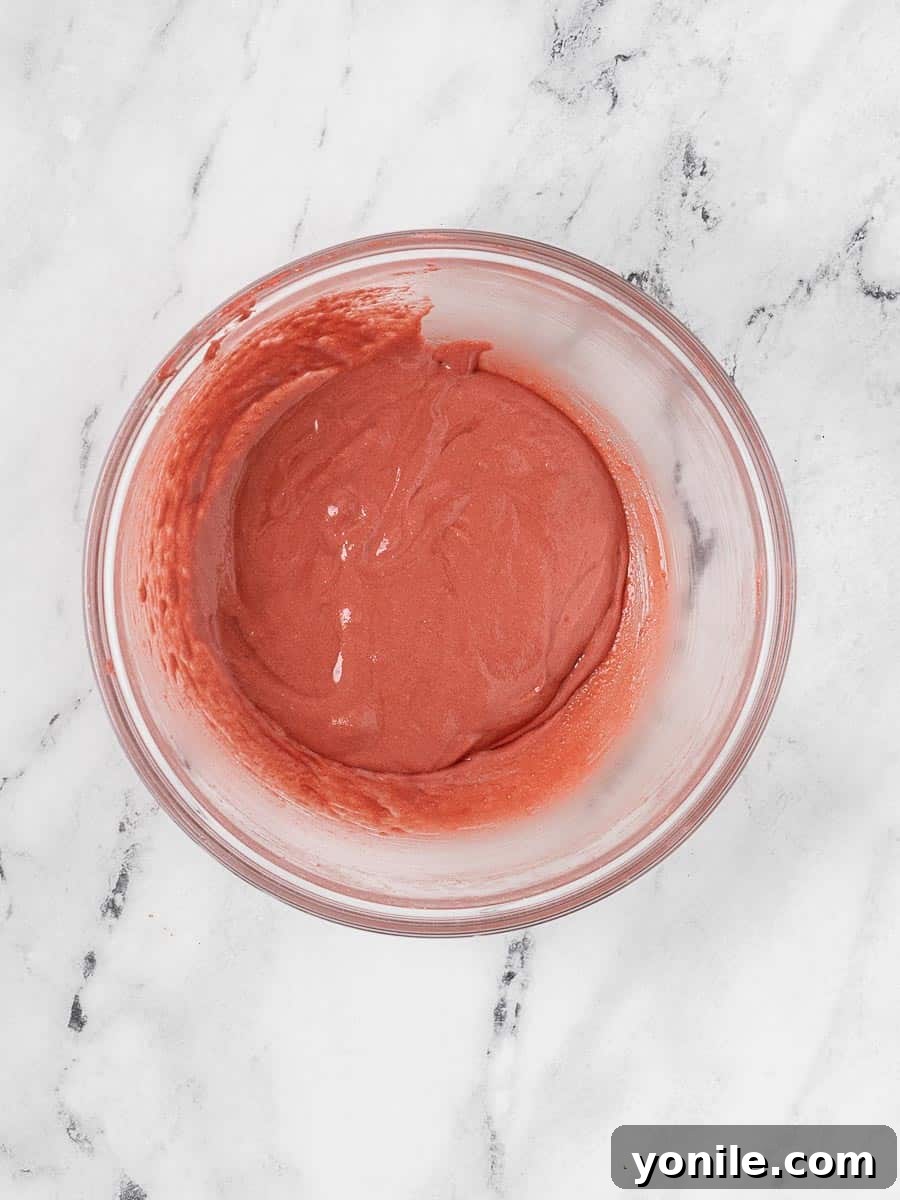
- Master the Macaronage: Gently add about one-third of your prepared meringue into the sifted dry ingredients. Using a silicone spatula, carefully fold the mixture. Add the remaining meringue in two more additions. The goal of macaronage is to achieve a lava-like consistency—a smooth, shiny batter that flows slowly off your spatula in a thick ribbon. Test by drawing a figure ‘8’ with the batter falling from the spatula; it should flow continuously without breaking. Avoid over-mixing, as this can lead to flat, cracked shells.
- Pipe the Macaron Shells: Transfer the macaron batter into a piping bag fitted with a round piping tip (a Wilton #12 or similar is excellent for 1-inch disks). Hold the piping bag perpendicular to the baking sheet, about half an inch above the surface. Pipe uniform 1-inch disks, using your templates as a guide if you have them. Apply steady, even pressure, then quickly flick your wrist to stop the flow of batter.
- Release Air Bubbles: This step is critical for preventing cracked shells. Firmly tap the baking sheet against your counter 5-6 times. This action helps to release any trapped air bubbles from the macaron batter. Use a toothpick to gently pop any stubborn bubbles that rise to the surface, smoothing the spot with the back of the toothpick.
- The Crucial Resting Period (Drying): Allow the piped macaron shells to rest at room temperature for at least 60 minutes, or until a “skin” forms on the surface. You should be able to gently touch the top of a macaron without any batter sticking to your finger. This resting period allows the shells to dry, which is essential for the formation of the characteristic “feet” during baking. The actual drying time can vary depending on your kitchen’s humidity. Preheat your oven to 300°F (150°C) towards the end of the resting time.
- Bake to Perfection: Place the baking sheet on the center rack of your preheated oven. Bake for approximately 14-16 minutes. To ensure even baking and coloring, rotate the pan halfway through the baking time (around the 7-8 minute mark).
- Test for Doneness: To check if they’re ready, gently touch a macaron shell and try to wiggle it. If it slides or wobbles on its “feet,” bake for another 1-2 minutes. A perfectly baked macaron should be firm on its feet and barely move.
- Cool Completely: Remove the baked macarons from the oven and allow them to cool completely on the baking sheet before attempting to move them. Rushing this step can cause them to stick or break.
- Pair the Shells: Once fully cooled, gently peel each macaron shell off the mat. Match similarly sized shells to create pairs, ready for filling.
How to Make the Cream Cheese Filling
- Cream the Fats: In the bowl of a stand mixer fitted with a paddle attachment (or using a hand mixer), beat the softened cream cheese and unsalted butter together on medium speed until the mixture is very soft, light, and perfectly creamy. Scrape down the sides of the bowl as needed to ensure everything is well combined.
- Incorporate Vanilla and Sugar: Add the pure vanilla extract to the creamed mixture. Then, gradually add half of the powdered sugar, beating on low speed until fully incorporated and smooth. Increase the speed to medium-high and continue beating until light and fluffy.
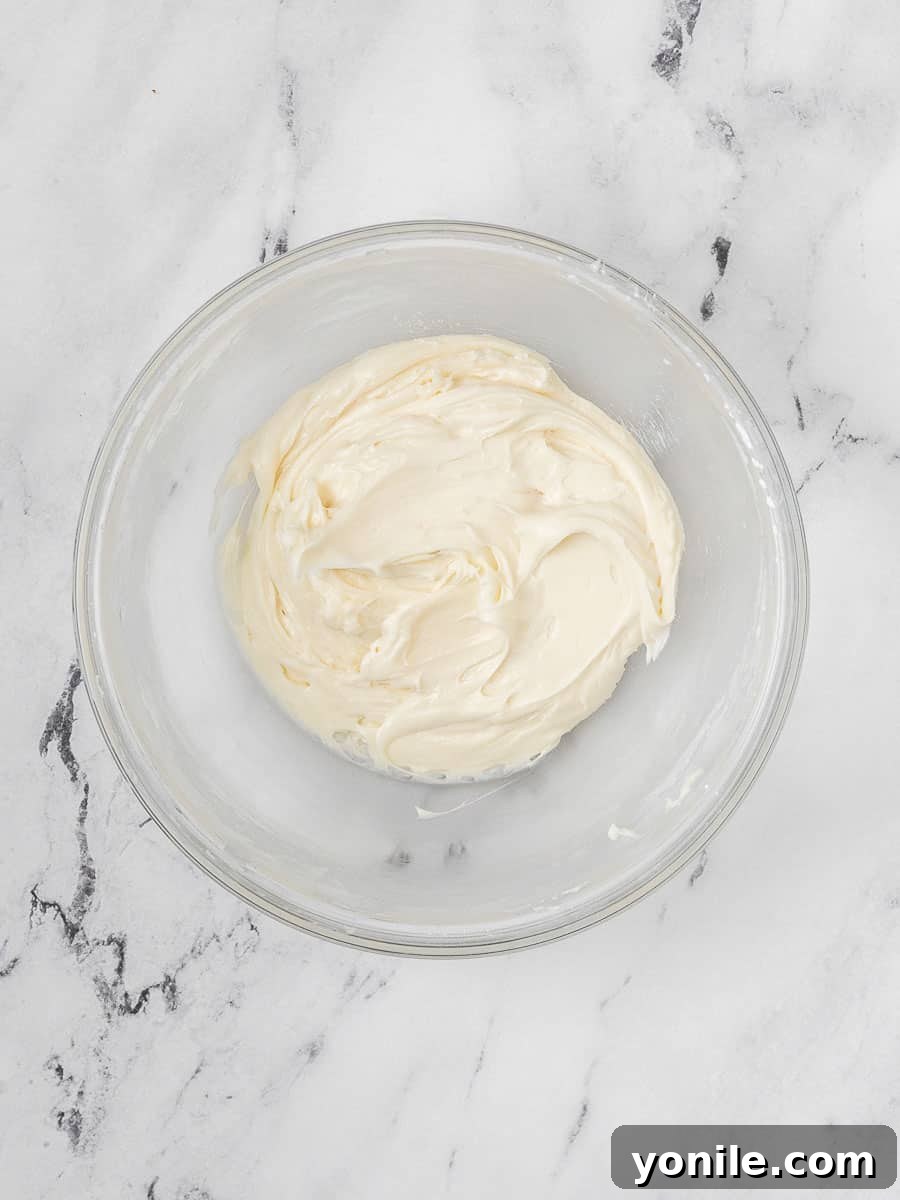
- Achieve Fluffy Consistency: Add the remaining powdered sugar and beat for another 5-6 minutes on medium-high speed. The goal is a light, airy, and fluffy buttercream texture that holds its shape beautifully for piping.
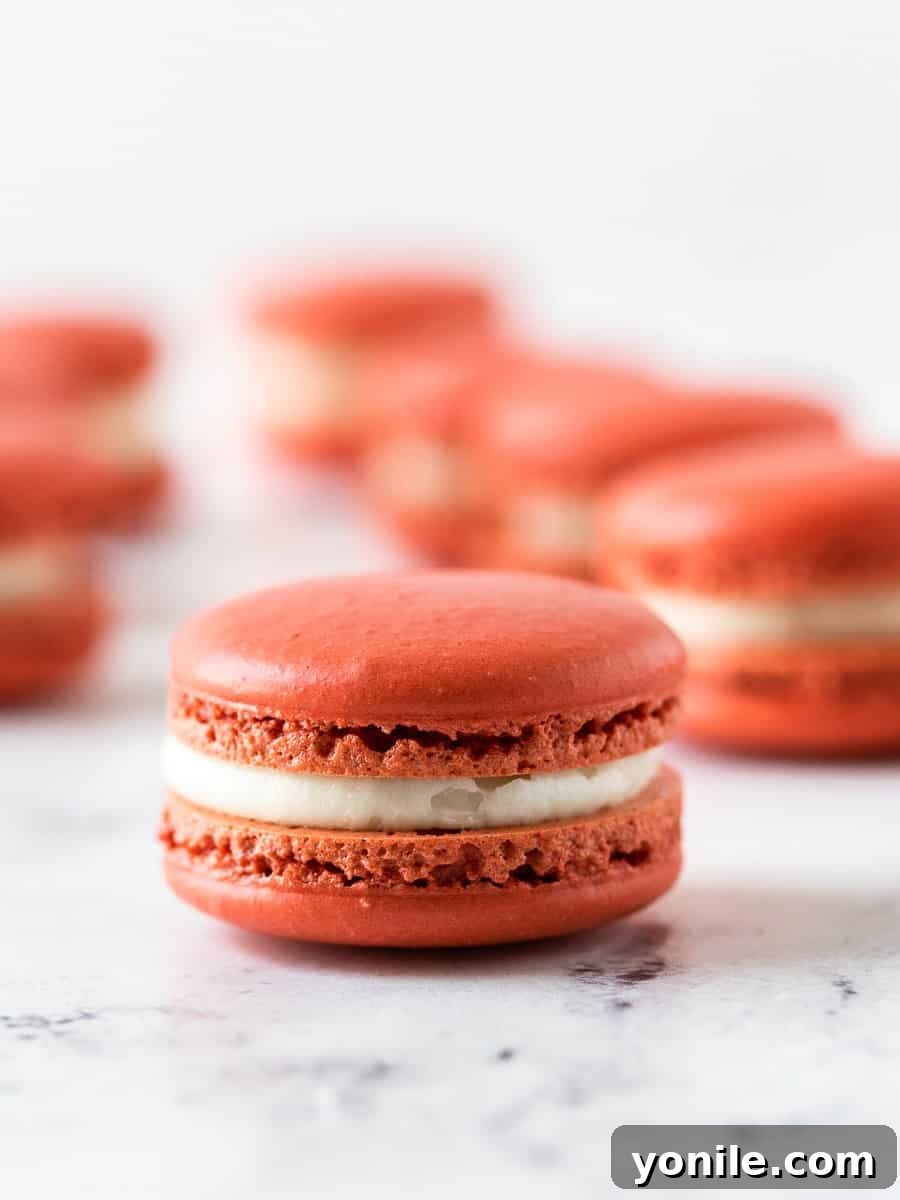
- Assemble Your Macarons: Transfer the cream cheese buttercream into a piping bag fitted with your desired piping tip. Take one macaron shell, pipe a dollop of filling onto the flat side, and then gently top with a matching macaron shell. Gently twist or press together until the filling spreads to the edges.
Common Macaron Troubleshooting: Why No Feet?
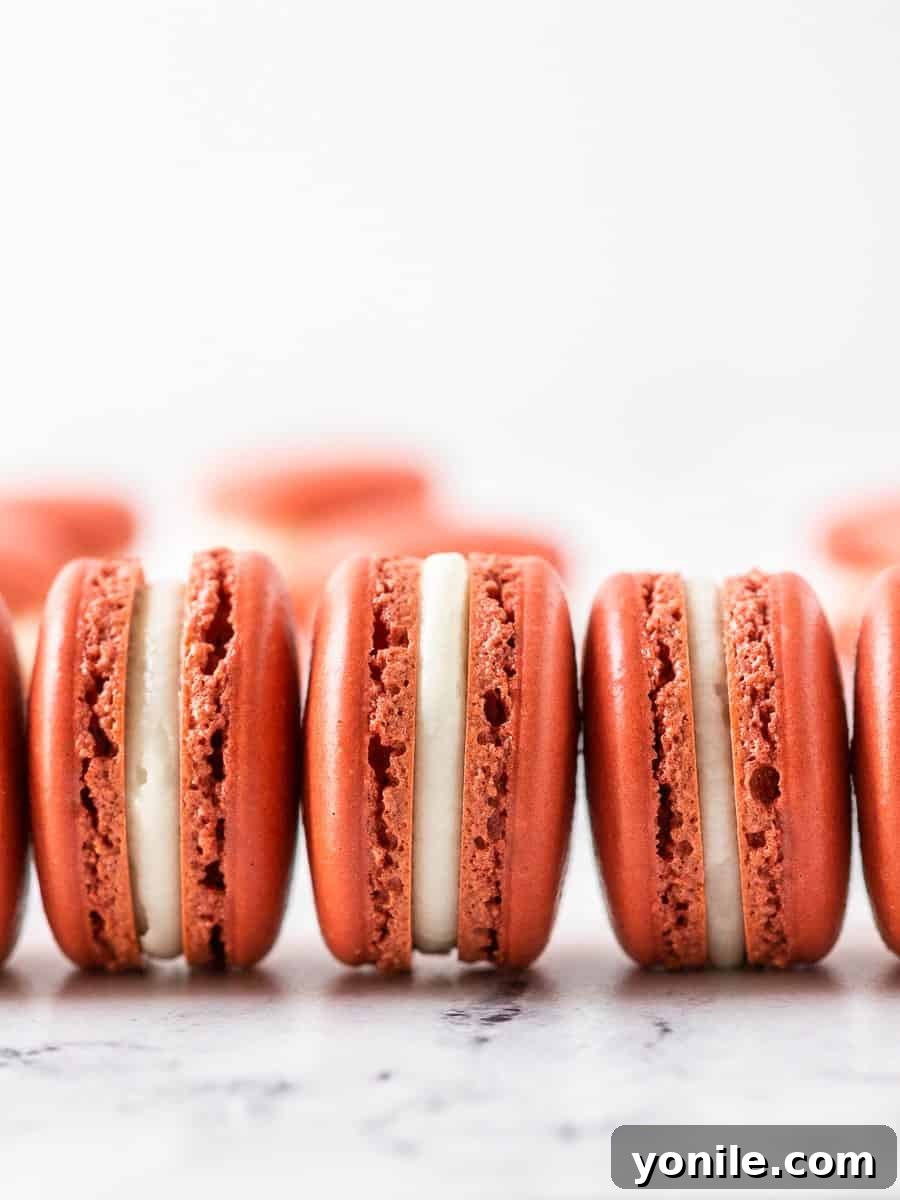
One of the most distinguishing features of a well-made macaron is its delicate, ruffled “feet” (or *pieds* in French). If your macarons emerge from the oven without these lovely edges, it’s a common issue with clear causes that can be remedied with practice and understanding. Even without feet, your macaron shells will still taste delicious, but achieving those feet is a mark of macaron mastery.
The primary culprits behind a lack of feet are usually related to either the *macaronage* (mixing of the batter) or the *resting period*.
- Over-mixed Batter: If your macaron batter is over-mixed, it becomes too fluid and thin. This causes the batter to spread excessively during piping and baking, preventing it from rising properly and forming the distinct feet. Instead, the shells will likely be flat and spread out. The batter needs to have a thick, lava-like consistency, flowing like a slow ribbon from your spatula.
- Insufficient Resting Time: The resting period (or drying time) is absolutely critical. During this time, a slight “skin” forms on the surface of the piped shells. This skin traps the steam and air inside the macaron as it bakes. When this pressure builds, it forces the steam to escape from the only open path: the bottom edge of the shell, lifting it to create the feet. If the shells are baked before a sufficient skin has formed, the steam will simply escape through the top, resulting in cracked shells and no feet. Always test by gently touching a shell; it should feel dry and not stick to your finger.
- Oven Temperature Issues: An oven that is too hot or too cold can also impact feet formation. If the oven is too hot, the shells might crack before the feet have a chance to rise. If it’s too cold, the shells won’t rise enough. Using an oven thermometer to ensure accurate temperature is highly recommended.
- Humidity: High humidity can significantly extend the drying time required for the macaron shells to form a skin. On very humid days, it might take several hours for the shells to dry sufficiently, or they may not dry properly at all. Using a fan can sometimes help in humid conditions.
Demystifying Macaronage
Macaronage is the critical mixing technique in macaron making, specifically referring to the process of folding the meringue into the dry ingredients to create a smooth, shiny, and flowing batter. It’s an art that requires a delicate touch and keen observation, as it directly impacts the final texture and appearance of your macaron shells, including the much-desired “feet.”
The goal is to deflate the meringue just enough to achieve the right consistency, without overdoing it. An under-mixed batter will be too thick and result in peaked, cracked shells without feet. An over-mixed batter will be too runny, leading to flat, spread-out shells with no feet and often a greasy appearance.
The most common method to determine the perfect macaronage stage is the “ribbon test” or “figure 8 test.” When you lift your spatula, the batter should fall off in a continuous, thick ribbon, flowing back into the bowl. You should be able to draw a figure ‘8’ with this ribbon of batter without it breaking. Once the figure ‘8’ is complete and slowly reabsorbs into the rest of the batter (within 10-20 seconds), your macaronage is perfect. The batter should look glossy and smooth, not lumpy or streaky.
When the macaronage step is executed correctly, you dramatically increase your chances of producing perfect macarons with beautiful, ruffled feet, a delightfully chewy interior, and lovely, smooth, shiny shells. This technique is truly the heart of macaron making!
Expert Tips for Crafting the Best Macaron Recipe
Mastering macarons comes with practice, but these essential tips will set you on the path to success:
- Precision in Macaronage: As detailed above, the batter consistency is paramount. When folding the meringue into the dry ingredients, stop mixing once the batter falls off your spatula in a thick, continuous ribbon. It should not be watery, nor should it be too stiff. Over-mixing is a common pitfall.
- Aide for Drying: If you live in a particularly humid environment or find your macaron shells are taking too long to form a skin during the resting period, placing a small fan nearby can significantly speed up the drying process. Good air circulation is key.
- Gel Food Coloring is Essential: Always use gel food coloring for macarons. Liquid food coloring introduces too much moisture into the batter, which can throw off the delicate wet-to-dry ingredient ratio and lead to various issues like cracked shells or a lack of feet. Gel colors provide intense pigment with minimal liquid.
- Sift, Sift, Sift: Macarons demand a smooth, lump-free batter. Sifting your almond flour and powdered sugar (and cocoa powder for this recipe) is a non-negotiable step. Lumps can lead to uneven textures, weak shells, or even cracked tops if you’re tempted to keep mixing the batter to smooth them out, thus over-mixing.
- Invest in a Quality Piping Tip: Using a good quality, round piping tip, such as Wilton’s Round Decorating Piping Tip #12, will help you achieve consistently shaped and sized macaron shells. Hold the bag perpendicular to the baking sheet for best results.
- Embrace Maturation (Aging): Macarons are often best enjoyed after they’ve had a chance to “mature” or “age” in the refrigerator. This allows the filling’s moisture to soften the chewy interior of the shell slightly, enhancing the flavor and texture. Wait at least 8-12 hours after filling them before serving for the optimal experience.
- Proper Storage is Key: To maintain their freshness, crisp exterior, and chewy interior, French macarons should always be stored in an airtight container in the refrigerator. They typically last for about 5-7 days when stored correctly.
- Use an Oven Thermometer: Oven temperatures can vary greatly from what the dial indicates. An inexpensive oven thermometer will ensure your oven is consistently at the correct temperature, preventing issues like uneven baking, browning, or a lack of feet.
- Weigh Your Ingredients: For precise macaron making, using a digital kitchen scale to weigh your ingredients (especially the dry ones and egg whites) is much more accurate than using volume measurements. Consistency is the baker’s best friend.
Frequently Asked Questions About Red Velvet Macarons
Achieving uniform macaron shells is a common concern. Using silicone baking mats with pre-printed circles is highly recommended as they provide an excellent guide for consistent size and shape. Alternatively, you can place a printed macaron template under your parchment paper, just be sure to remove the paper before baking to prevent fire hazards. When piping, hold the piping bag straight down, perpendicular to the baking surface, and apply even, consistent pressure. Practice makes perfect!
Cracked macaron shells are often a sign of under-mixed batter or insufficient drying time. If your batter is too thick (under-mixed), it traps too much air, which bursts during baking and cracks the shells. Ensure your macaronage reaches that “thick ribbon” consistency. Additionally, if the shells don’t form a dry skin during the resting period, trapped moisture will escape through the top, causing cracks. Always check that you can gently touch the shells without batter sticking to your finger before baking.
Absolutely! Toppings can add an extra layer of visual appeal and texture. You can sprinkle nonpareils or other small sprinkles on top of the piped shells immediately after tapping and before the resting period. This allows them to adhere properly. For a more elegant touch, once the macarons are baked, cooled, and filled, you can drizzle melted white chocolate over the tops.
To keep your French macarons fresh and delicious, store them in an airtight container in the refrigerator. They are best enjoyed within one week. Over time, the shells may soften and lose a bit of their initial crispness, so it’s always best to enjoy them as soon as possible after they’ve matured.
Yes, macarons freeze beautifully! For the best results, allow your filled macarons to “mature” in the fridge for 24-48 hours first. Then, transfer them to a freezer-safe airtight container, separating layers with parchment paper. They can be frozen for up to one month. When you’re ready to enjoy them, thaw the macarons in the refrigerator for a few hours before serving.
The secret to achieving that vibrant, deep red velvet color in your macarons lies in a combination of ingredients. Using good quality cocoa powder provides a dark base, and then adding concentrated red food gel coloring (not liquid) intensifies the hue. The cocoa powder helps create the depth, while the red gel provides the vividness.
More Irresistible Desserts To Try
If you have a passion for baking and a sweet tooth, be sure to explore these other delightful recipes:
- Lemon French Madeleines Cakes
- Strawberry Jam Linzer Cookies
- Cheesecake Brownie Fudge Bars
- Chocolate Chip Cheesecake
- Coconut Cheesecake Bars
We truly hope you enjoy all the recipes we share, especially these delightful Red Velvet French Macarons. Give this recipe a try, savor every bite, and remember to rate it and share your creations with friends and family!
If you try this recipe and love it, please take a moment to leave a star rating and comment below. Don’t forget to use my hashtag to share your delicious recreations with me on Instagram! Also, follow Cookin’ With Mima on FACEBOOK | INSTAGRAM | PINTEREST for all my latest culinary adventures and recipes.
Red Velvet French Macarons Recipe Card

Rating: 5 out of 5 stars (based on 2 votes)
By: Mariam Ezzeddine
A show stopping macarons recipe, you will wow everyone with these Red Velvet French Macarons. Tasting just like red velvet cake thanks to its cream cheese filling, these macarons are so easy to make but look like professionally made macarons!
Prep Time: 30 minutes
Cook Time: 15 minutes
Resting Time: 1 hour
Total Time: 1 hour 45 minutes
Servings: 25 Pieces
Print Recipe | Pin Recipe
Ingredients
For the Shells:
- 1⅔ cup powdered sugar
- 1 cup almond flour
- 1 tablespoon cocoa powder
- 3 large egg whites, at room temperature
- ¼ cup granulated sugar (fine)
- 1-2 drops red food gel coloring
For the Filling:
- 4 oz cream cheese, softened
- ½ stick unsalted butter, softened
- 1 teaspoon pure vanilla extract
- 1½ cups powdered sugar
Instructions
- Preheat your oven to 300°F (150°C).
For the Shells:
- Line a baking sheet with a silicone baking mat or parchment paper.
- Use a food processor to pulse the powdered sugar, almond flour, and cocoa powder until fully combined and rid of lumps. Sift the combined ingredients into a large bowl. If you do not have a food processor, you can just sift the ingredients together thoroughly. Set aside.
- In a medium bowl, beat the egg whites on low speed until they start to get foamy. Slowly add the granulated sugar and increase the speed. Add the red food gel coloring. Beat the mixture until stiff peaks form (the meringue should hold its shape when the whisk is lifted).
- Add the meringue into the dry ingredients. Using a silicone spatula, gently fold the two together until the batter is fully combined and has a lava-like consistency (macaronage). The batter is ready when it falls off the spatula in a thick, continuous ribbon and you can draw a figure ‘8’ without it breaking. It should not be too runny.
- Transfer the mixture to a piping bag fitted with a round piping tip (e.g., Wilton #12). Pipe approximately 1-inch disks onto the prepared baking sheet, holding the bag perpendicular to the surface.
- Firmly tap the baking sheet 5 or 6 times on the counter to bring any air bubbles to the surface. Use a toothpick to pop any remaining visible bubbles, gently swirling to smooth the surface.
- Let the macarons rest for at least 1 hour, or until a dry skin forms on the surface. You should be able to gently run your finger over the surface of the macarons without any batter sticking to your finger.
- Place the baking sheet on the center rack of the preheated oven and bake for 14-16 minutes. Rotate the pan every 5-7 minutes to ensure even baking and coloring.
- NOTE: Test for doneness: lightly touch a macaron and try to gently move it. If it slides and wobbles, bake it for 1-2 minutes longer. It should be firm on its feet.
- Remove the macarons from the oven and allow them to cool completely on the baking sheet before handling.
- Gently peel each cooled macaron shell off of the mat and match up with a similarly sized cookie to form pairs.
For the Filling:
- Using a stand mixer fitted with a paddle attachment or a hand mixer, beat the softened cream cheese and butter until it is very soft, light, and creamy.
- Add the pure vanilla extract and half of the powdered sugar. Beat until fully combined and smooth.
- Add the remaining powdered sugar and beat for 5-6 minutes on medium-high speed, or until the buttercream is light and fluffy.
- Place the cream cheese buttercream in a piping bag. Pipe your desired amount of filling onto the flat side of one macaron shell, then gently top with a matching shell to create a filled macaron.
Notes
- When mixing the French macaron batter (macaronage), the batter should be fully combined and not streaky. It’s ready when it falls off the spatula in a thick, continuous ribbon. It should not be too runny.
- If your shells are taking too long to set, you can place a fan nearby to get them to dry faster, especially in humid conditions.
- Only use gel food coloring for macarons, as liquid food coloring can mess up the delicate wet-to-dry ingredients ratio.
- Macarons are delicate; ensure no lumps in your batter. Sifting the dry ingredients is a crucial step. Lumps can lead to cracked shells if you try to over-mix to smooth them out.
- Use a round tip to pipe the shells, preferably Wilton’s Round Decorating Piping Tip #12 for consistent size.
- French macarons are best eaten after they are allowed to “mature.” Wait at least 12 hours after filling them to serve for optimal flavor and texture.
- Macarons are best kept in the fridge at all times to remain fresh and last longer. Store in an airtight container.
Nutrition Information (per serving)
- Calories: 116 kcal
- Carbohydrates: 19g
- Protein: 2g
- Fat: 4g
- Saturated Fat: 1g
- Polyunsaturated Fat: 1g
- Monounsaturated Fat: 1g
- Trans Fat: 1g
- Cholesterol: 5mg
- Sodium: 39mg
- Potassium: 23mg
- Fiber: 1g
- Sugar: 17g
- Vitamin A: 59IU
- Calcium: 27mg
- Iron: 1mg