
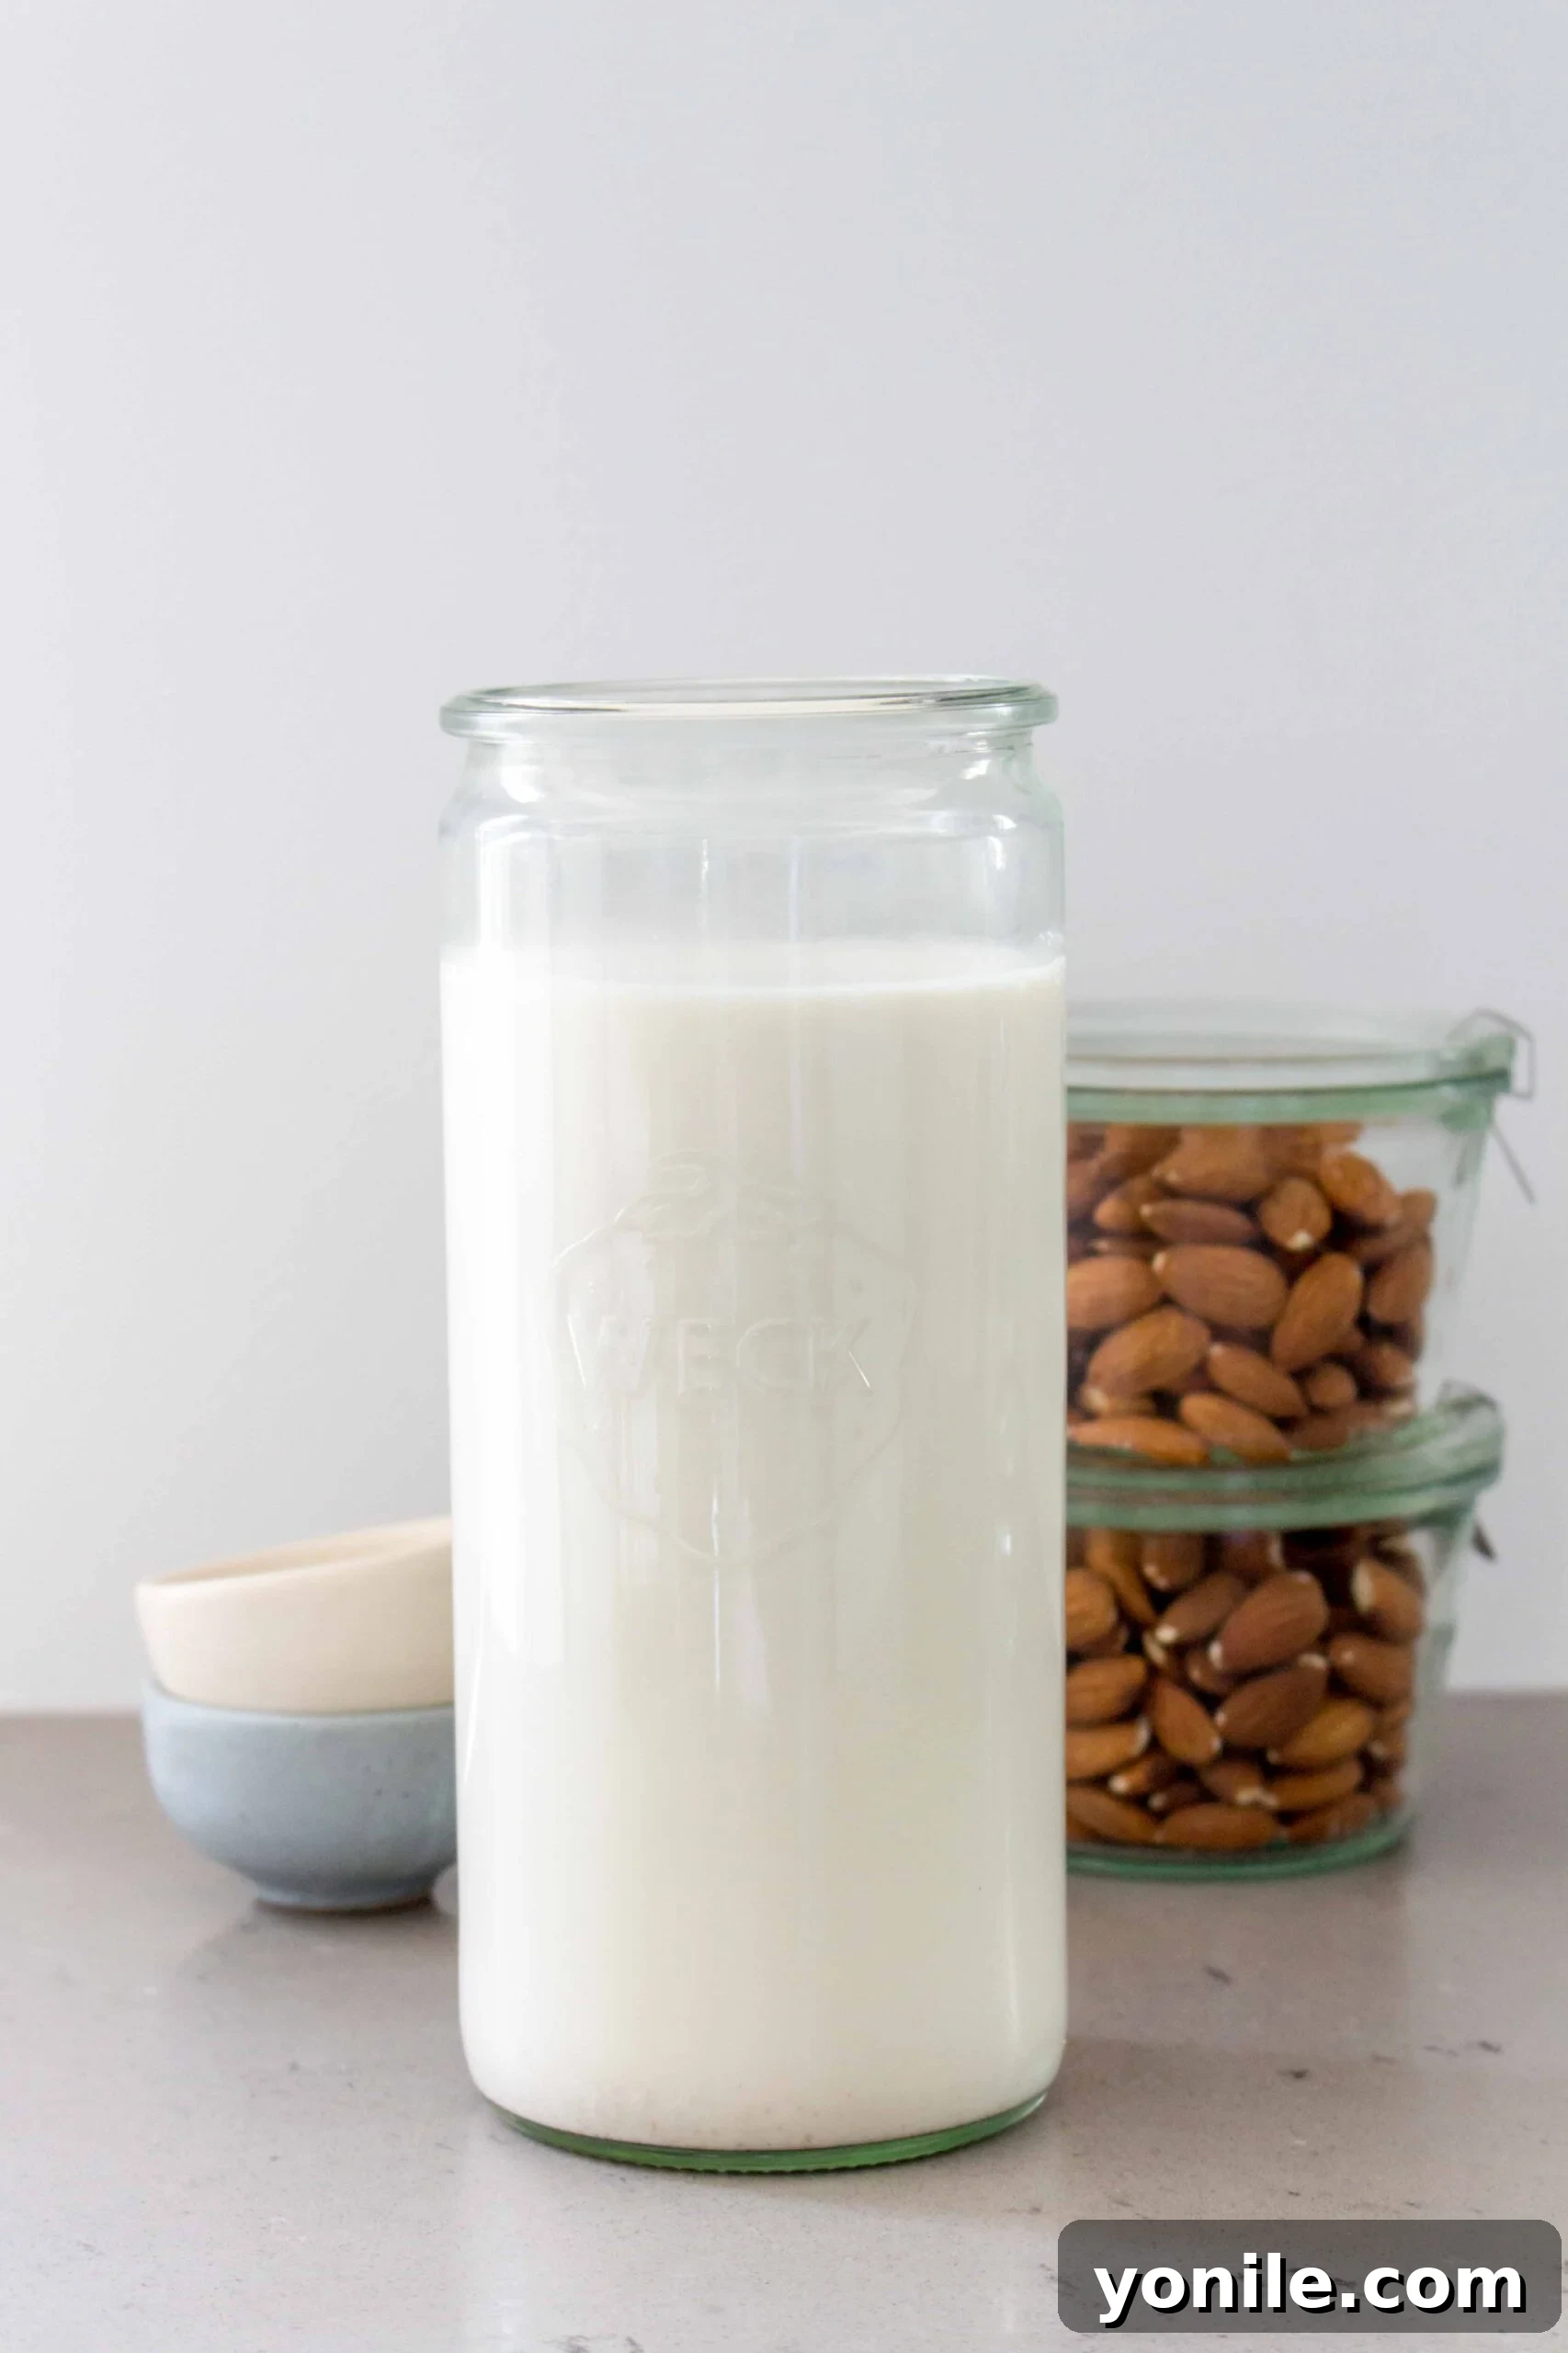
Unlock the secret to deliciously creamy, genuinely fresh homemade almond milk with this comprehensive guide. Forget about store-bought cartons filled with additives and enjoy the pure, natural taste of a dairy-free delight you can create in your own kitchen. Making your own almond milk is not only incredibly simple but also offers unparalleled flavor and customization options. Get ready to transform raw almonds into a versatile plant-based milk that will elevate your daily routines, from morning coffee to baking adventures.
Why Choose Homemade Almond Milk?
There’s a distinct satisfaction that comes with crafting your own food, and homemade almond milk is no exception. While the convenience of grabbing a carton from the grocery shelf is undeniable, the benefits of making your own far outweigh the minimal effort involved. Imagine a rich, smooth beverage free from carrageenan, emulsifiers, or artificial flavors. That’s the promise of DIY almond milk.
Beyond the peace of mind that comes with knowing every ingredient, homemade almond milk often boasts a superior taste and texture. It’s fresher, more vibrant, and can be tailored precisely to your preferences for sweetness and creaminess. Plus, it’s often more cost-effective in the long run, especially if you consume almond milk regularly.
Key Benefits of Crafting Your Own Almond Milk
- Purity and Freshness: Control every ingredient, ensuring no unwanted additives, preservatives, or stabilizers. Enjoy a truly fresh product.
- Customizable Flavor and Texture: Adjust the sweetness level, add different flavorings, and achieve your desired creaminess.
- Healthier Alternative: Almond milk is naturally lactose-free and an excellent plant-based option for those avoiding dairy. It’s also typically lower in calories than cow’s milk.
- Nutrient-Rich: Almonds are packed with Vitamin E, magnesium, and healthy fats, making homemade almond milk a nutritious addition to your diet.
- Eco-Friendly: Reduce waste by making your own and reusing glass jars for storage.
Essential Ingredients & Equipment
One of the beauties of making almond milk is the simplicity of the ingredients and the basic kitchen tools required. You likely already have most of what you need!
The Star Ingredients
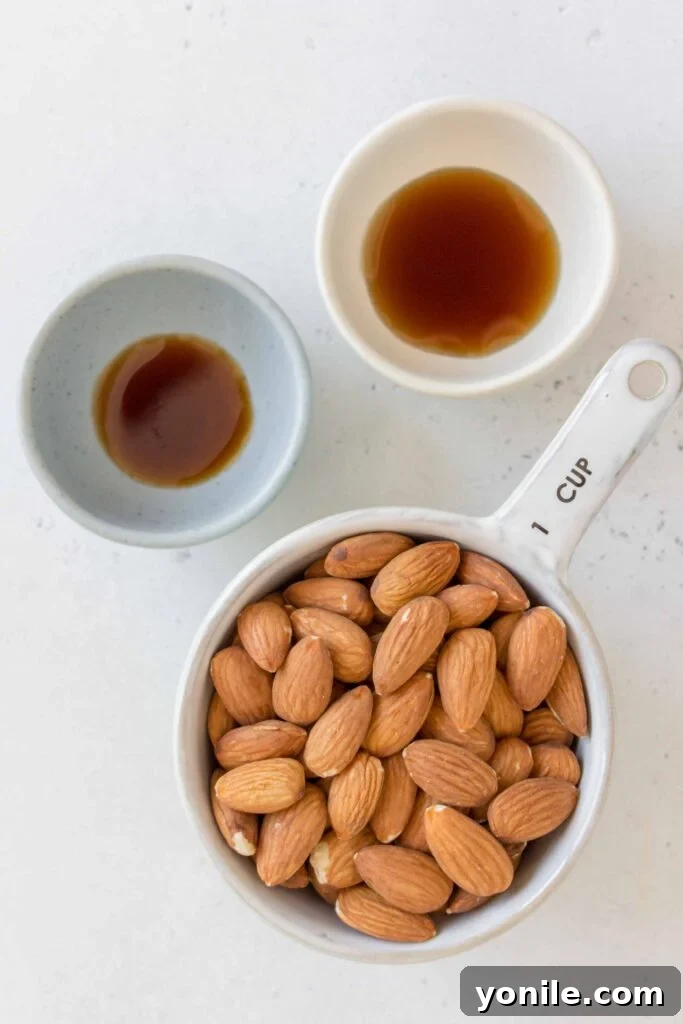
- Almonds: Opt for raw, unsalted, and preferably organic almonds. Blanched almonds can also be used for an even creamier, smoother milk, but raw works perfectly well. Avoid roasted or salted varieties, as they will alter the flavor of your milk.
- Filtered Water: The quality of your water significantly impacts the taste of your almond milk. Using filtered water ensures a clean, pure flavor without any tap water aftertaste.
- Maple Syrup (or your preferred sweetener): Maple syrup adds a lovely, subtle sweetness that complements the almond flavor beautifully. However, feel free to use other natural sweeteners like pitted dates (blend them directly with the almonds), agave nectar, or a touch of raw honey. Adjust the amount to your taste.
- Vanilla Extract: A splash of real vanilla extract elevates the flavor profile, adding warmth and depth. Always choose pure vanilla extract over artificial alternatives for the best results; a little goes a long way.
Essential Equipment for Success
You don’t need fancy gadgets to make almond milk, just a few key items:
Bowls: You’ll need at least two: one for soaking your almonds overnight and another (or a large measuring cup) to collect the freshly strained almond milk. Choose bowls that are large enough to comfortably hold the almonds and water without overflowing.
High-Power Blender: A good quality blender is crucial for achieving a super smooth and creamy consistency. While high-speed blenders like a Vitamix or Blendtec are ideal, most standard blenders can get the job done – you might just need to blend a little longer.
Fine Mesh Strainer: This is helpful for rinsing your soaked almonds before blending. It can also be used in conjunction with a nut milk bag or cheesecloth during the straining process for extra support.
Nut Milk Bag or Cheesecloth: This is arguably the most important piece of equipment for separating the almond pulp from the milk. A nut milk bag is designed specifically for this purpose and is often easier to use and clean. If using cheesecloth, make sure it’s a high-quality, fine weave and layer it a few times to prevent pulp from escaping. Place it over your fine mesh strainer perched on a large bowl to ensure stability during the pouring and squeezing process.
Airtight Jar or Bottle for Storage: Glass jars with tight-fitting lids are perfect for storing your homemade almond milk in the refrigerator, keeping it fresh and preventing it from absorbing other fridge odors.
Mastering Homemade Almond Milk: Step-by-Step Instructions
Creating your own almond milk is a rewarding process that follows a few straightforward steps. Patience, especially during the soaking phase, is key to the best results.
- Step 1: The Essential Soak
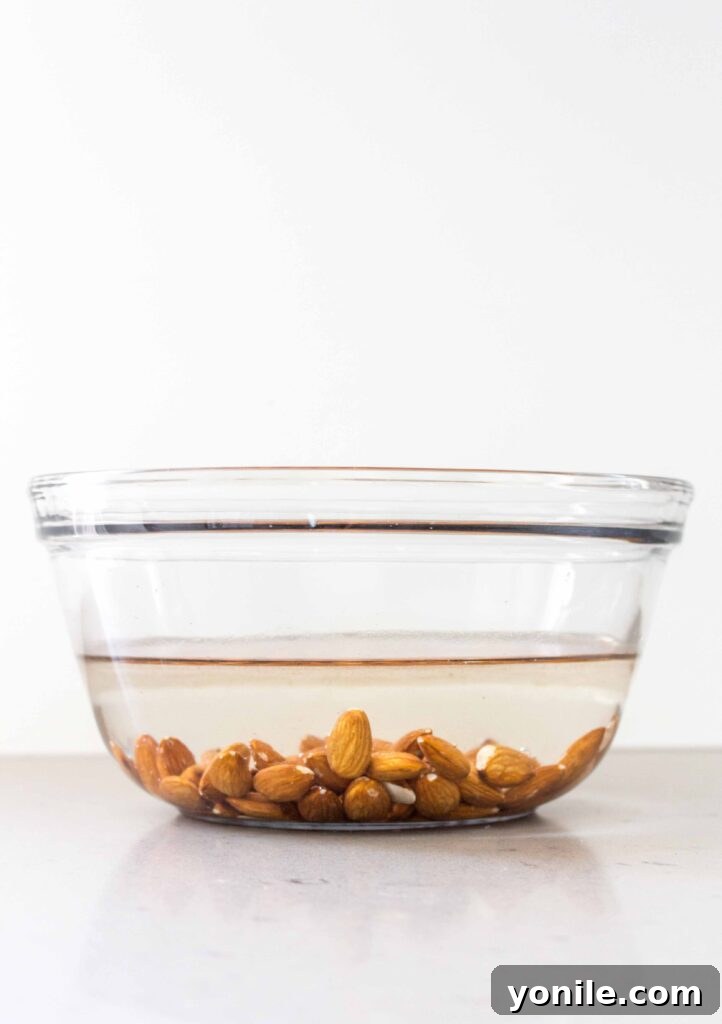
In a large bowl, place your raw almonds and cover them generously with filtered water. Ensure there’s enough water to completely submerge the almonds, as they will expand during soaking. Let them soak on your countertop overnight, or for a minimum of 8 hours, and up to 24 hours. Soaking softens the almonds, making them easier to blend into a creamy liquid and improving digestibility.
- Step 2: Rinse and Prepare
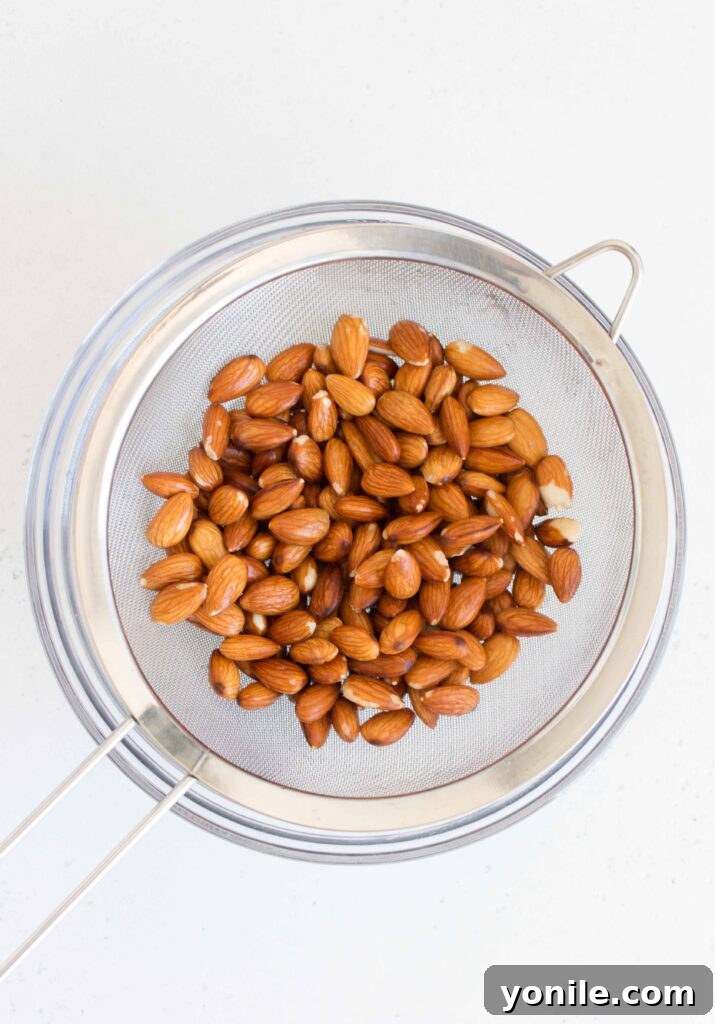
Once the almonds have finished soaking, drain the soaking water thoroughly using a fine mesh strainer. Rinse the softened almonds under cold running water for a minute or two. This step removes any enzyme inhibitors that may have leached into the water and ensures the freshest taste.
- Step 3: Blend to Creamy Perfection
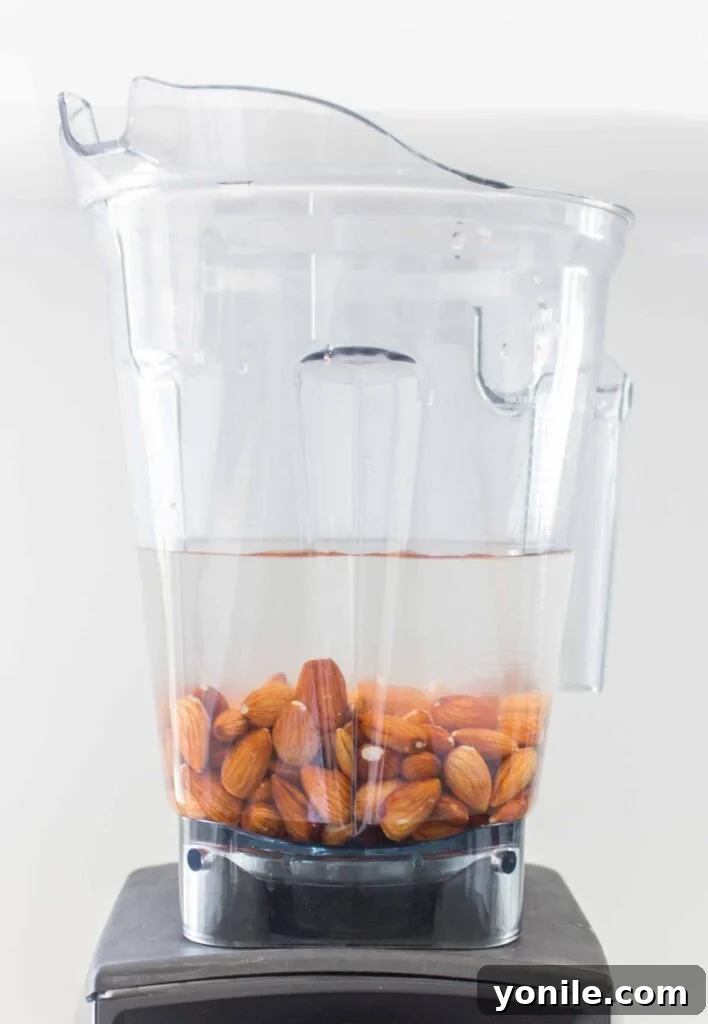
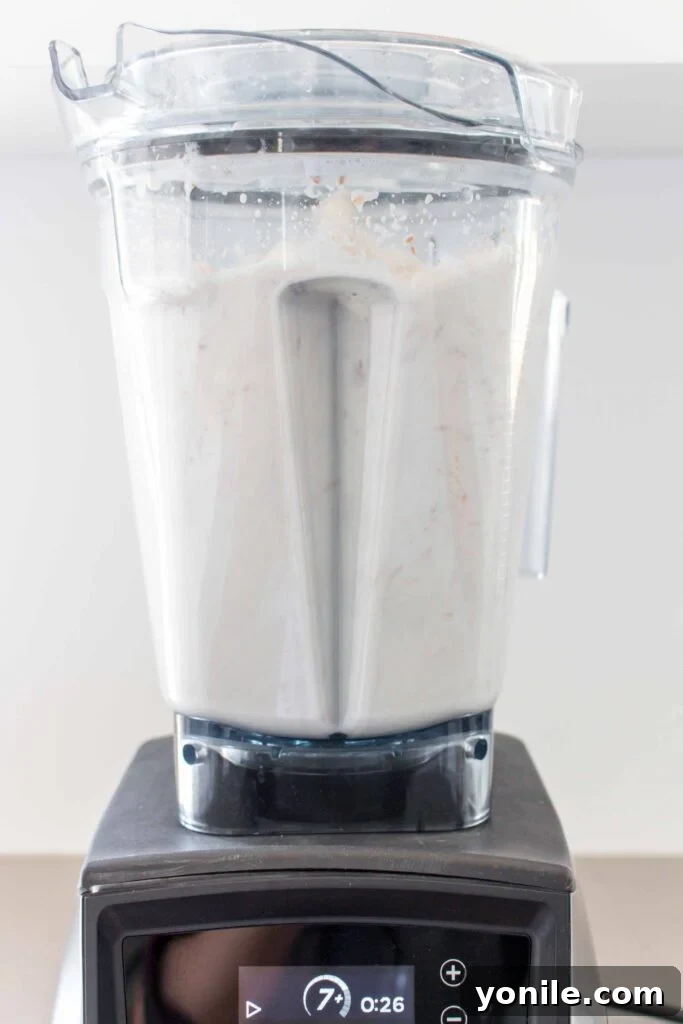
Transfer the rinsed almonds to your high-power blender. Add 4 cups of fresh filtered water. Secure the lid and blend on high for 1 to 2 minutes. You’ll know it’s ready when the mixture looks milky white, creamy, and smooth, with no large almond pieces visible.
- Step 4: The Squeeze – Separating Pulp from Milk
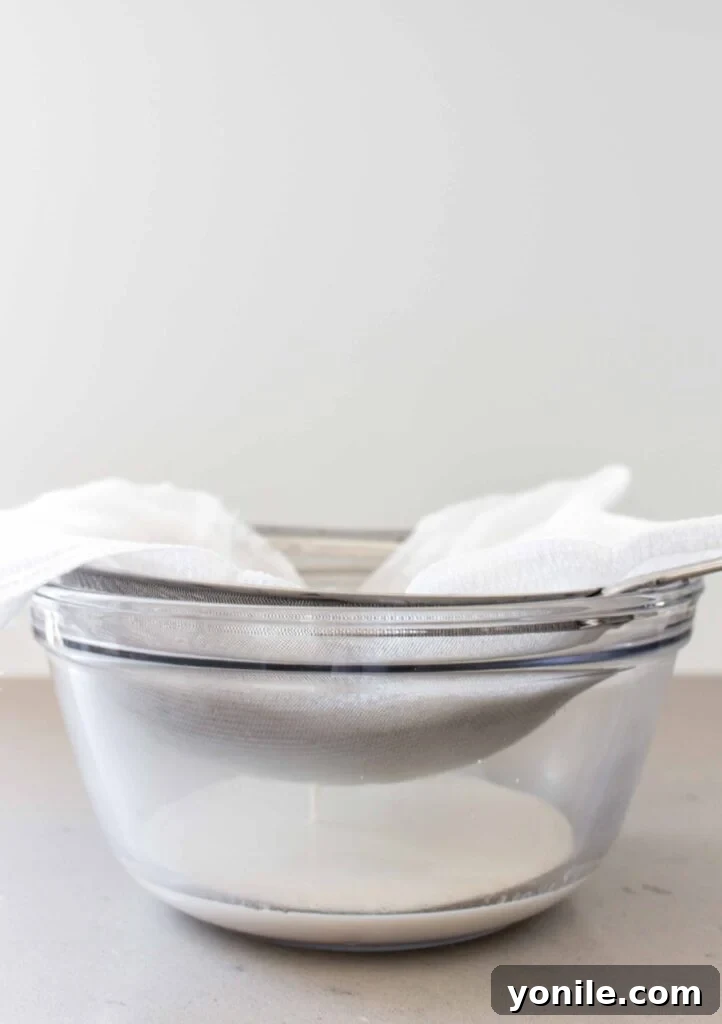
Place your nut milk bag or a few layers of cheesecloth over a large bowl or measuring cup. Carefully pour about half of the blended almond mixture into the bag/cloth. Gather the edges of the bag/cloth and, using clean hands, gently but firmly squeeze the liquid out. Continue squeezing until no more milk drips out, and you’re left with a relatively dry almond pulp.
- Step 5: Repeat for Maximum Yield
Remove the strained almond pulp from the bag and set it aside for later use (don’t discard it!). Repeat the straining and squeezing process with the remaining half of the almond mixture until all the liquid has been extracted.
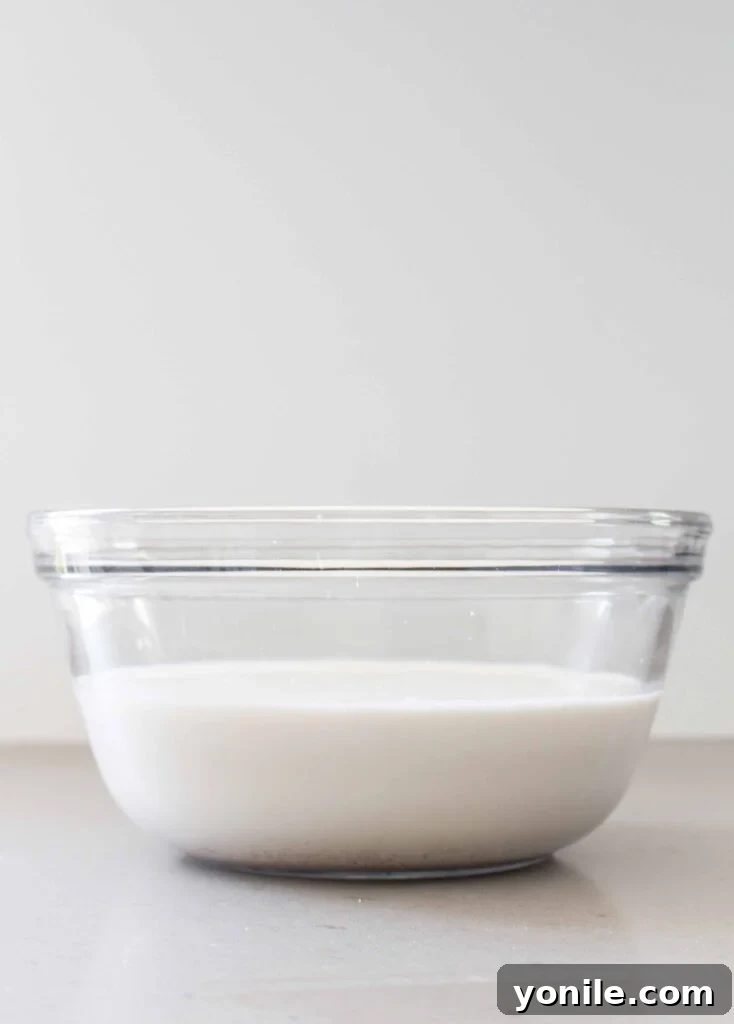
- Step 6: Flavor, Sweeten, and Store
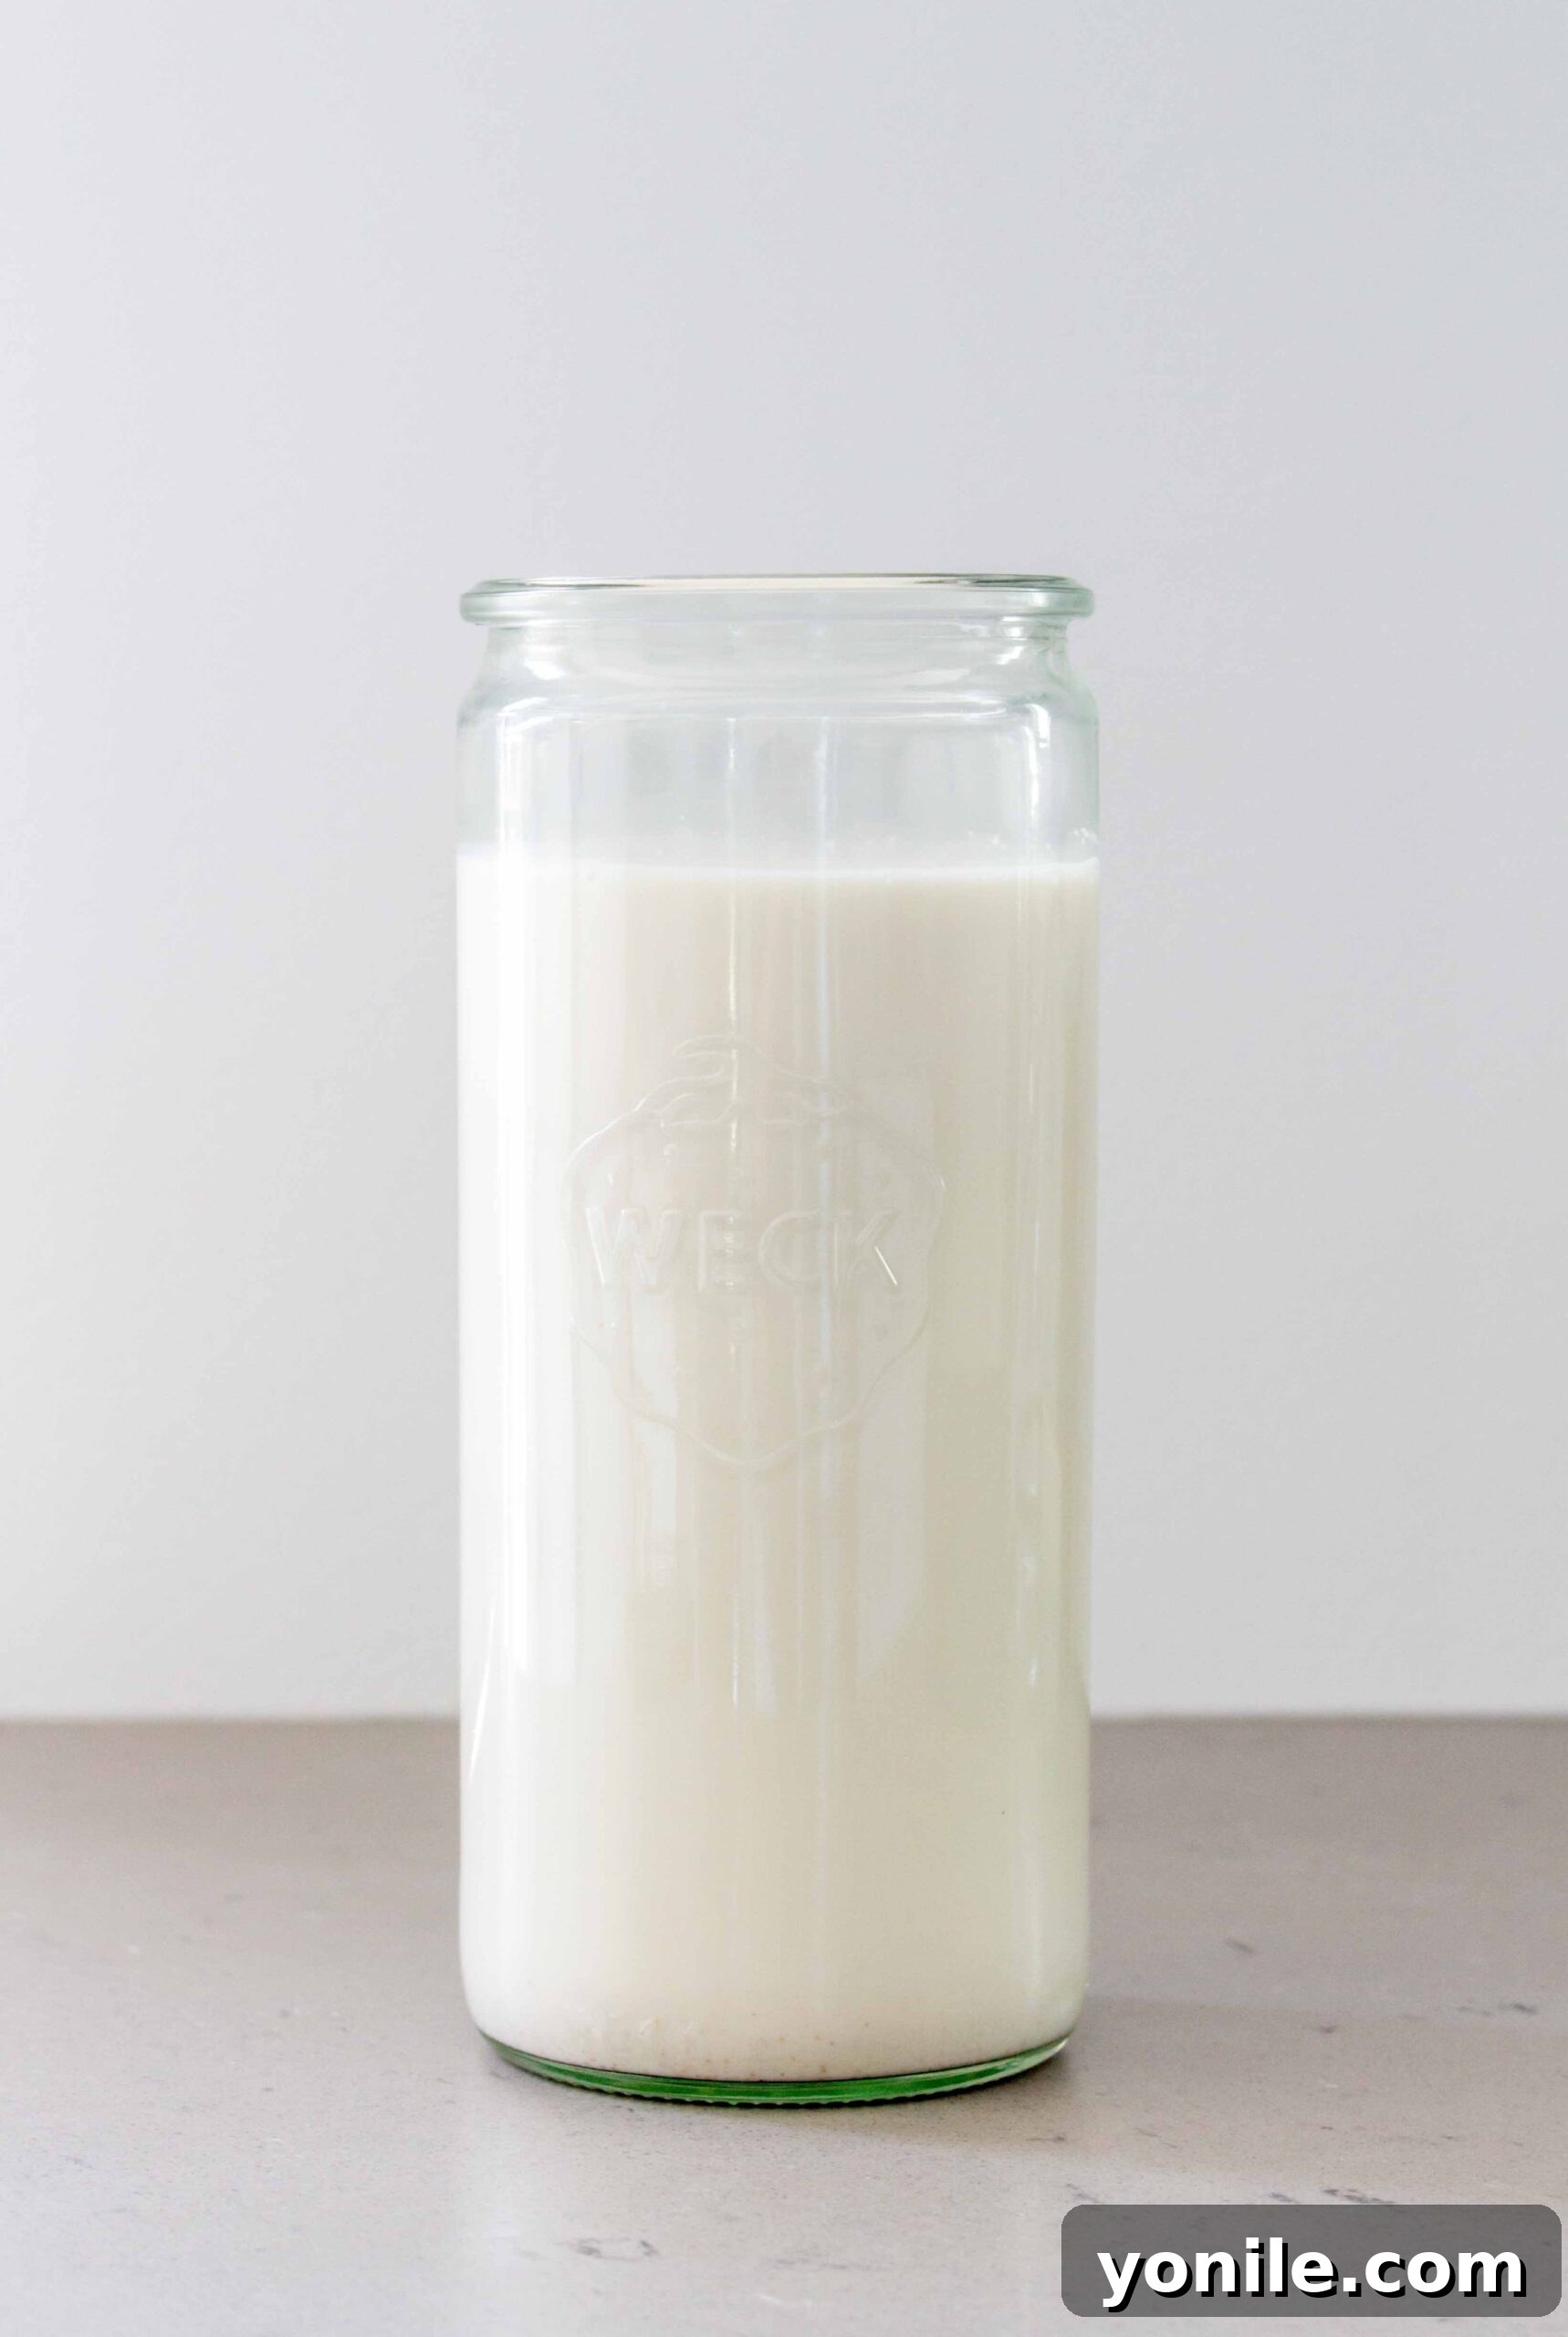
Now it’s time to customize! Stir in the maple syrup and vanilla extract to taste. For an even richer flavor, you could add a pinch of cinnamon or a dash of cardamom. Once seasoned, transfer your fresh homemade almond milk into an airtight jar or bottle. Store it in the refrigerator for up to 4 days. Remember to give it a good shake before each use, as natural separation is normal.
Pro Tips for the Best Homemade Almond Milk
The Magic of Soaking: More Than Just Softening
Soaking almonds isn’t just about making them easier to blend. It’s a vital step that unlocks their full potential. Dry almonds are hard and fibrous, and blending them without soaking would yield a gritty, less flavorful milk. Soaking softens the nuts, allowing for a much smoother, creamier texture when blended. Furthermore, soaking helps to neutralize phytic acid, an enzyme inhibitor found in almonds and other nuts. This process makes the nutrients in the almonds more bioavailable and easier for your body to digest, enhancing the overall health benefits of your homemade milk. Don’t ever skip this crucial overnight step!
Don’t Waste It: Creative Uses for Leftover Almond Pulp
The almond pulp left after straining is a treasure, not trash! This fibrous byproduct is packed with nutrients and can be repurposed in numerous ways, embracing a zero-waste kitchen philosophy.
- Baking: Incorporate the moist pulp into muffins, quick breads, cookies, or even energy balls for added fiber and flavor.
- Smoothies: Blend a spoonful or two into your morning smoothie for an extra boost of fiber and subtle almond flavor.
- Almond Meal/Flour: Transform it into a gluten-free almond meal. Spread the pulp thinly on a parchment-lined baking tray and bake at a low temperature (around 200°F or 95°C) for 2-3 hours, stirring every 30 minutes, until completely dry and crumbly. Once cooled, pulse it briefly in your blender or food processor to achieve a fine flour-like consistency. Store in an airtight container for gluten-free baking.
- Savory Dishes: Mix it into crackers, veggie burgers, or even as a thickener for sauces.
Store fresh almond pulp in the refrigerator for up to a week, or freeze it for up to a month for longer preservation.
Versatile Ways to Enjoy Your Homemade Almond Milk
Beyond simply drinking it, homemade almond milk is incredibly versatile in the kitchen. Here are just a few ideas to incorporate it into your daily diet:
- Smoothies and Shakes: The perfect liquid base for any fruit or vegetable smoothie, adding creaminess without dairy.
- Coffee and Lattes: A wonderful dairy-free creamer. It steams and froths beautifully for homemade lattes and cappuccinos.
- Breakfast Staples: Use it to make creamy oatmeal, overnight oats, or to soak chia seeds for delicious chia puddings.
- Cereal: A classic pairing for your favorite breakfast cereals.
- Baking: Substitute dairy milk in recipes for muffins, pancakes, waffles, or quick breads to make them plant-based.
- Soups and Sauces: Adds a delicate creaminess to savory dishes without heavy cream. Think creamy tomato soup or a light béchamel.
Is My Almond Milk Spoiled if it Separates?
Absolutely not! Natural separation is a completely normal occurrence with homemade almond milk. Since there are no artificial stabilizers or emulsifiers (like gellan gum or carrageenan often found in commercial versions) added to your homemade batch, the solids and liquids will naturally settle over time. Simply give your jar a good shake before pouring, and it will recombine into a smooth, homogeneous liquid. This separation is a testament to its purity!
Choosing the Right Almonds for the Best Taste
For the purest and most delicious homemade almond milk, always opt for raw, unsalted, and preferably organic almonds. Raw almonds provide a clean, neutral base that allows the natural sweetness to shine through. Avoid using roasted almonds, as the roasting process changes their flavor and can introduce undesirable oils or a toasted taste to your milk. Salted almonds are also a no-go, as they will make your milk savory instead of sweet.
Storage and Shelf Life of Homemade Almond Milk
Homemade almond milk, without any preservatives, has a shorter shelf life than its store-bought counterparts. When stored correctly in an airtight container in the refrigerator, it will typically last for up to 4 days. Beyond this, it may begin to sour or develop an off-flavor. Always trust your senses: if it smells or tastes off, it’s time to make a fresh batch. We find it’s so delicious, it rarely lasts long enough to go bad!
Creative Flavor Enhancements & Variations
While maple syrup and vanilla extract offer a classic, delightful flavor, don’t hesitate to experiment with other natural ingredients to create unique variations:
- Dates: For a caramel-like sweetness, blend 1-2 pitted Medjool dates directly with your almonds and water.
- Cocoa Powder: Add a tablespoon of unsweetened cocoa powder for a rich chocolate almond milk.
- Spices: A pinch of cinnamon, nutmeg, or cardamom can add warmth and complexity.
- Sweeteners: Besides maple syrup, try agave nectar, honey, or a sugar-free sweetener if preferred.
- Salt: A tiny pinch of sea salt (⅛ teaspoon) can actually enhance the sweetness and depth of flavor.
Tips for Achieving Your Desired Creaminess
The almond-to-water ratio is the primary factor determining the creaminess of your homemade milk. For a richer, thicker consistency, simply reduce the amount of water you use when blending. Instead of 4 cups of water per 1 cup of almonds, try 3 cups. Conversely, if you prefer a thinner milk, add a little more water. Another trick for ultra-creamy almond milk is to use blanched almonds (without their skins), which results in an even smoother texture and a milder flavor. Experiment to find your perfect balance!
Making homemade almond milk is a simple yet impactful way to embrace healthier eating and reduce reliance on processed foods. With just a few ingredients and basic equipment, you can enjoy a fresh, delicious, and customizable plant-based milk that’s perfect for drinking, cooking, and baking. We hope this guide empowers you to create your best batch yet!
If you try this delightful recipe and love it, please share your experience! Use my hashtag to connect with me on INSTAGRAM for a chance to be featured in my story! You can also follow Cookin’ With Mima on FACEBOOK | INSTAGRAM | PINTEREST for all the latest social posts and exciting new recipes.
★
★
★
★
How To Make Almond Milk
Equipment
-
Blender
-
Cheesecloth or Nut Milk Bag
Ingredients
- 1 cup raw almonds
- 4 cups filtered water
- 1 tbsp maple syrup (or to taste)
- 1 tsp vanilla extract (pure)
Instructions
-
In a large bowl, soak the raw almonds in filtered water overnight, or for up to 24 hours.
-
When the almonds have finished soaking, drain and thoroughly rinse them under cold water.
-
Add the rinsed almonds into your blender along with 4 cups of fresh filtered water. Blend on high for 1-2 minutes until the mixture is creamy and smooth.
-
Place a cheesecloth or nut milk bag over a large bowl or measuring cup. Pour about half of the blended almond mixture into the bag. Gather the edges and squeeze firmly with your hands to extract all the liquid, leaving only the dry almond pulp.
-
Remove the squeezed almond pulp and repeat the straining process with the remaining half of the almond mixture.
-
Stir the maple syrup and vanilla extract into the strained almond milk. Transfer to an airtight jar and store in the fridge for up to 4 days. Shake well before each use.
Notes
Nutrition
Carbohydrates: 11g |
Protein: 8g |
Fat: 18g |
Saturated Fat: 1g |
Polyunsaturated Fat: 4g |
Monounsaturated Fat: 11g |
Trans Fat: 0.01g |
Sodium: 13mg |
Potassium: 275mg |
Fiber: 4g |
Sugar: 5g |
Vitamin A: 0.4IU |
Calcium: 109mg |
Iron: 1mg