
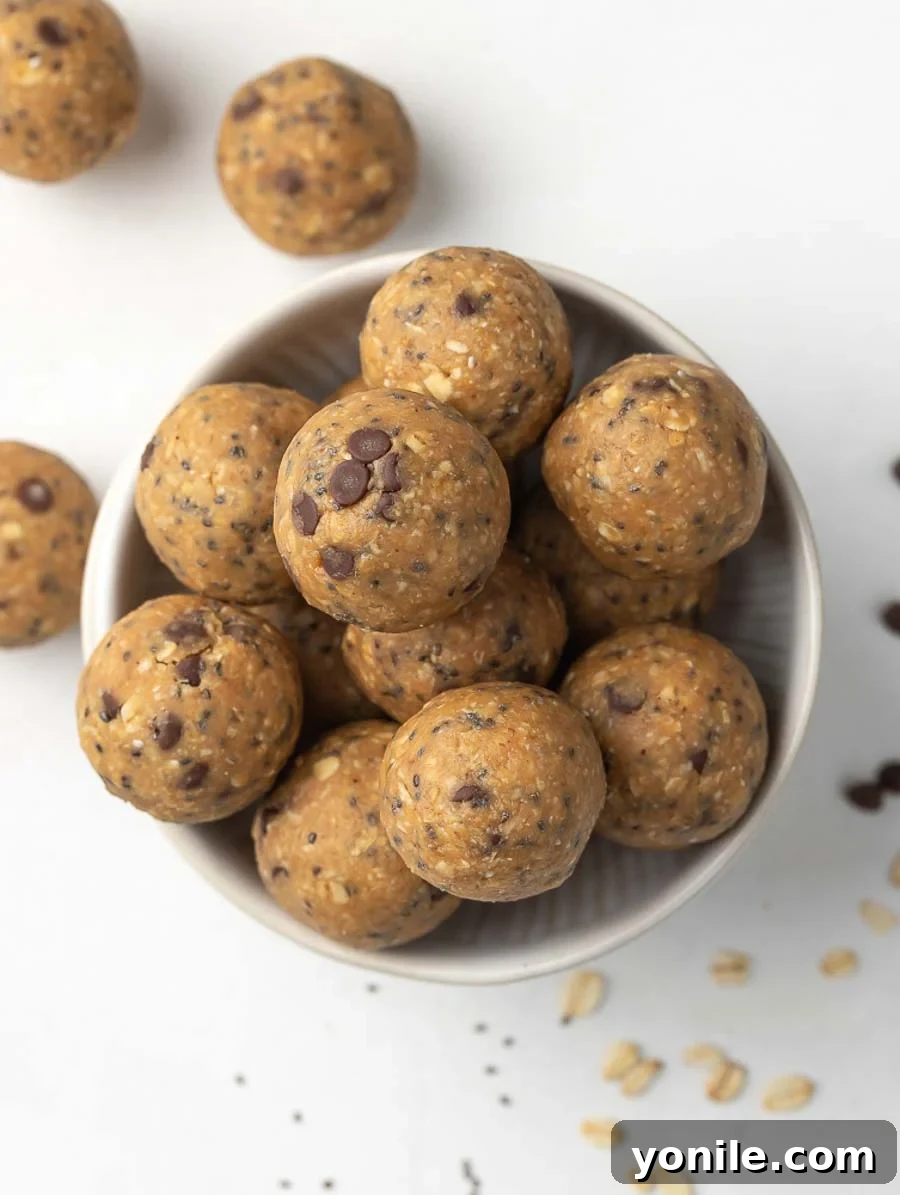
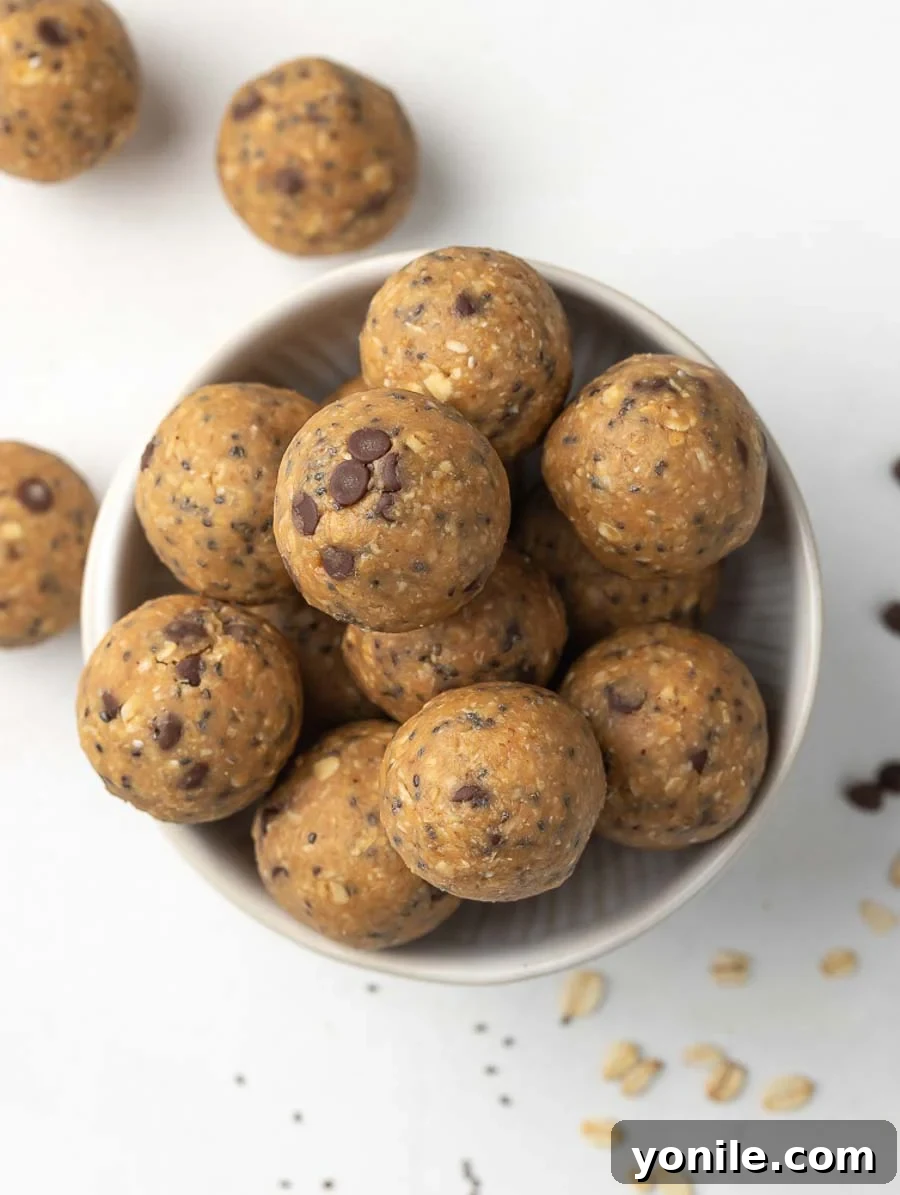
Craving a wholesome, satisfying snack that’s quick to prepare and bursting with flavor? Look no further than these incredible No-Bake Energy Balls! These delightful, bite-sized treats are packed with nutritious ingredients, making them an ideal protein-rich snack for people of all ages. Whether you need a speedy grab-and-go option for busy mornings, a healthy addition to a lunchbox, or a guilt-free dessert, these energy balls are unbelievably simple to make and promise a burst of natural energy.
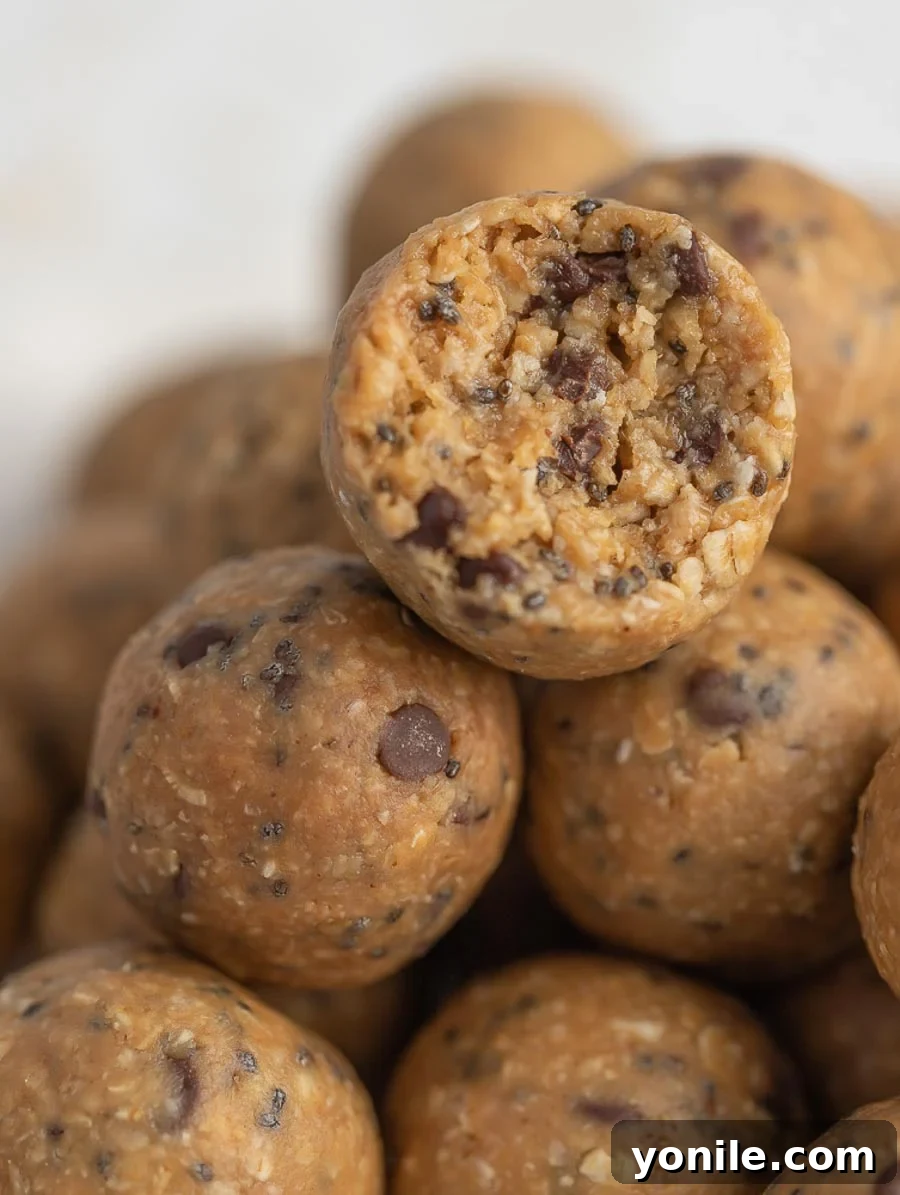
Crafted from everyday pantry staples, these no-bake energy balls have quickly become a household favorite. Their versatility is unmatched; they serve perfectly as a quick afternoon pick-me-up or a delightful, filling treat after dinner. The best part? Since no cooking is involved, this recipe offers a fantastic opportunity to get your children involved in the kitchen, teaching them about healthy eating while having fun rolling these delicious snacks. They’re so easy, even the littlest hands can help!
If you’re on the hunt for more effortless and healthy meal ideas, be sure to explore my Healthy Orange Chicken and Healthy Oven Baked Cod. Both recipes are incredibly flavorful and satisfying, making them perfect additions to your weekly meal rotation for any occasion.
Why You’ll Adore This No-Bake Energy Balls Recipe
These energy balls aren’t just delicious; they’re incredibly practical and fit seamlessly into a healthy lifestyle. Here’s why this recipe will quickly become a staple in your home:
- Effortlessly Kid-Friendly: Get your little ones excited about healthy eating by involving them in the preparation! Children can easily assist with mixing the ingredients and, most enjoyably, rolling the mixture into neat balls. This hands-on activity not only makes snack time fun but also helps expedite the rolling process, turning cooking into a delightful family affair. Plus, their small size and naturally sweet flavor make them an instant hit with picky eaters.
- Packed with Wholesome Ingredients: Each energy ball is brimming with good-for-you components. We prioritize natural, nourishing ingredients like fiber-rich oats, healthy fats from peanut butter, and superfood chia seeds, ensuring every bite contributes positively to your well-being. These ingredients provide sustained energy without the sugar crash associated with many processed snacks.
- Absolutely No Cooking Required: Say goodbye to turning on the oven or heating up your kitchen, especially during warmer months. This truly no-bake, no-cook recipe means you won’t need to use any stovetop or oven appliances. The simplicity also translates to fewer dishes to wash, making cleanup a breeze and saving you valuable time in your busy schedule. Just mix, roll, and chill – it’s that easy!
- Perfect for Meal Prepping: These energy balls are fantastic for batch preparation. Make a big batch at the beginning of the week, and you’ll have healthy snacks ready to grab whenever hunger strikes. They store wonderfully in the fridge or freezer, ensuring you always have a nutritious option at hand.
- Customizable to Your Taste: The base recipe is incredibly versatile. You can easily adapt it with different nut butters, sweeteners, or add-ins like dried fruits, nuts, or various seeds to suit your dietary preferences or simply to switch up the flavor profile.
Essential Ingredients for Your No-Bake Energy Balls
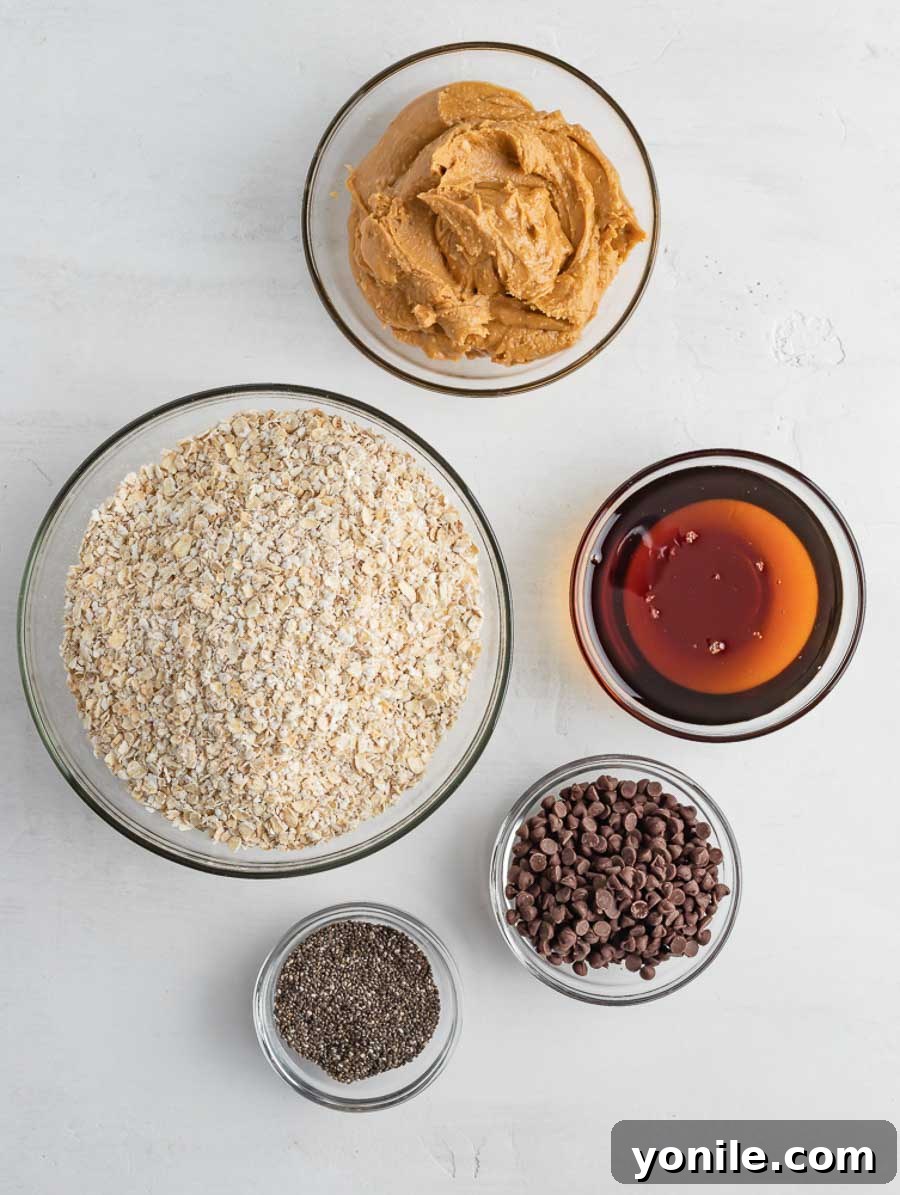
Gathering your ingredients is the first step to creating these delightful energy boosters. You’ll find most of these items already in your pantry or easily available at any grocery store. For the best results and flavor, opt for high-quality, natural products where specified.
- 3 cups Quick Oats or Regular Rolled Oats: Oats form the hearty, fiber-rich base of our energy balls. Quick oats tend to blend more seamlessly into the mixture, creating a smoother texture. Regular rolled oats (old-fashioned oats) will give your energy balls a slightly chewier, more substantial bite. Both work perfectly, so choose based on your texture preference.
- 1 pinch Sea Salt: A small pinch of sea salt is crucial for enhancing the flavors of the other ingredients, especially the chocolate and peanut butter. It balances the sweetness beautifully, adding a subtle complexity that makes these treats irresistible.
- 1 cup Creamy Natural Peanut Butter: The binding agent and a rich source of protein and healthy fats. Natural peanut butter, with minimal added sugar and oils, is highly recommended for its purer flavor and healthier profile. Ensure it’s creamy for a smooth texture that combines well with other ingredients. For those with peanut allergies or seeking variety, creamy almond butter or cashew butter are excellent alternatives, though they will slightly alter the final flavor.
- ⅓ cup Mini Chocolate Chips: These add a delightful burst of sweetness and a touch of indulgence. Mini chocolate chips are ideal as they distribute evenly throughout the mixture. You can use semi-sweet, dark, or even milk chocolate chips depending on your preference.
- 2 tbsp Chia Seeds: A true superfood, chia seeds are tiny powerhouses of omega-3 fatty acids, fiber, and protein. They also help absorb moisture and bind the ingredients together, contributing to the perfect texture. You can use either white or black chia seeds; their nutritional benefits are the same.
- ¾ cup Maple Syrup: Our natural sweetener of choice, maple syrup provides a wonderful depth of flavor and helps bind the mixture without refined sugars. It’s a great alternative to honey if you prefer a vegan option. If you don’t have maple syrup, raw honey or agave nectar can be used as direct substitutes, keeping in mind they might slightly alter the taste.
- 1 tsp Vanilla Extract (optional but highly recommended): A dash of pure vanilla extract elevates all the flavors in the energy balls, adding a warm, aromatic note. Always opt for real vanilla extract over artificial for the best taste.
Step-by-Step: Crafting Your No-Bake Energy Balls
Creating these energy balls is incredibly straightforward and requires minimal effort. Follow these simple steps for perfectly formed, delicious treats every time:
- Prepare Your Workspace and Ingredients: Begin by gathering all your specified ingredients. Measure them out accurately to ensure the right consistency. It’s helpful to have a large mixing bowl ready for combining everything.
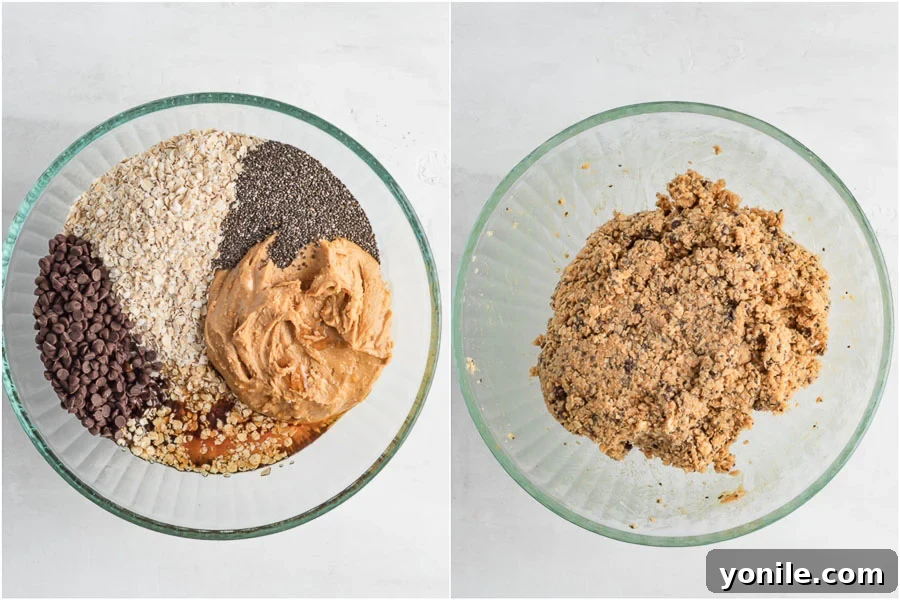
- Combine All Ingredients in a Large Bowl: Add the quick or rolled oats, a pinch of sea salt, creamy natural peanut butter, mini chocolate chips, chia seeds, maple syrup, and optional vanilla extract into your large mixing bowl.
- Mix Until Well Combined: Using a sturdy spatula, or even your clean hands (which often works best for achieving an even mix), thoroughly combine all the ingredients. Continue mixing until everything is uniformly distributed and the mixture forms a thick, cohesive dough that holds together when pressed. The peanut butter and maple syrup will act as natural binders, ensuring all the dry ingredients are fully incorporated.
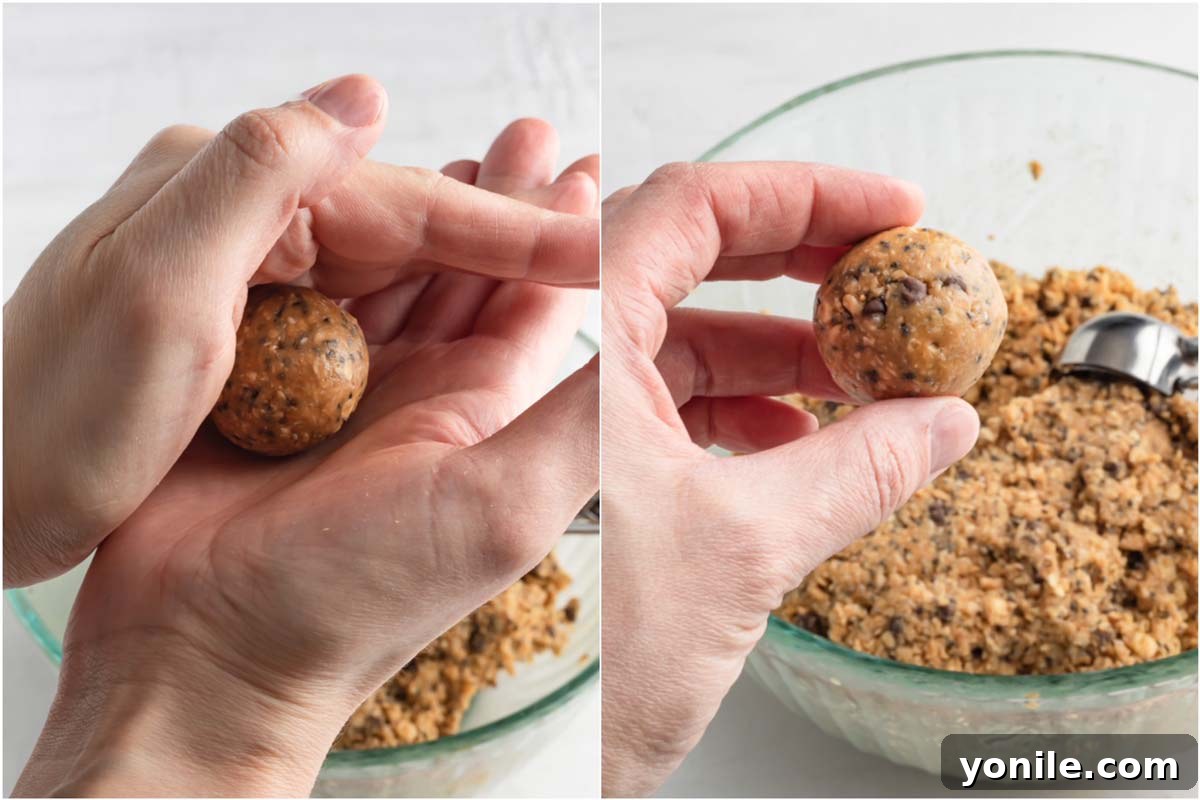
- Roll into Uniform Balls: Take tablespoon-sized portions of the mixture. With the help of your palms, tightly roll each portion into an even, compact ball. Applying firm pressure is key here to prevent them from crumbling. For perfectly consistent sizes, consider using a small ice cream scoop or a cookie scoop to portion out the dough before rolling. This ensures that all your energy balls chill and set evenly.
- Troubleshooting Consistency (if needed): If your mixture seems too dry and isn’t sticking together well enough to form balls, you can add a little more maple syrup (or honey/agave) a teaspoon at a time. Mix thoroughly and try rolling again. Conversely, if the mixture feels too sticky or soft, refrigerating it for 10-15 minutes can help firm it up, making it easier to handle and roll.
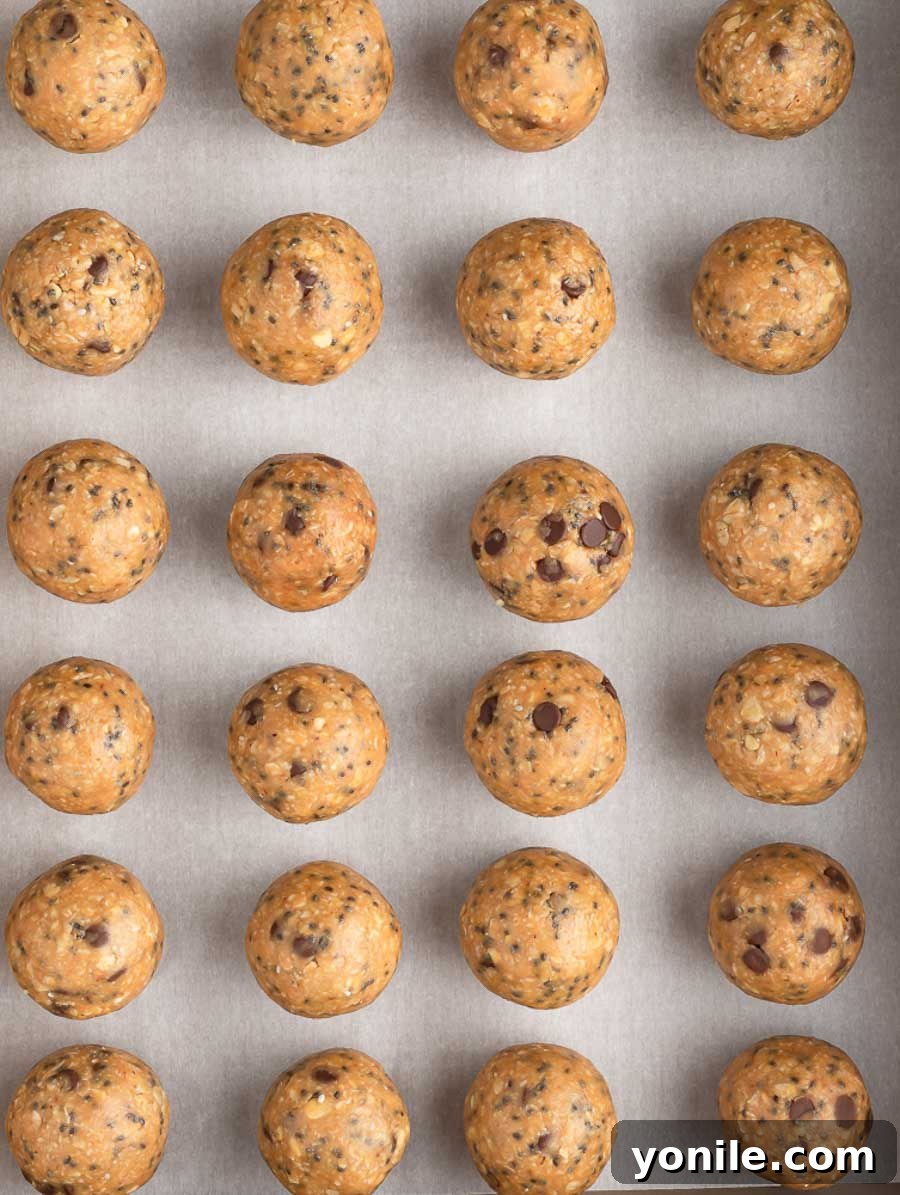
- Chill Before Storing: Once all your energy balls are rolled, arrange them on a baking sheet lined with parchment paper. This prevents them from sticking. Place the sheet into the refrigerator and chill for a minimum of 30 minutes. Chilling is essential as it allows the oats to fully absorb the moisture and helps the balls firm up, making them less sticky and more enjoyable to eat.
- Store Properly: After they have thoroughly chilled and firmed up, transfer the energy balls to an airtight container or a resealable bag. Store them in the refrigerator to maintain their freshness and texture. They will remain fresh and delicious for up to 5 days.
- Enjoy or Freeze for Later: Grab an energy ball whenever you need a quick, nutritious boost. For longer storage, these energy balls are also freezer-friendly, lasting up to a month.
Expert Tips & Recipe Variations for Perfect Energy Balls
Enhance your No-Bake Energy Ball experience with these helpful tips and creative variations:
- Add a Touch of Fancy with Chocolate Drizzle: To elevate your energy balls for a special occasion or simply for an extra touch of decadence, consider drizzling them with melted chocolate. Refer to my guide on How to Melt Chocolate for the perfect technique. A contrasting chocolate color, like white chocolate over dark chocolate chips, can make them visually stunning.
- Adjusting Mixture Consistency: If you find the mixture isn’t coming together or rolling smoothly into a ball, don’t fret! The simplest fix is to add a tiny bit more liquid sweetener (maple syrup, honey, or agave) – start with half a teaspoon, mix well, and retest. This usually helps bind the oats and other ingredients. Alternatively, if the mixture feels too soft or sticky, pop the bowl into the refrigerator for 10-15 minutes. A slightly chilled mixture is often much easier to work with.
- Sweetener Swaps: While maple syrup provides a unique flavor profile and a lovely natural sweetness, it’s easily interchangeable. Feel free to substitute it with an equal amount of honey or agave nectar based on your dietary needs or preferred taste. Each will lend a slightly different subtle flavor.
- Transform into Energy Bars: If you’re short on time or simply prefer a different format, skip the rolling step entirely! Press the entire mixture firmly into a square or rectangular pan (an 8×8 or 9×9 inch pan works well) lined with parchment paper. Once thoroughly chilled and firm, cut the block into squares or rectangles to create delicious no-bake energy bars. This is a great option for quicker prep.
- Nut Butter Alternatives: While creamy natural peanut butter is fantastic, any creamy nut butter will work as a substitute. Almond butter, cashew butter, or even sunflower seed butter (for nut-free options) are all viable choices. Be aware that swapping nut butters will change the flavor profile of your energy balls to reflect the taste of the chosen nut butter. Always opt for natural, unsweetened varieties for the healthiest outcome.
- Portioning for Perfection: For uniform sizes and consistent chilling, using a small ice cream scoop or a cookie scoop is a game-changer. It takes the guesswork out of portioning and ensures each energy ball is roughly the same size, making them look professionally made and easier to track for nutritional purposes.
- Boost the Protein: For an extra protein punch, especially if using these as a post-workout snack, incorporate a scoop of your favorite unflavored or vanilla protein powder into the mixture. You might need to add a touch more liquid if the mixture becomes too dry.
- Spice it Up: A dash of cinnamon, nutmeg, or even a pinch of pumpkin pie spice can add a wonderful warmth and complexity, especially during autumn or winter months.
Frequently Asked Questions About No-Bake Energy Balls
Here are answers to some common questions about making and enjoying these delightful energy balls:
The beauty of no-bake energy balls lies in their versatility! You can truly customize them with a wide array of mix-ins. Consider adding:
- Seeds: Hemp hearts, ground flaxseed, sunflower seeds, pumpkin seeds for extra nutrients and crunch.
- Dried Fruits: Chopped dates, raisins, cranberries, apricots, or even finely diced dried figs can add natural sweetness and chewiness.
- Nuts: Finely chopped walnuts, pecans, almonds, or pistachios for added texture and healthy fats.
- Protein Boosters: A scoop of your favorite protein powder (vanilla or unflavored works best) can increase the protein content, making them ideal for post-workout recovery.
- Flavor Extracts: Beyond vanilla, try almond extract, peppermint extract, or orange extract for different flavor profiles.
- Different Chips: Swap mini chocolate chips for white chocolate chips, butterscotch chips, caramel chips, or even chopped dark chocolate chunks.
- Spices: Cinnamon, nutmeg, ginger, or pumpkin pie spice can add a warm, cozy flavor.
- Coconut: Shredded or desiccated coconut can be mixed in or used to roll the finished balls for a tropical twist.
Feel free to experiment with whatever healthy and delicious ingredients you have on hand in your pantry!
While steel-cut oats are incredibly healthy, I strongly recommend sticking with either quick oats or old-fashioned (rolled) oats for this specific recipe. Steel-cut oats are whole oat groats that have been chopped into smaller pieces, giving them a much firmer, chewier, and even crunchy texture even after rehydration. This dense texture would significantly alter the consistency of your energy balls, making them less soft and pliable. For the best binding and chewable texture, quick or rolled oats are the superior choice as they absorb liquids more readily and become softer without cooking.
Proper storage is key to maintaining the freshness and delicious texture of your energy balls. Once they have been thoroughly chilled in the refrigerator (at least 30 minutes), transfer them to an airtight container. You can layer them with parchment paper in between if you’re concerned about them sticking, though this is usually not necessary once they’re firm. Keep the container refrigerated. When stored correctly, these no-bake energy balls will stay fresh and enjoyable for up to 5 days. For optimal taste and texture, allow them to come to room temperature for a few minutes before eating, if desired.
Absolutely! These easy energy balls are perfectly freezer-friendly, making them an excellent candidate for meal prepping and extended storage. To freeze them effectively, arrange the chilled balls in a single layer on a parchment-lined baking sheet. Place the baking sheet in the freezer for 1-2 hours, or until the balls are solid. This “flash freezing” step prevents them from sticking together. Once frozen solid, transfer the energy balls to a freezer-safe airtight container or a heavy-duty freezer bag. They can be stored in the freezer for up to one month. To enjoy, simply pull out the desired number of balls and let them thaw in the refrigerator overnight or at room temperature for about 30 minutes. They’ll be just as delicious as when they were freshly made!
More Wholesome Recipes to Fuel Your Day
If you loved these energy-boosting treats, you’ll certainly enjoy exploring more healthy and delicious recipes:
- Spinach Chickpea Salad Recipe
- Hearty Homemade Vegetable Soup
- How to Cook Perfect Oatmeal
- Baked Oats {3 Delicious Ways}
- Almond Joy Energy Bites
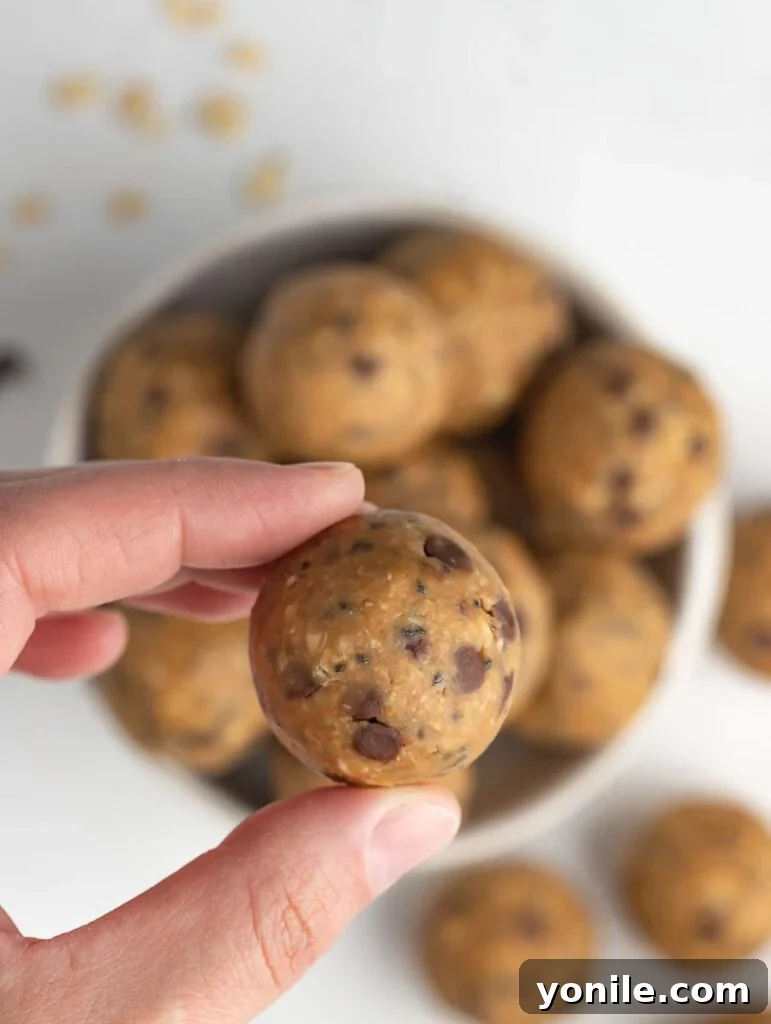
I genuinely hope you find as much joy in preparing and enjoying these delicious No-Bake Energy Balls as I do sharing them with you. They are a testament to how easy and enjoyable healthy eating can be. I encourage you to try this recipe, savor every bite, and share your experience with friends and family!
If you whip up this recipe and love it, please consider sharing your creation on INSTAGRAM using my hashtag for a chance to be featured in my story! Stay connected with Cookin’ With Mima on FACEBOOK, INSTAGRAM, and PINTEREST for all my latest social updates, recipes, and culinary inspiration.
No-Bake Energy Balls: The Ultimate Healthy Snack
Delicious bite-sized treats filled with healthy goodness, these No-Bake Energy Balls are a protein-packed snack that is perfect for all ages. An easy grab-and-go snack or packed in a lunch box, these energy balls are so easy to make!
By: Mariam Ezzeddine
Prep Time: 10 minutes
Chill Time: 30 minutes
Total Time: 40 minutes
Yields: Approximately 25 1-inch balls
Ingredients
- 3 cups quick oats or regular rolled oats
- 1 pinch sea salt
- 1 cup creamy natural peanut butter
- ⅓ cup mini chocolate chips
- 2 tbsp chia seeds
- ¾ cup maple syrup
- 1 tsp vanilla extract (optional)
Instructions
- Start by measuring and preparing all the ingredients.
- Place all measured ingredients into a large mixing bowl.
- Using a sturdy spatula or your hands, mix everything thoroughly until well combined and a cohesive dough forms.
- Take tablespoon-sized pieces of the dough. With your palms, tightly roll each piece into an even ball. For consistent portions, a small ice cream scoop can be helpful.
- If the mixture is too dry to stick together, add a little more maple syrup (or honey) and mix again. If too sticky, chill the mixture for a few minutes before rolling.
- Arrange the rolled balls onto a baking sheet lined with parchment paper.
- Chill in the refrigerator for at least 30 minutes to allow them to firm up.
- Once chilled, transfer the energy balls to an airtight container and store them in the fridge.
- Enjoy within 5 days for optimal freshness.
- For longer storage, freeze the energy balls for up to a month.
Recipe Notes
- Elevate the presentation by drizzling melted chocolate over the chilled energy balls.
- If the mixture is too dry to form balls, add a small amount of maple syrup (or honey/agave) gradually until the desired consistency is reached. Alternatively, if the mixture is too soft, refrigerate it for 10-15 minutes before rolling.
- Maple syrup can be substituted with an equal amount of honey or agave nectar.
- For a quicker alternative, press the entire mixture into a square pan, chill, and then cut into squares to create no-bake energy bars.
- Any creamy natural nut butter (such as almond butter or cashew butter) can replace peanut butter, though the flavor will adjust accordingly.
- Use an ice cream scoop or cookie scoop to ensure consistent sizing for your energy balls.
Nutrition Information (per serving, approximate for 25 balls)
Calories: 141 kcal |
Carbohydrates: 17g |
Protein: 4g |
Fat: 7g |
Saturated Fat: 2g |
Trans Fat: 1g |
Cholesterol: 1mg |
Sodium: 52mg |
Potassium: 128mg |
Fiber: 2g |
Sugar: 8g |
Vitamin A: 6 IU |
Vitamin C: 1mg |
Calcium: 29mg |
Iron: 1mg